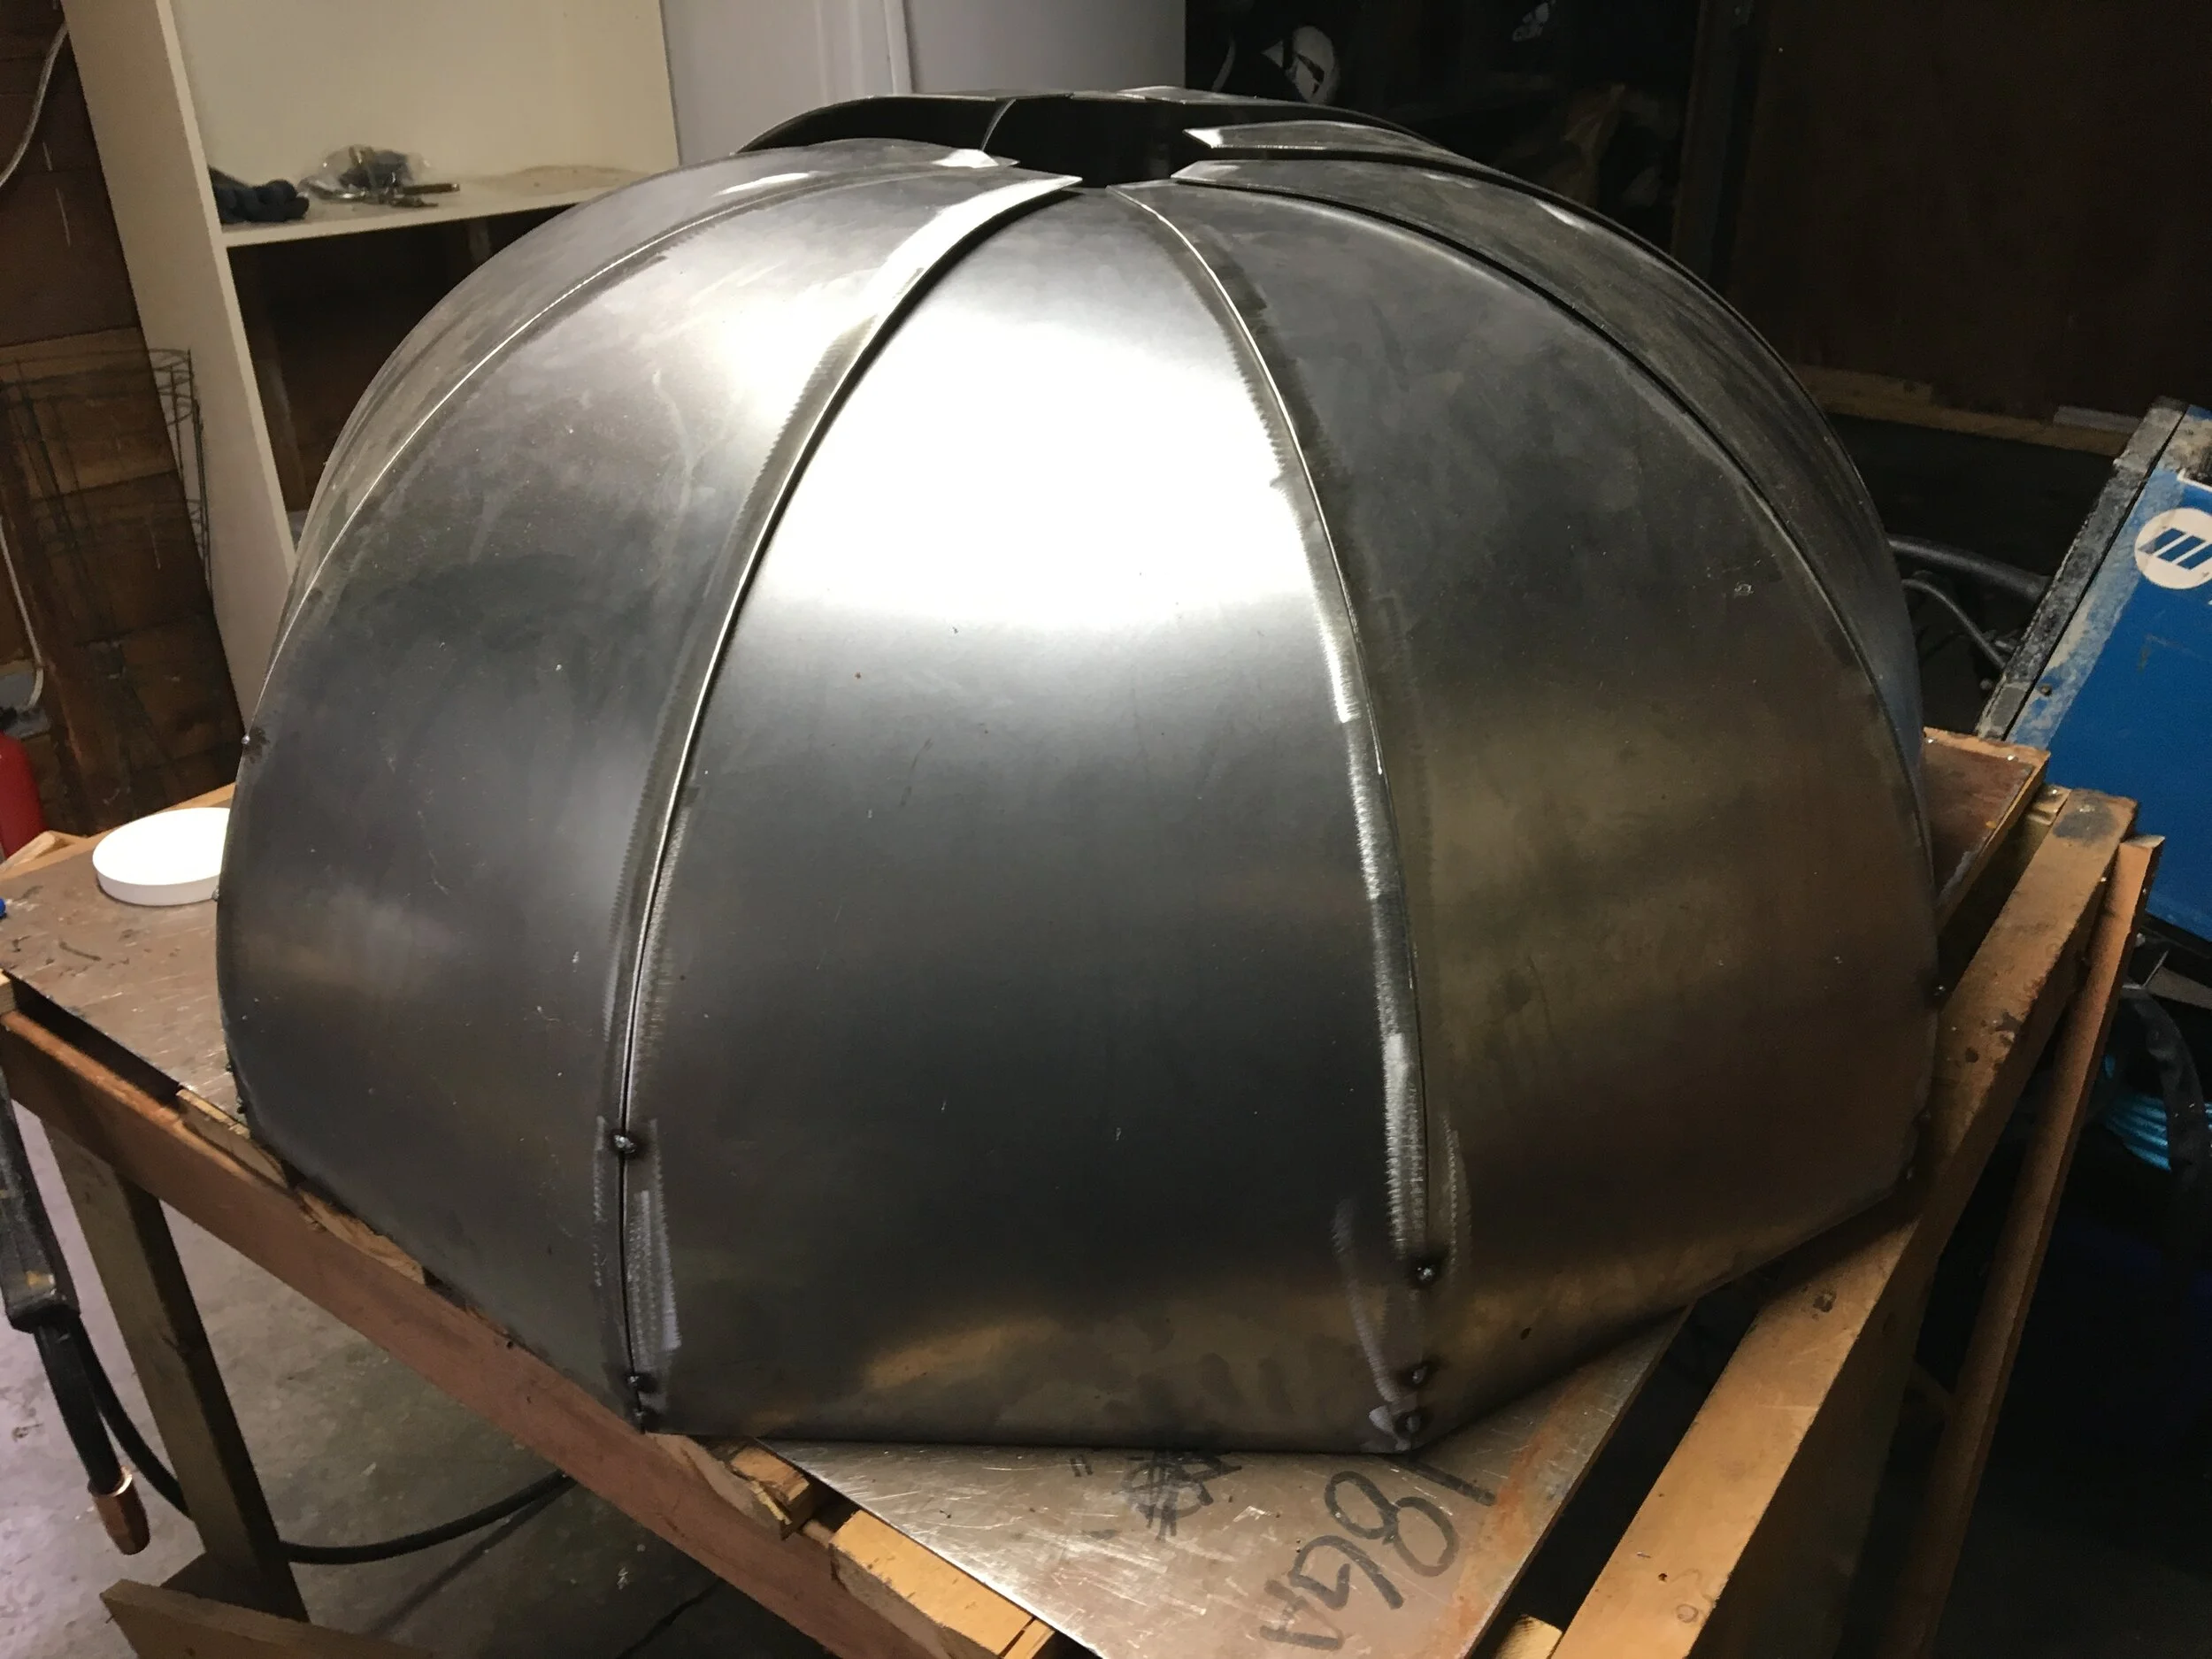
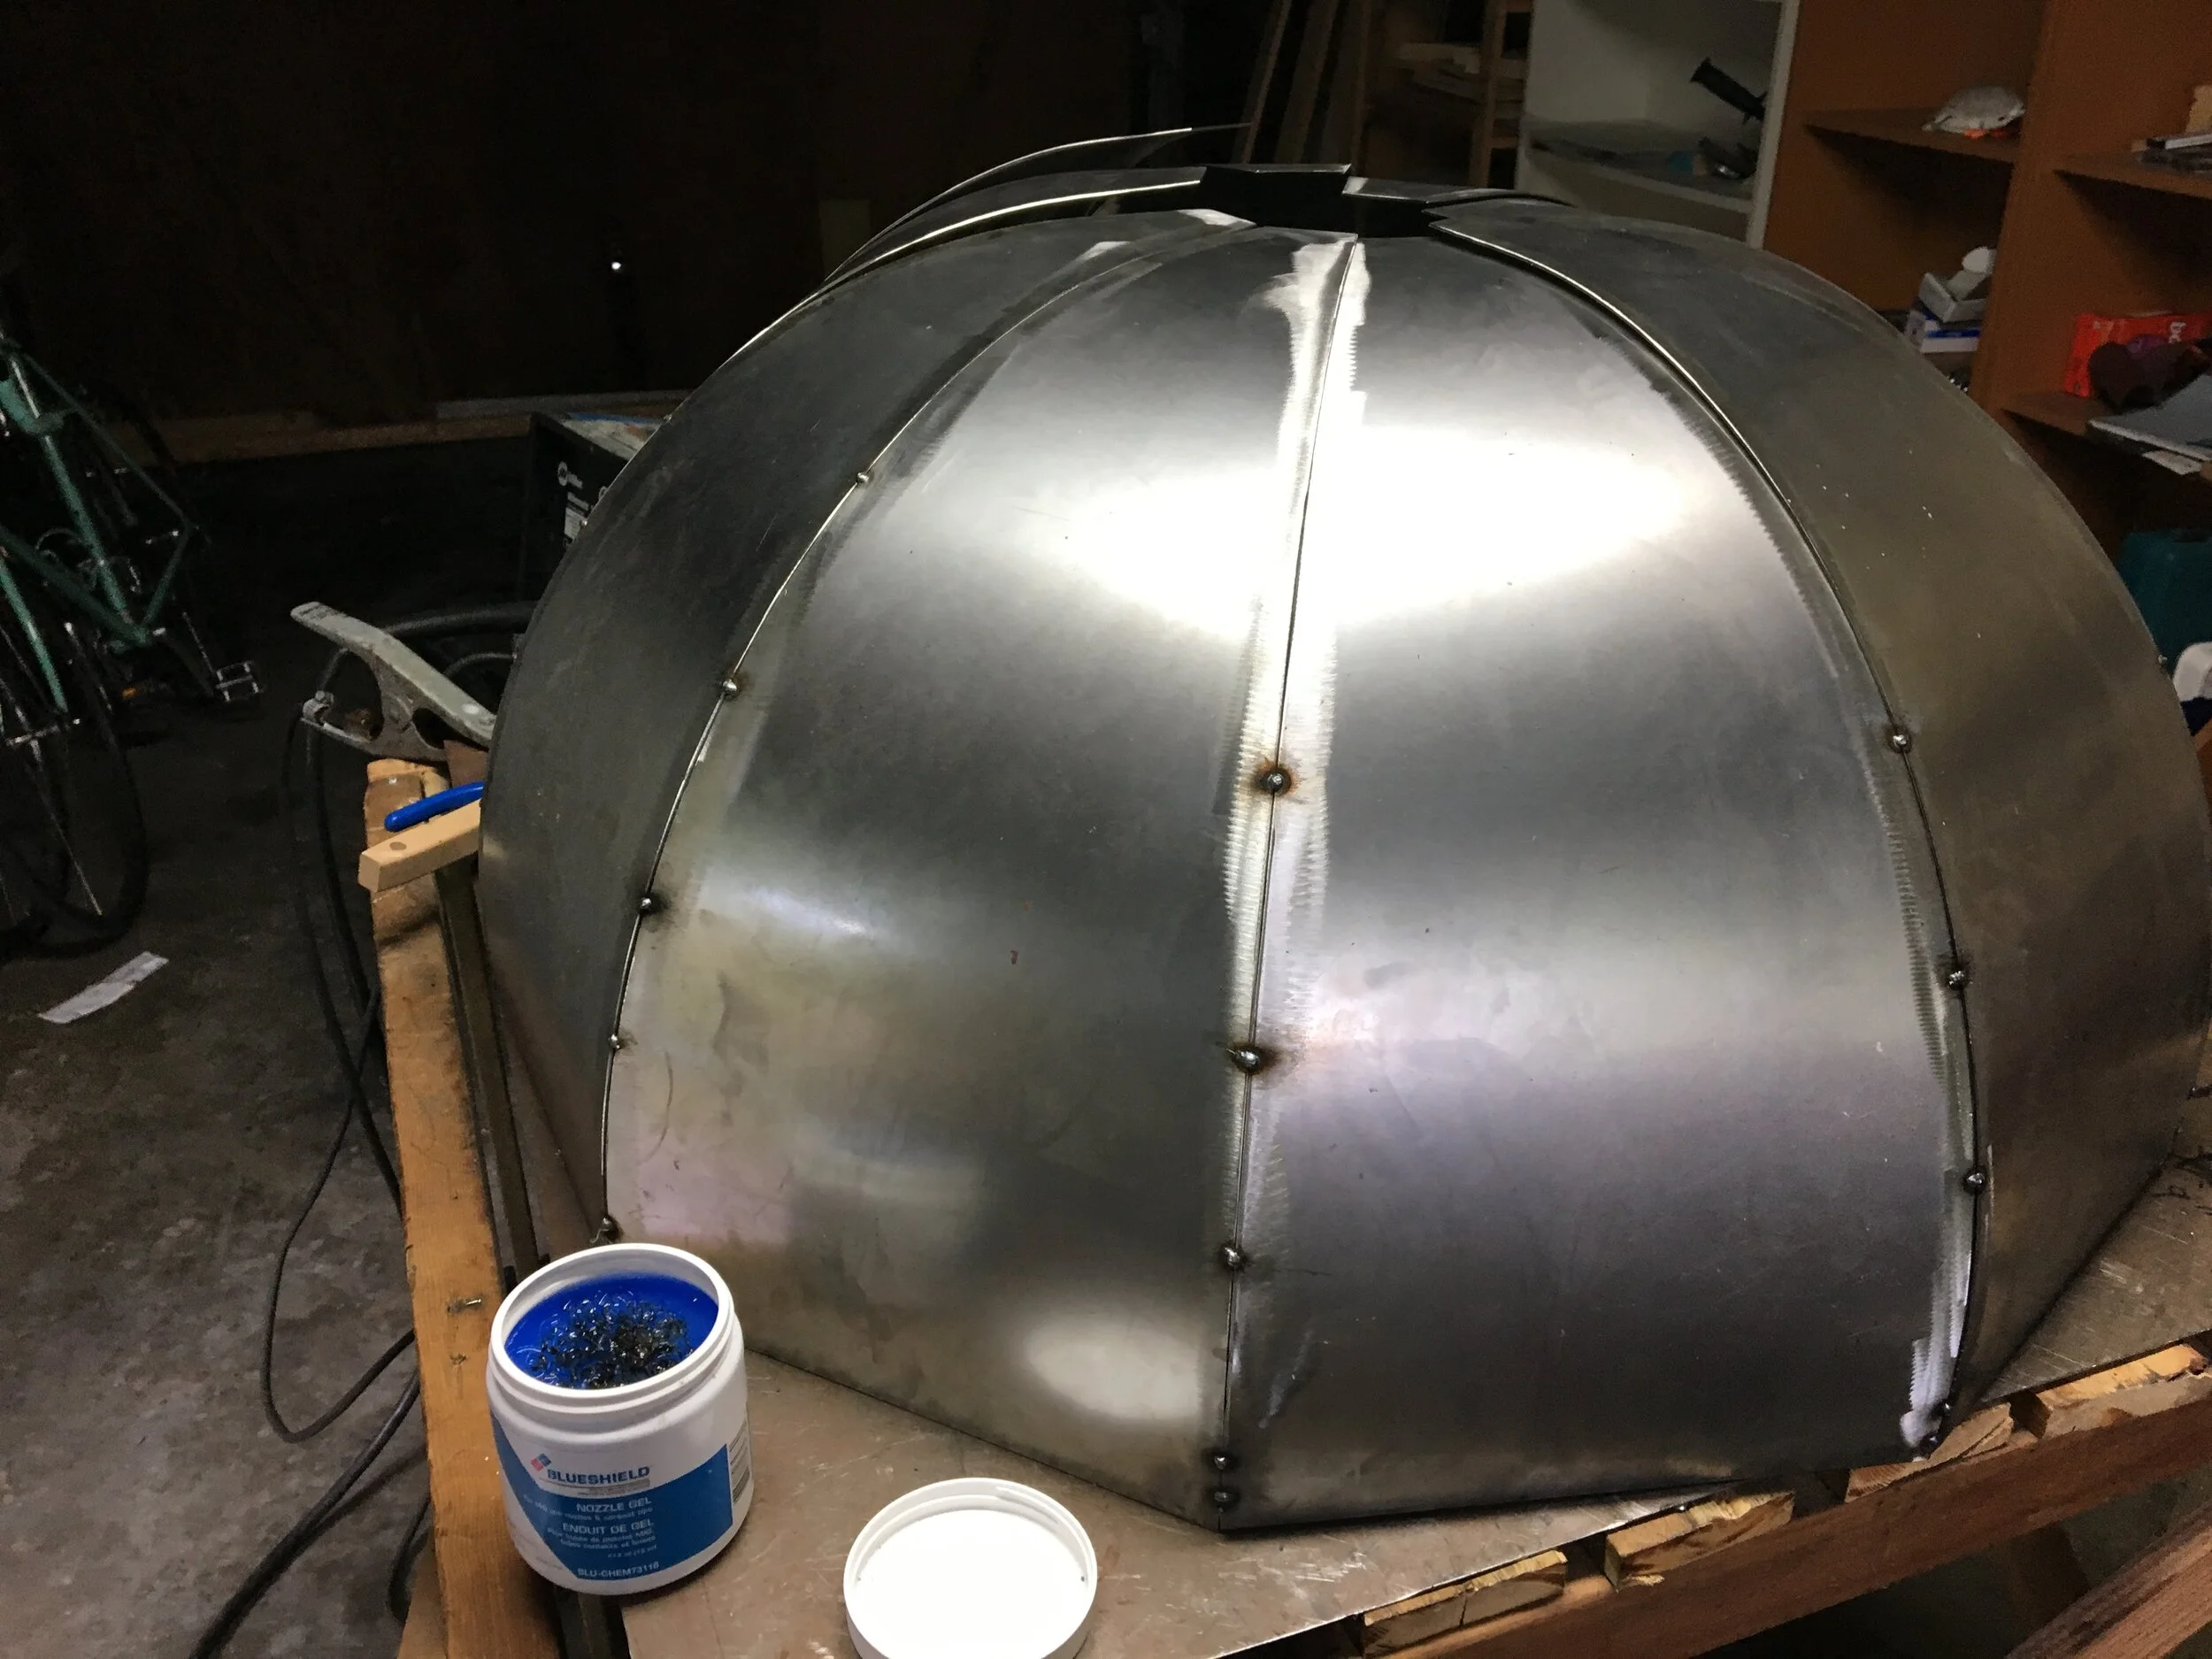
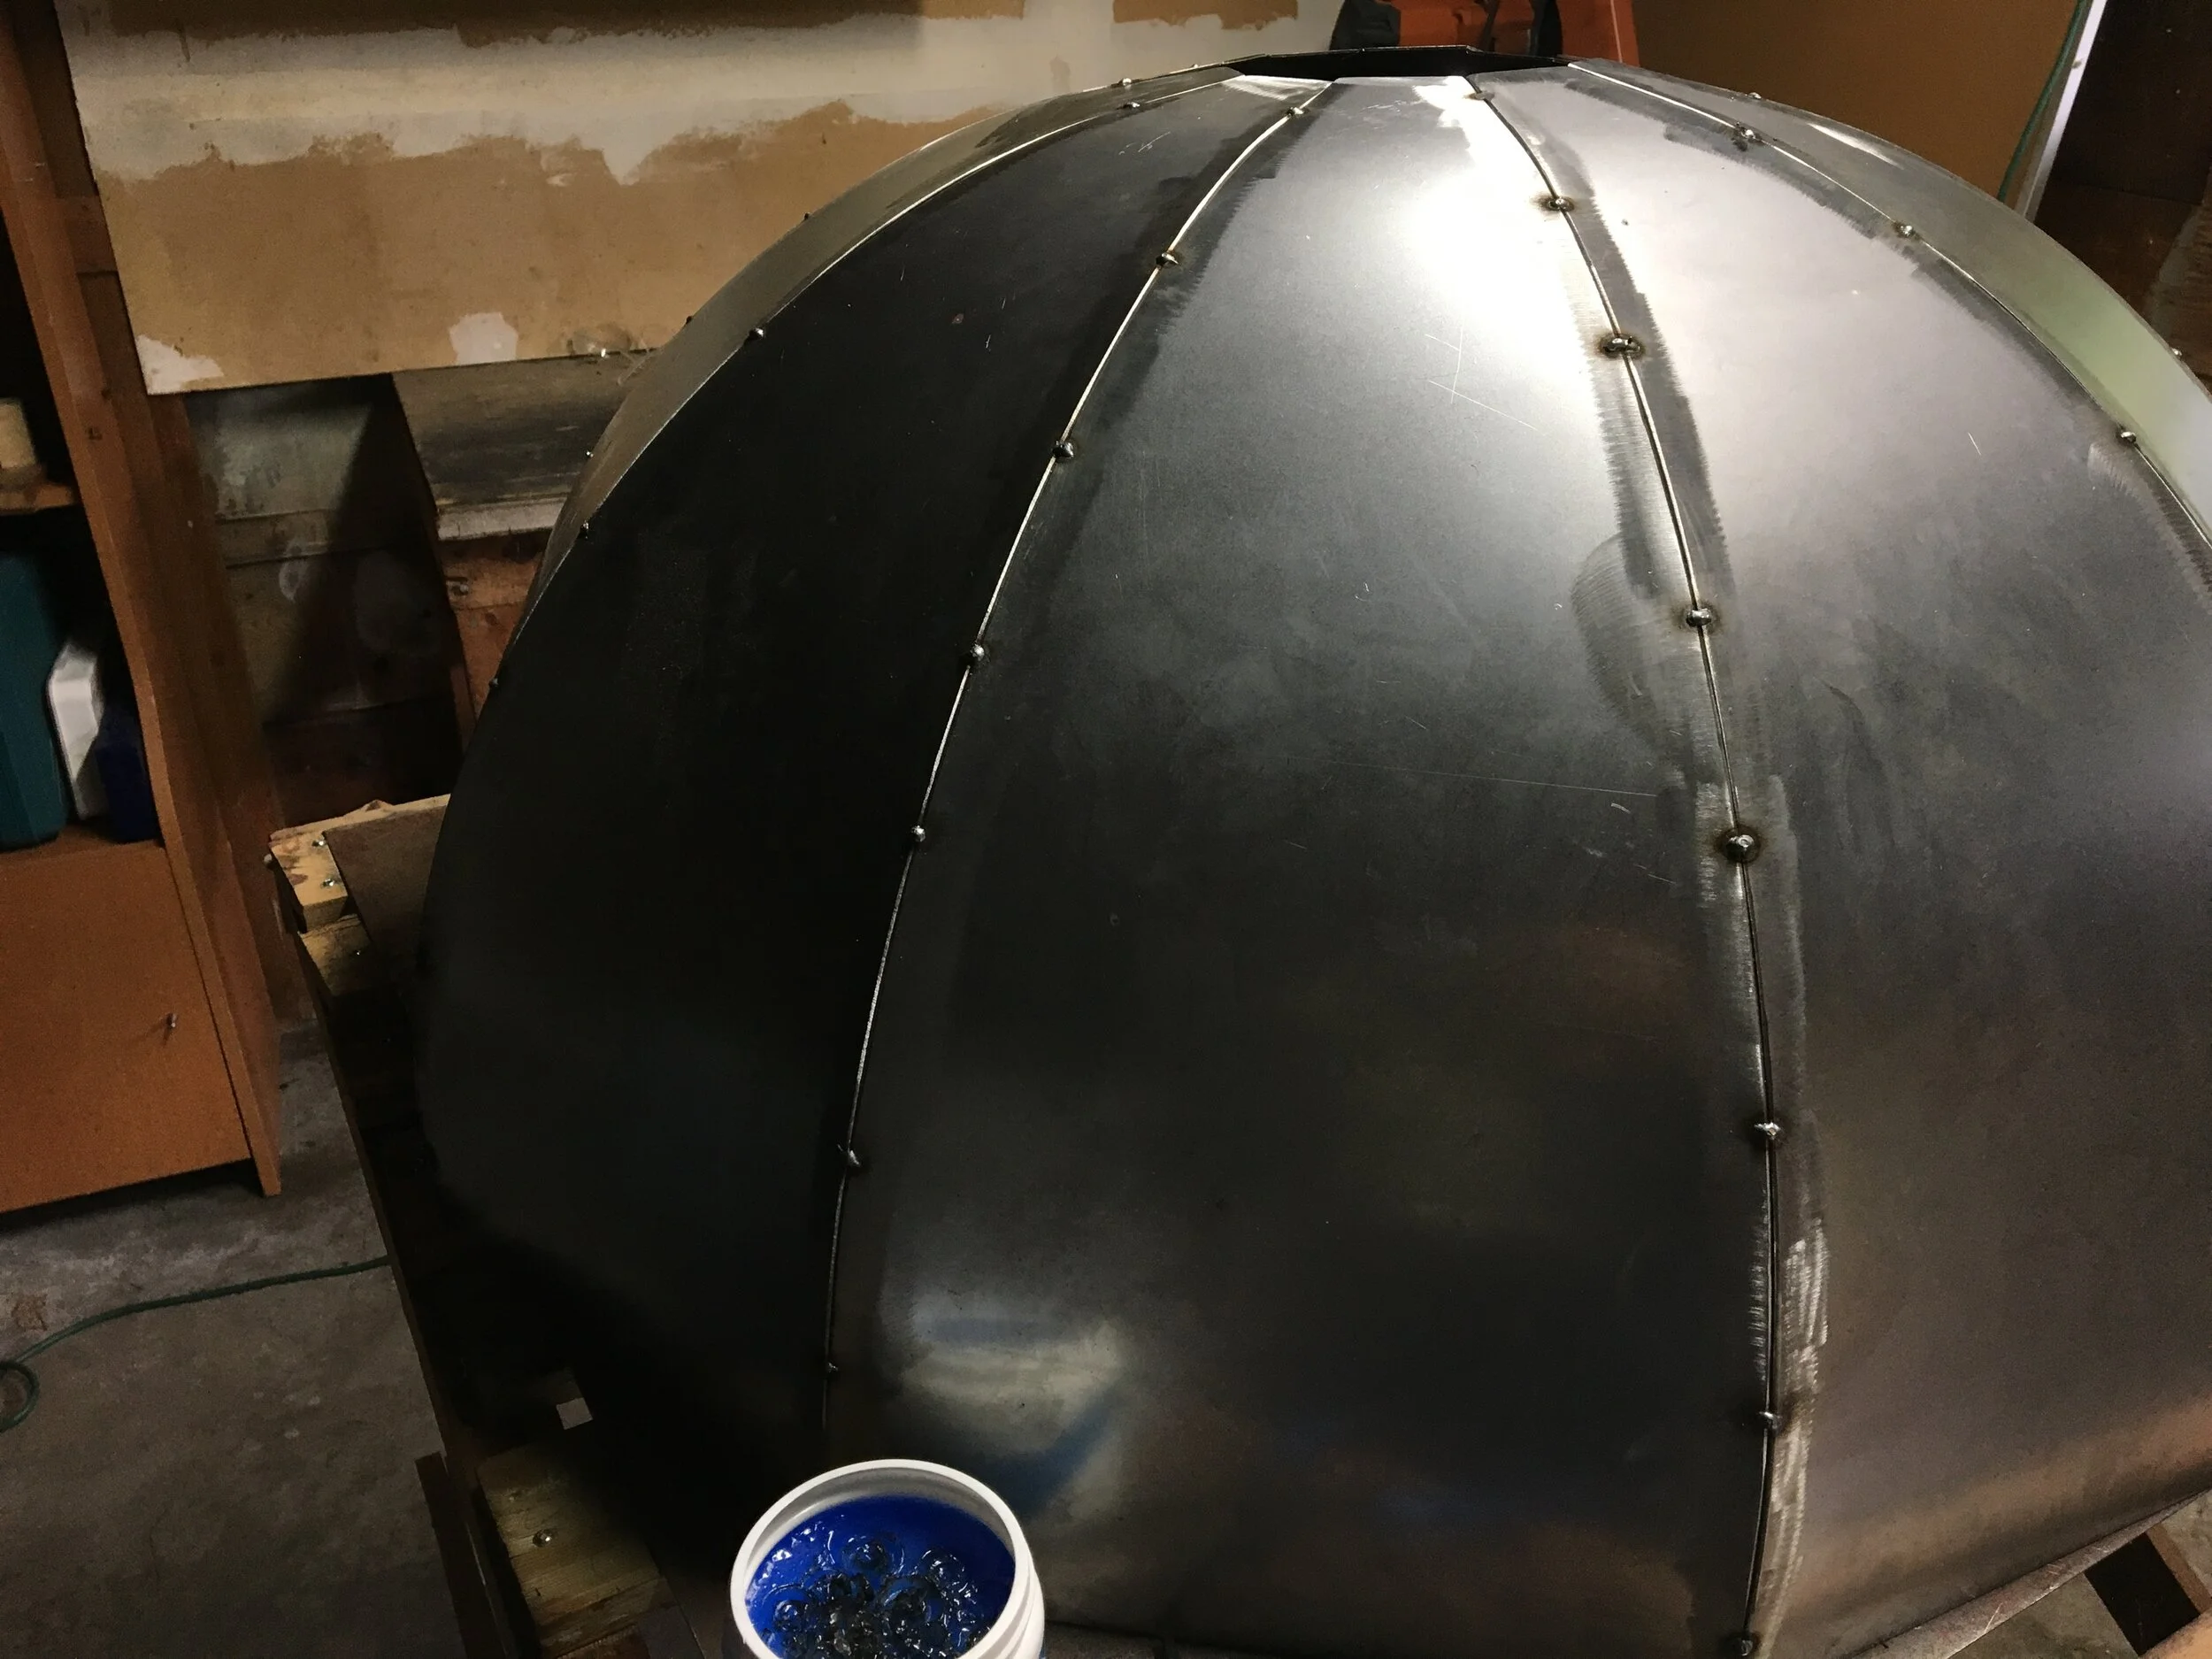
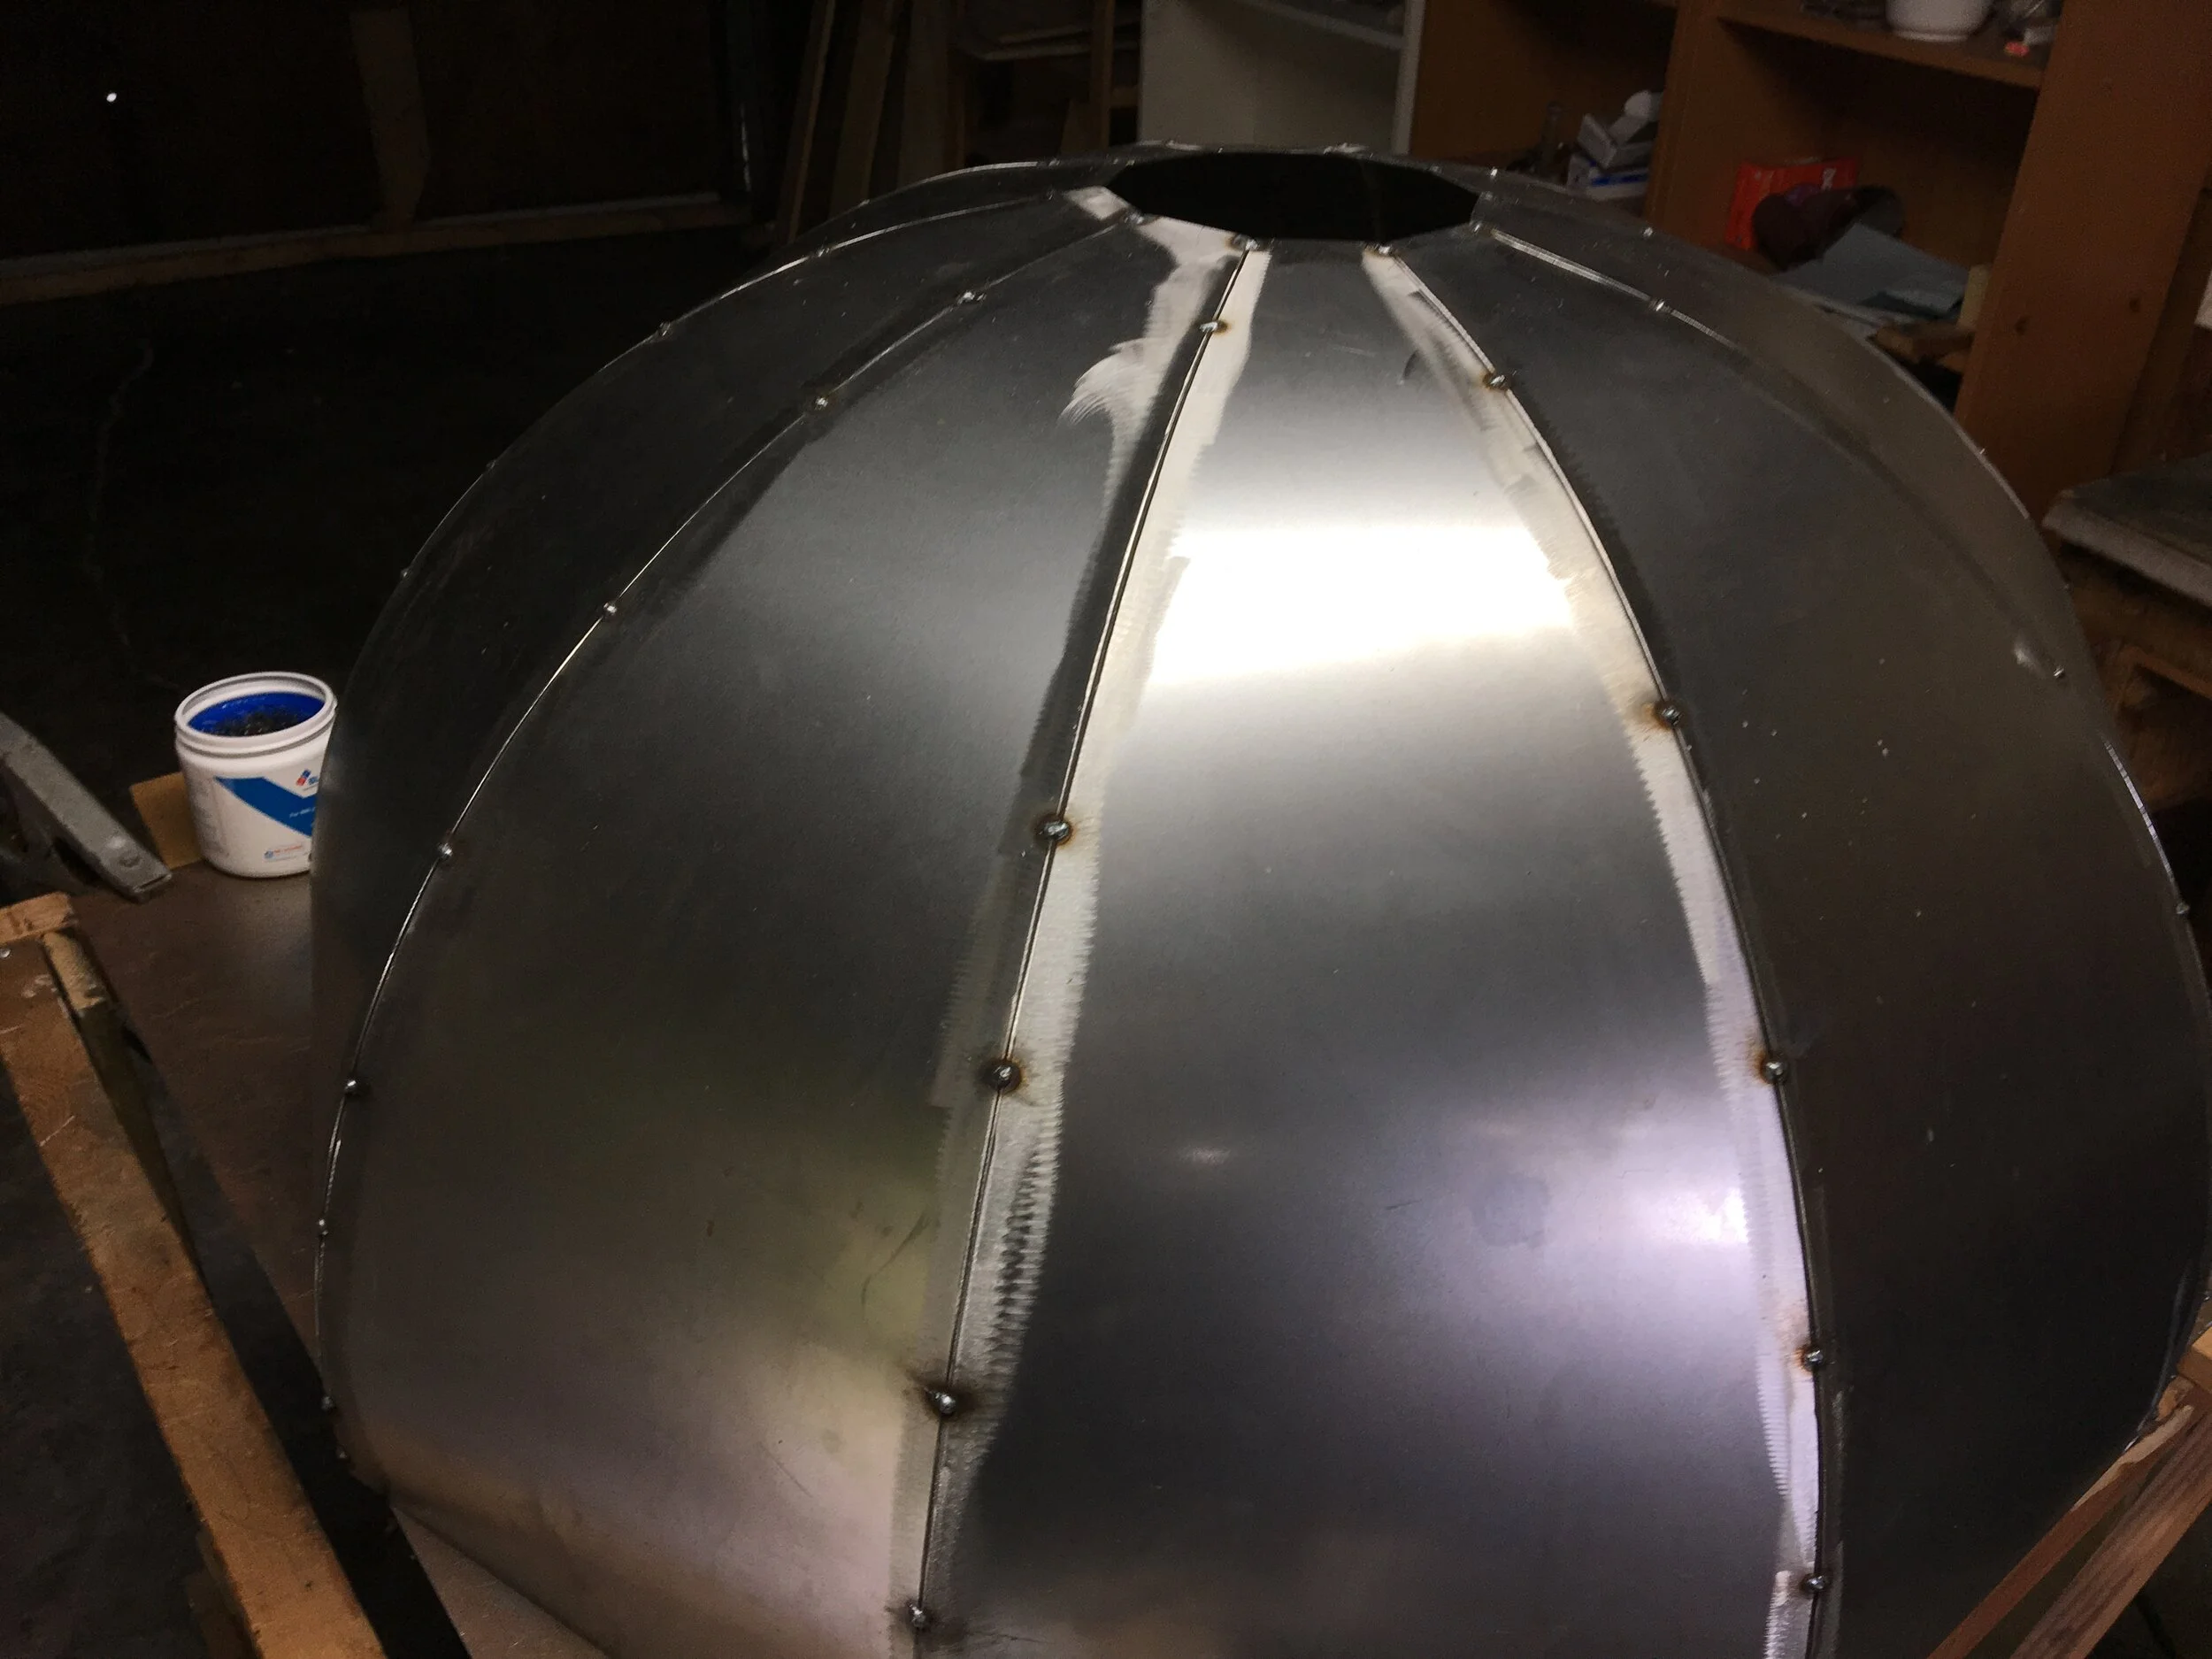
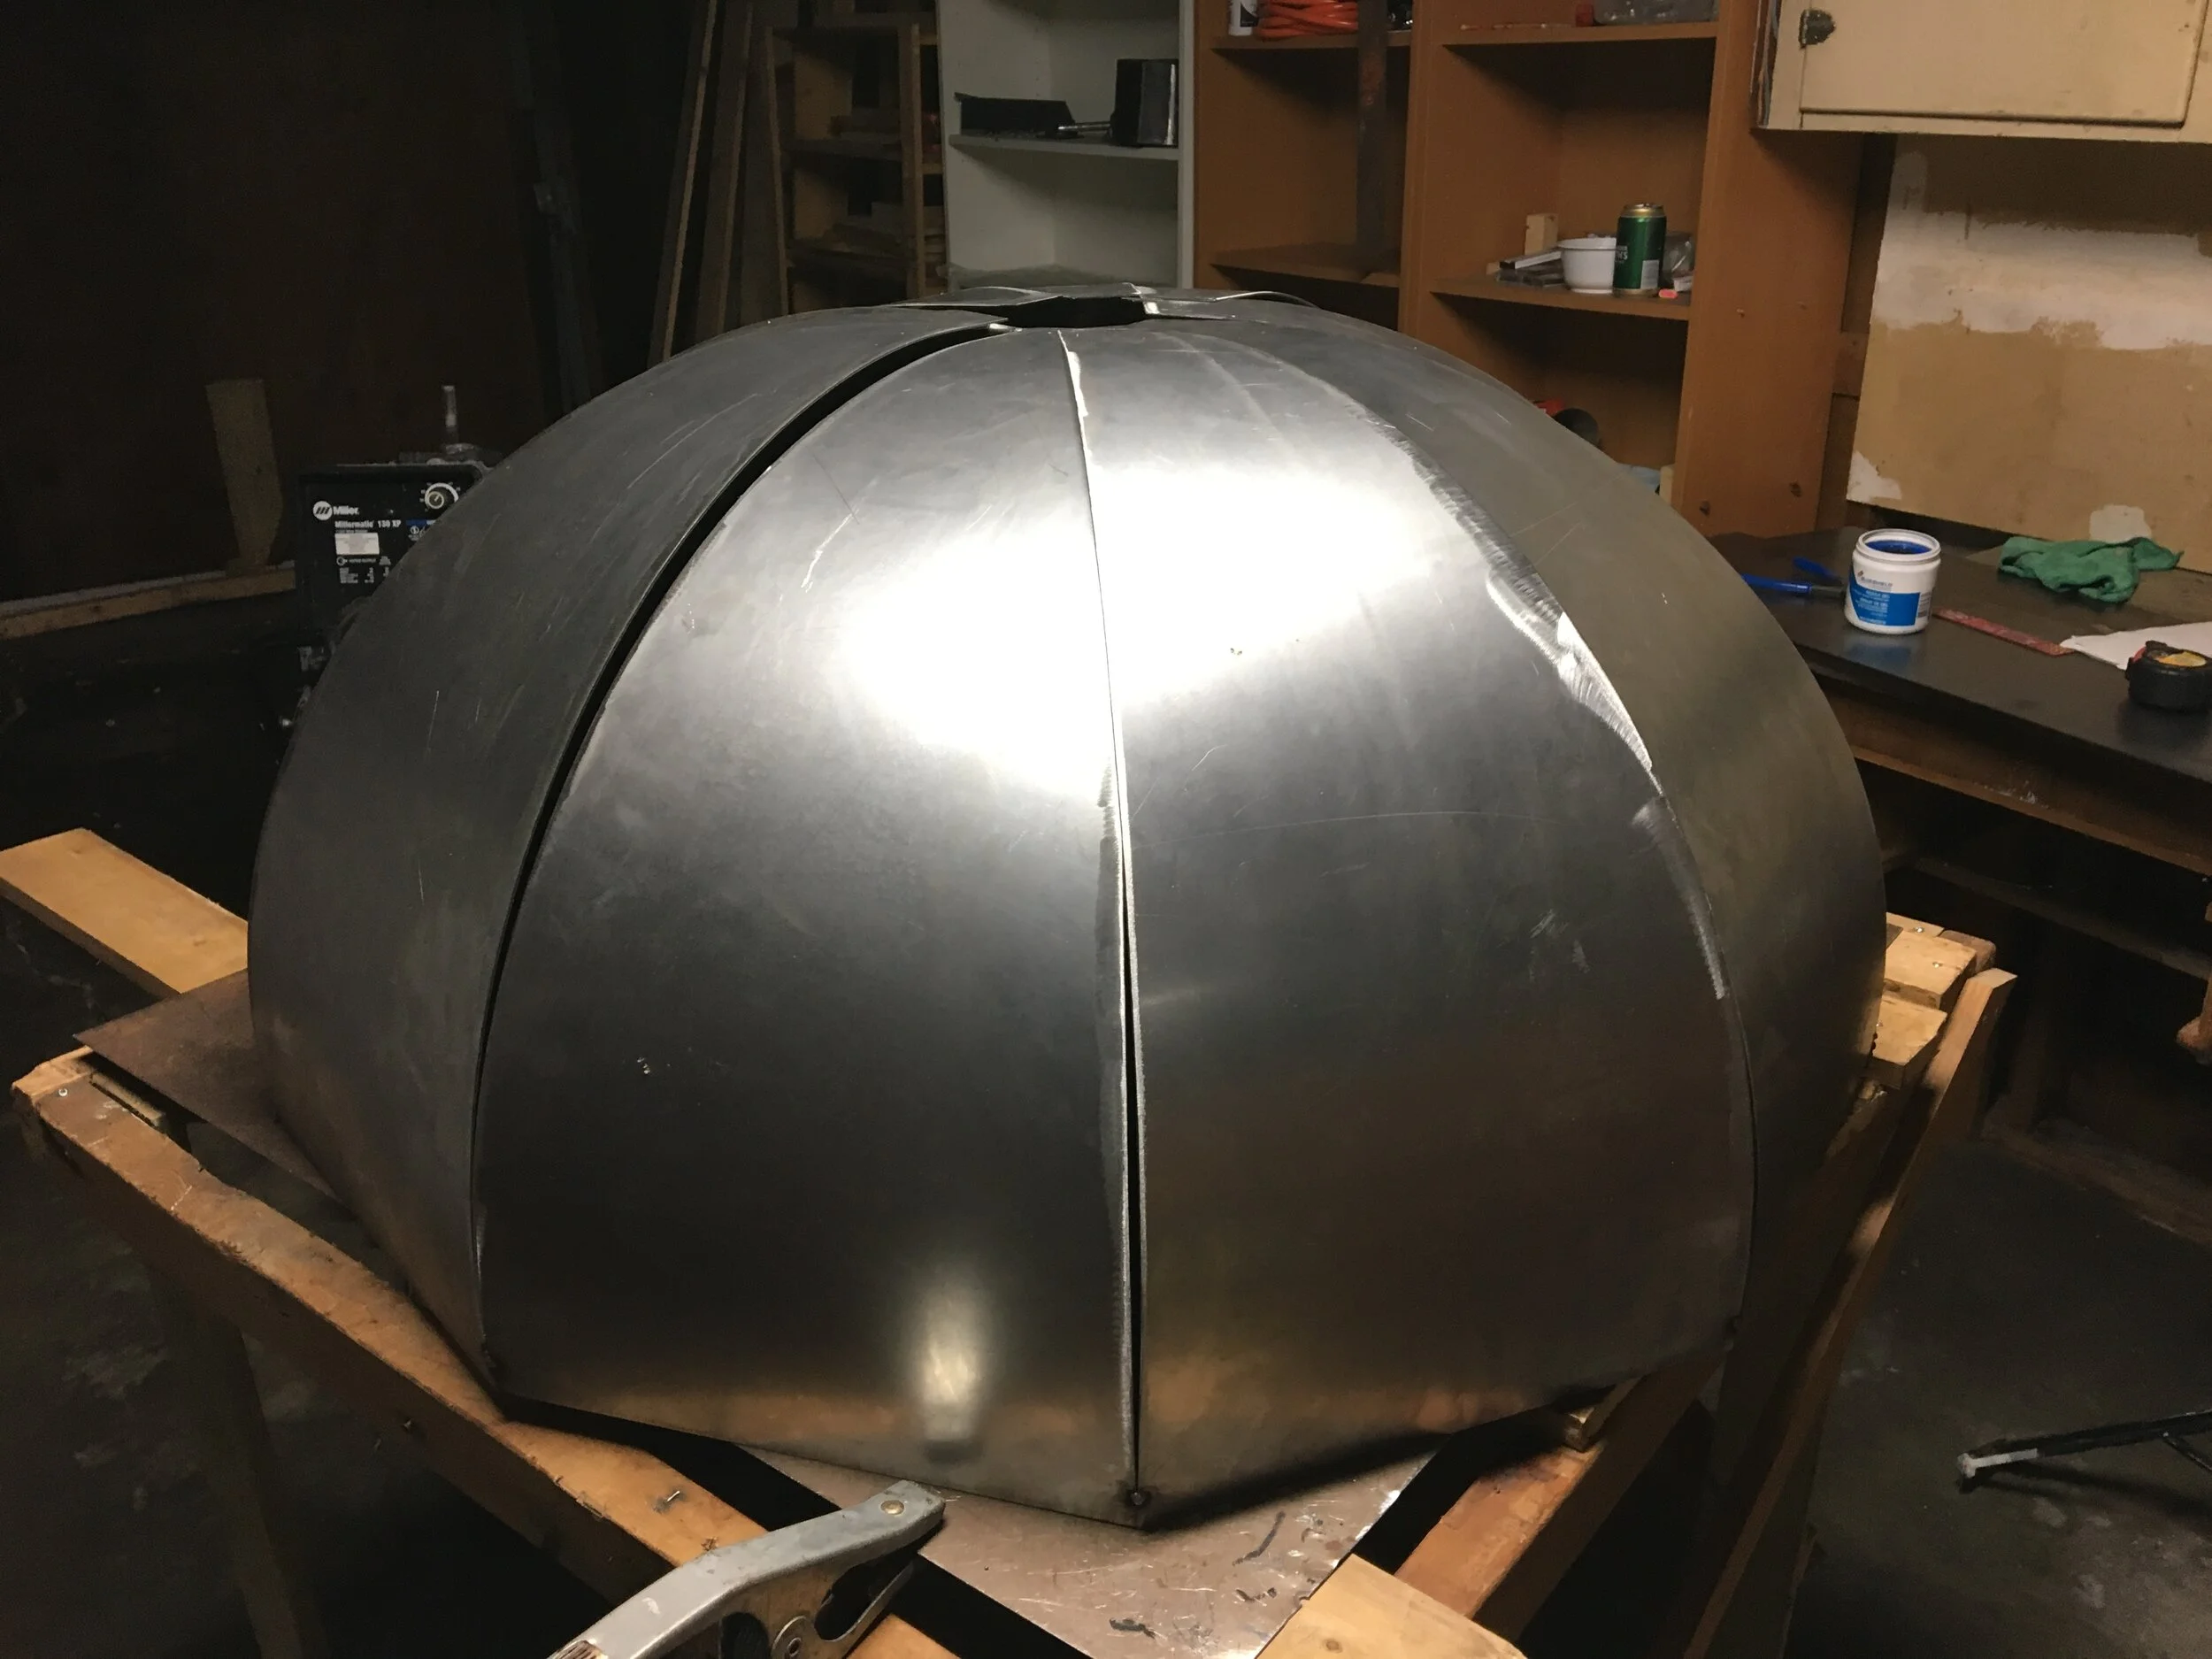
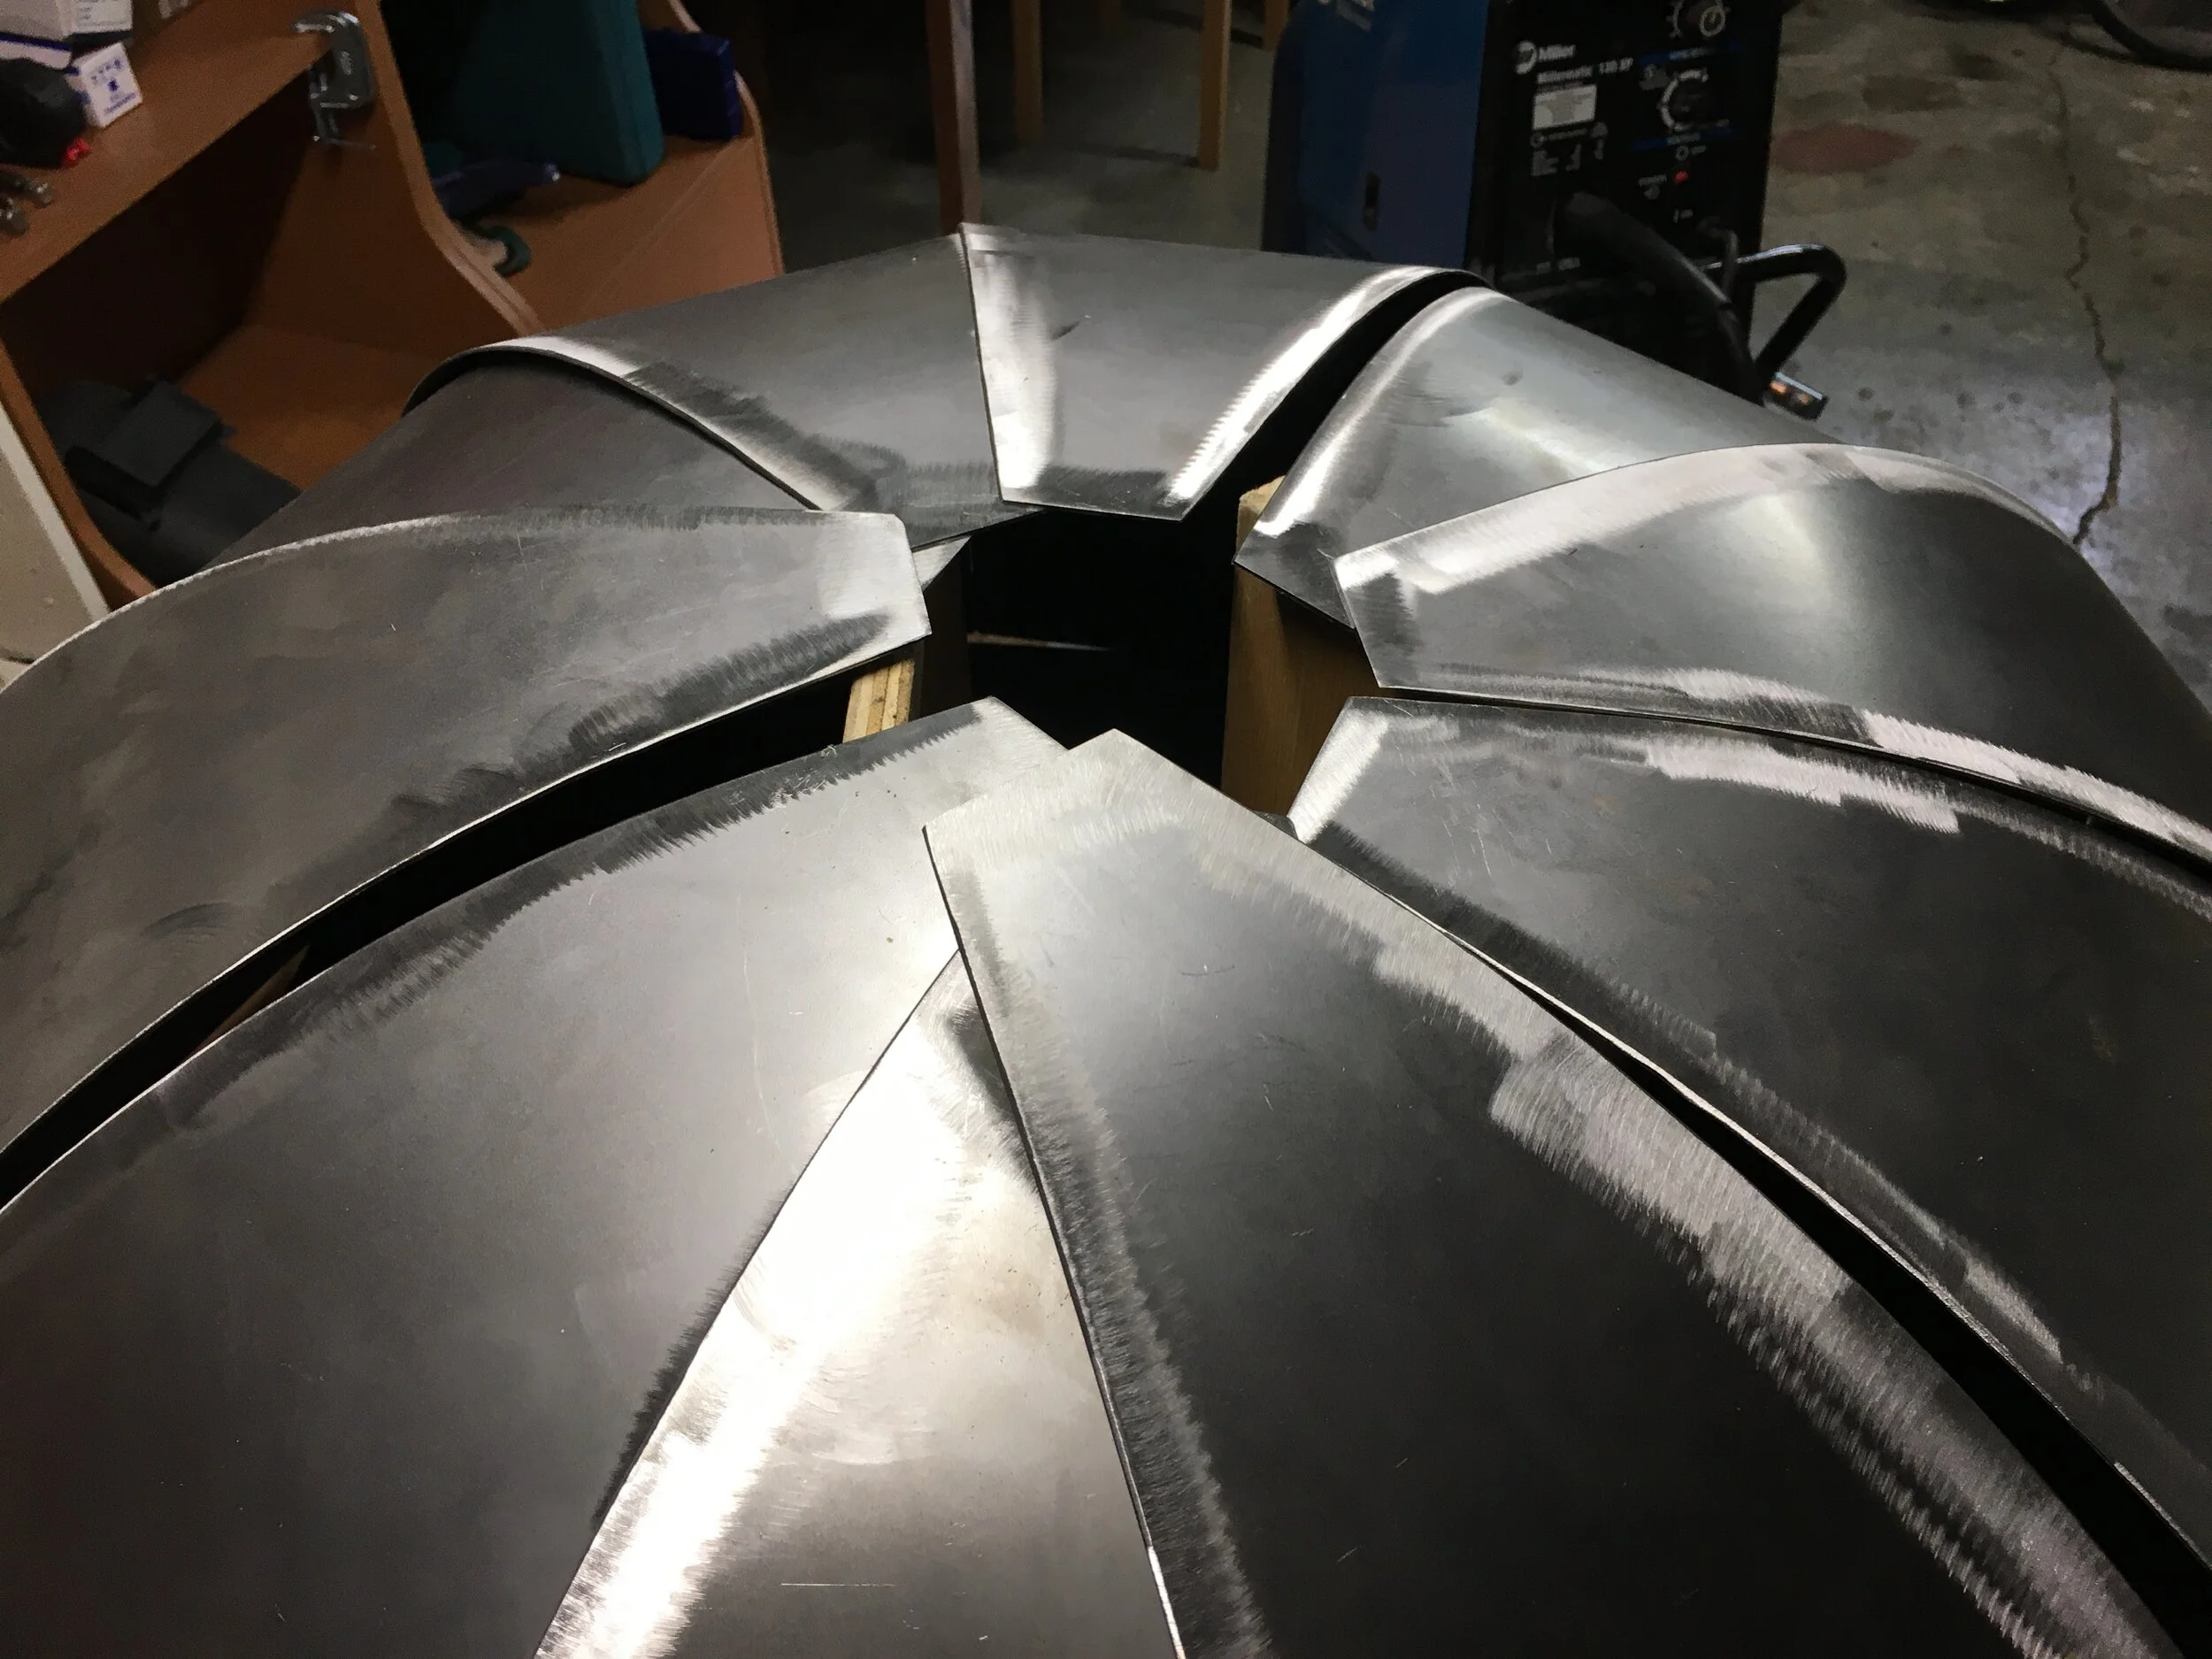
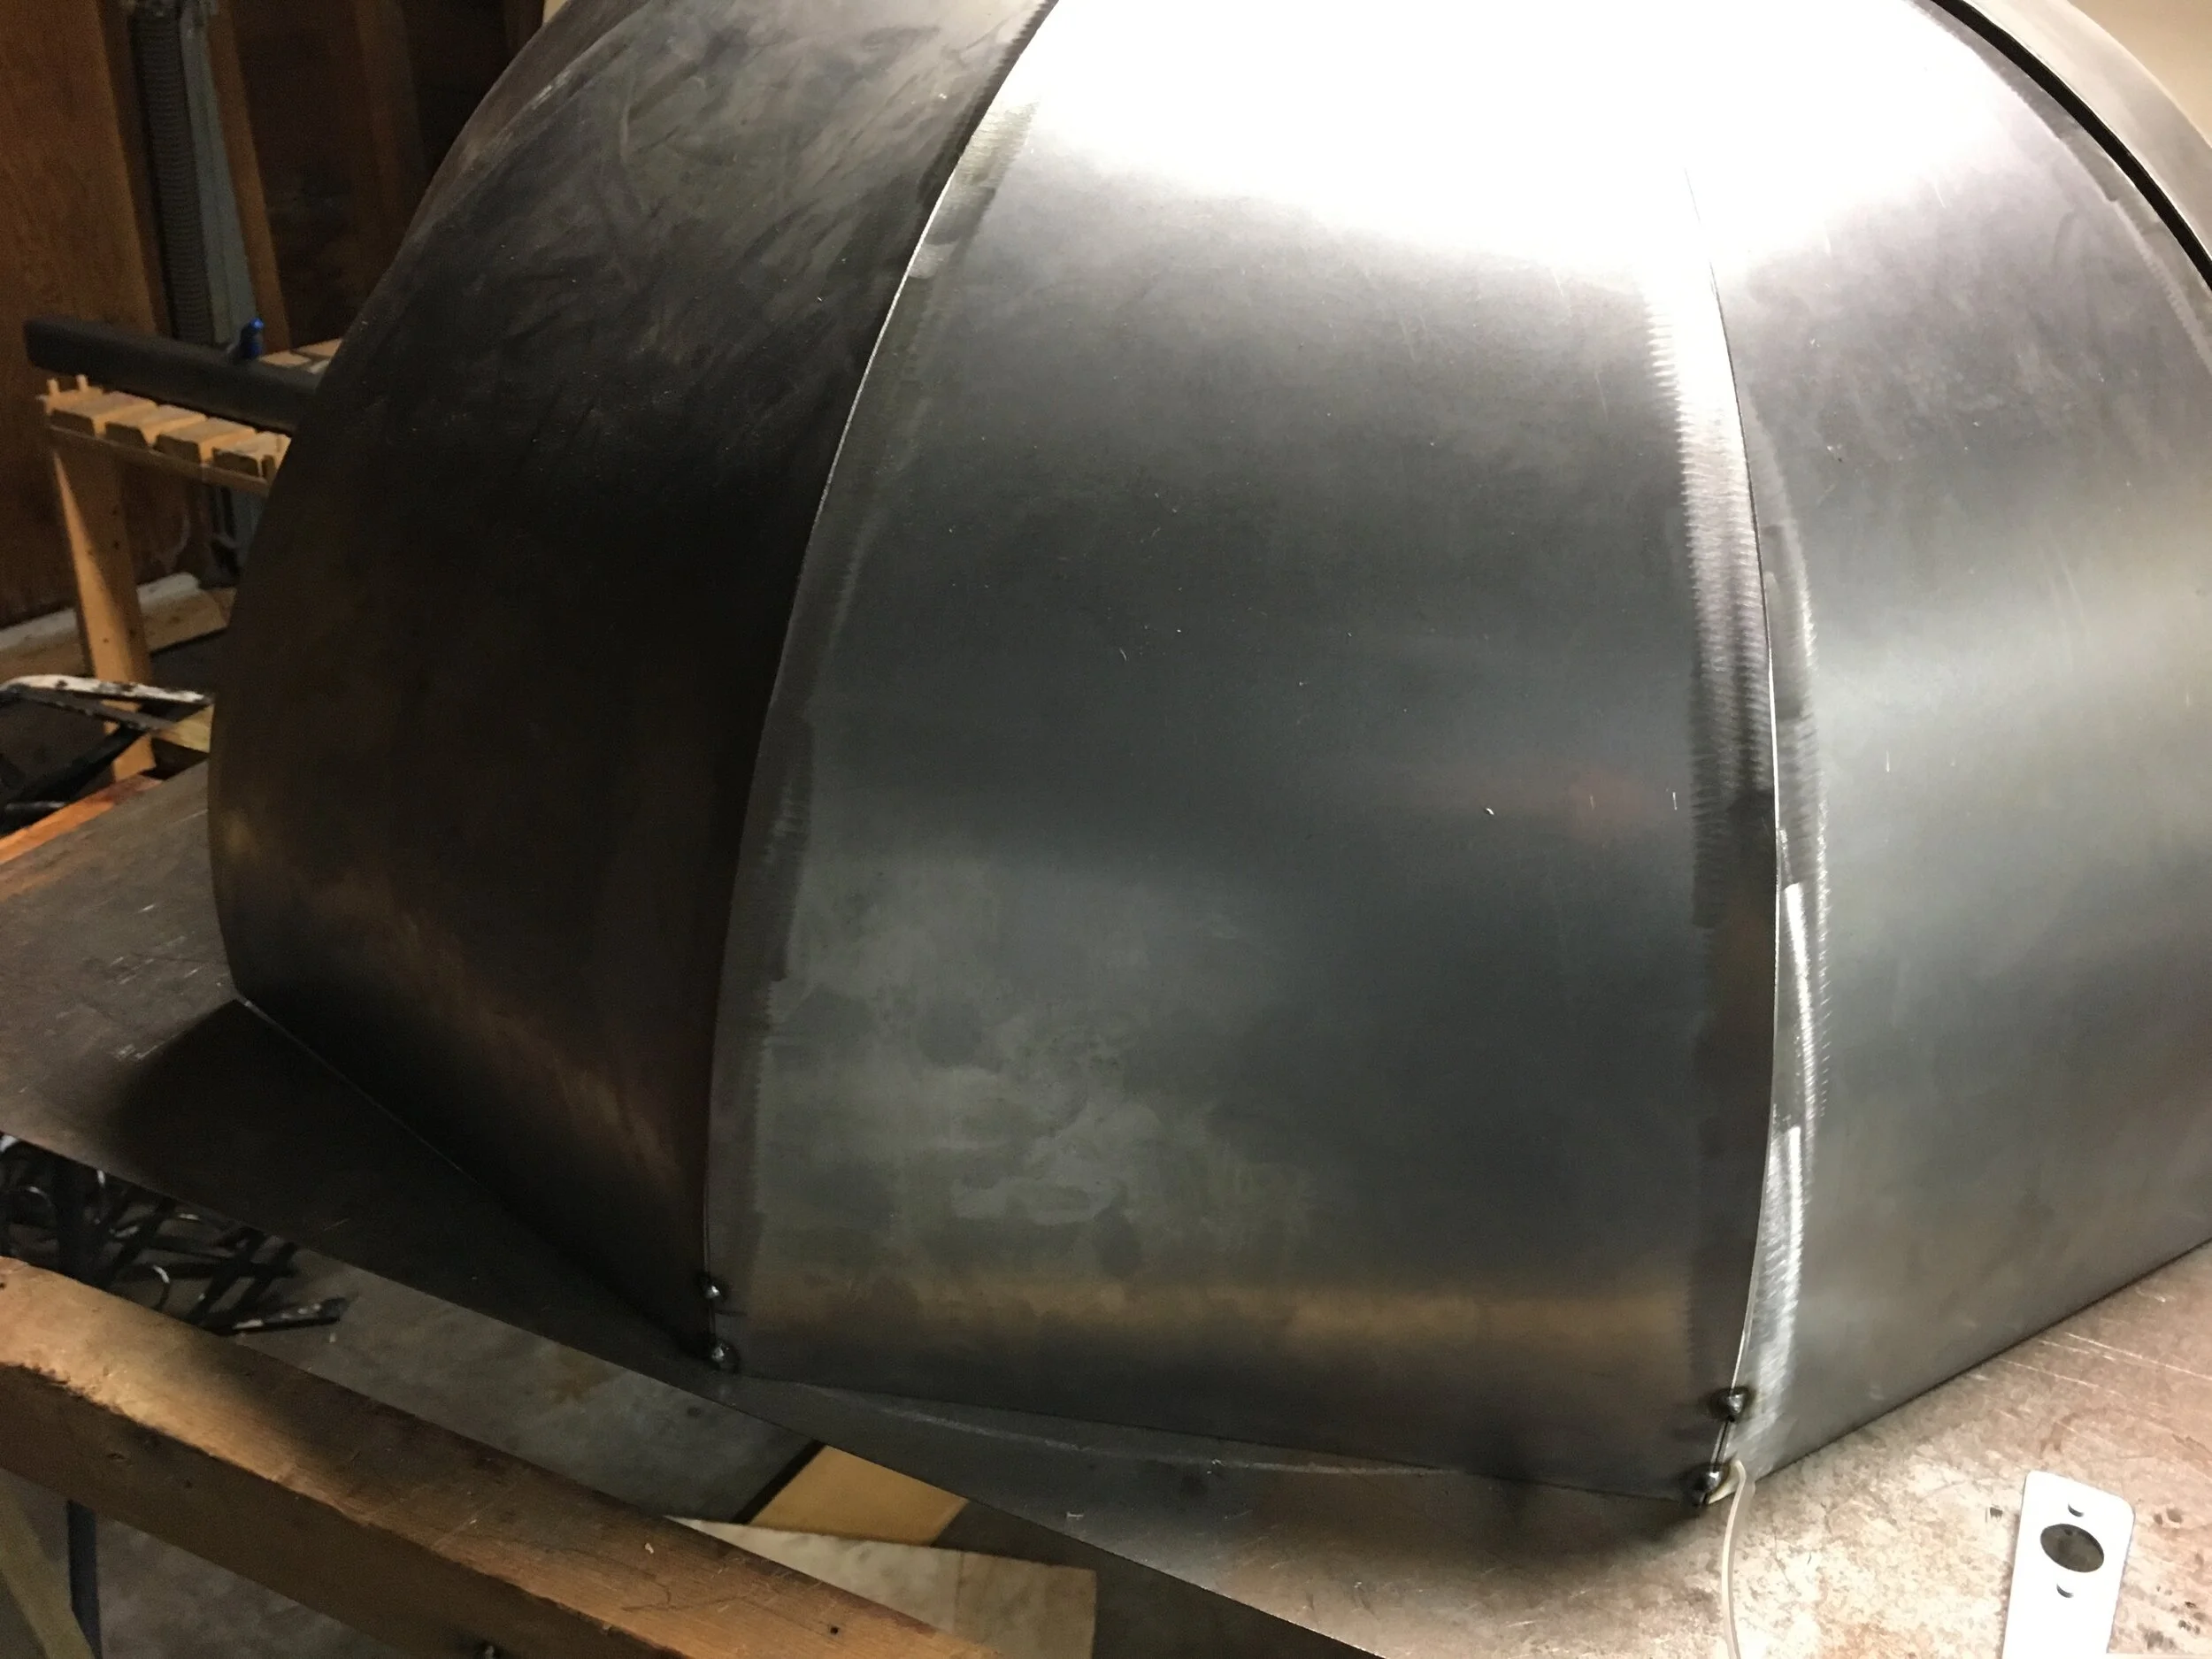
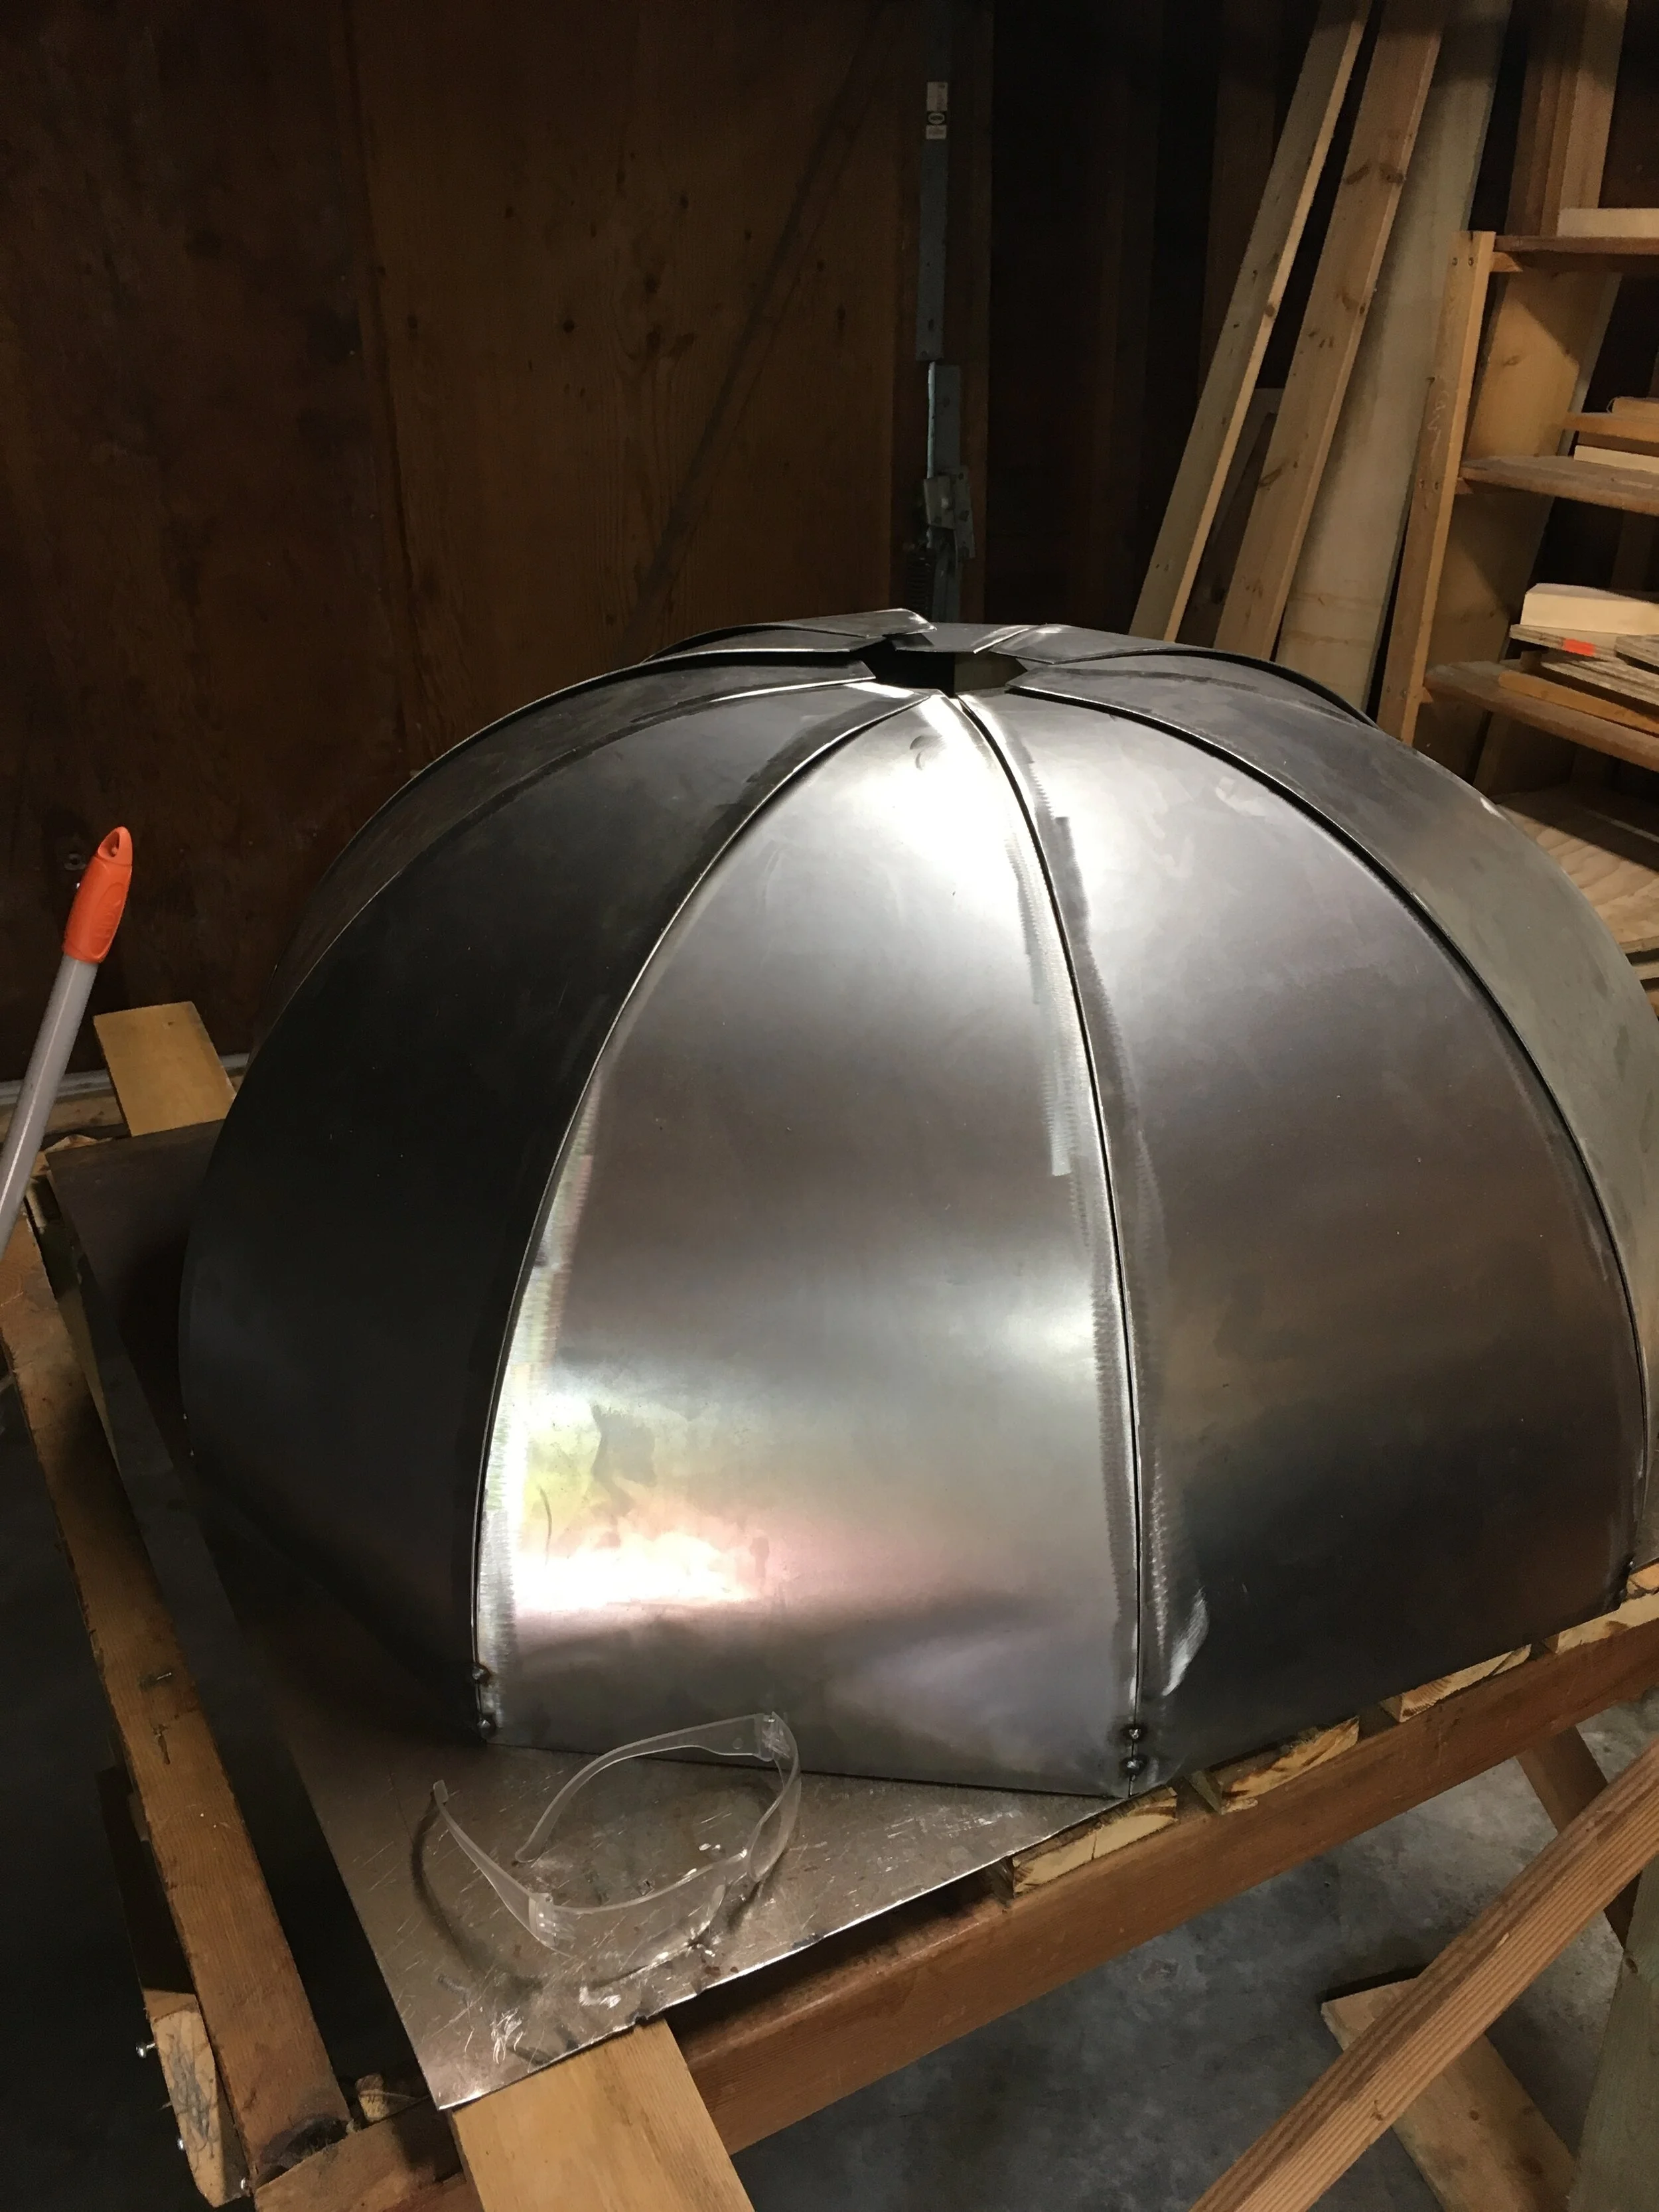
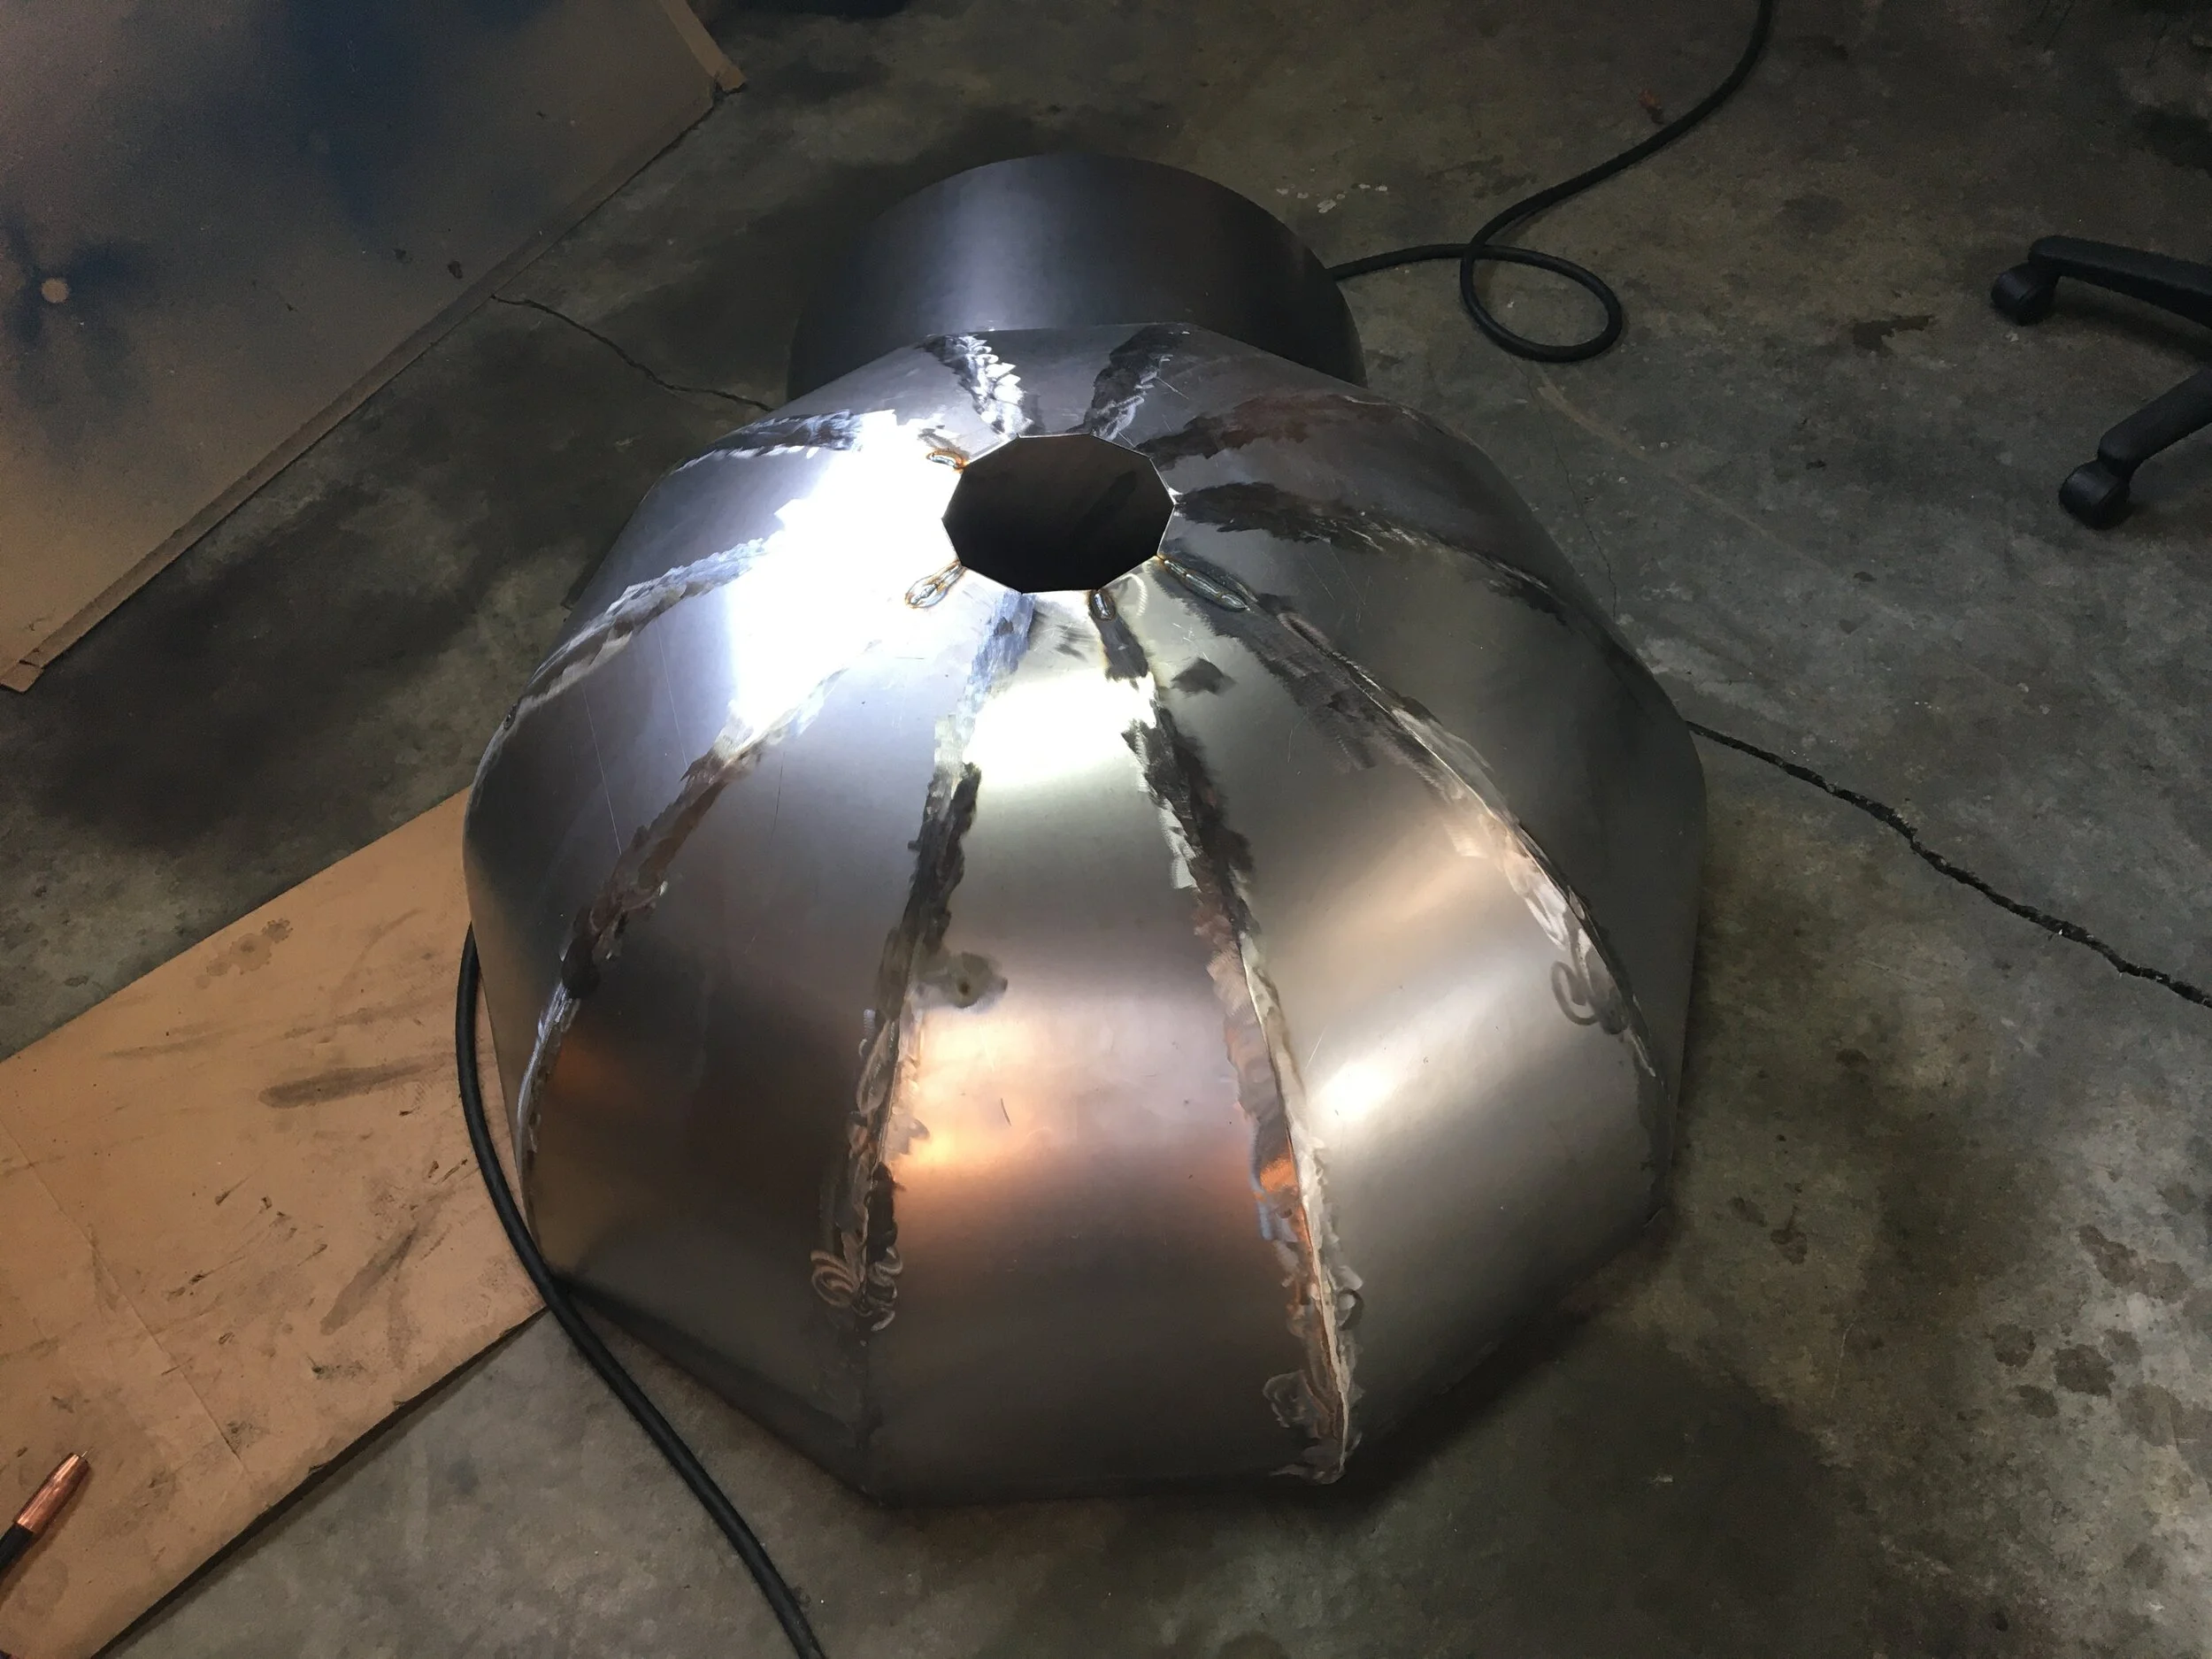
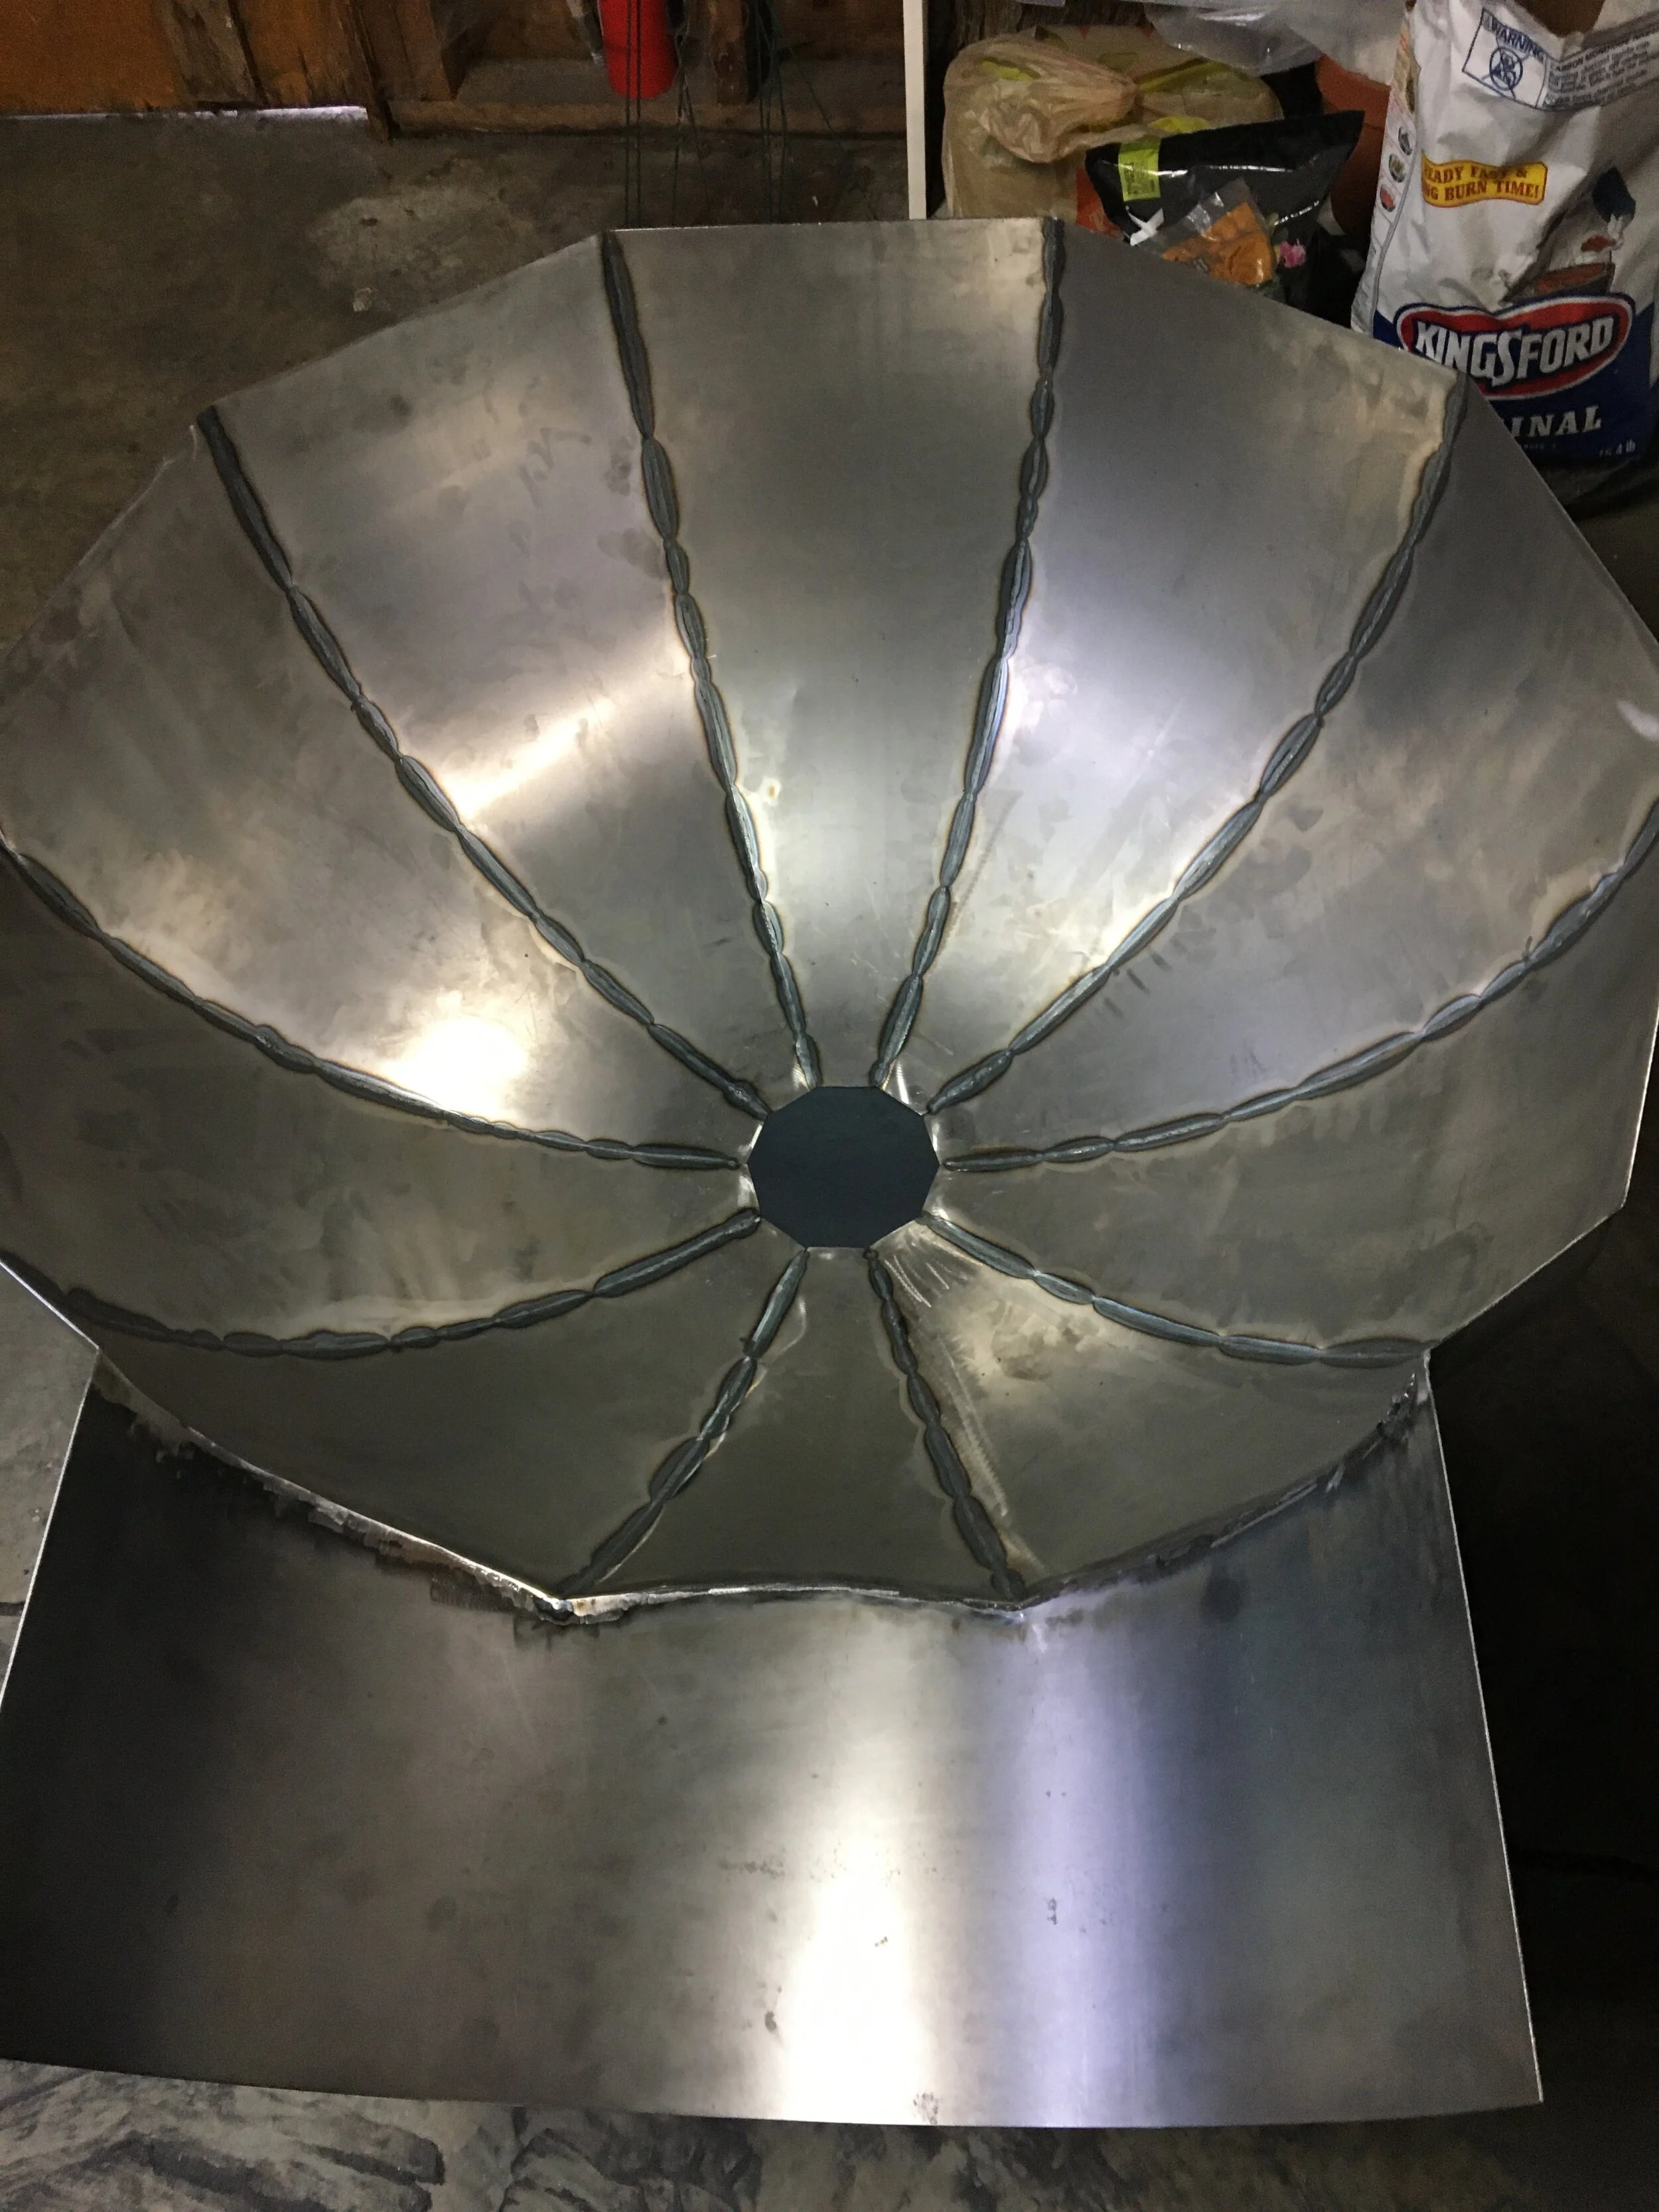
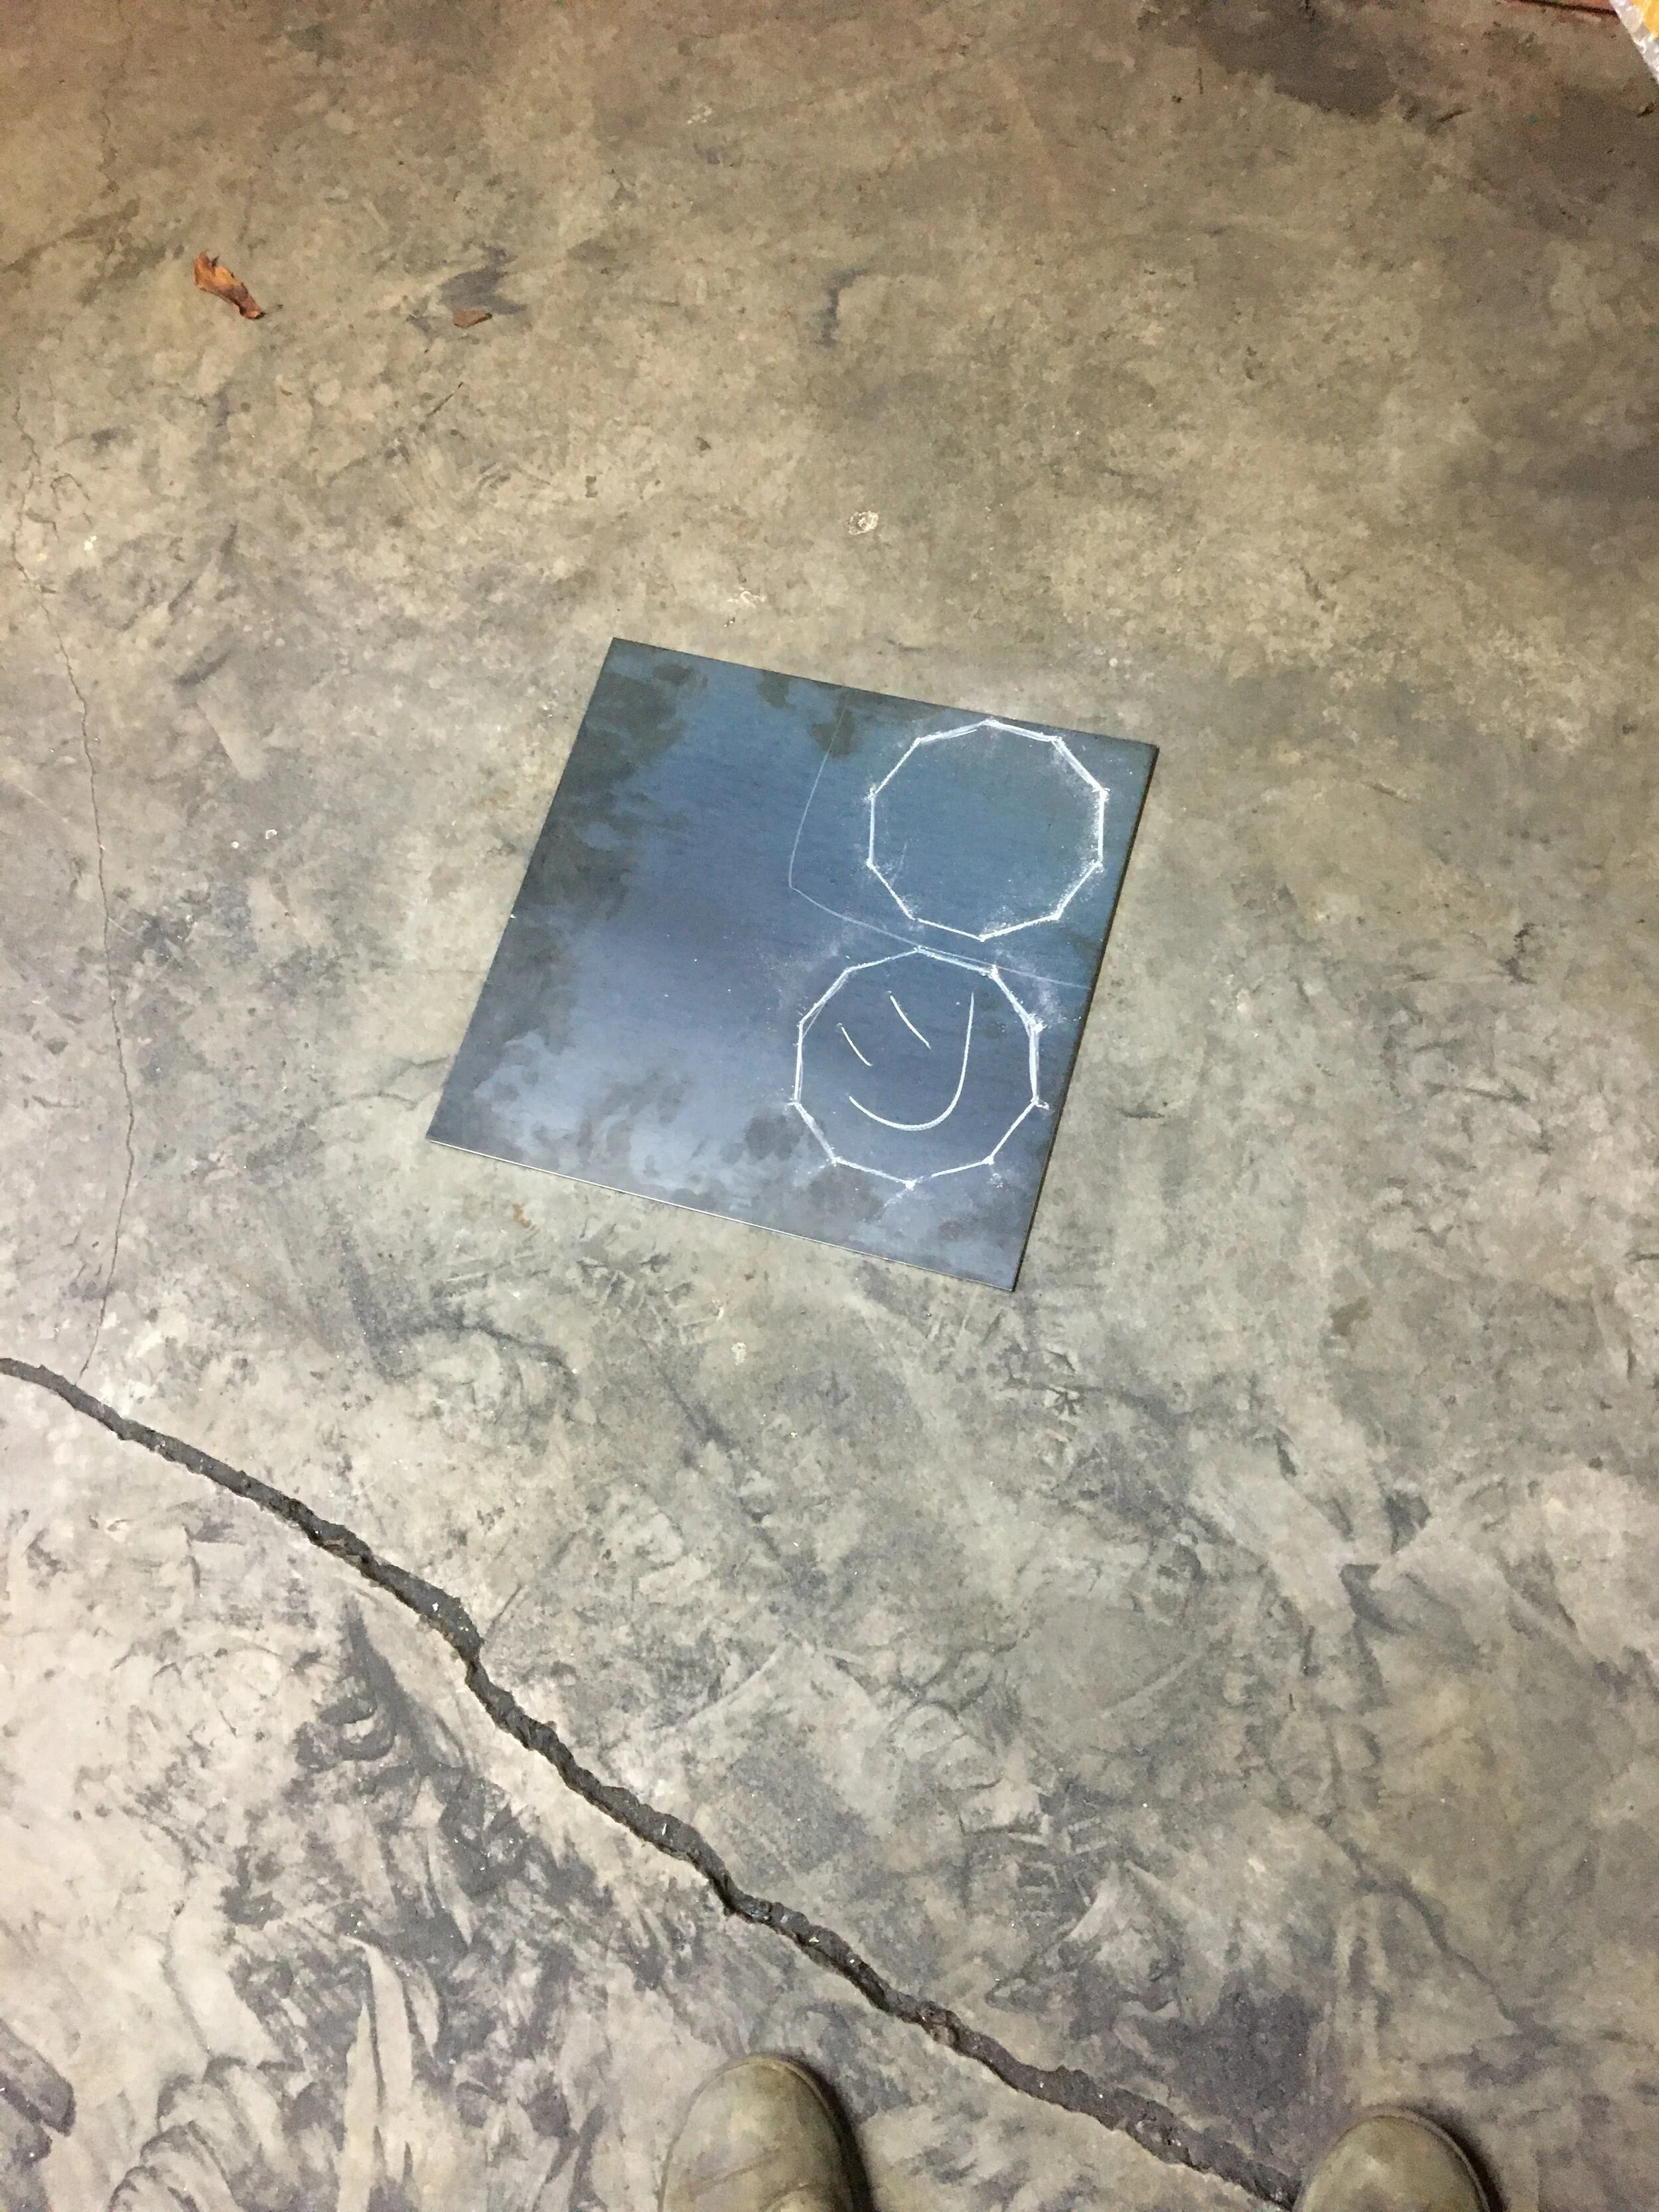
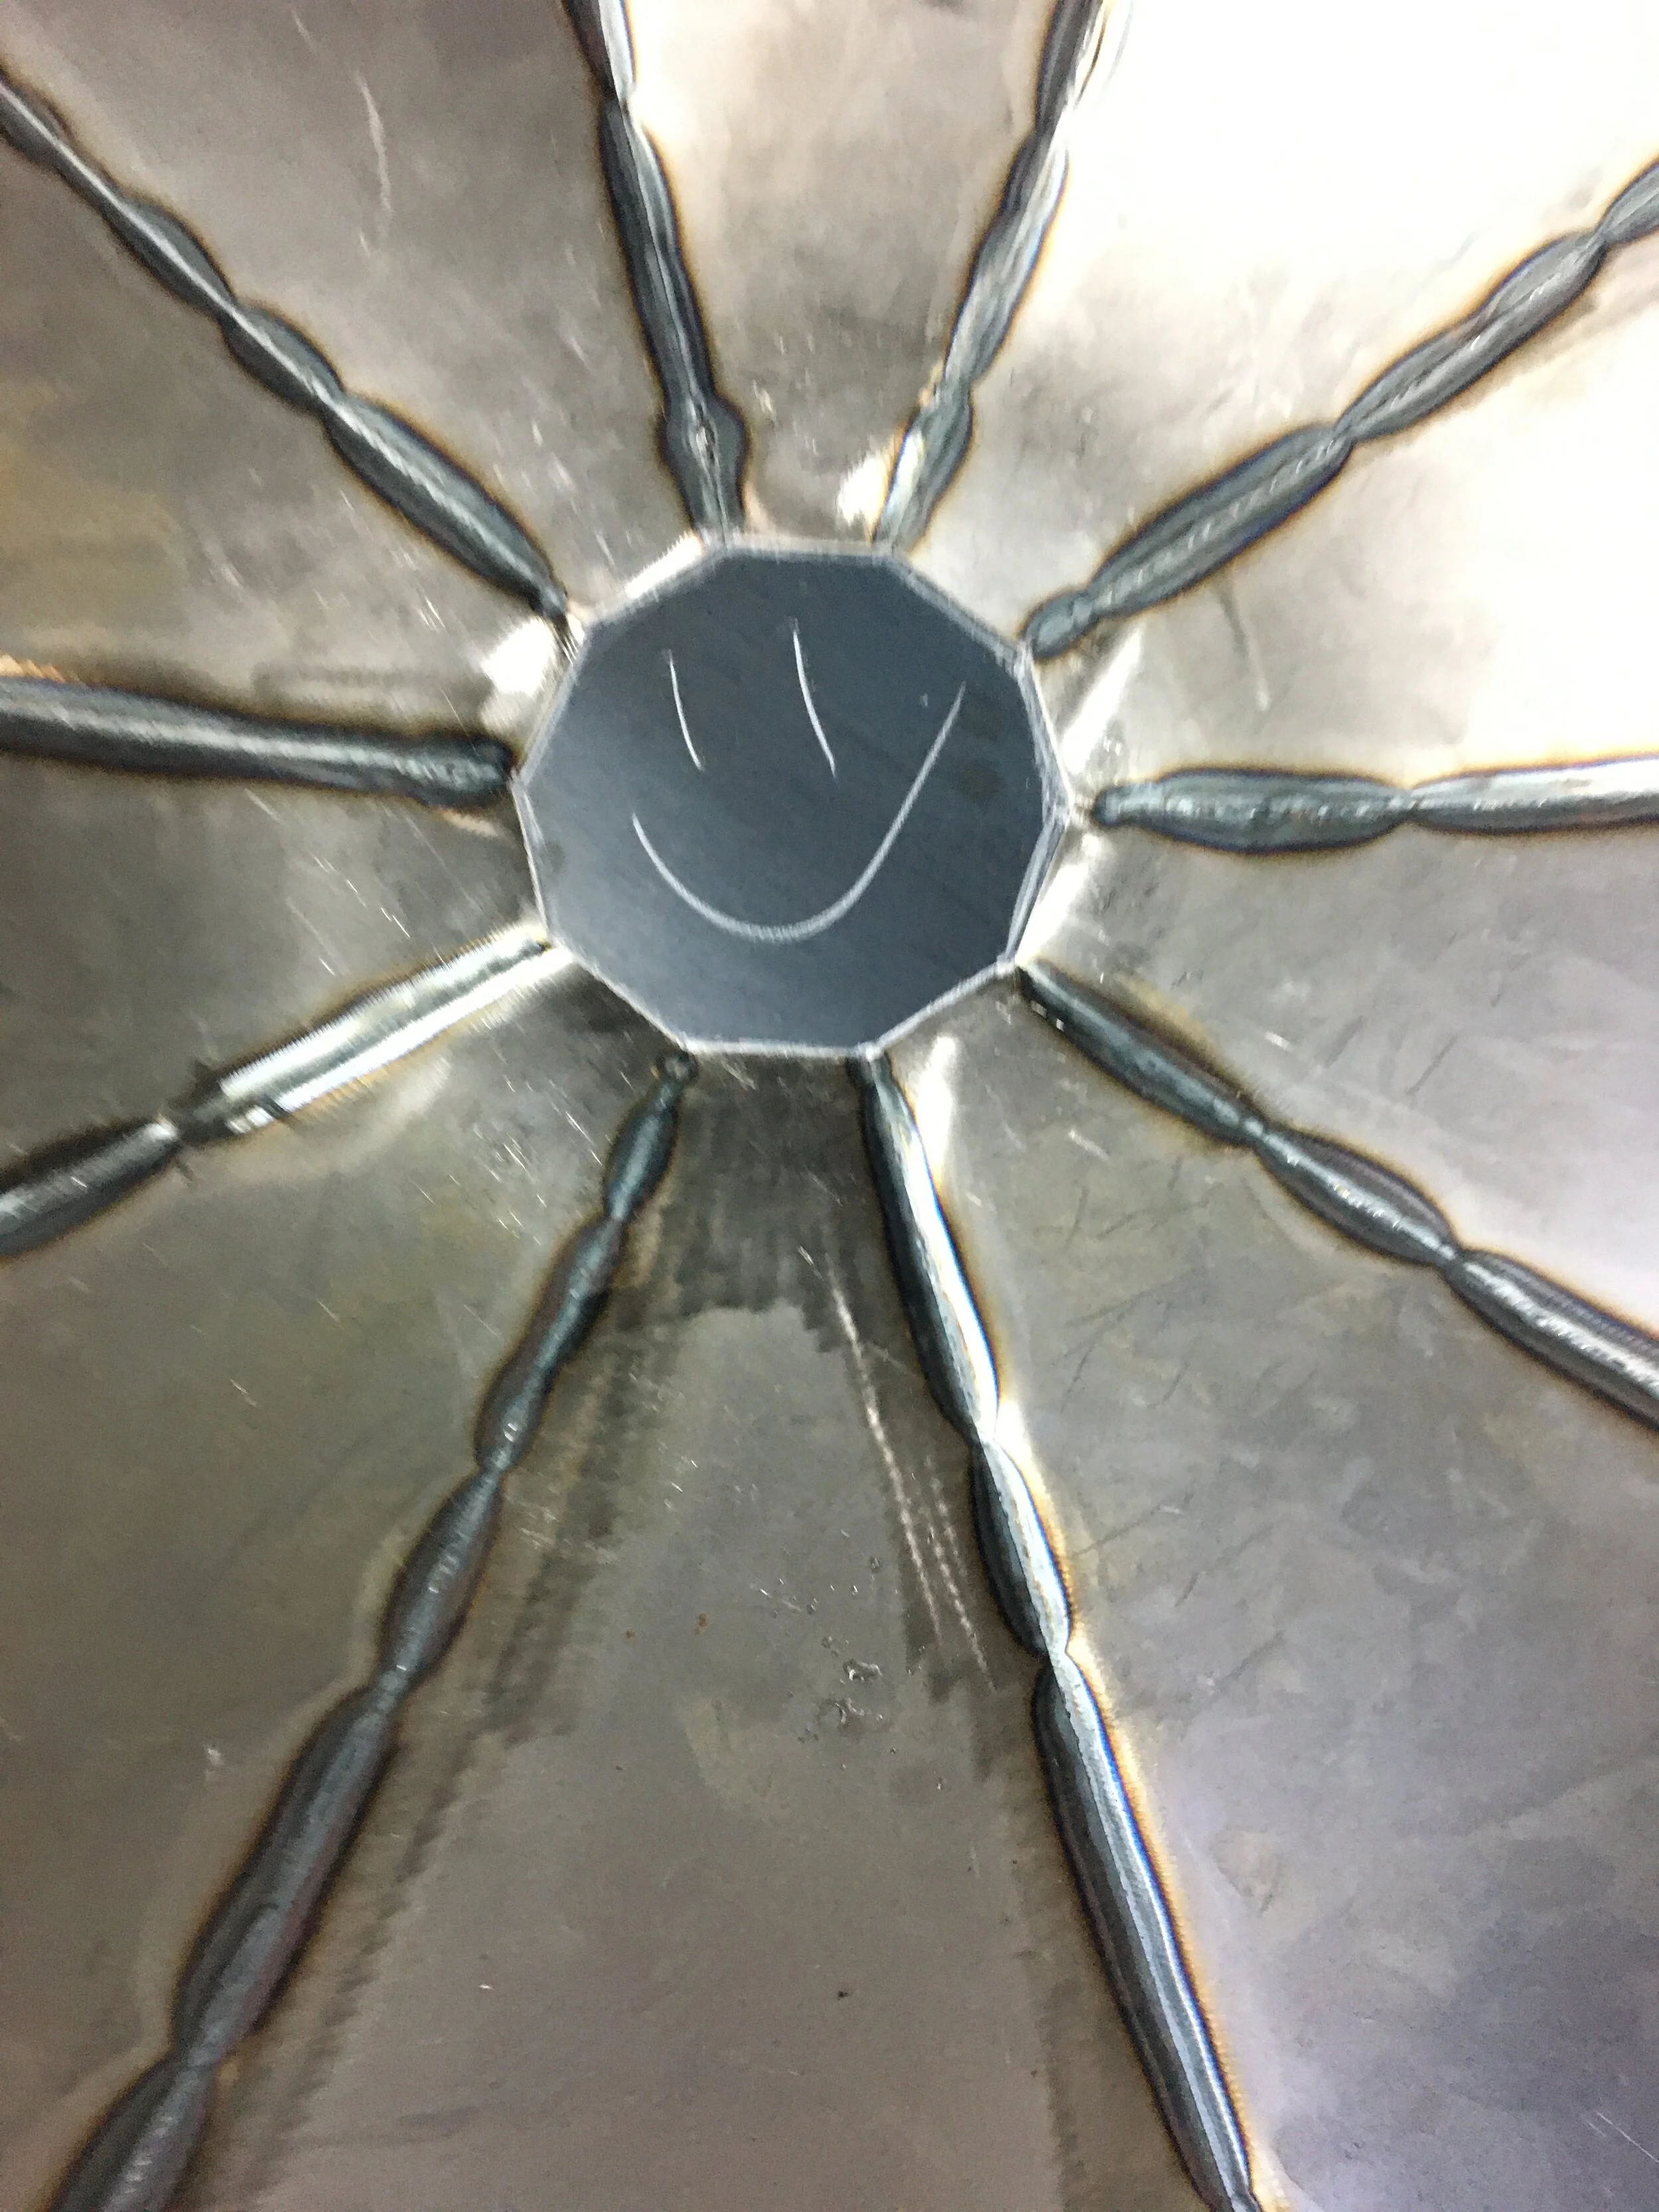
Self portrait in the metal shop!
Mobile Pizza Oven
A lot of my projects seem very haphazard - rag tag you might say. However, in reality, I generally get an idea, plan it out in my head for several months, and usually things stick pretty close to the plan. This is how the pizza oven project unfolded, albeit it took a year or so longer than expected:
Around 2017, I was getting desperate for a pizza oven. I wanted it for a few reasons:
I felt it would make a big difference on my pizza game, not only to keep the kitchen cleaner, but to get that perfectly crispy bottom that doesn’t sag when you hold it up
I wanted to make baguettes
Cooking outside is more fun than cooking inside
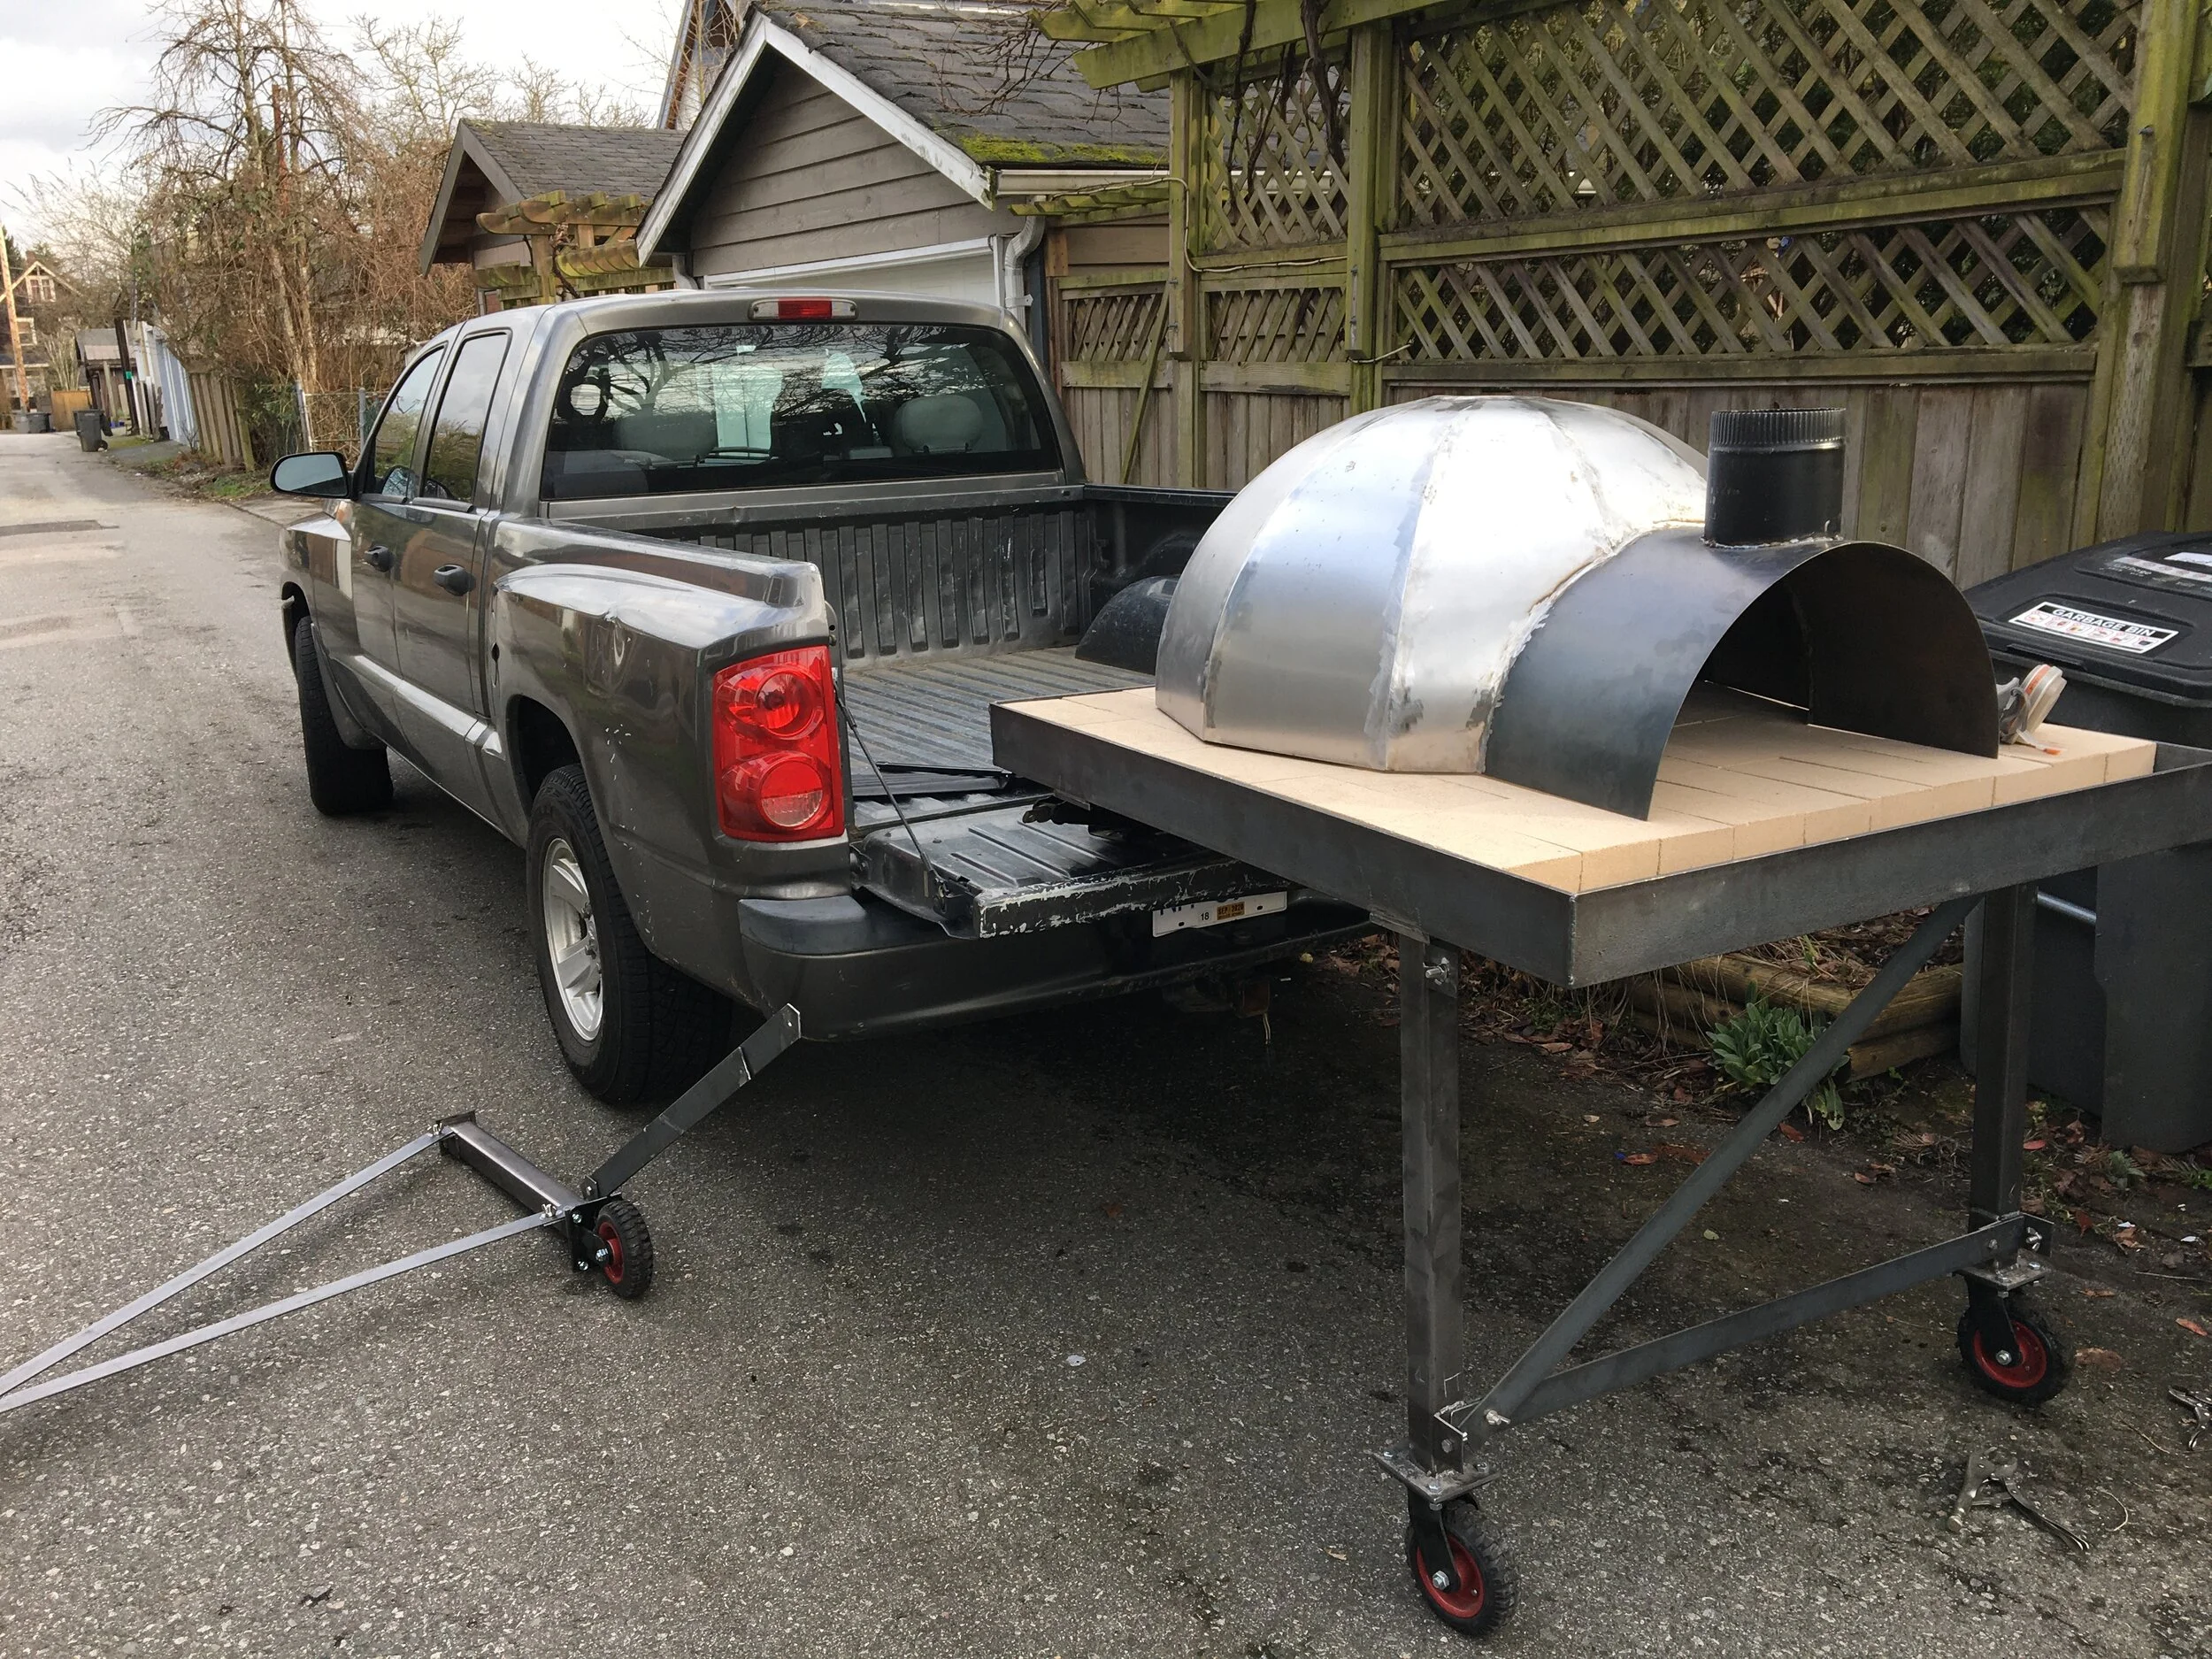
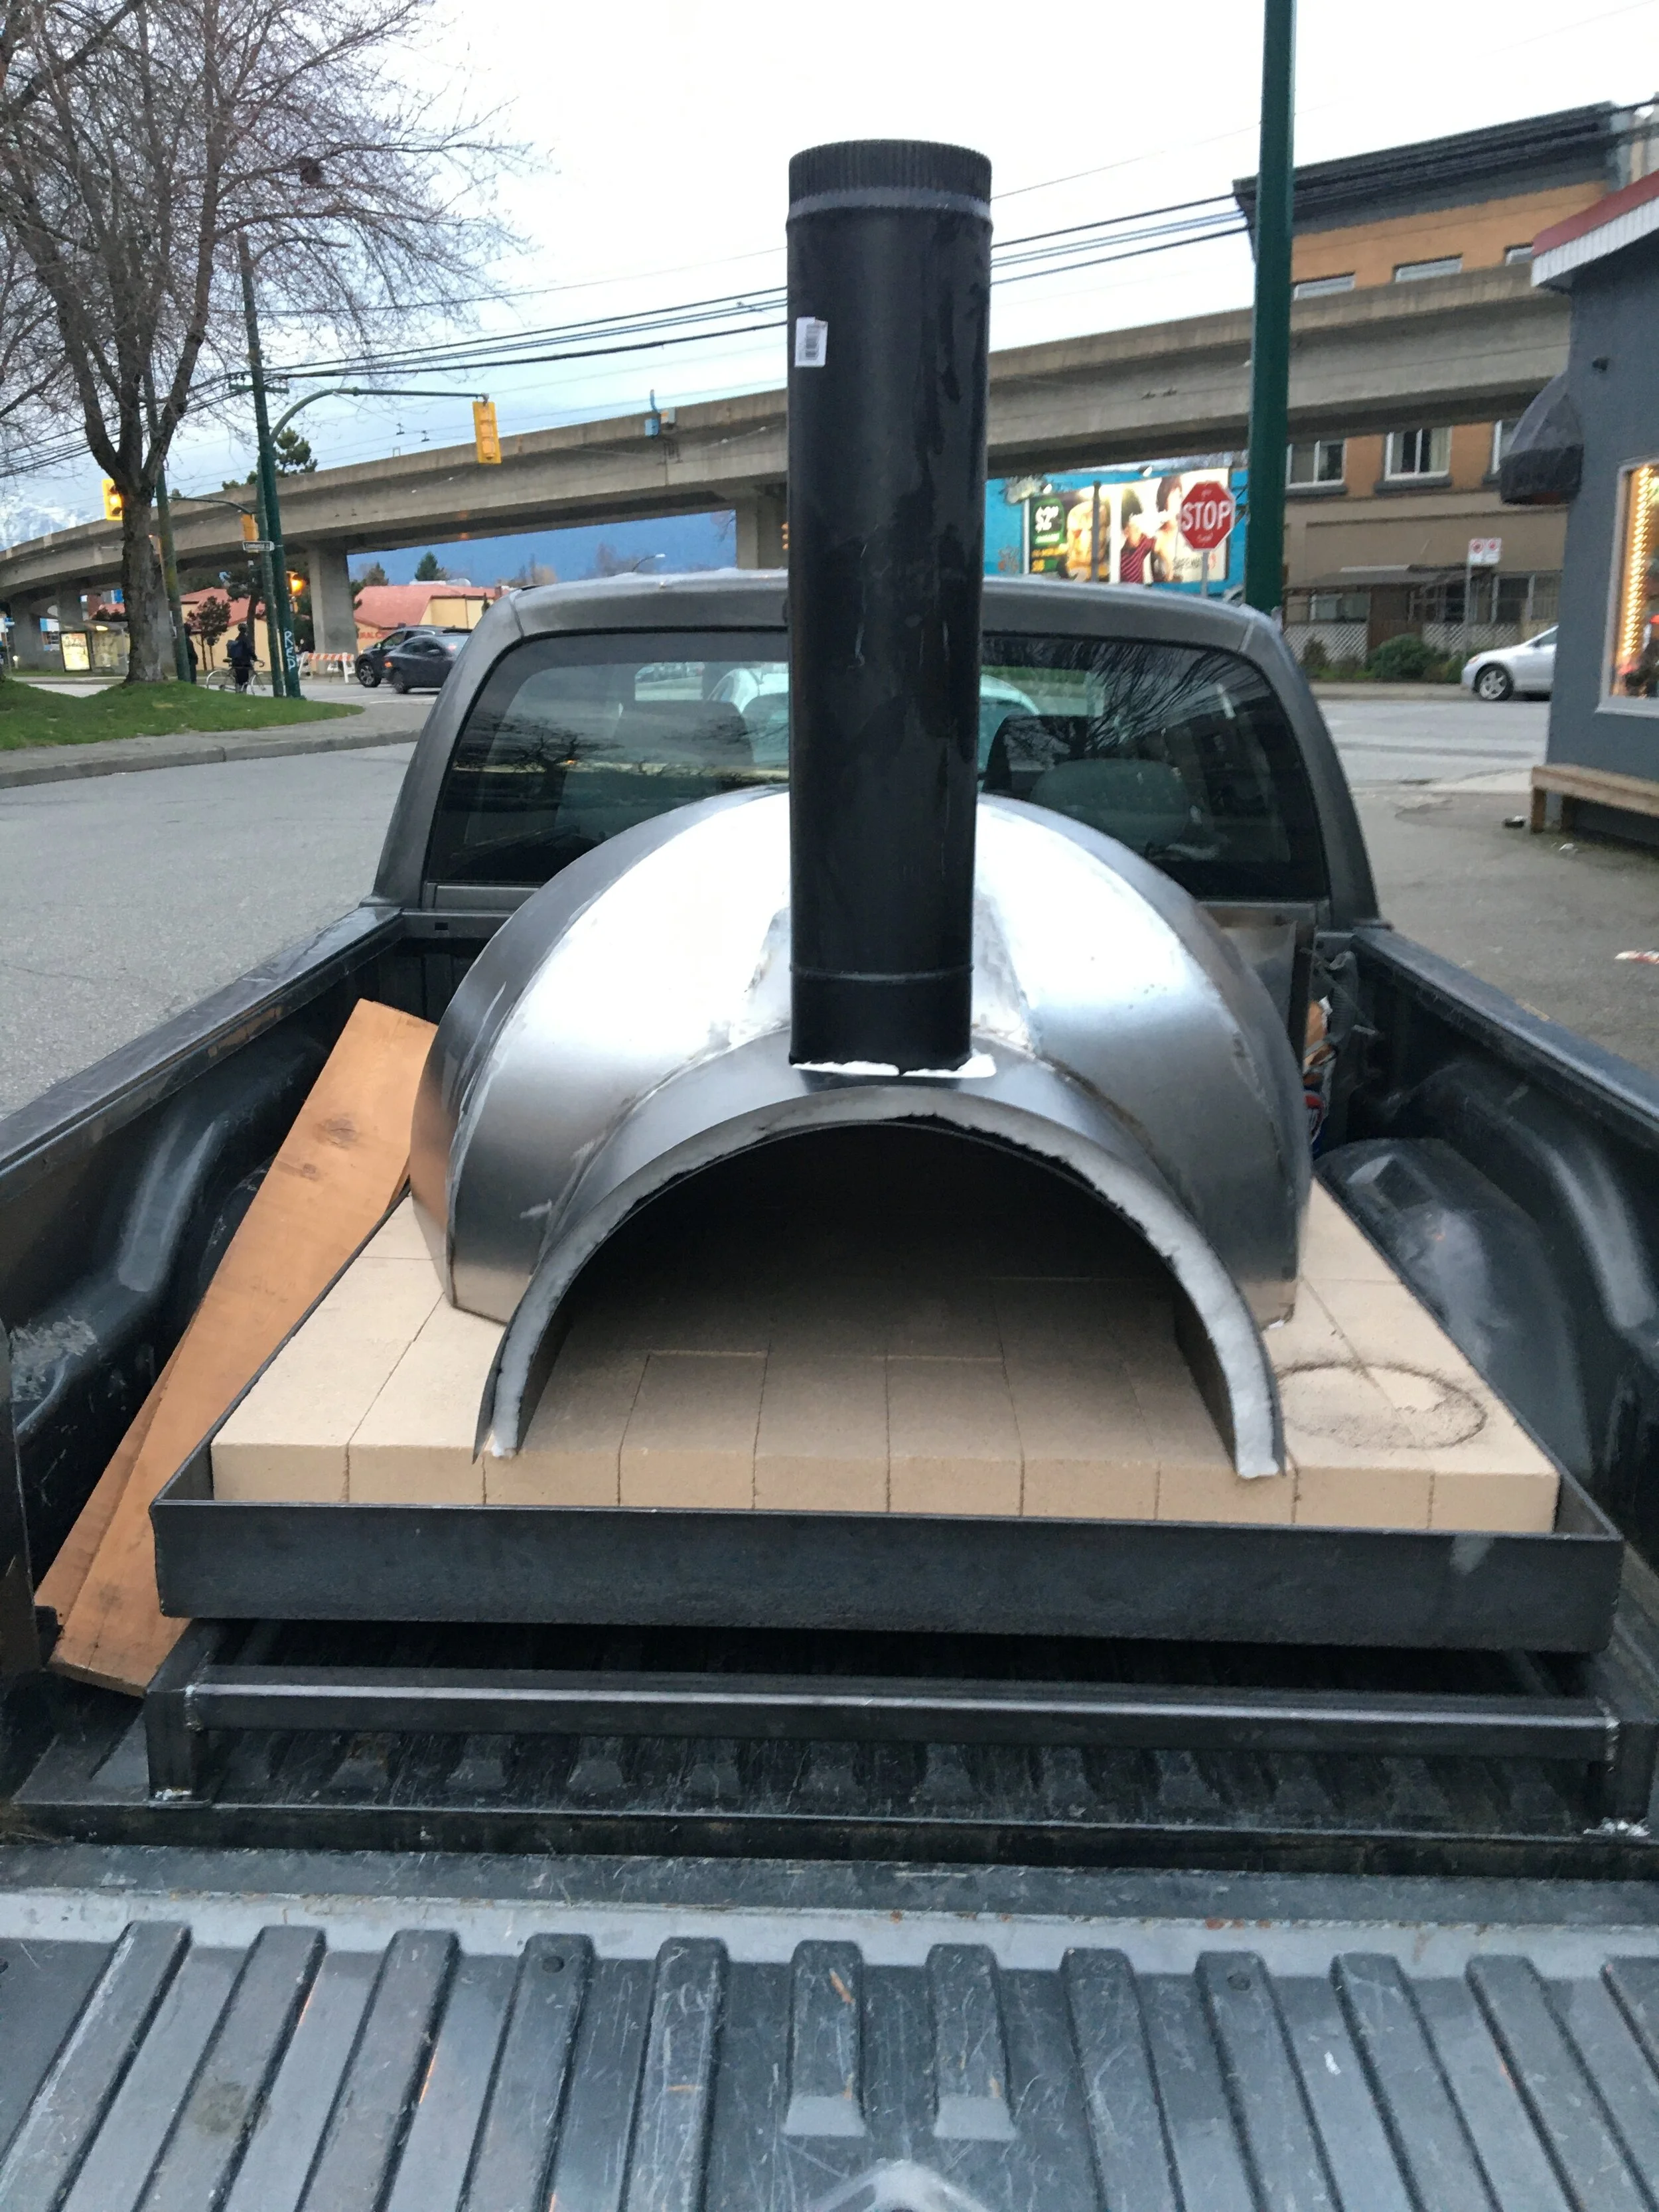
At this time, I was living in Vancouver and working out of Halifax. Decent commute. With the intention to move back to Halifax in a few years, I couldn’t justify building a brick and mortar pizza oven in my temporary home. ‘A few years’ was long enough to justify needing a pizza oven in the meantime, so the solution I came up with was to build something mobile that I could bring back east with me. I had seen a few pizza ovens on trailers, but didn’t want to do that because I feel like that is too mobile. My plan was to develop something that could go in and out of the back of a pickup. This way, I could use it as one would a permanent pizza oven, then chuck it on the truck when it needed to be moved, with the added benefit that I could take it to a party or the beach if I really wanted. Turns out, ‘chucking it on the truck’ is way harder then I had imagined.
Note: This will be a pretty long post - so just skip to the end if you want to see some pretty great pictures of the end product. Cred Adam Amir.
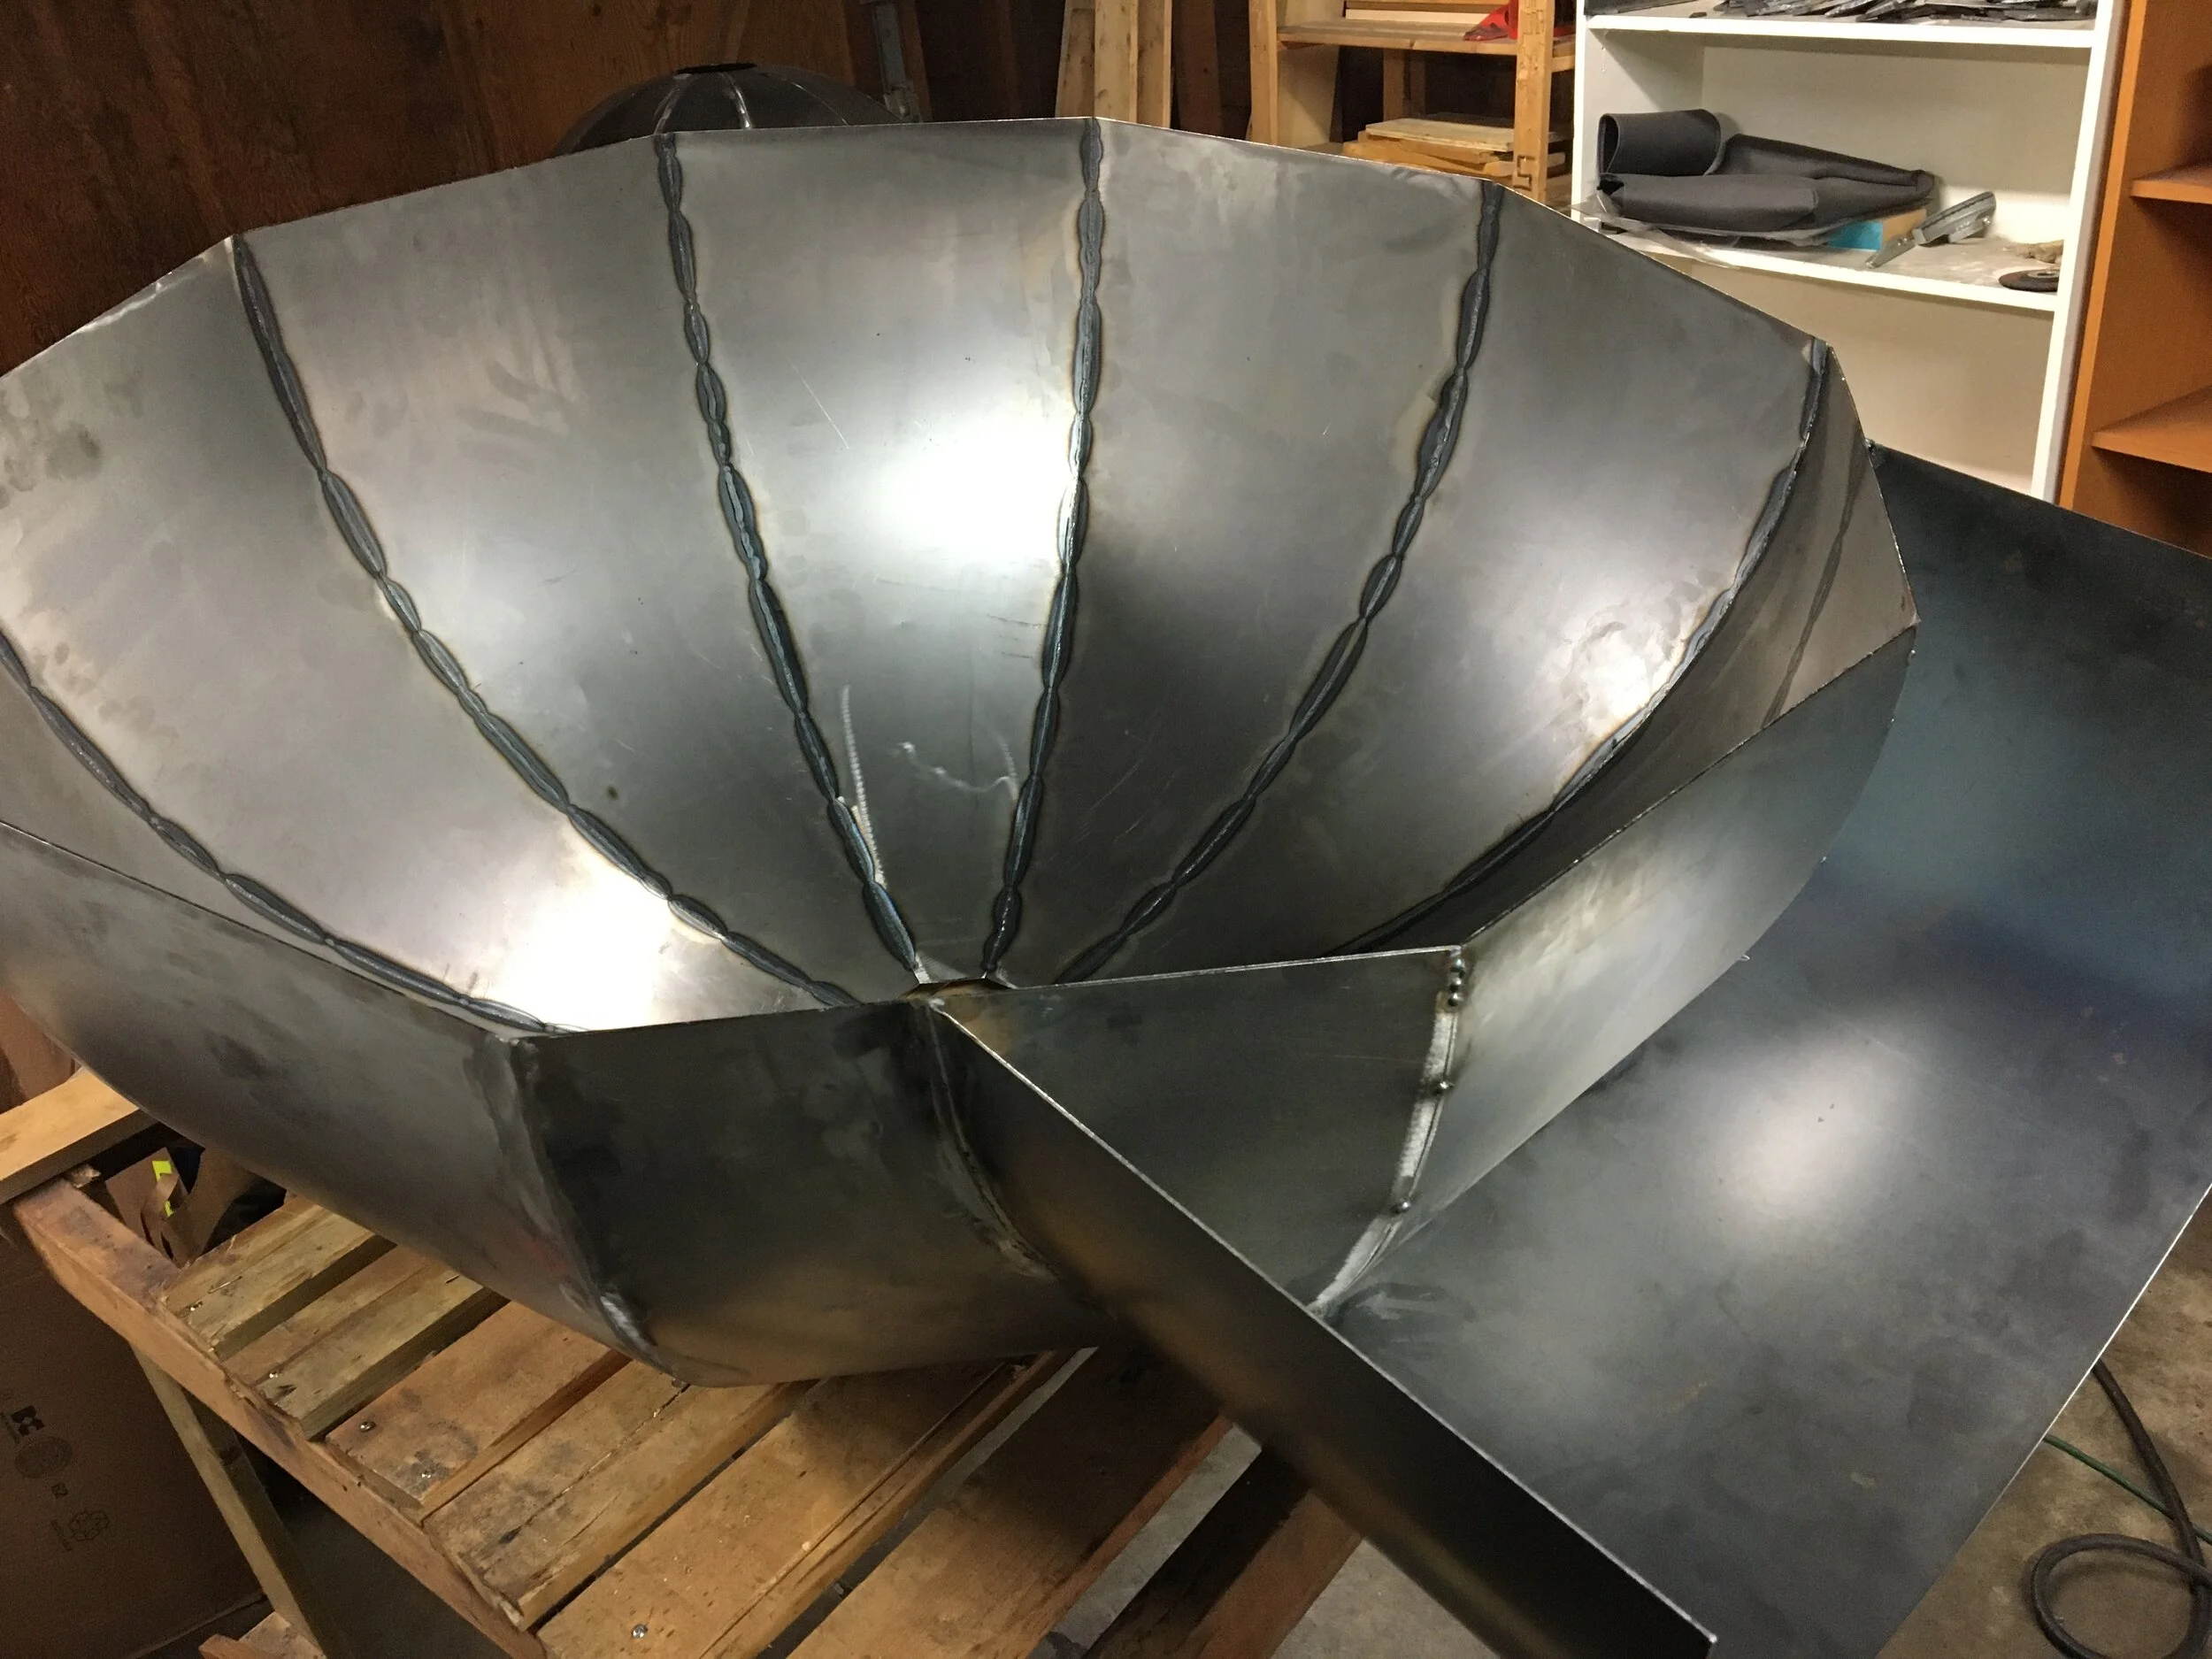
I am not 100% sure when or how I started the project, but I figured the only way to make it light enough to sit on a truck was to make it largely out of metal. I had done a lot of research, and saw some efficient barrel shaped pizza ovens out of metal, and knew a traditional brick oven was around 1500lbs, so that was out of the question.
I also decided early on that it had to be a dome. I wanted to emulate traditional Neapolitan or Cobb ovens. I also find domes more aesthetically pleasing than barrels, and with little experience on either, I judged that domes would be easier to operate and clean.
With this in mind, I started mocking up the design using Autodesk Fusion 360 software. Its great entry level software, and has sheet metal design mode that makes designing flat views easy. Also, their forum is great, which I relied on to solve some tricking problems in the design. I figured an 18” radius on the oven floor would be a good size for one or two pizzas plus any residual fire needed to keep the oven hot.
I thought about this design for many weeks or months, without drawing anything which is a bad habit. You tend to overlook things when you do not document it. It also takes a lot longer because you have to re-think through things many times. Anyway. Lesson #1. Write things down.
With time came the rough concept:
Picture frame welded steel angle that would house
Some sort of insulation
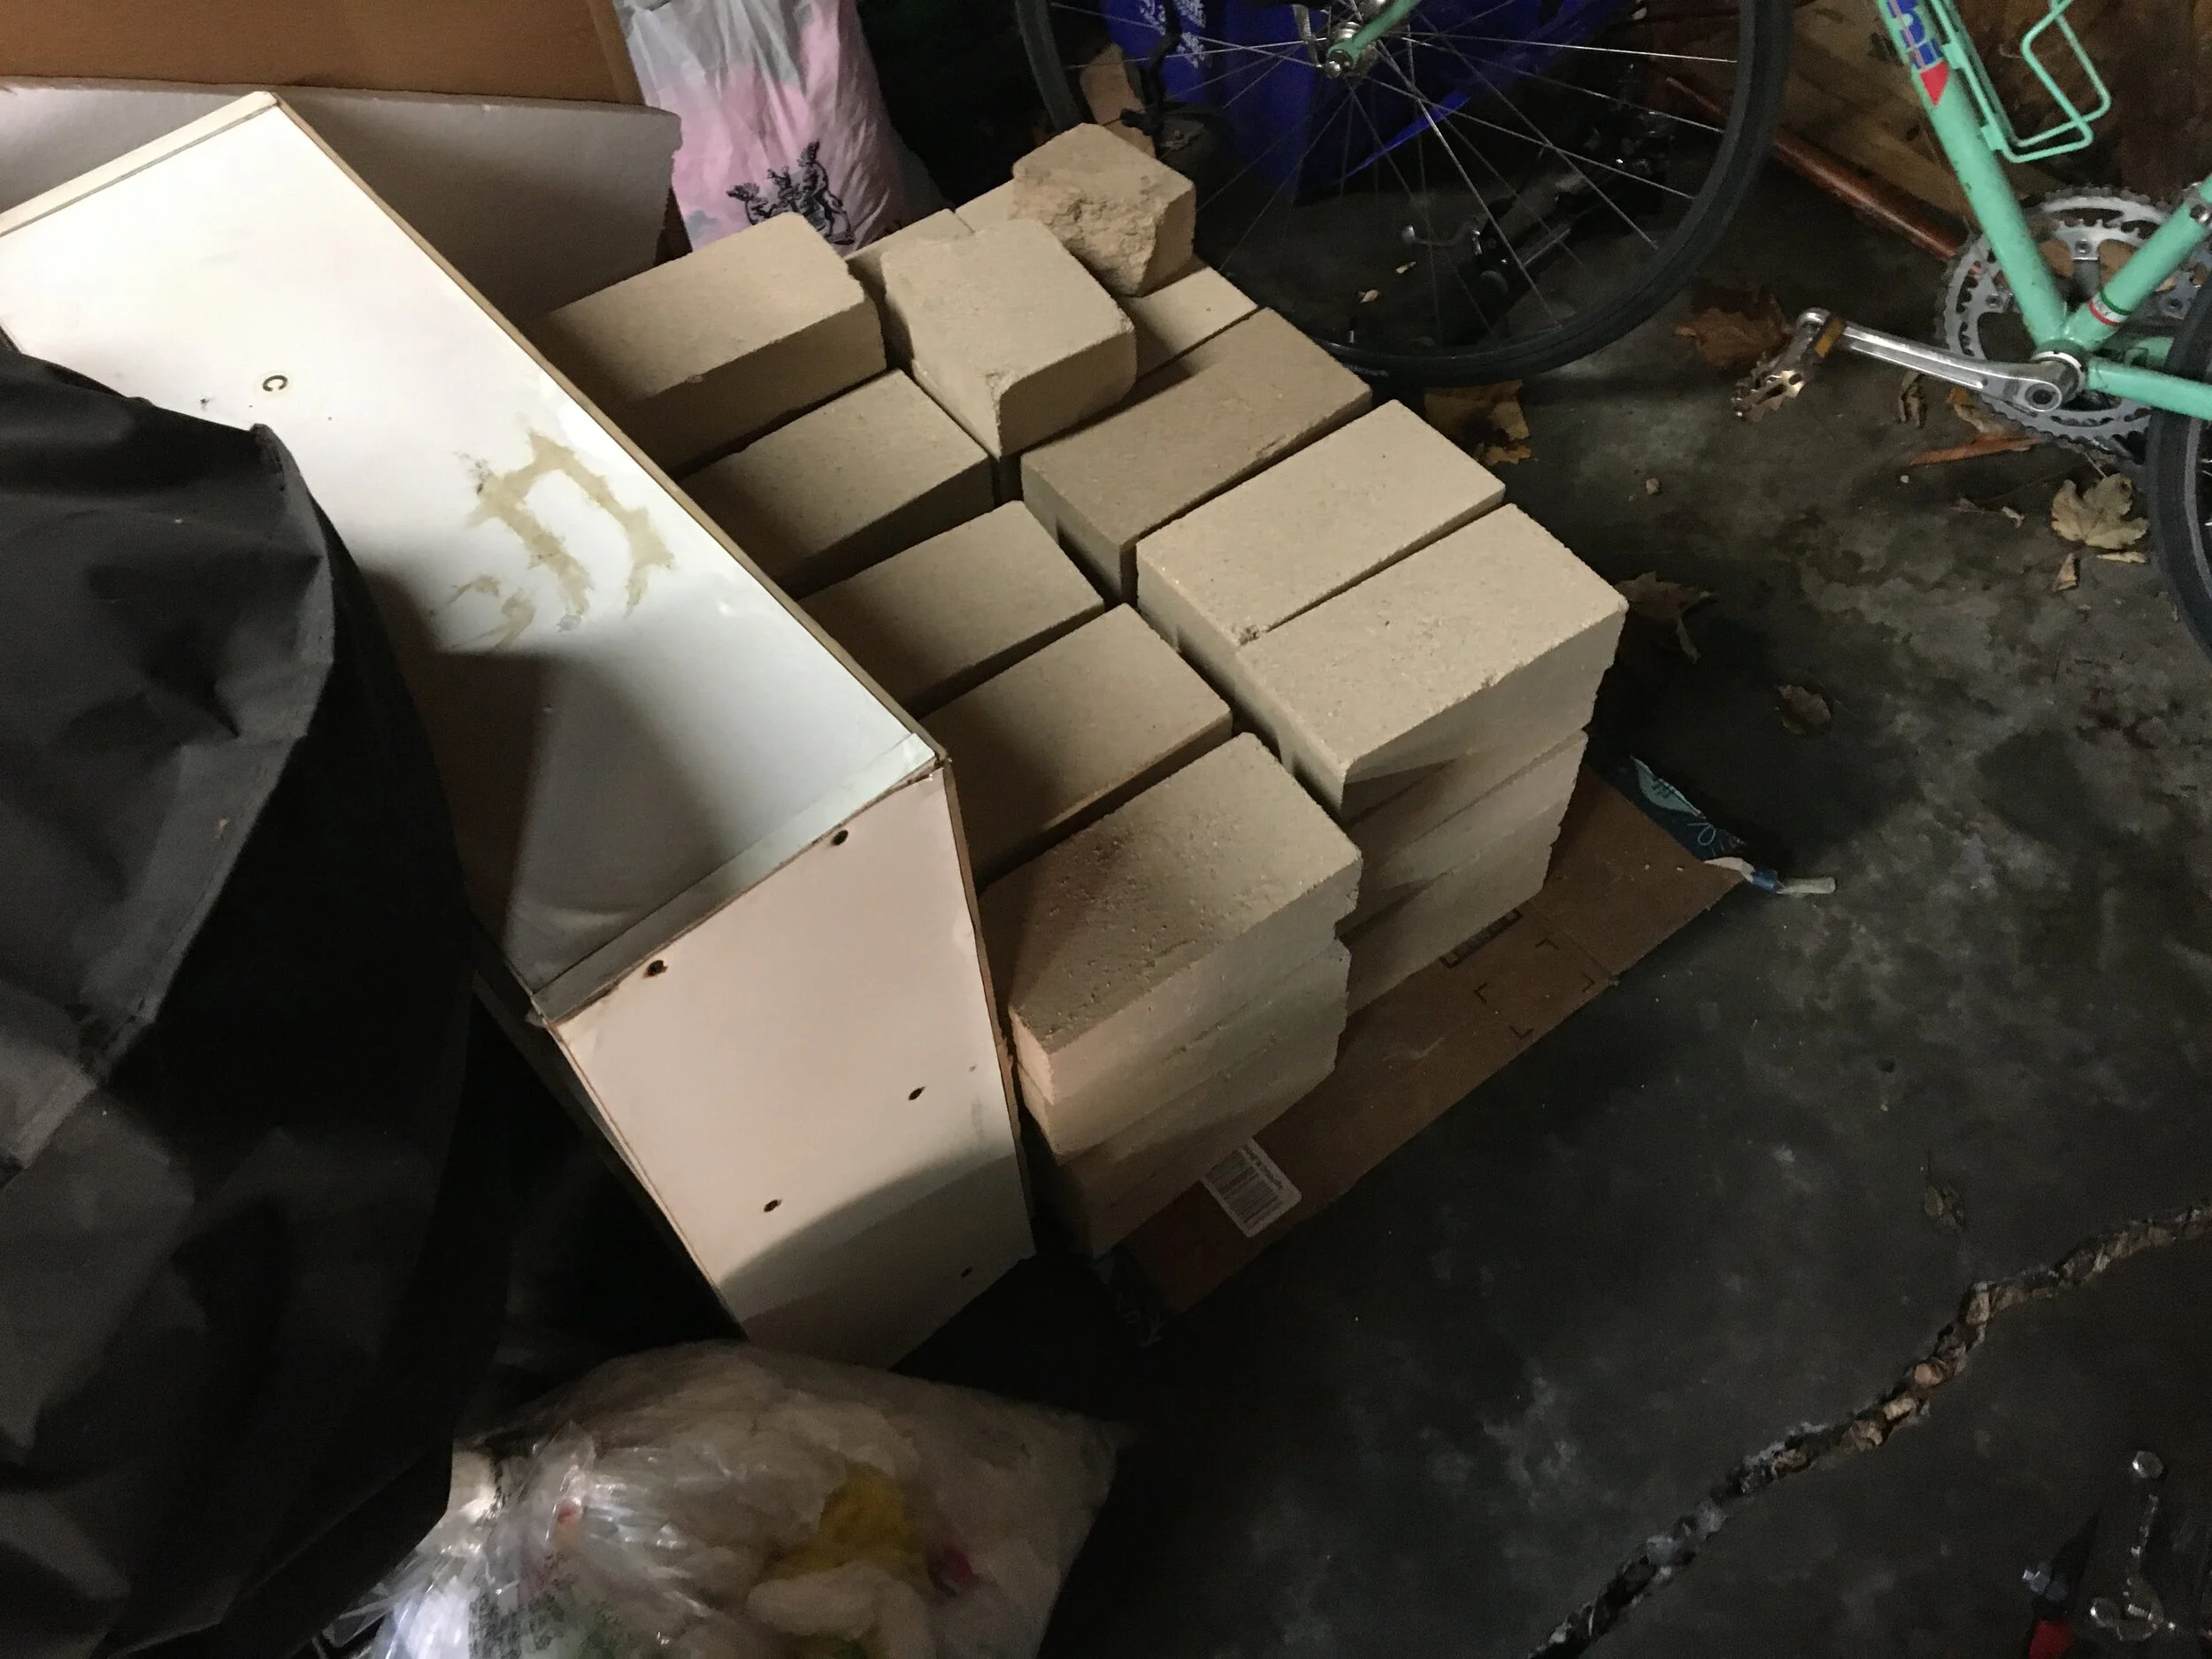
Layer of fire bricks
A smaller, inner dome
A layer of insulation blanket
A larger, outer dome
A barrel entrance
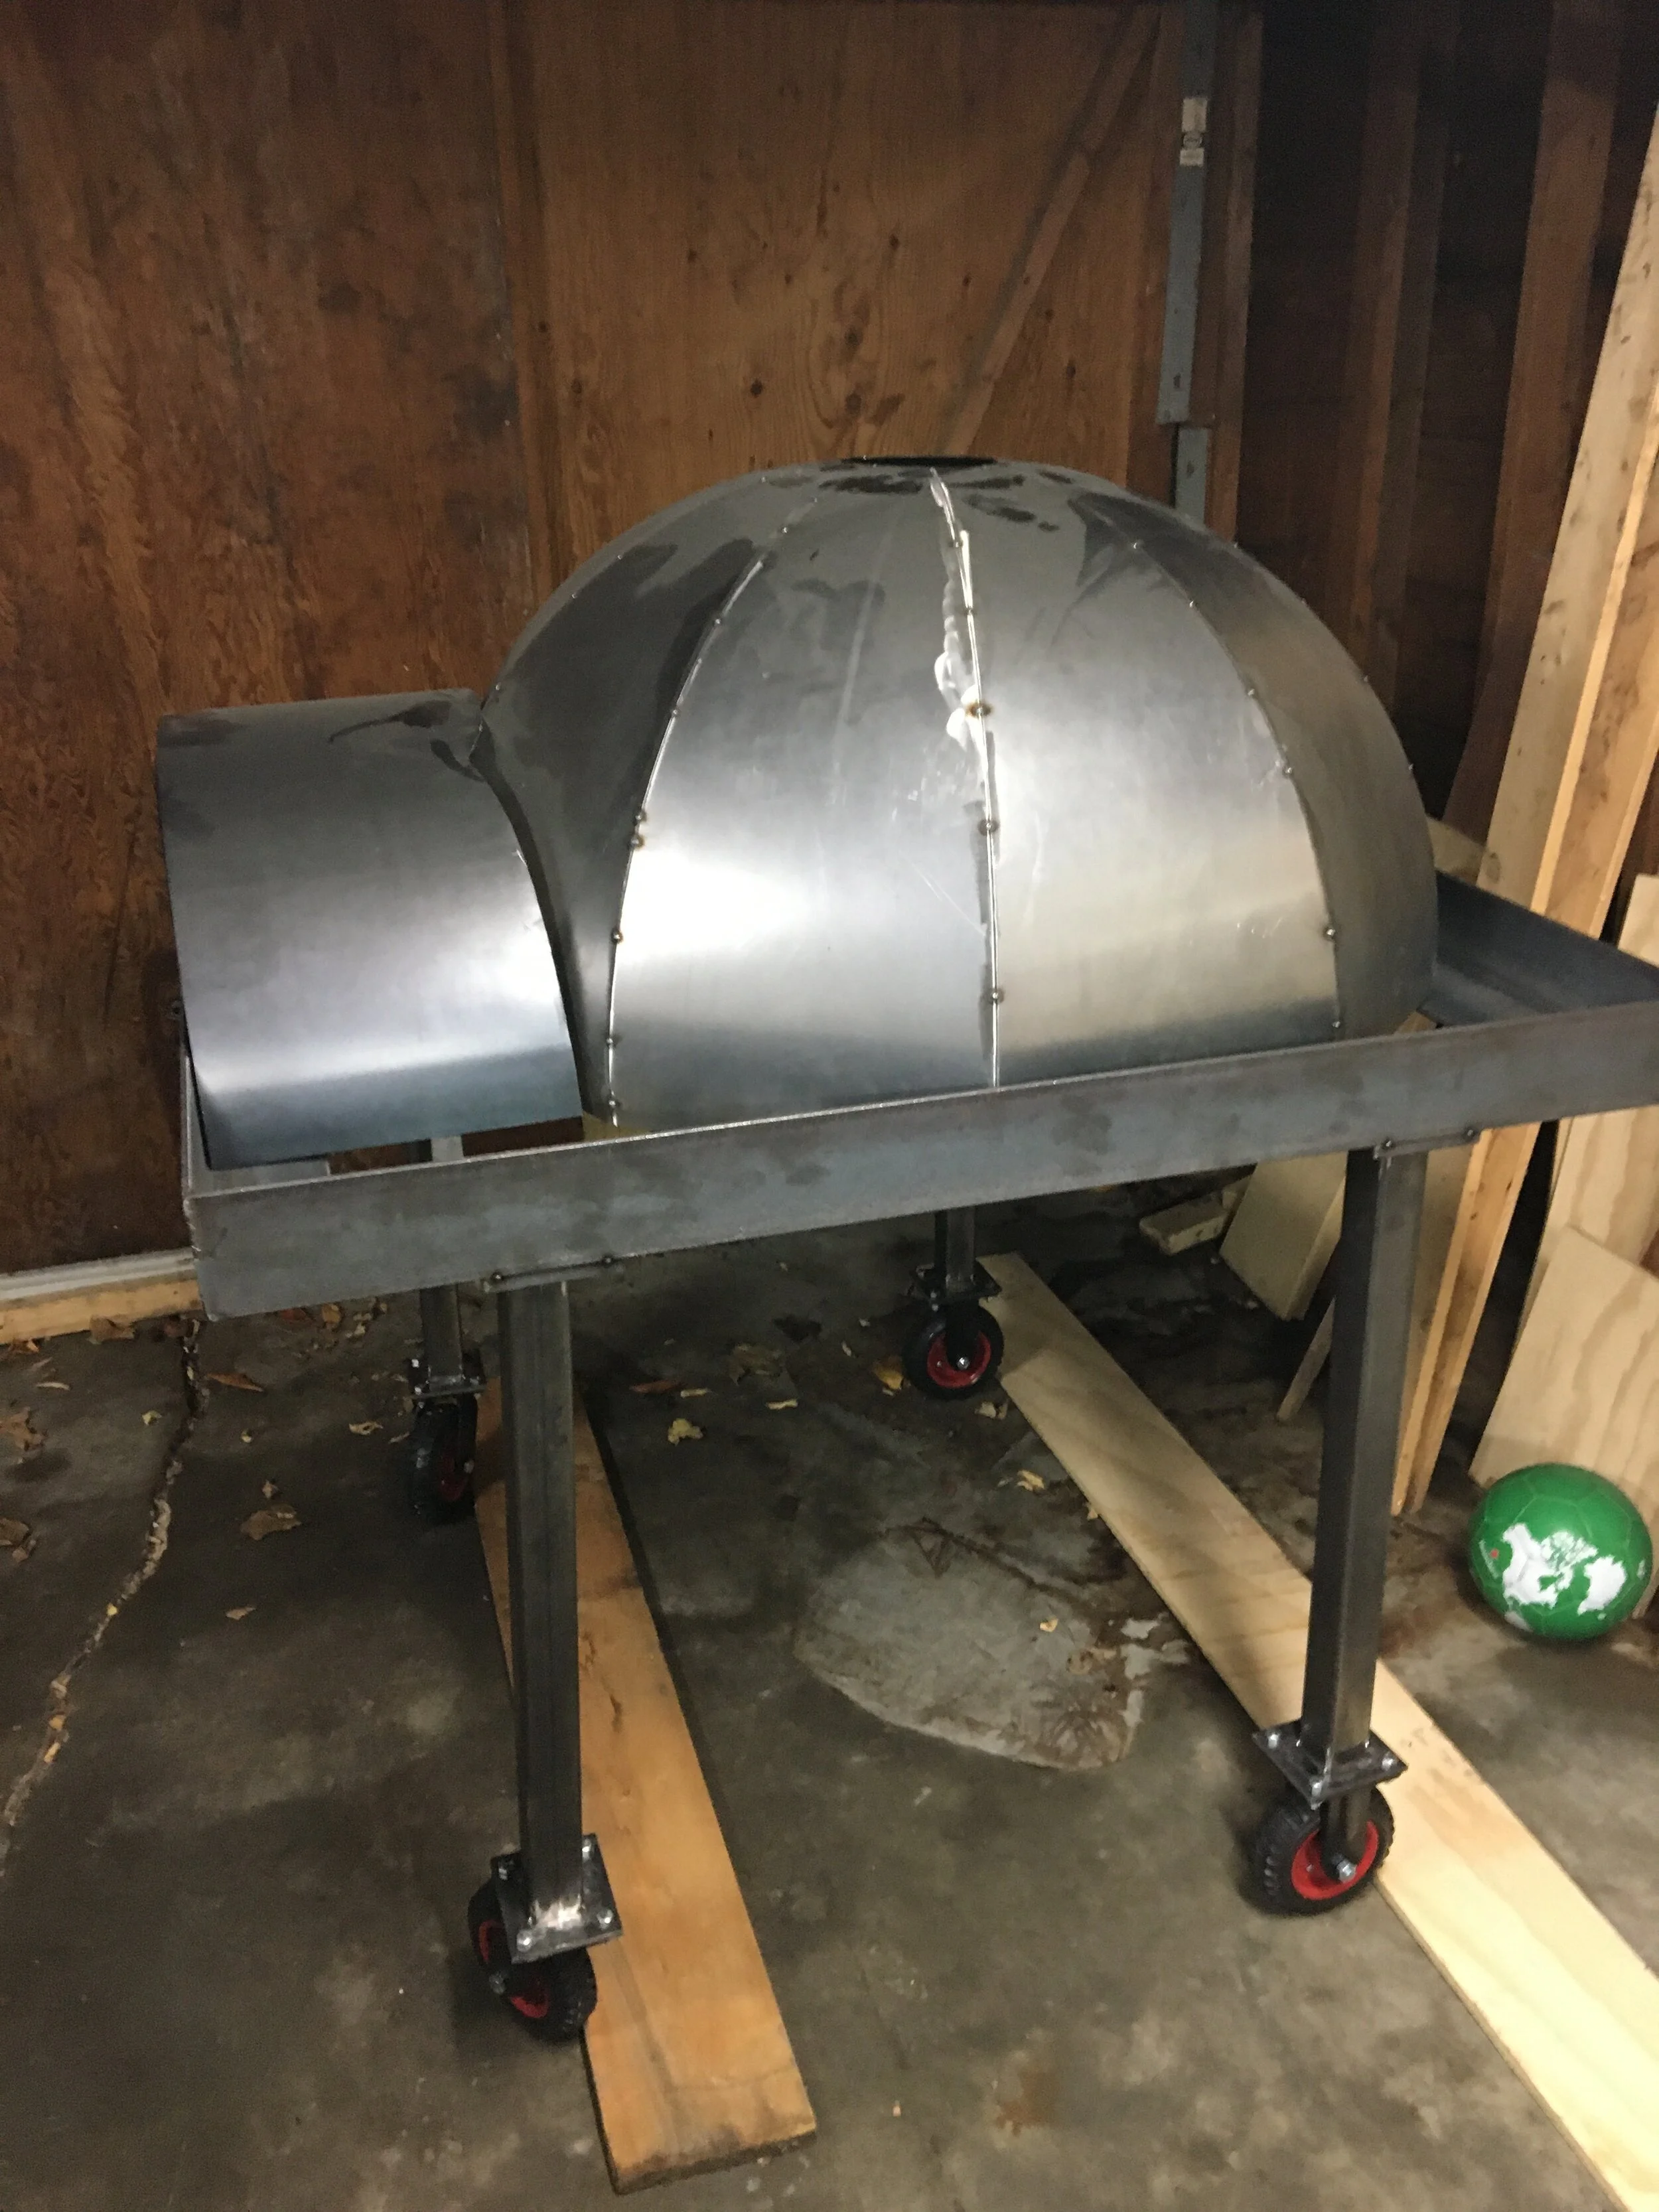
Removable legs with wheels
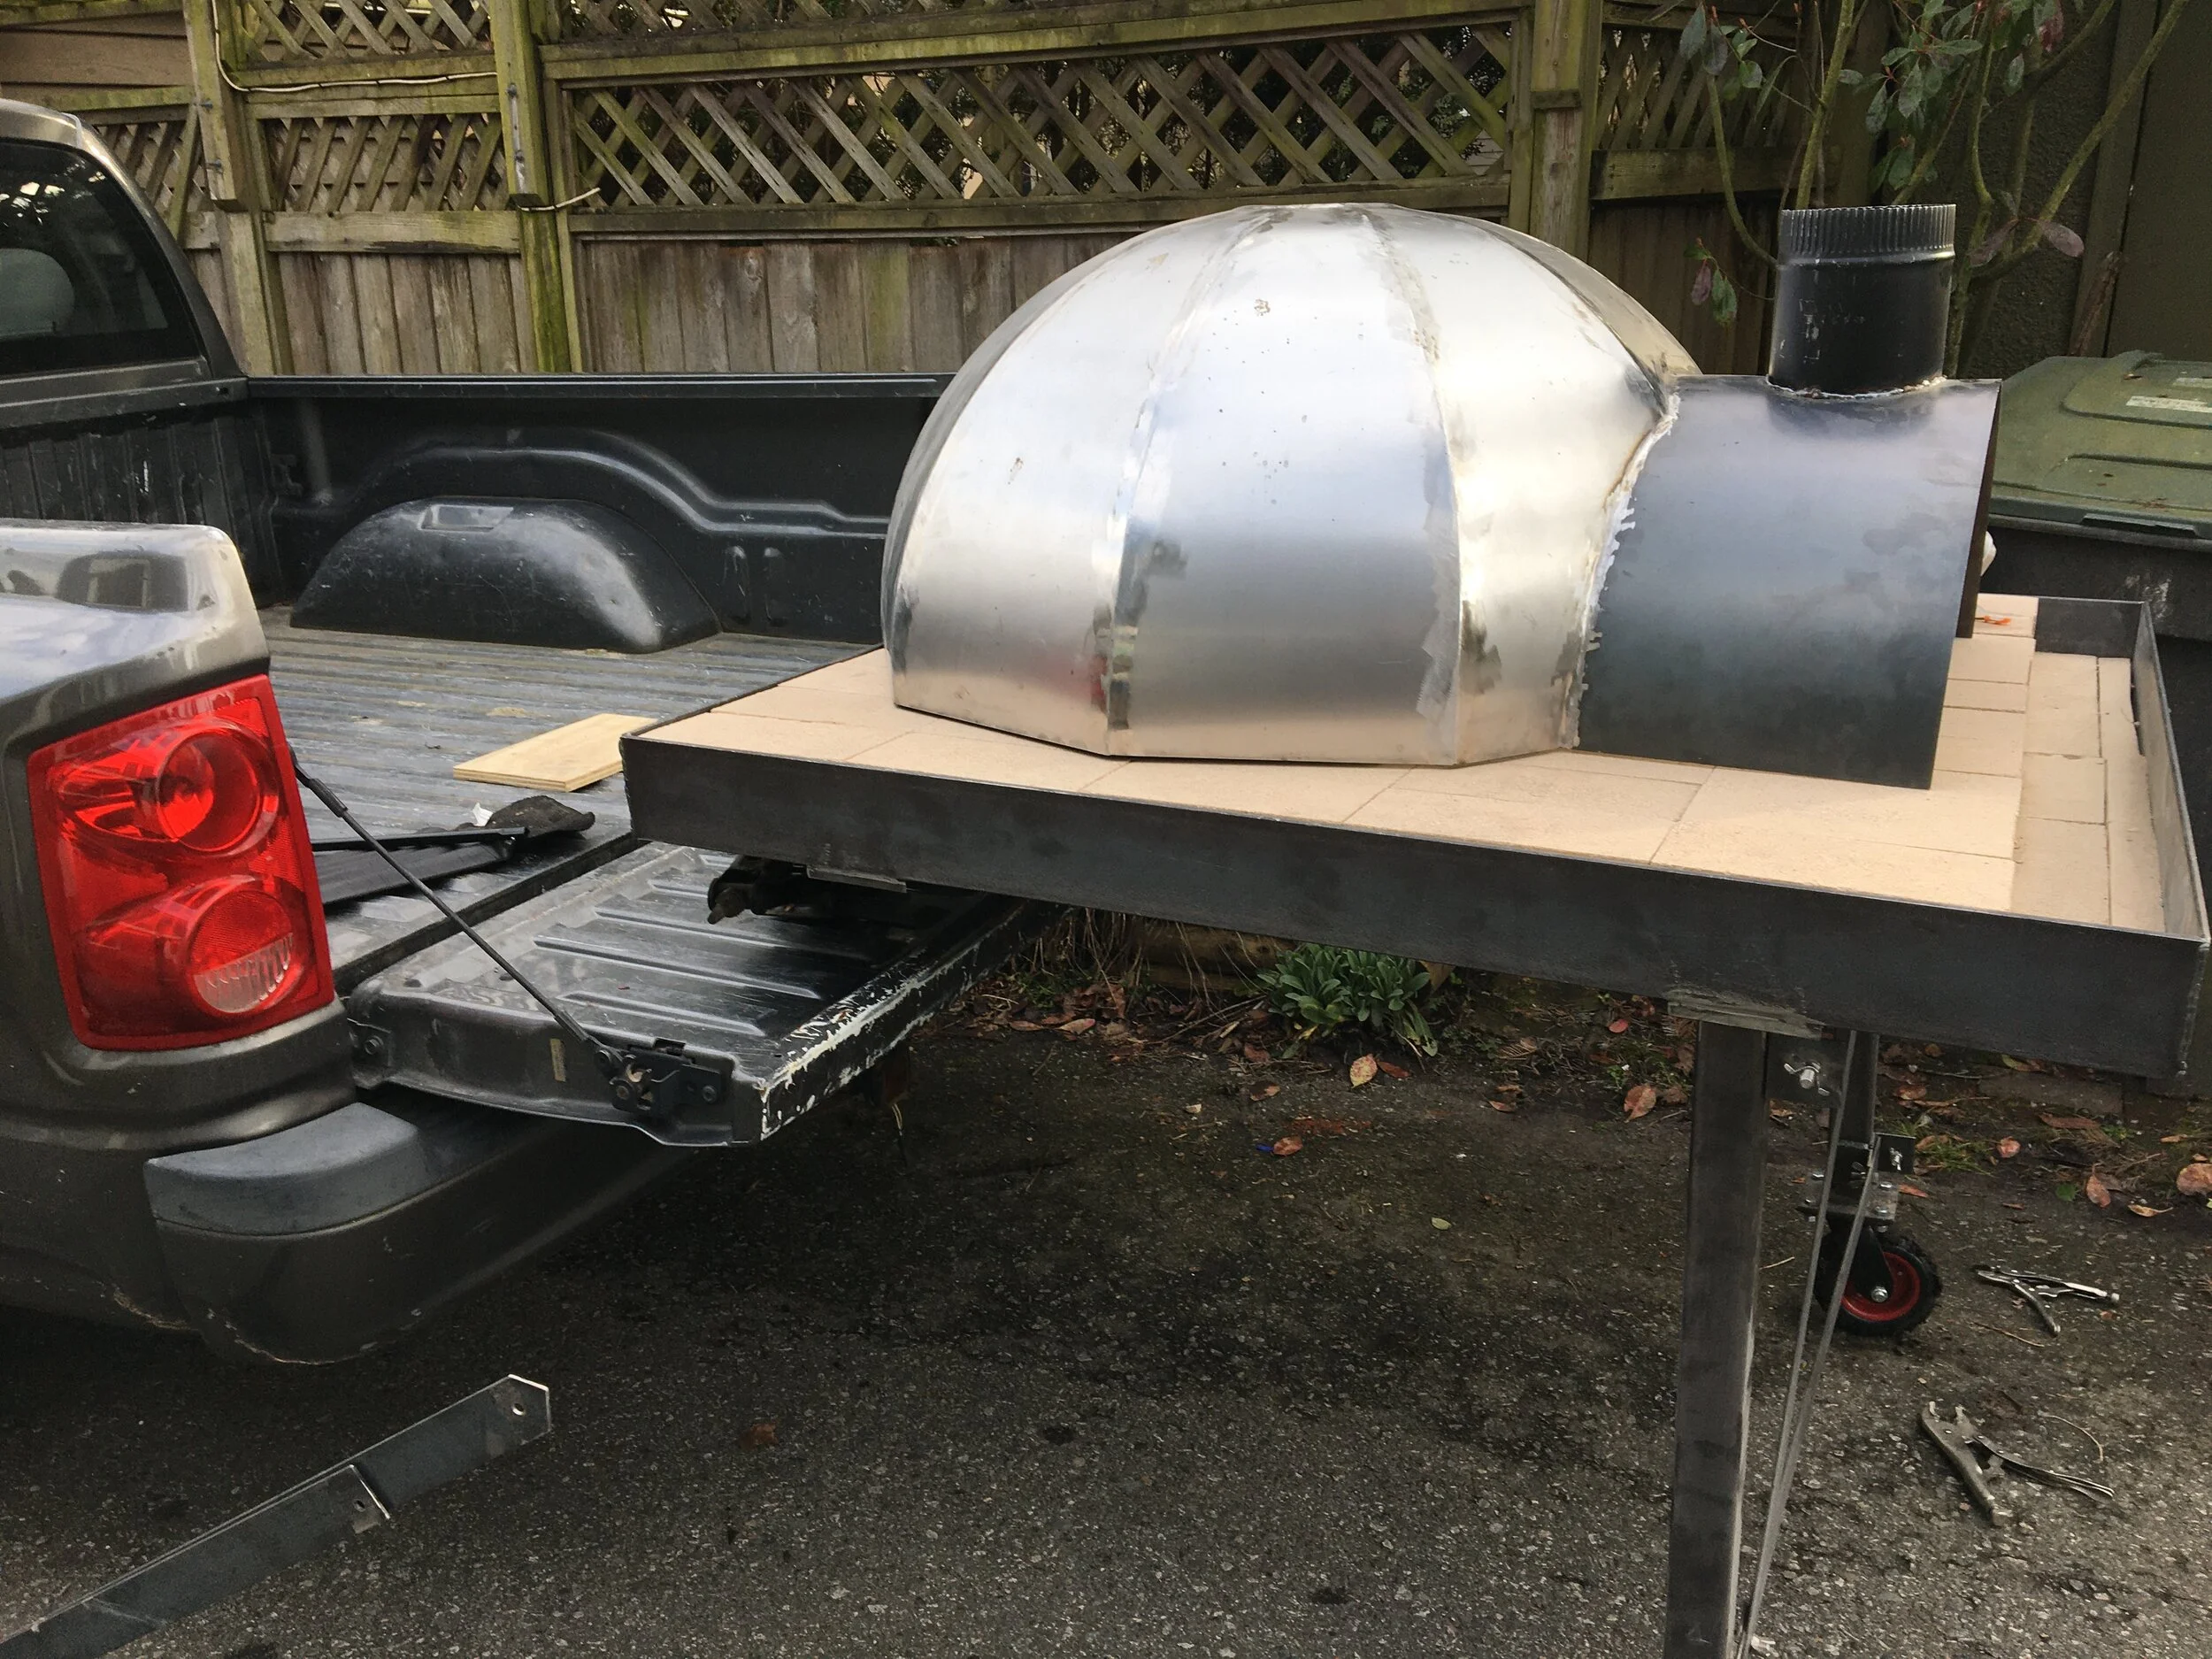
I figured that if I managed* to get the height perfect between the removable legs and the pickup truck, I could single handedly slide the oven onto the truck, removing the legs as the weight was transferred to the truck.
Spoiler. *I didn’t manage to do that. Really.
So. Step one. Design the entire oven in autocad, while buying the necessary equipment to weld this thing, while figuring out if I could even build it, while telling everyone I know I was building a pizza oven. Lesson #2. Don’t tell people you are doing something until it’s almost done. It’s embarrassing when your progress updates for weeks are: “still trying to figure out how to make a dome on AutoCAD”…
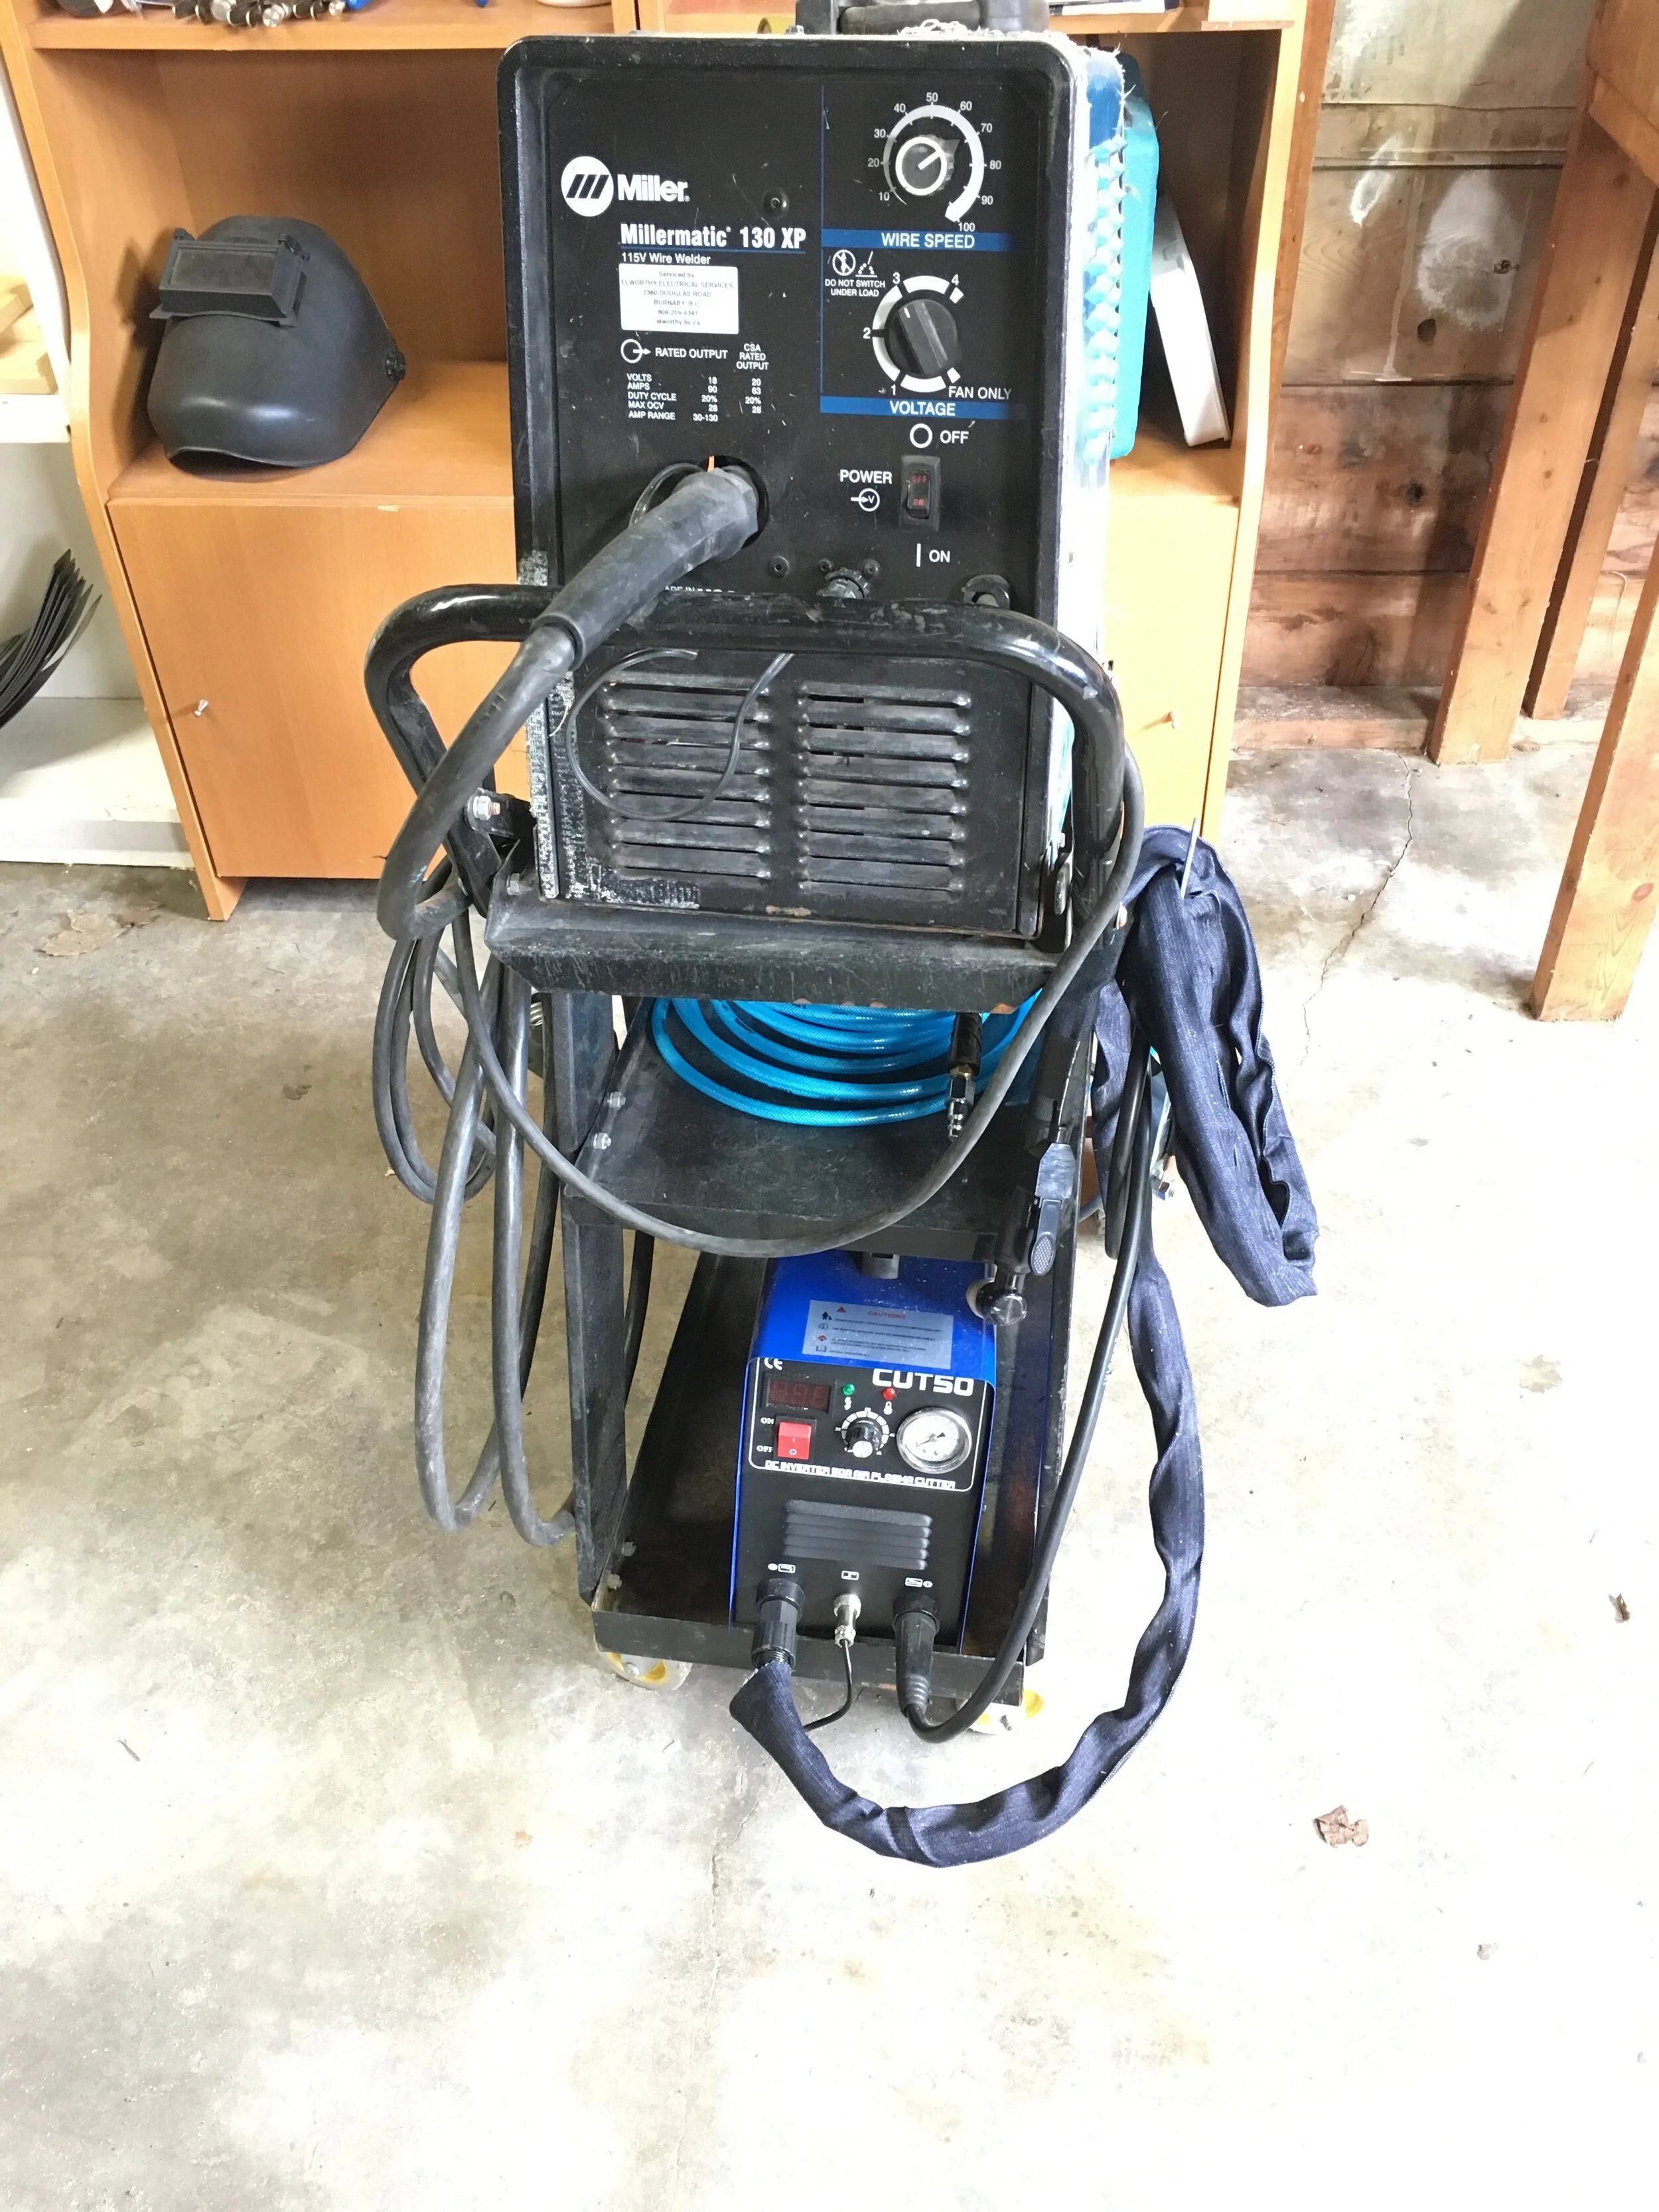
I had done a bit of welding before (see images here) but was far from a pro. I figured no matter how I build the dome, I would need to at least weld the other parts, so it was a good investment to buy a MIG welder in Vancouver with the justification “I can always sell it”. I picked up a Millermatic off Craigslist for $140, and the gas canister ran me another $300. This thing blew the Powerfist welder I bought in Halifax ($200) out of the water, so I was pretty pleased. Of course, it took me weeks to get all the right tips and nozzles. Lesson #3. Everything takes forever.
I decided the only way to fabricate the dome was with tessellated panels (umbrella). I started reaching out to local metal shops to see who would make these curved triangle cuts for a reasonable price, and to see if anyone had rollers that could shape them to the radius I wanted. I had a bit of bad luck finding something that would work, which lead me down a very fortunate path…
CUTSO - The Plasma Cutter
Ok, so it’s not that big of a deal. Just making a bit of lightning so you can slice through metal like butter with a hot knife…I mean. I couldn’t resist. You can buy cheap plasma cutters off ebay that have very mixed reviews. The generic model is the CUT-50, or Cutso, and is so named after the 50A current draw. There are many manufacturers of this system, and they are all super sketchy. But hey, I’m down with that if its cheap and it works. I probably didn’t need to get a plasma cutter for this project, but it certainly came in handy.
I had no idea how plasma cutters worked before hand, so underestimated that I would now need to buy a compressor and install 240V service into the garage. With some help from my friend Andrew M., we determined the easiest route would be to install a new plug into the panel for 240V with a 40A breaker and a twist lock receptacle that could hide in the panel compartment and be pulled out when needed. I figured I would only ever need 30A at 240V, so I purchased 100ft of 10/3 SJOOW cable off ebay, terminated both ends in 50A twist locks, and presto - 240V service into the garage. I picked up a standard pancake compressor on sale at Rona, which came with a free brad nailer which I will probably never use but is cool as dirt and makes me feel like Robocop. I did spend a solid hour nailing any two piece of wood together I could find.
100ft of 10/3 cable. A lot of copper!
Classic cutso on the bottom of the weld cart
‘Temporary’ 240V service.
Building the Domes
By the time I got the plasma cutter all set up, I had finished designing the domes in CAD, and found a manufacturer that could CNC turret them. I also found another fab house that would let me come in and use their rollers, after I explained to them I was a hobbyist and the intent of my project. They informed me I was crazy for attempting this, but were very kind and offered me advice on putting it together. So, at this point I figured there was no going back, and I could for sure build this thing and it was time to start placing orders. In my typical style, I had abandoned the idea of completely planning out the oven and drawing it on CAD prior to placing orders and starting fabrication. I felt I had cleared the blocking items and it was safe to move forward and just figure everything else as I went along. So at this point, I had drawings for two domes, each with 10 panels and a difference in radius of 2 inches (for the insulation blanket). I figured the rest would be pretty straight forward. Lesson #4 Plasma Cutters are really cool.
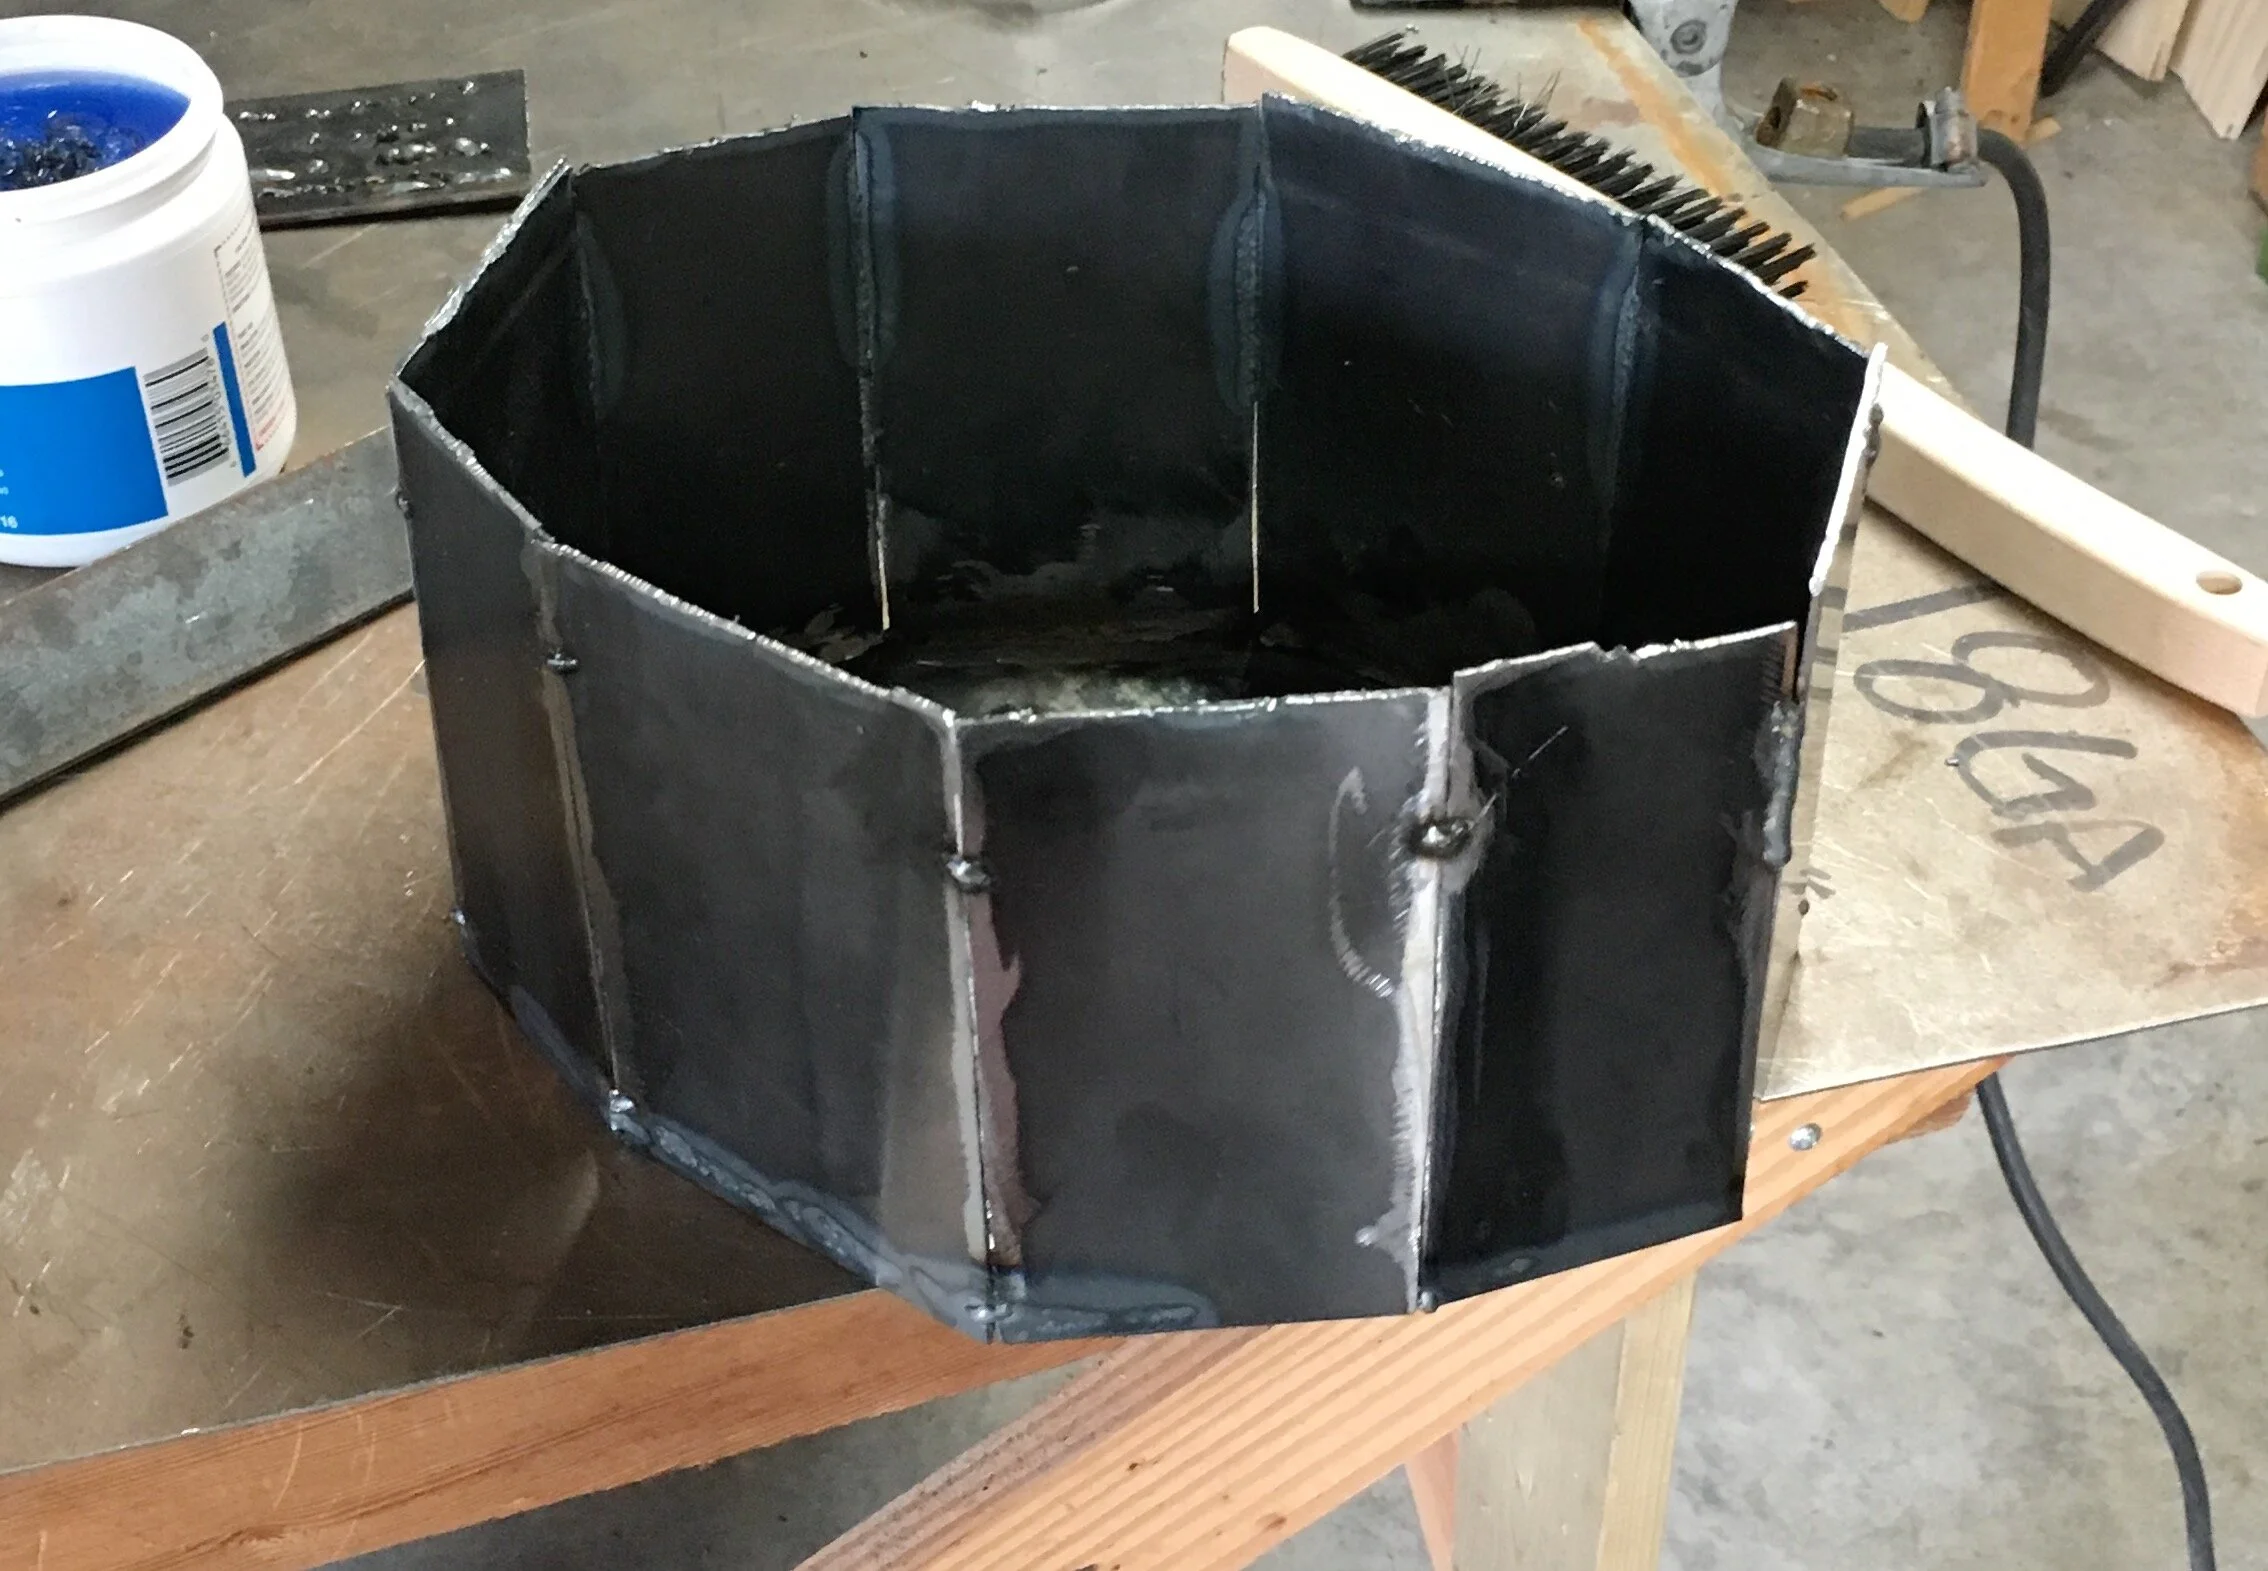
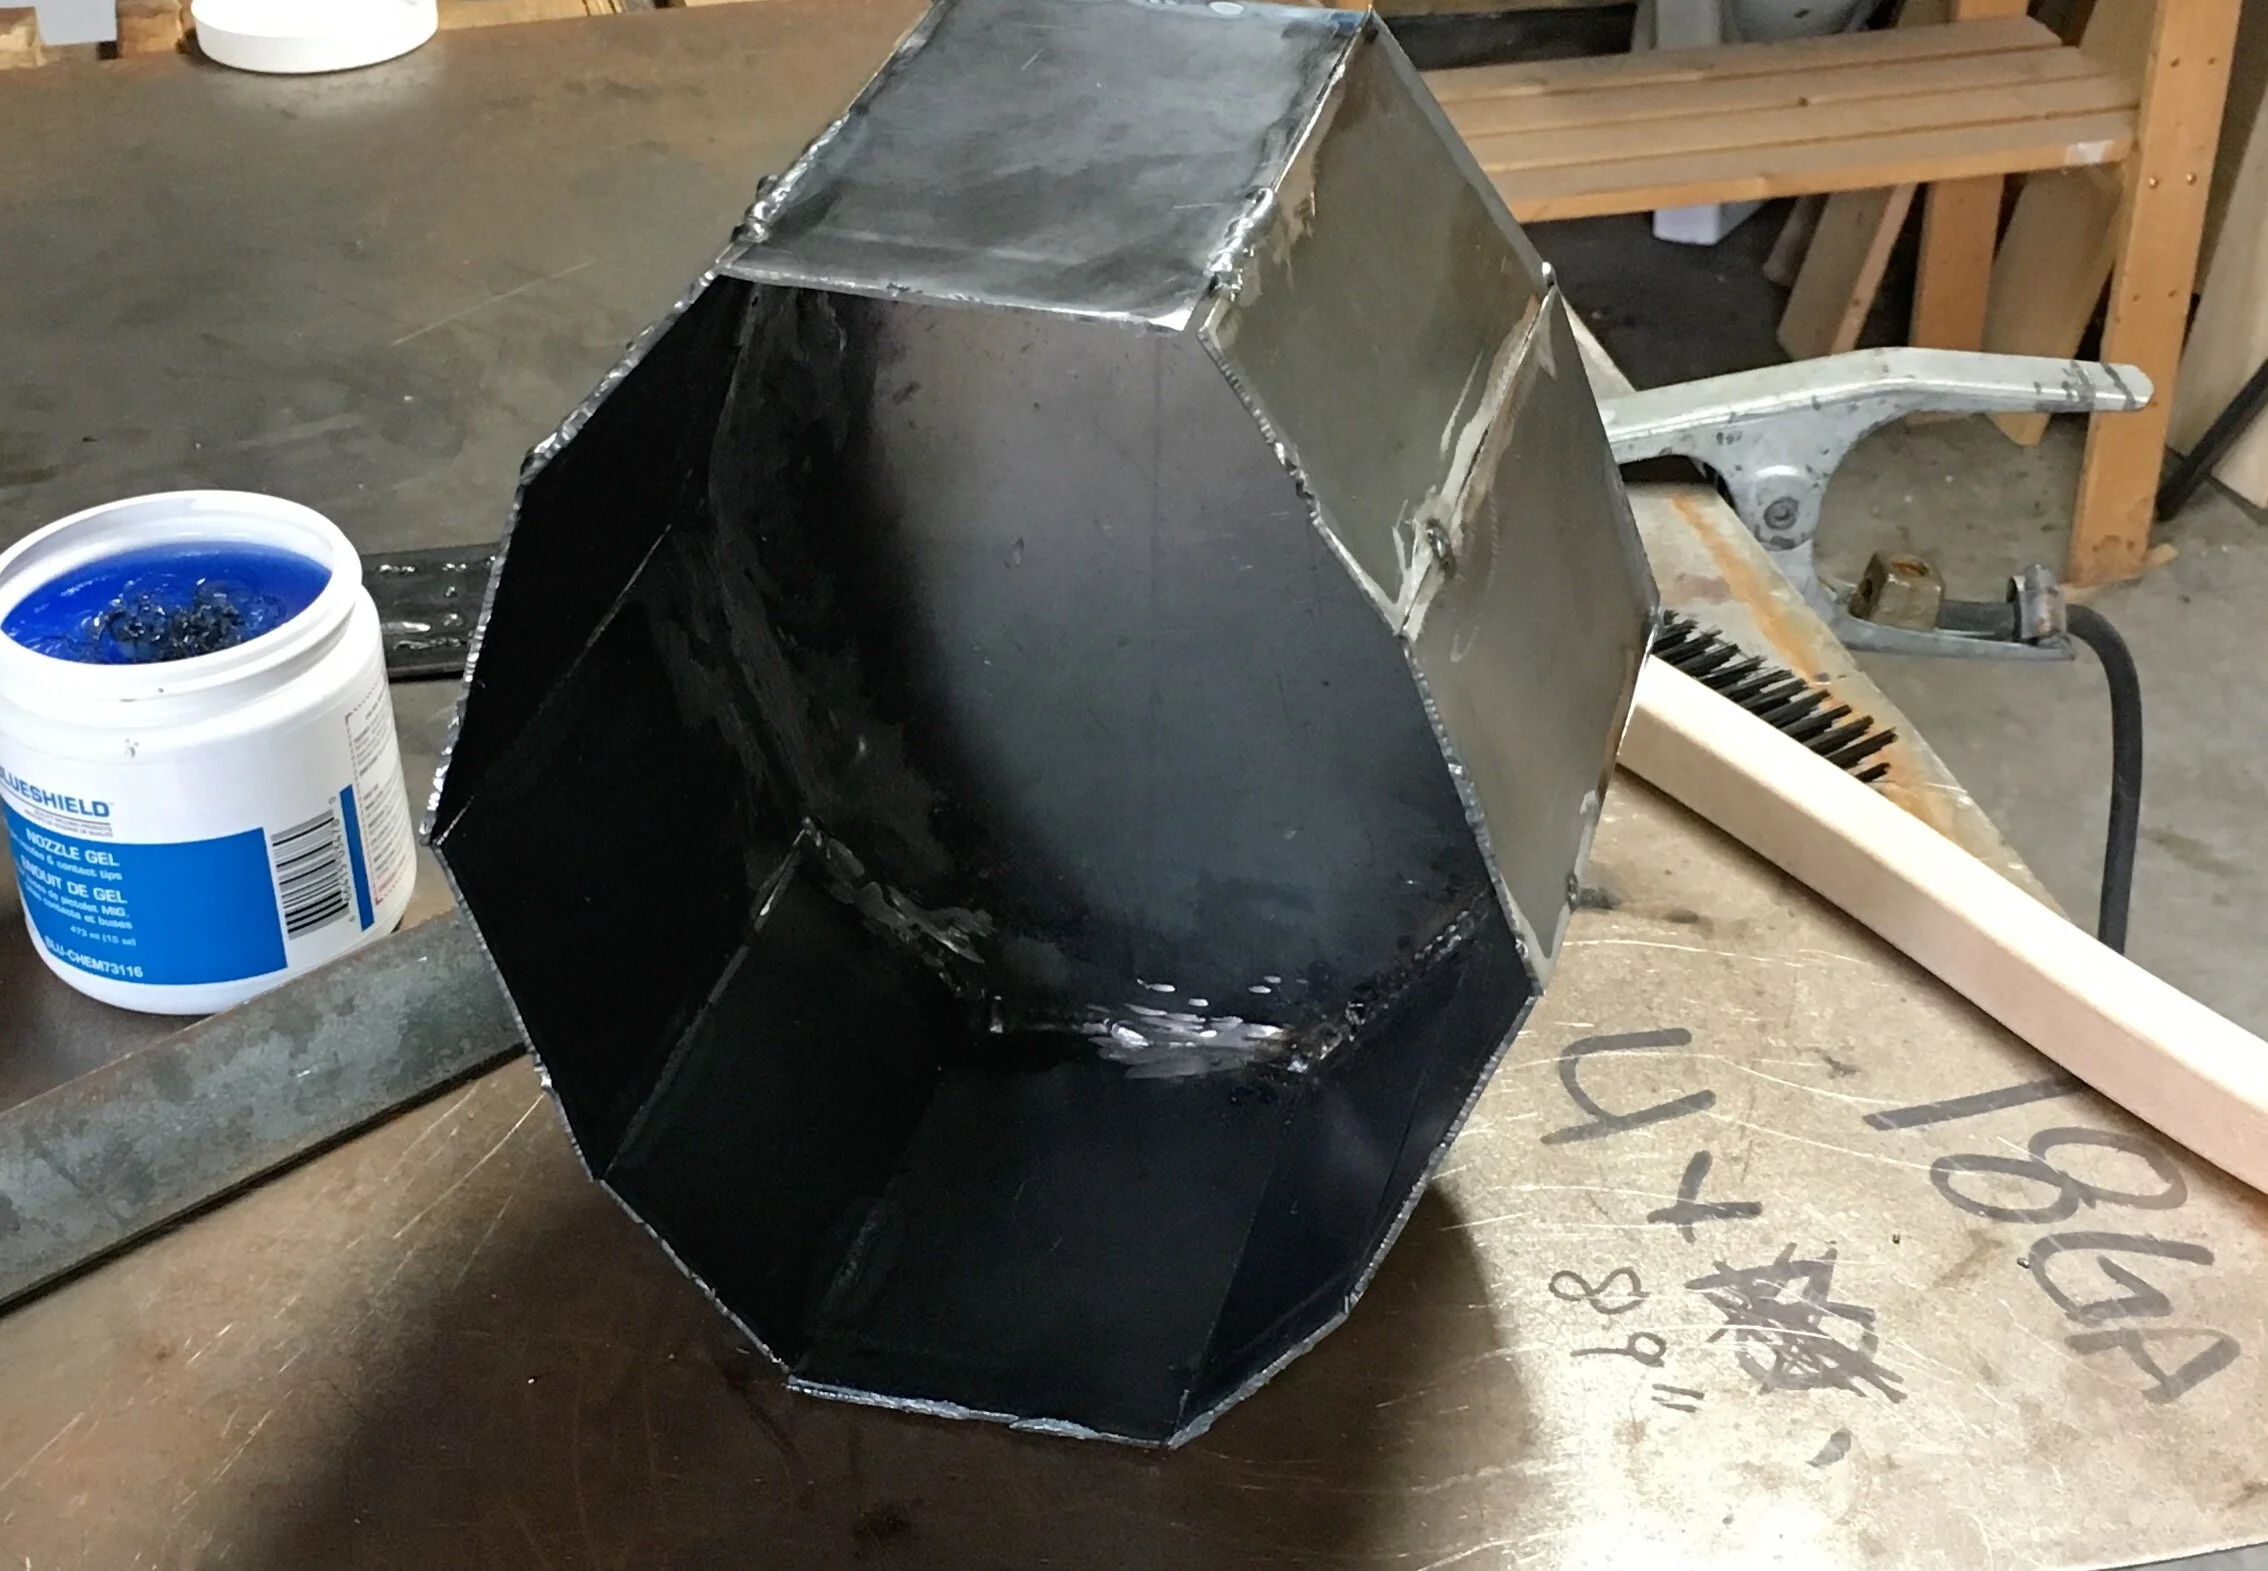
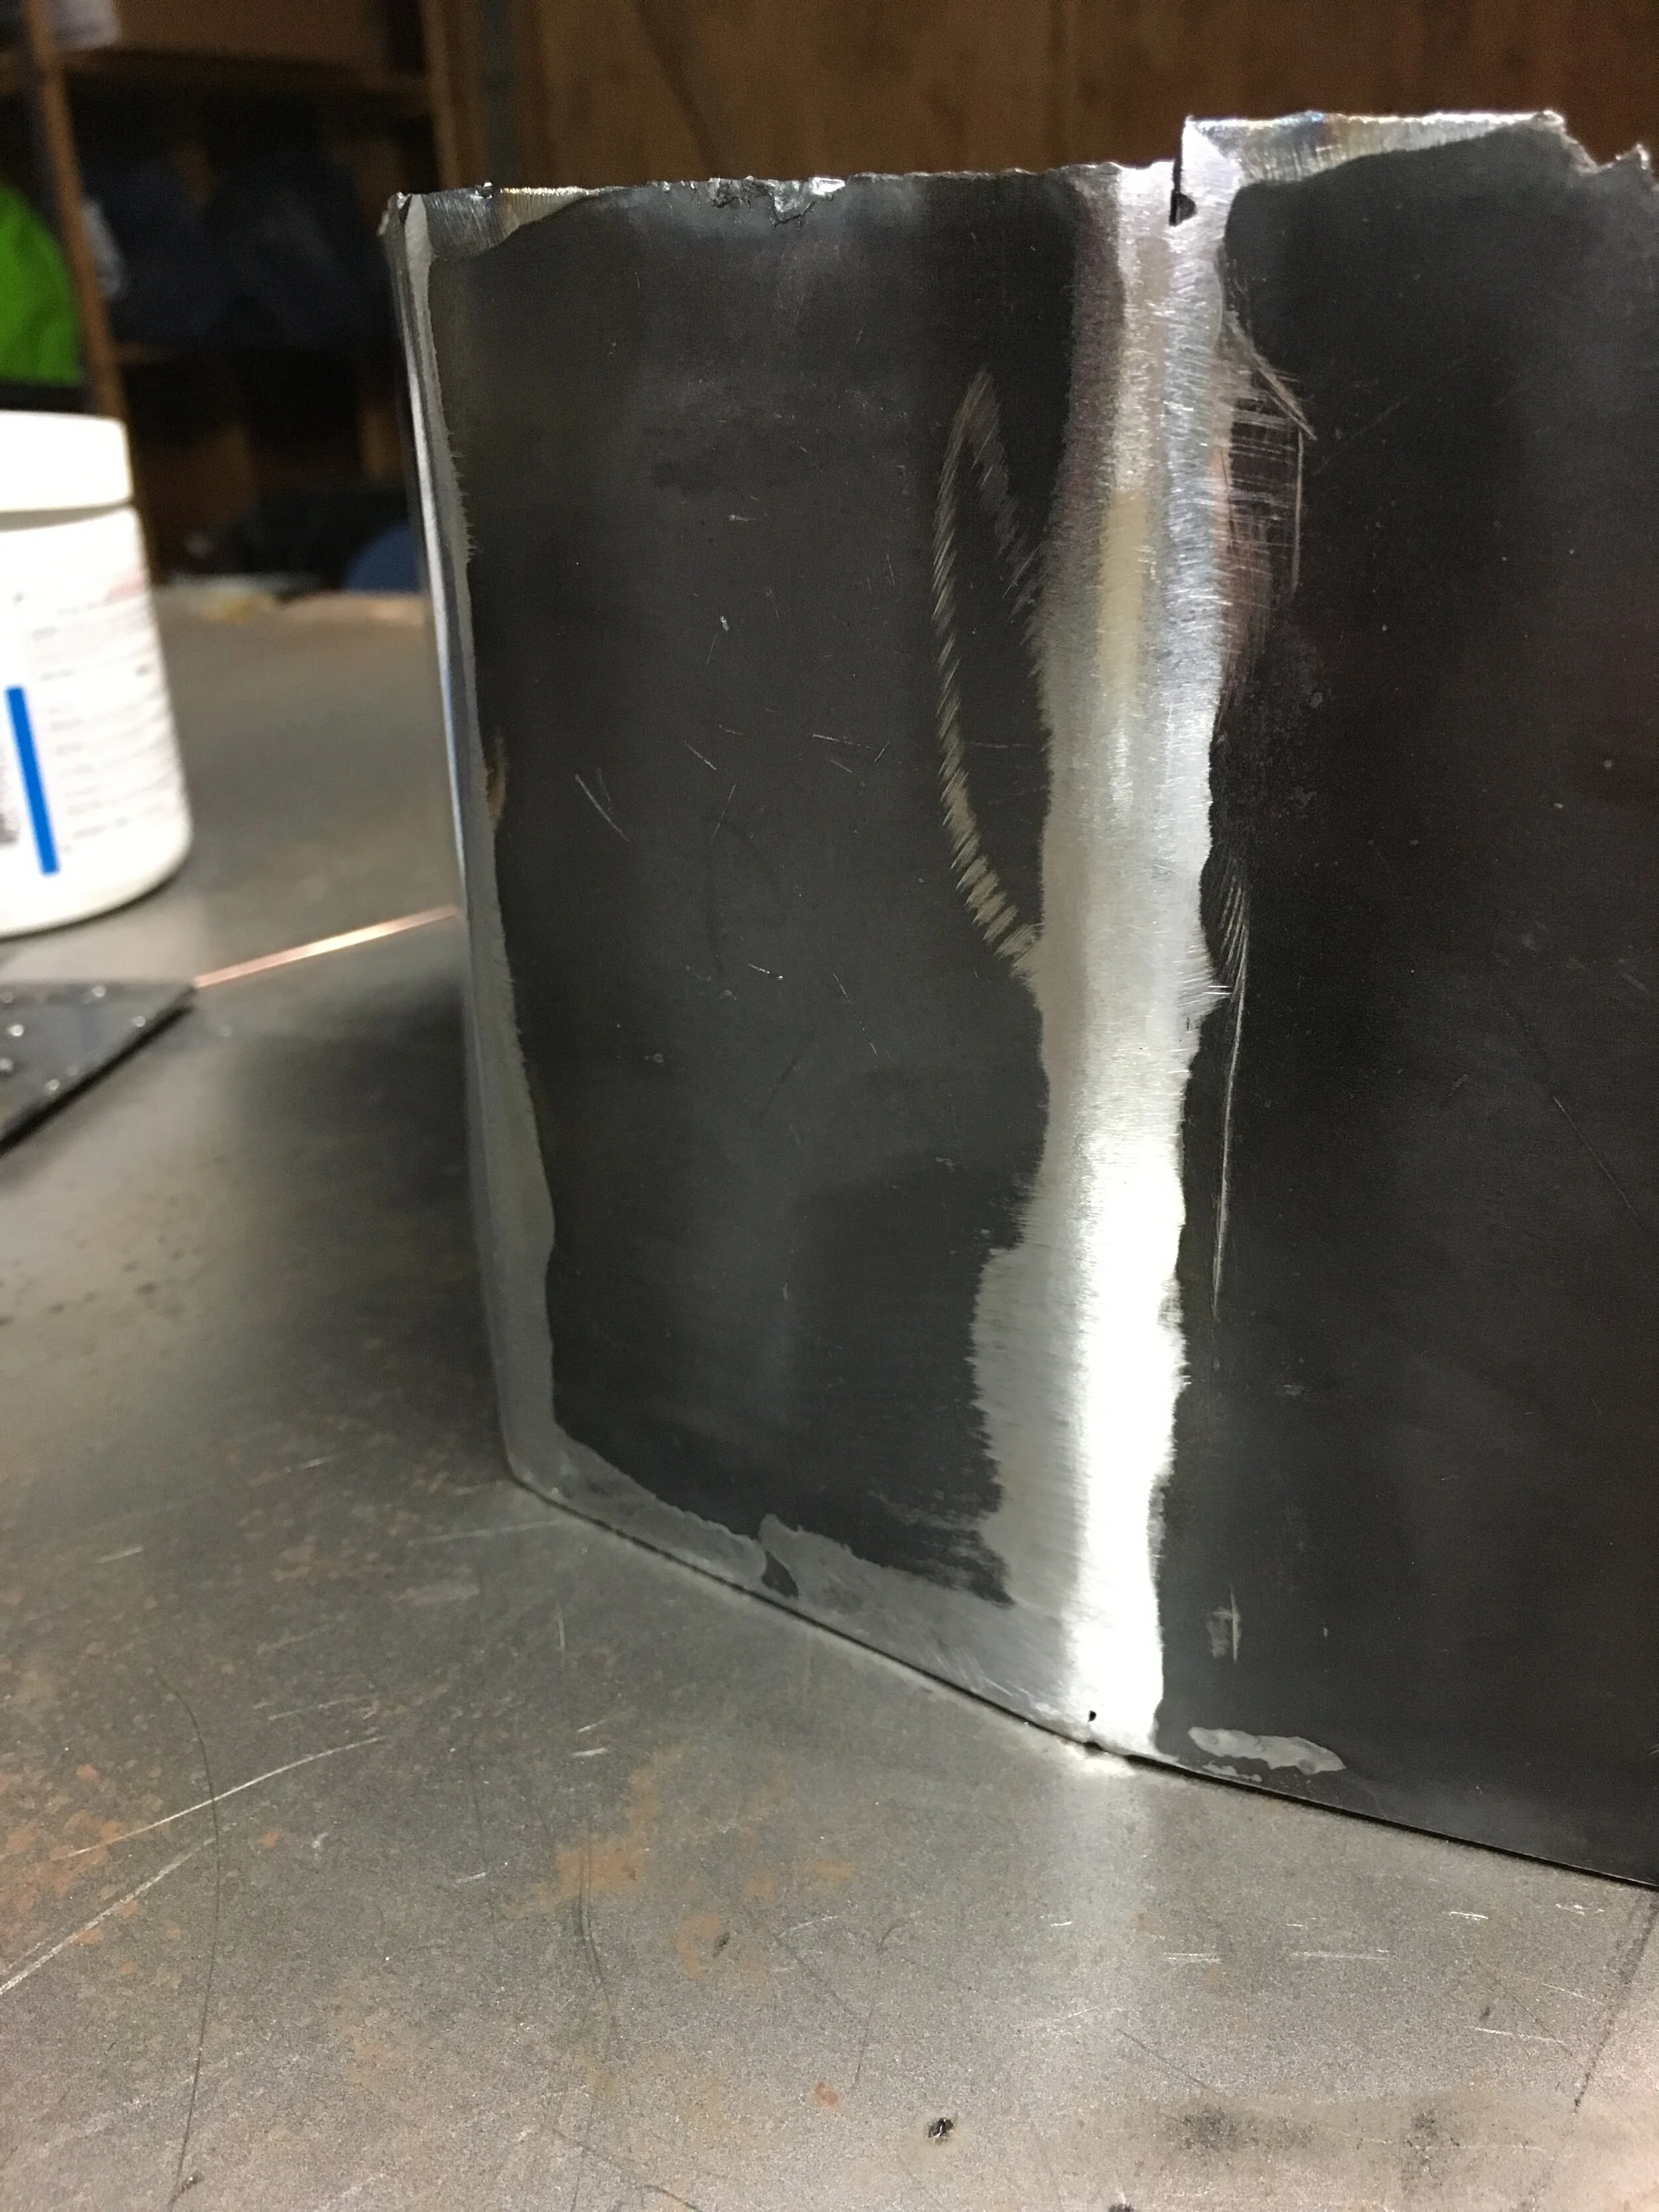
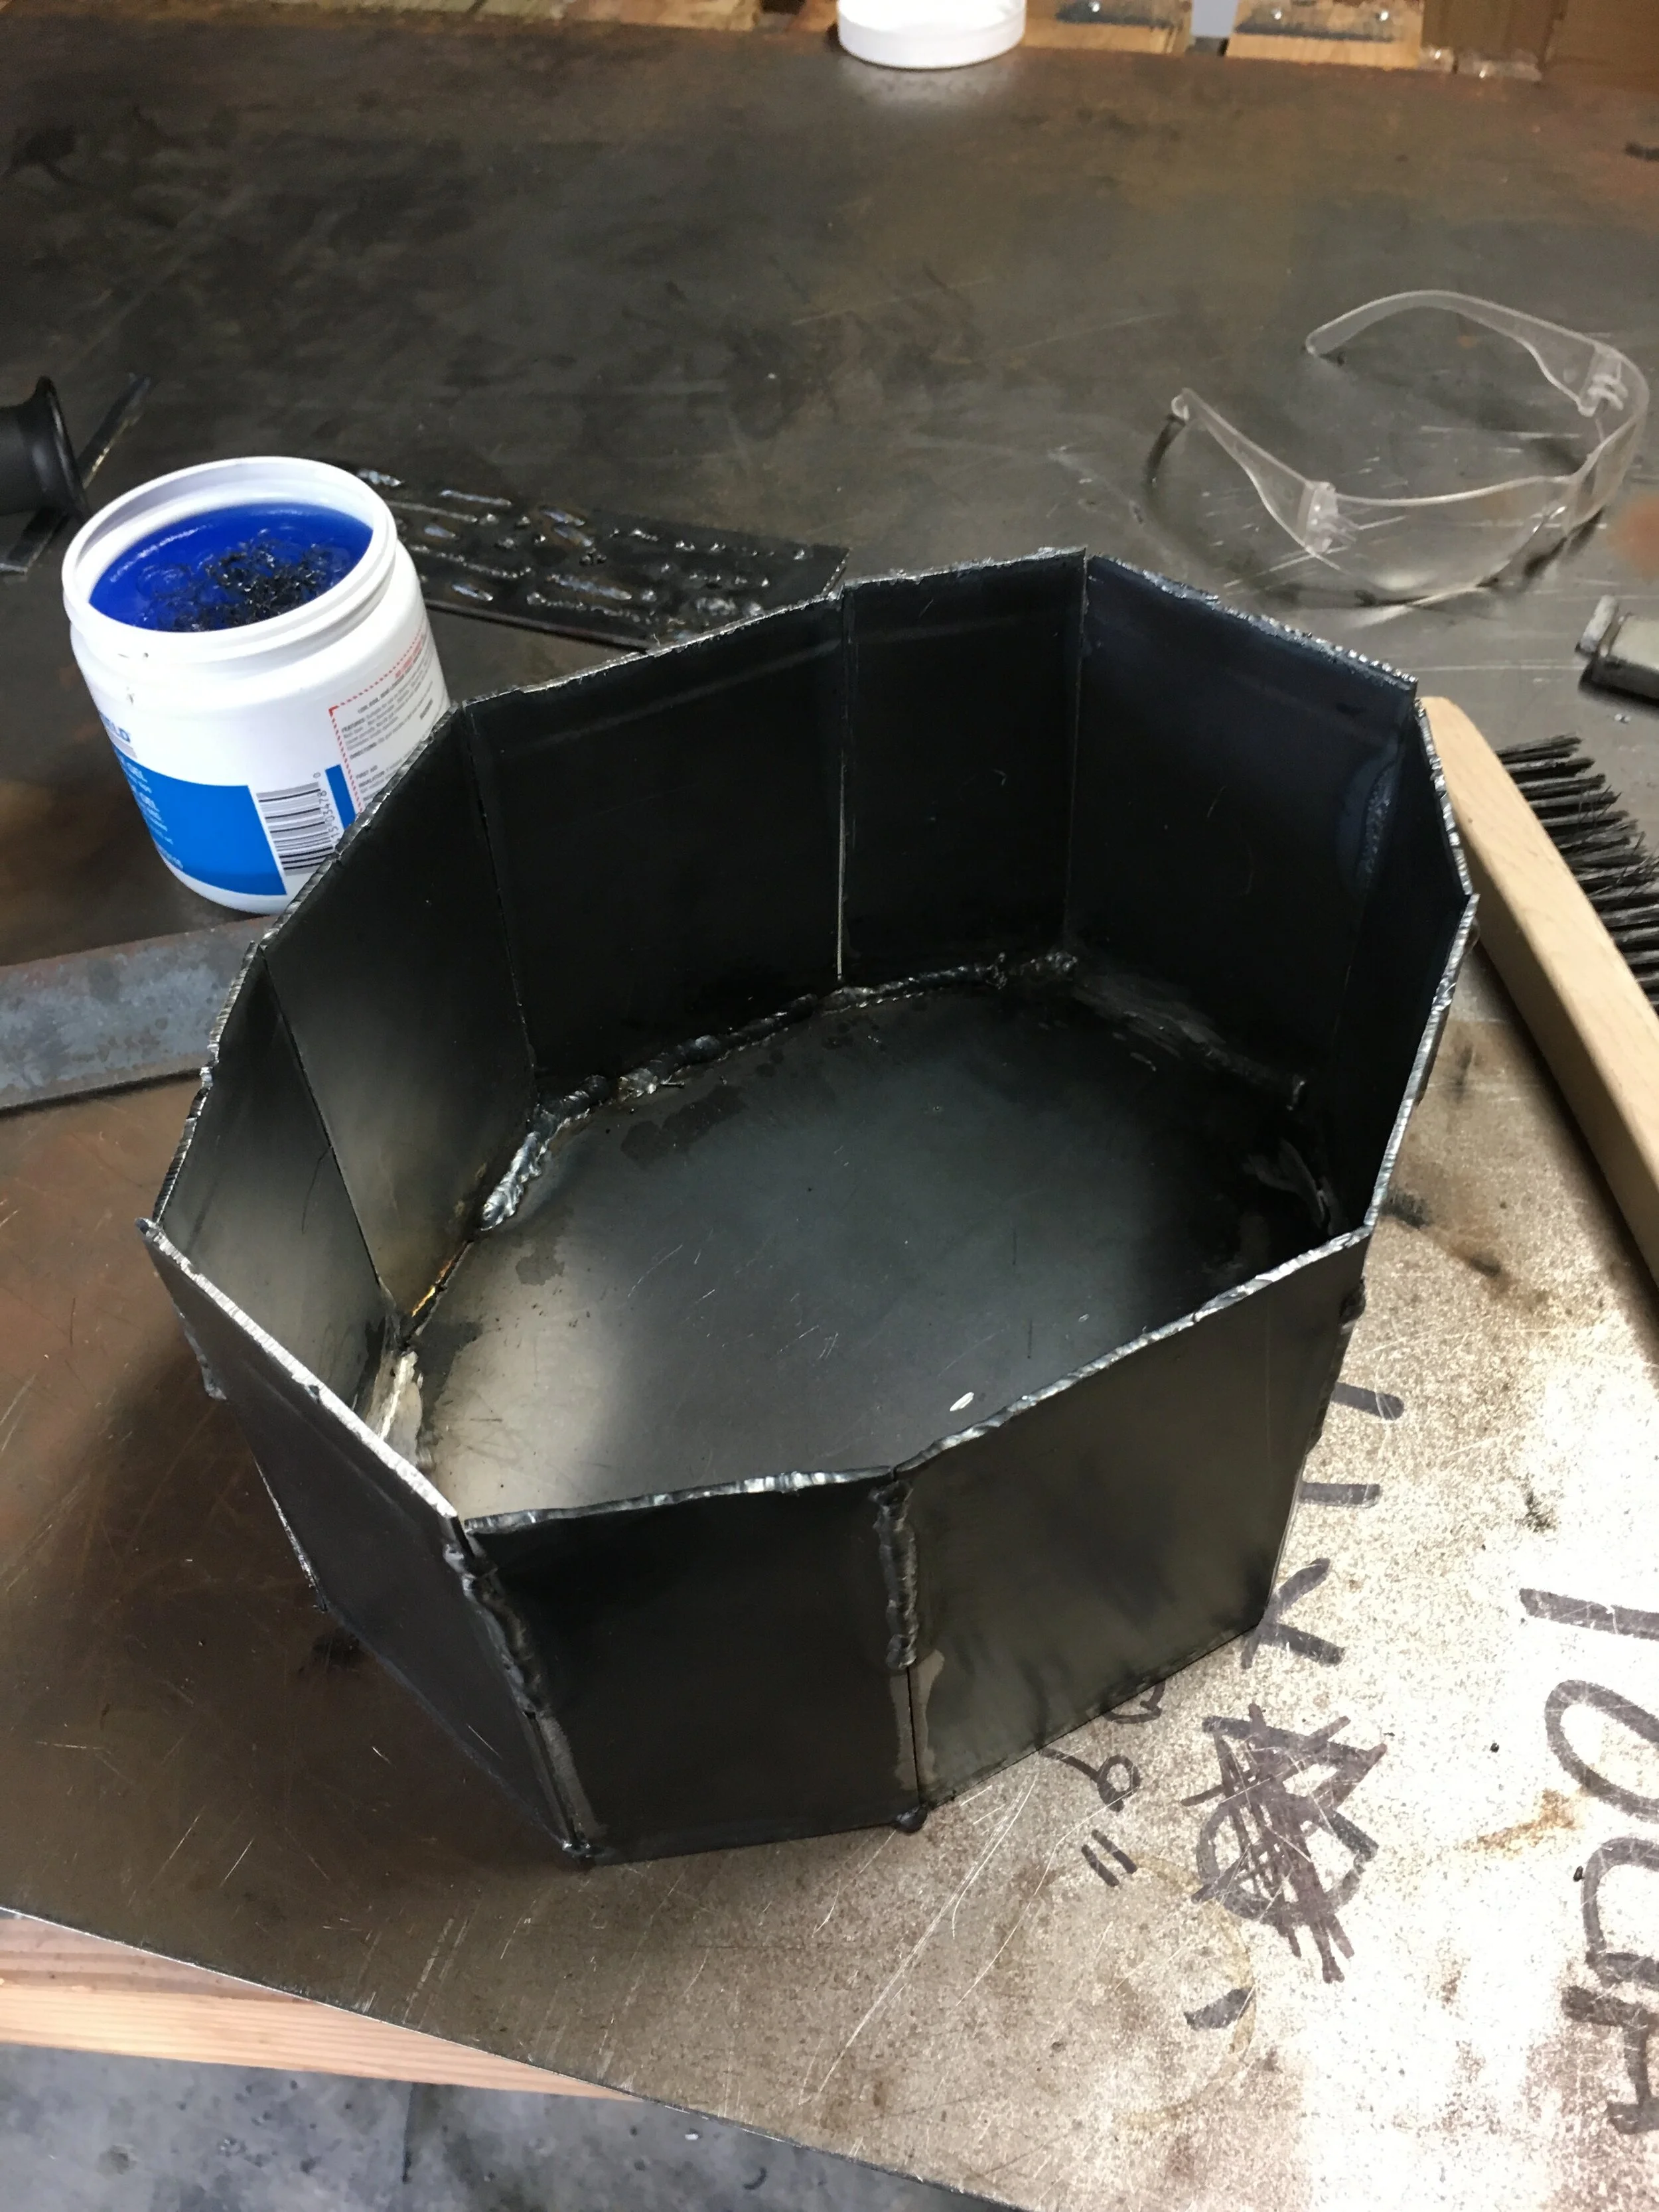
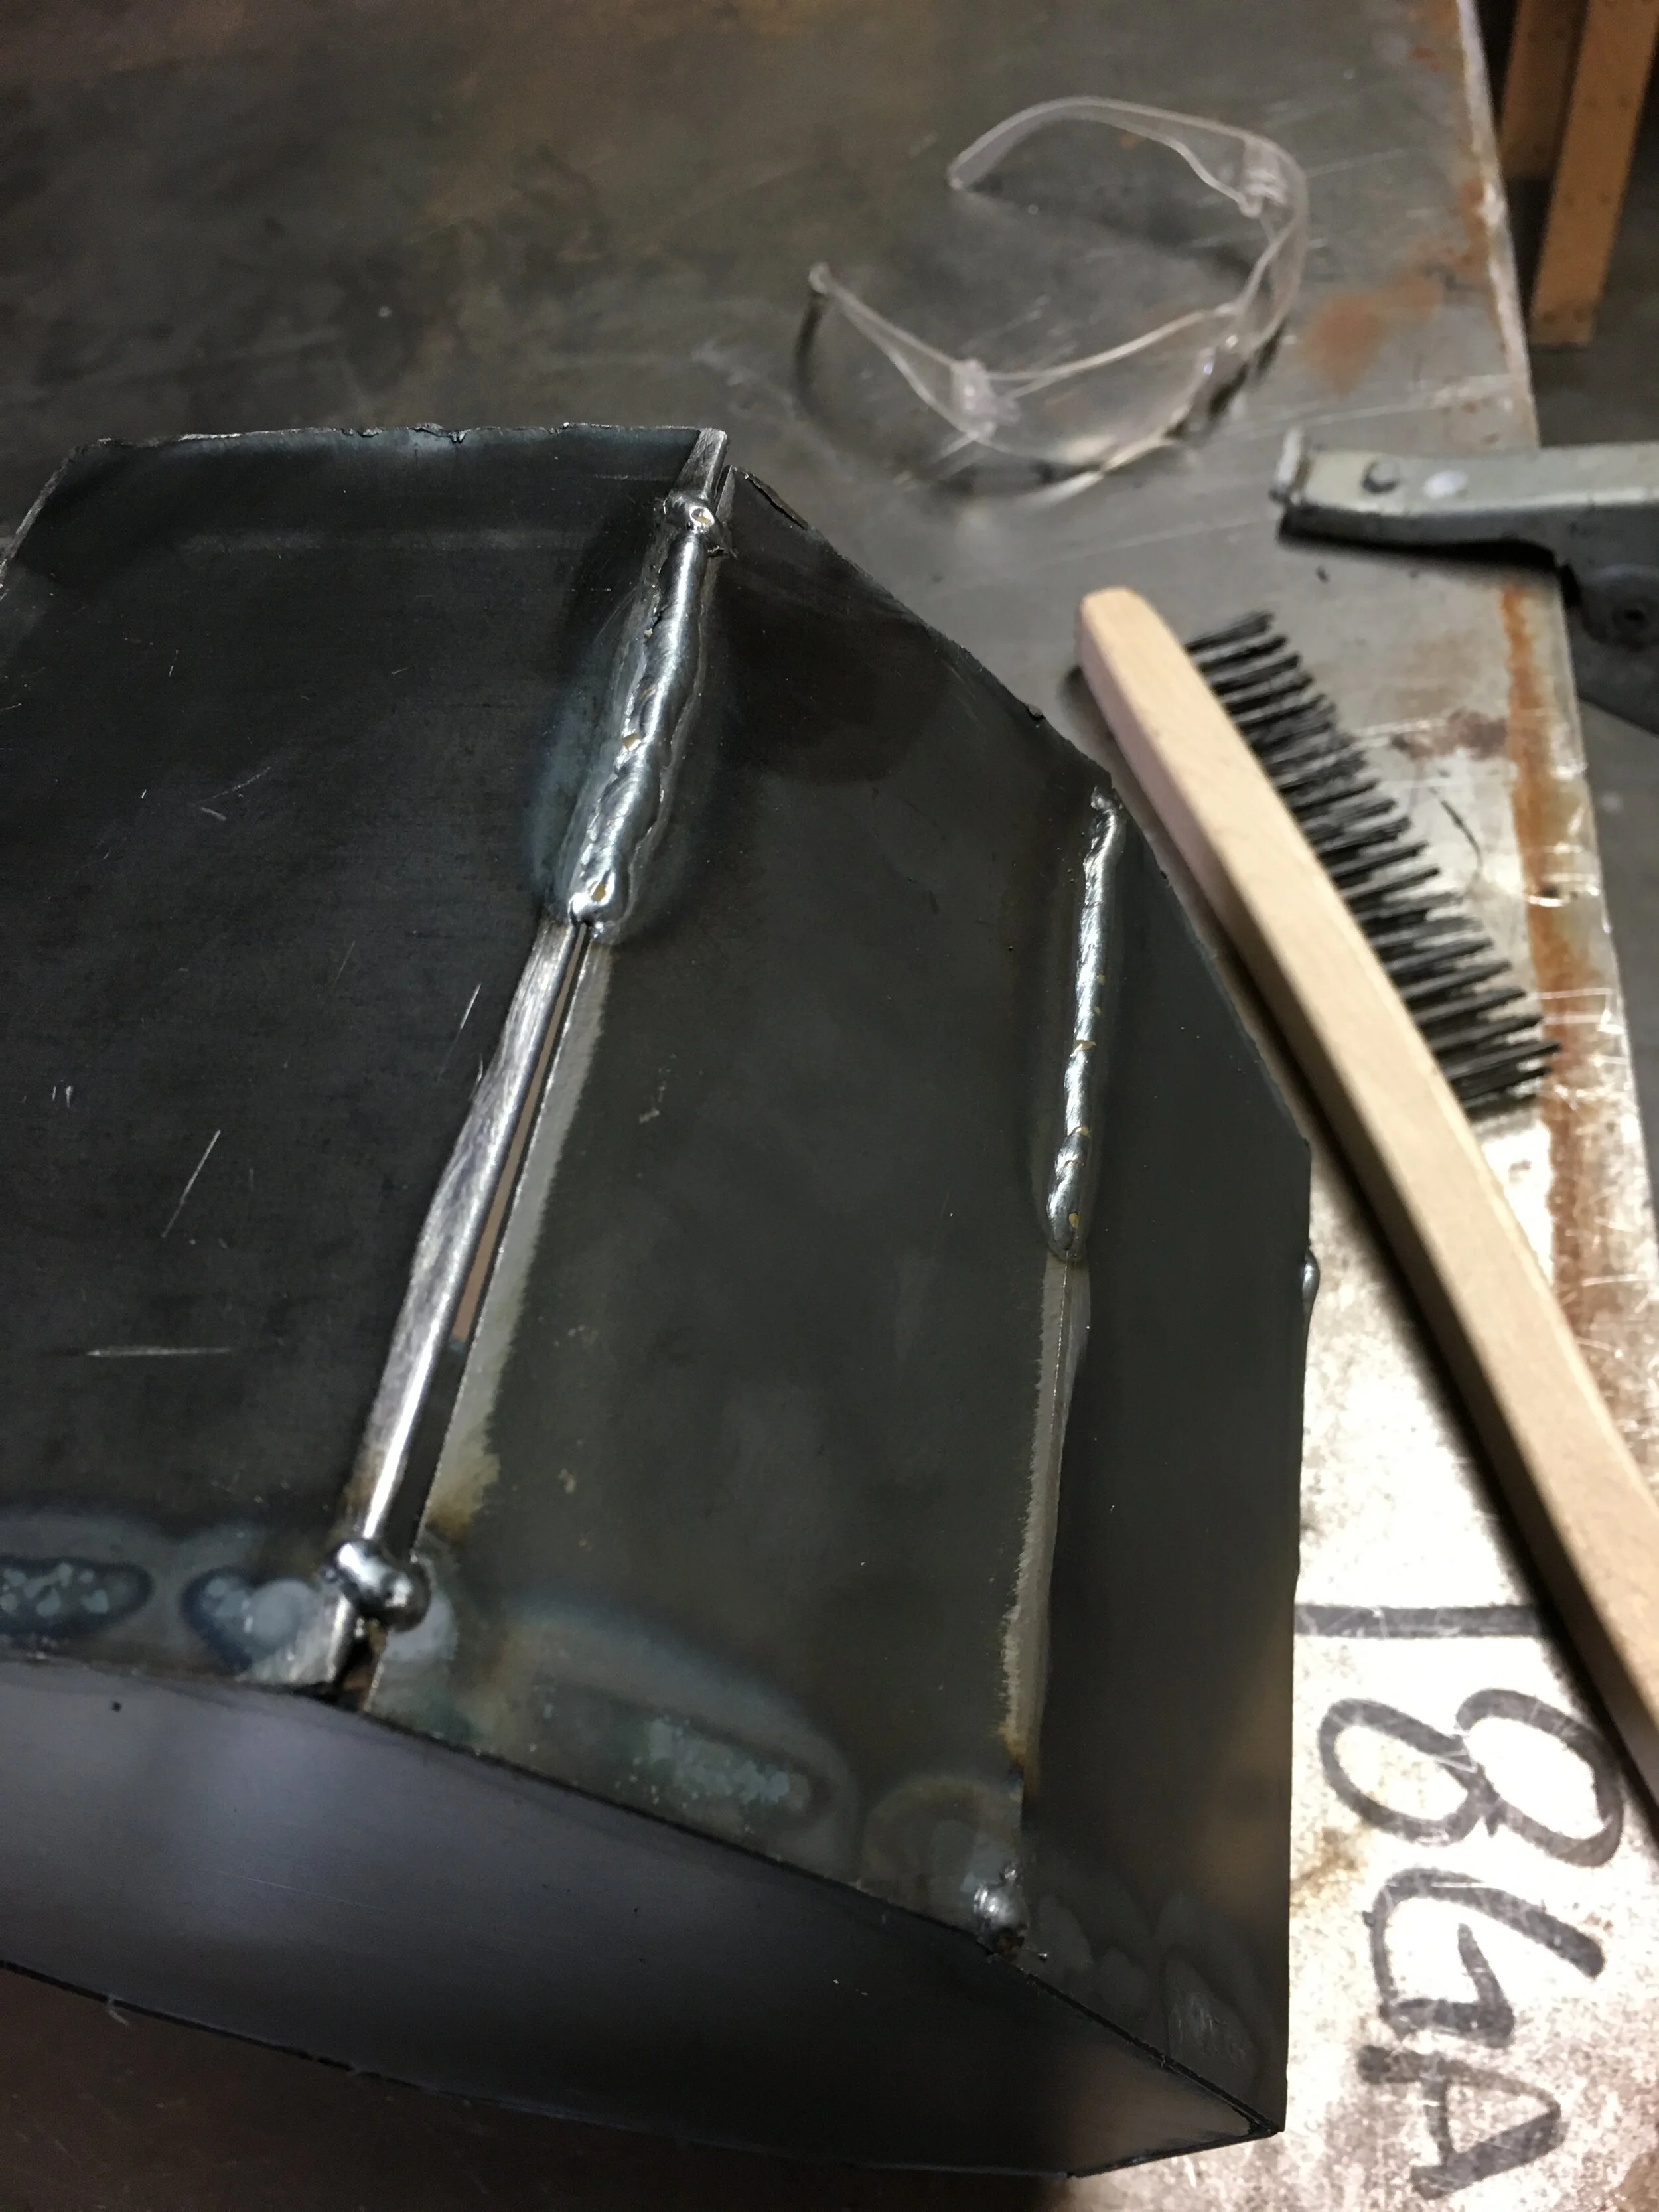
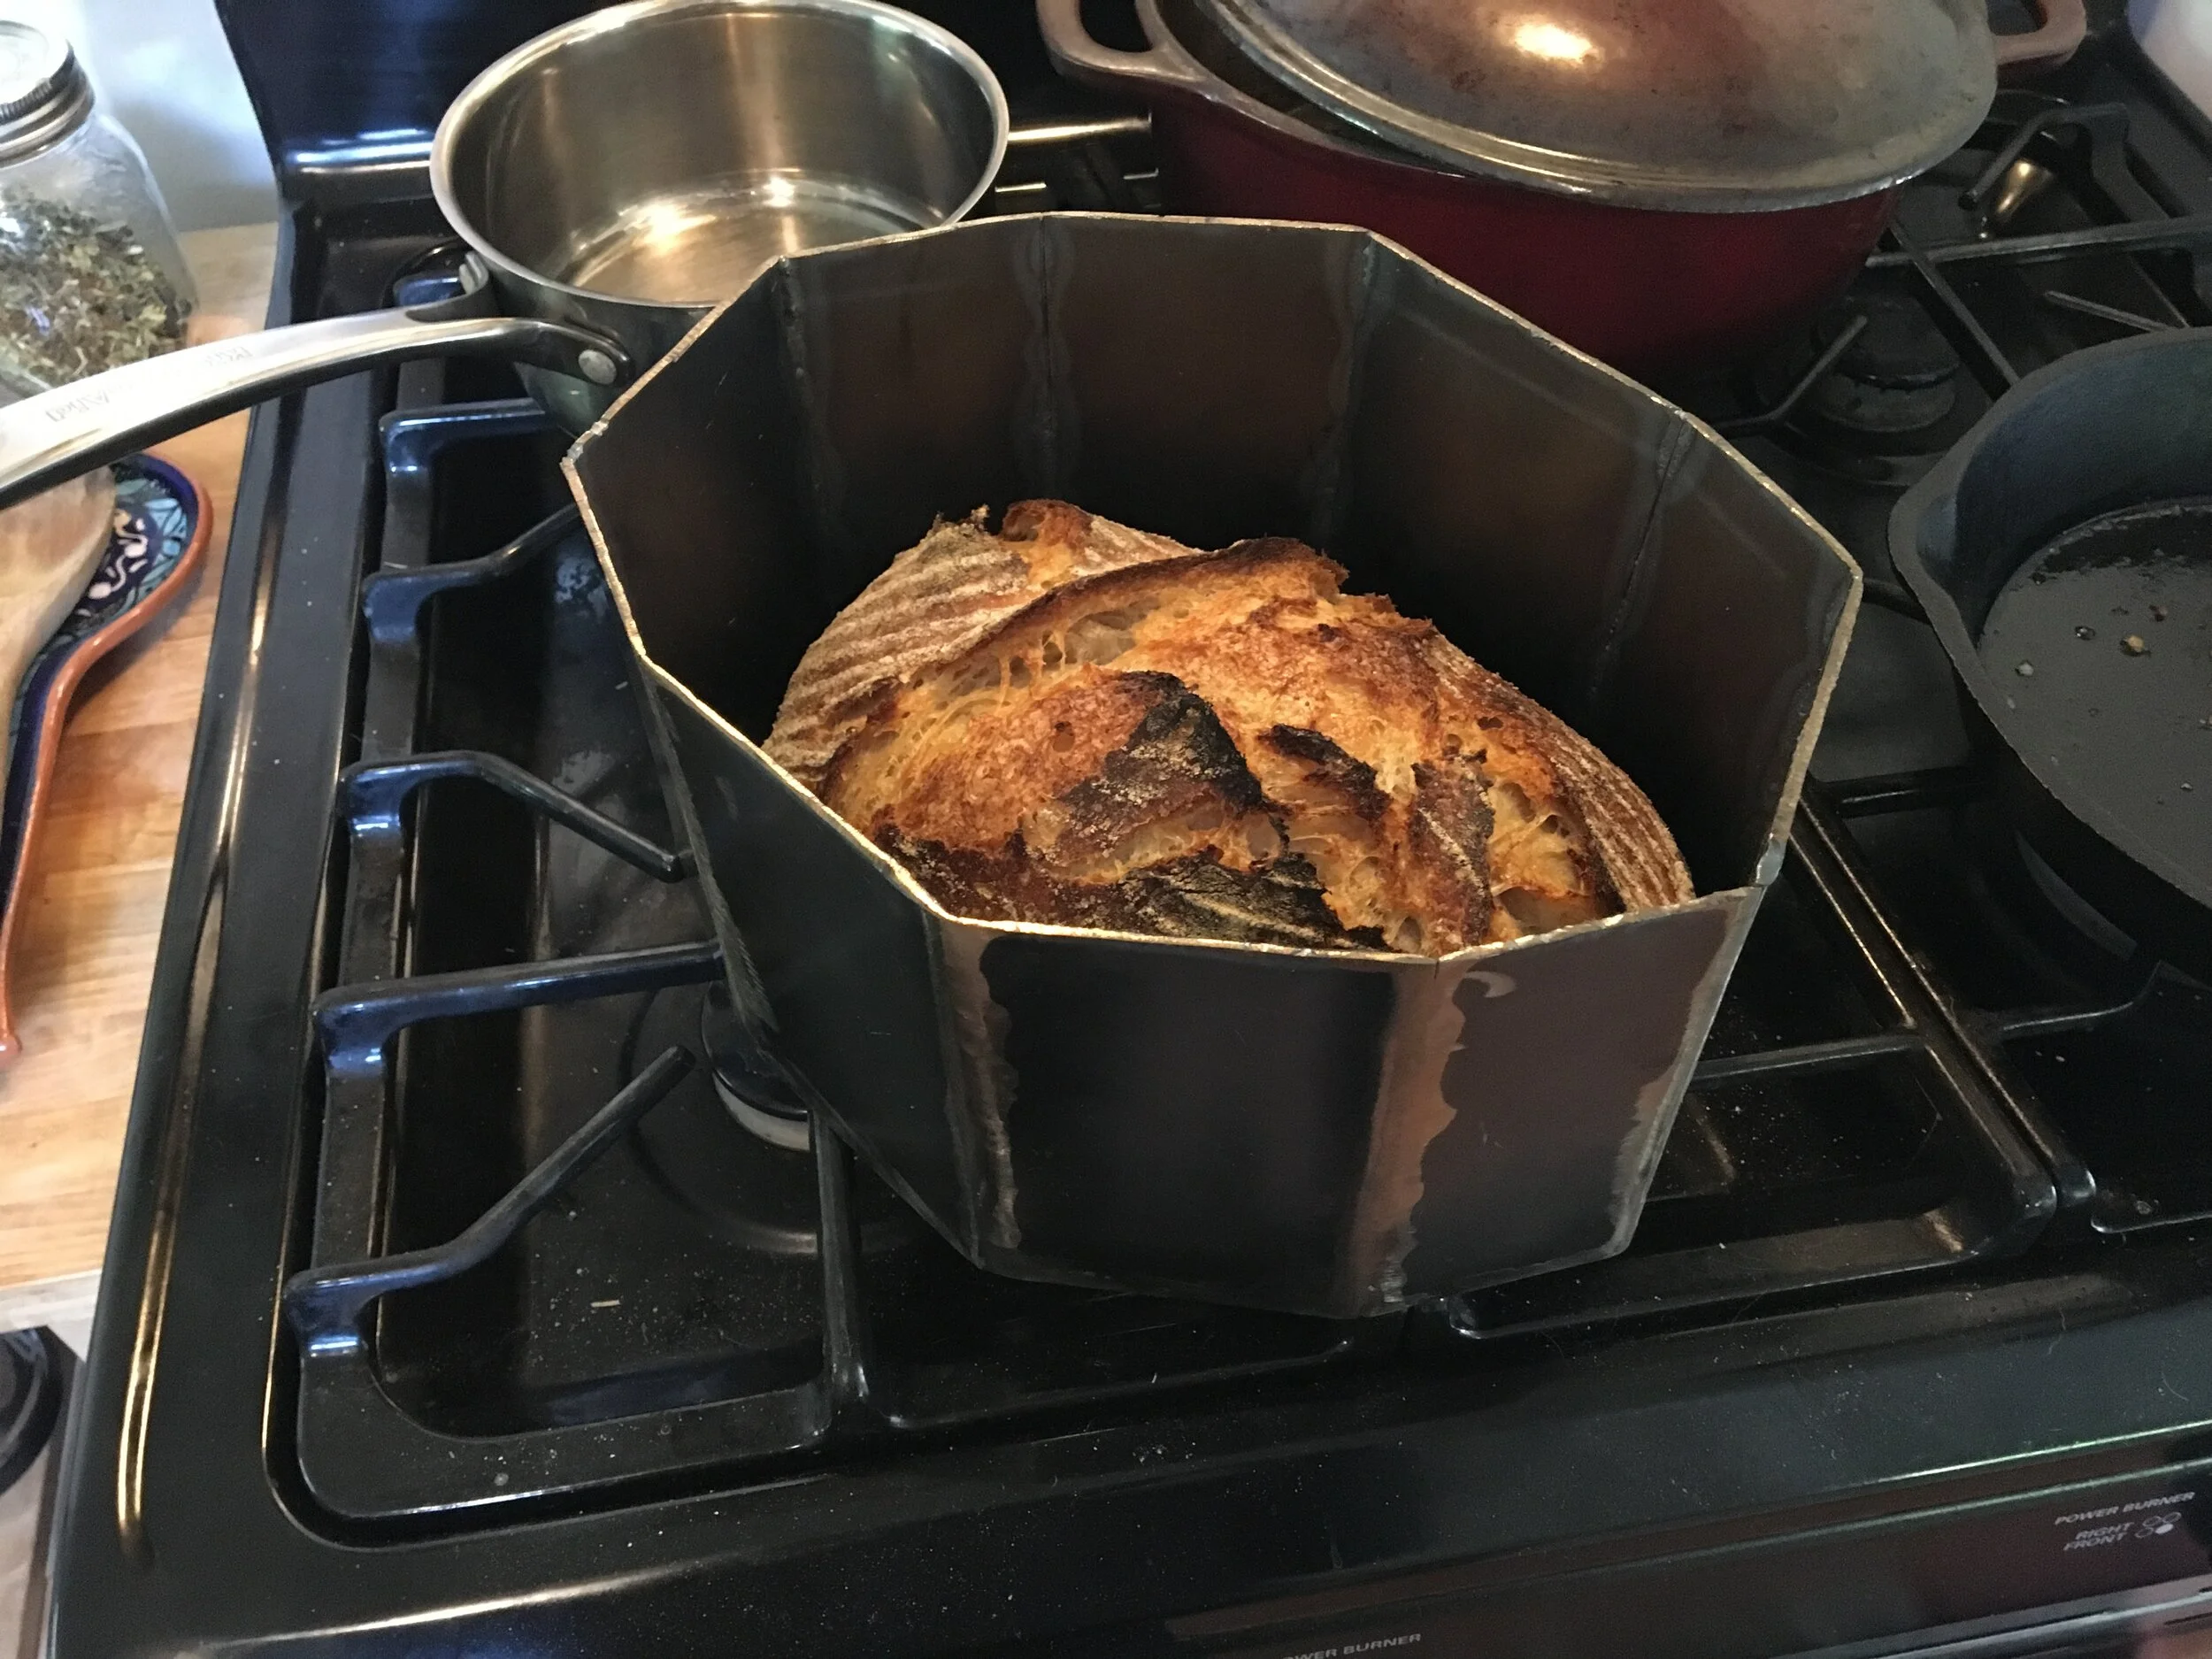
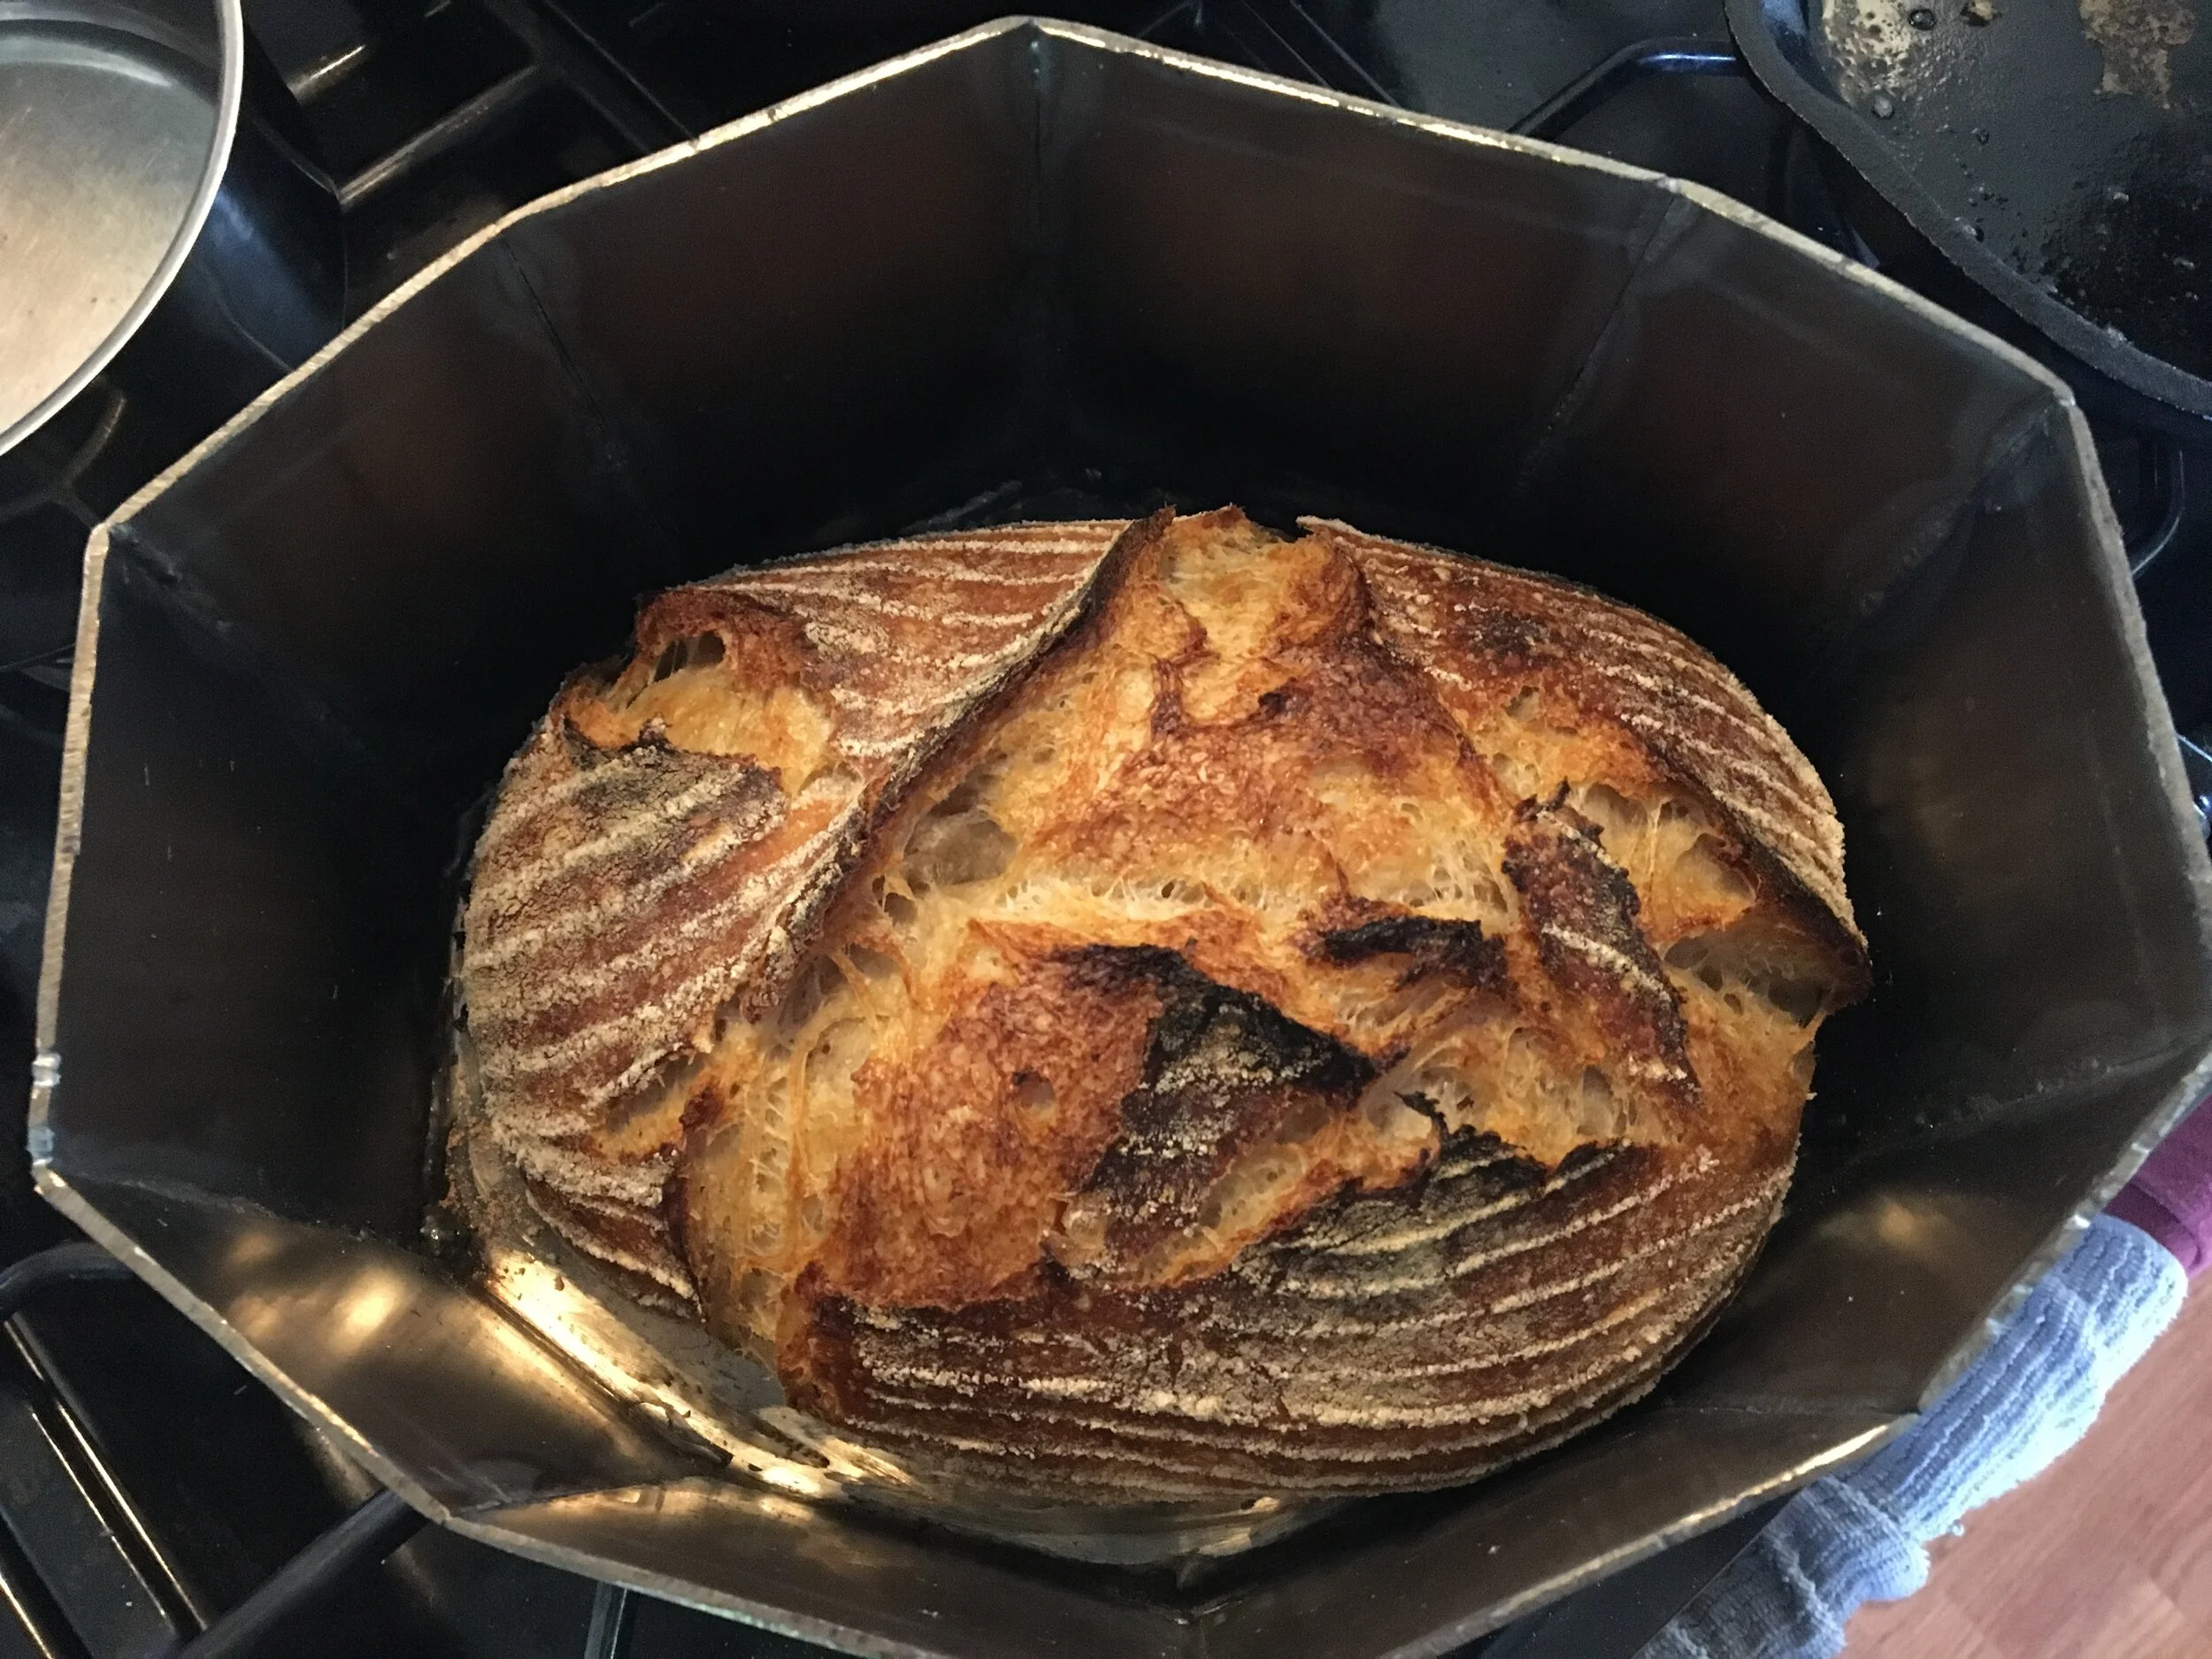
While I was waiting for the panels to be cut, I thought it would be a good idea to practice with the plasma cutter and practice my welding. Brief digression into making pots (for making bread). I have a bit of a need for a particular shape of pot that I cannot seem to buy, but that is another story. In short - the pot sucks, but I learnt some things about welding which would help for the domes. Most importantly, I got to practice welding and grinding.
Measurements taken from my original pot (the best bread making pot…)
This has got to be one of the worst ways to make a pot
Roller
Closeup of panel in roller
By this time, I had picked up the panels, and started to plan a time to head out and use the rollers. The design was for two domes, one with an 18” radius, the other with 20”. The justification here was that I could fill between them with 2” of insulation, and 18” * 2 = 36” diameter would give me enough room a couple pizzas. I had 20 panels in total, and luckily I worked out a cash + bread deal to use the rollers. I also got some free advice on welding the dome, and I don’t think I could have finished it without it.
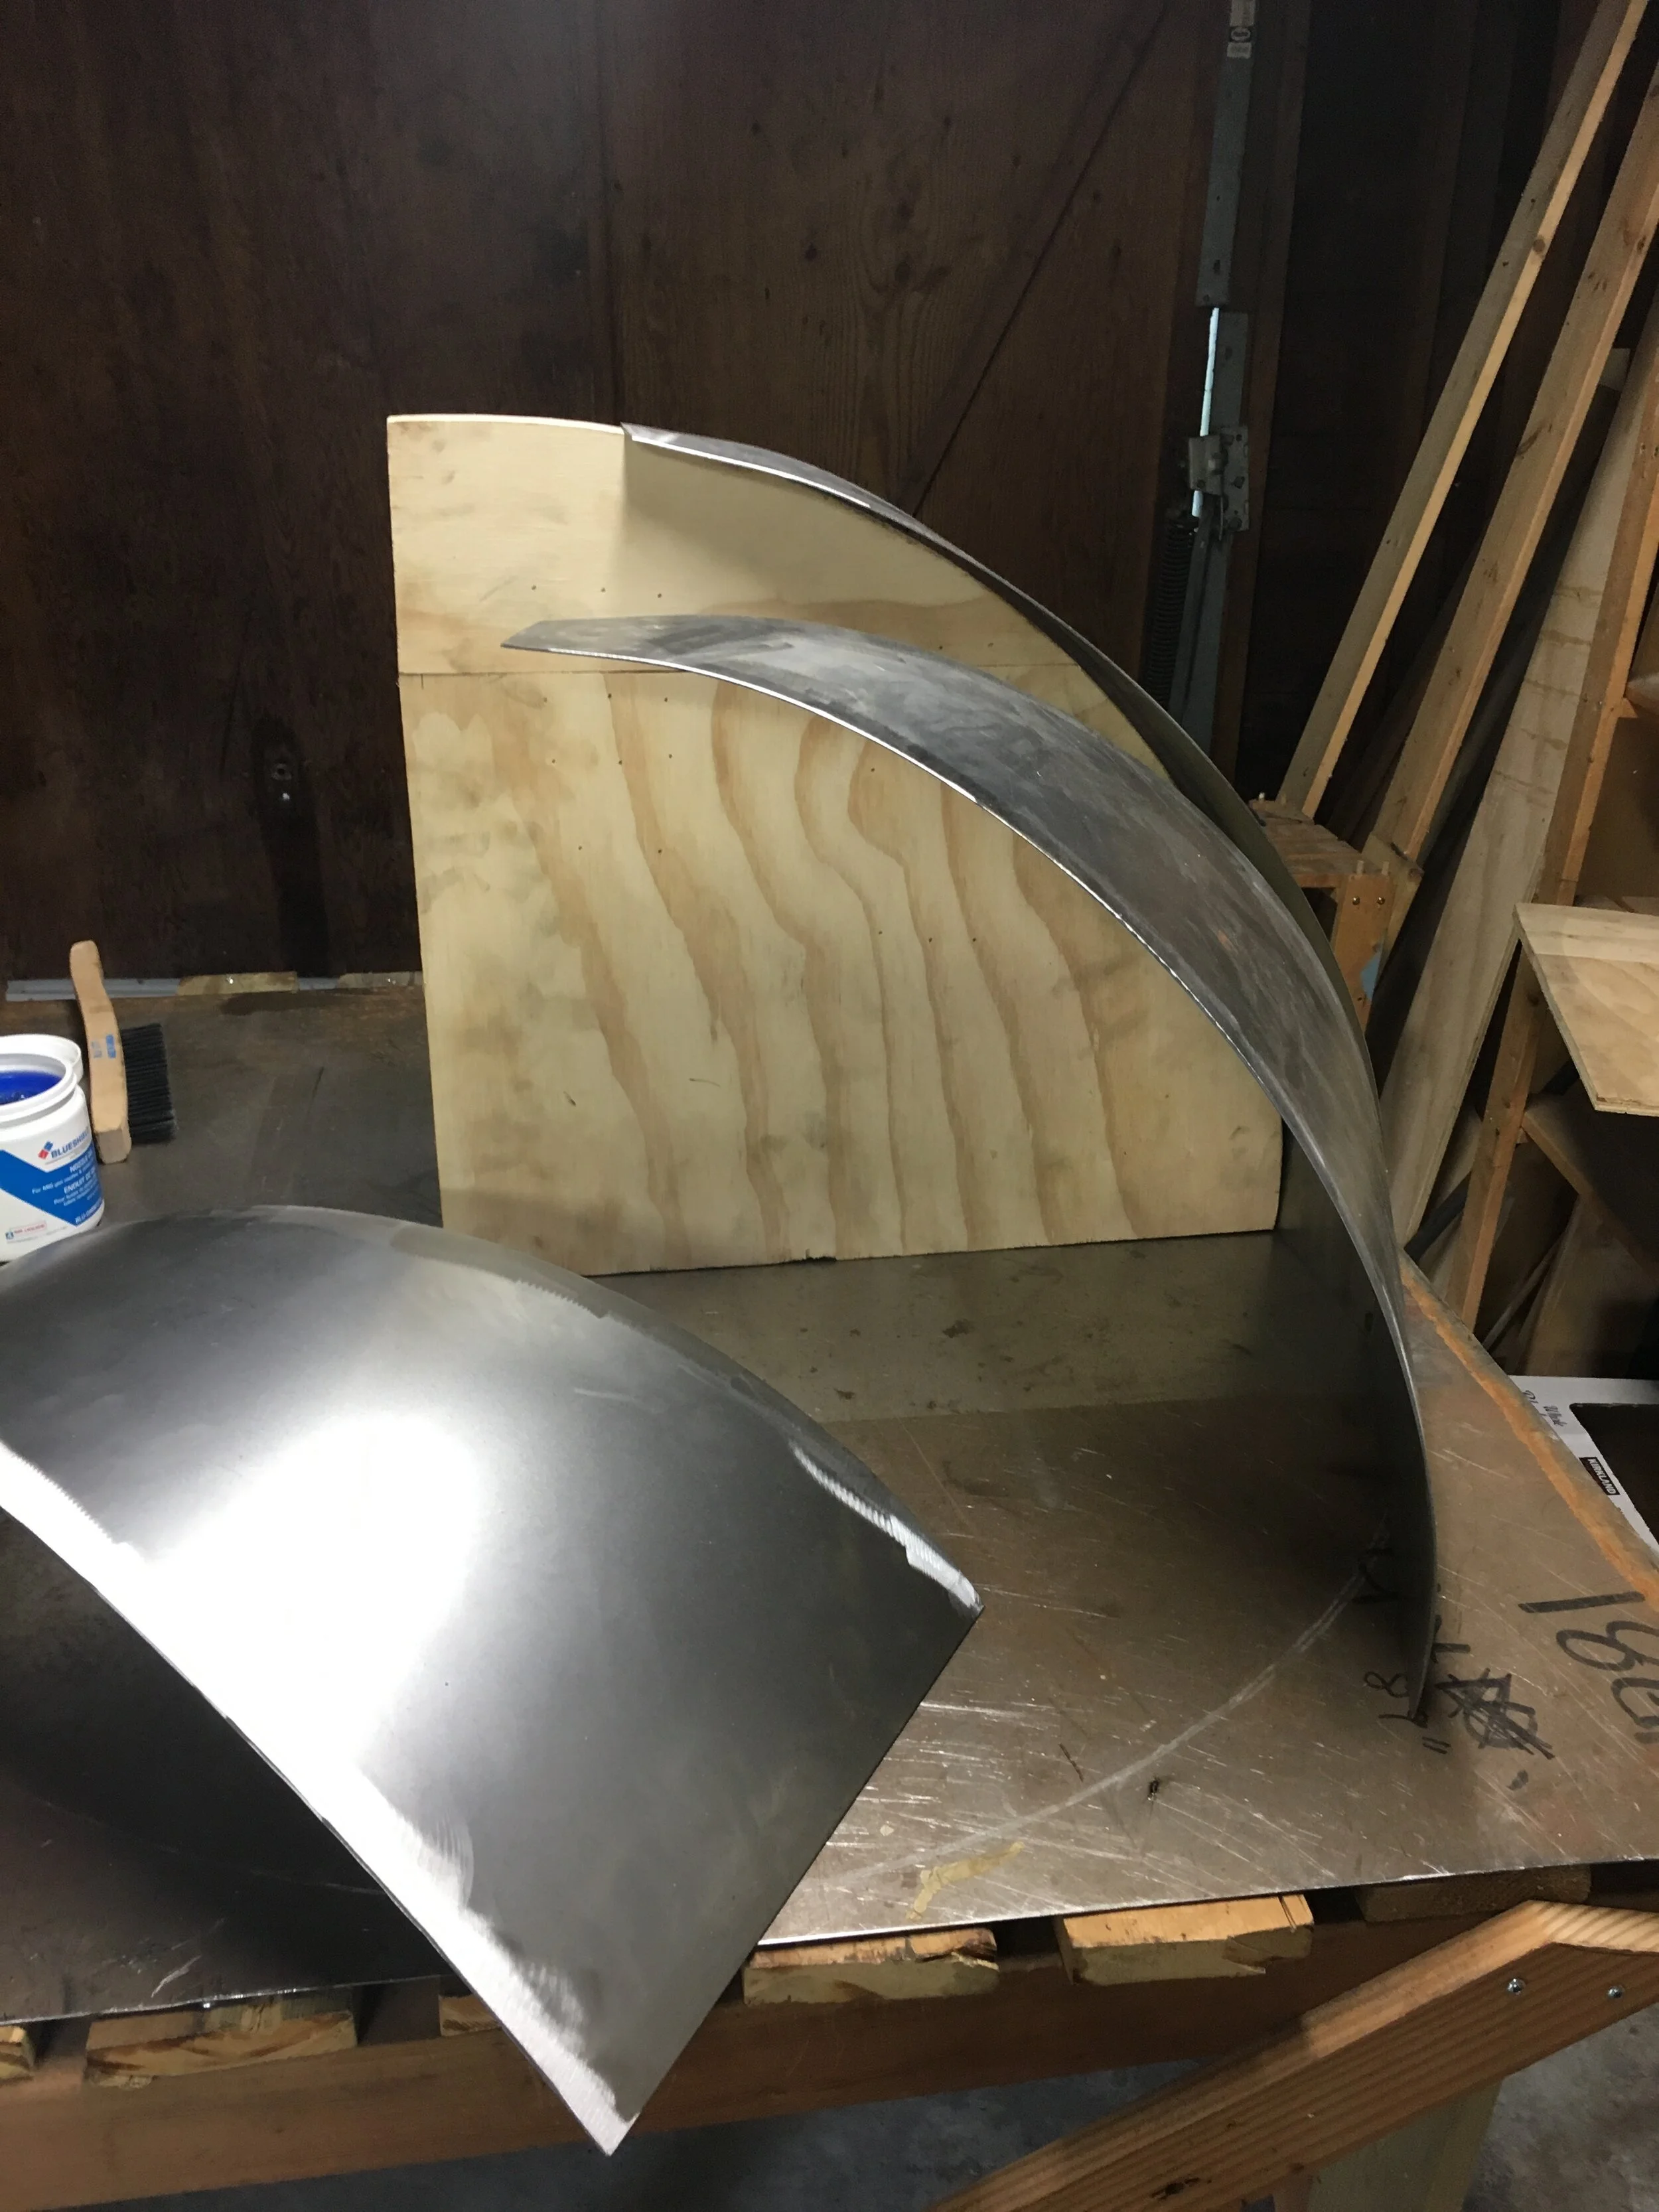
The panels are curved on their edges, and the width obviously tapers toward the tip, which means when rolling, because there is less resistance, the tip will curve more than the base. The steel was 16 gauge, so I figured it would be manageable to work around the ‘Nightmare before Christmas’-esque curvature.
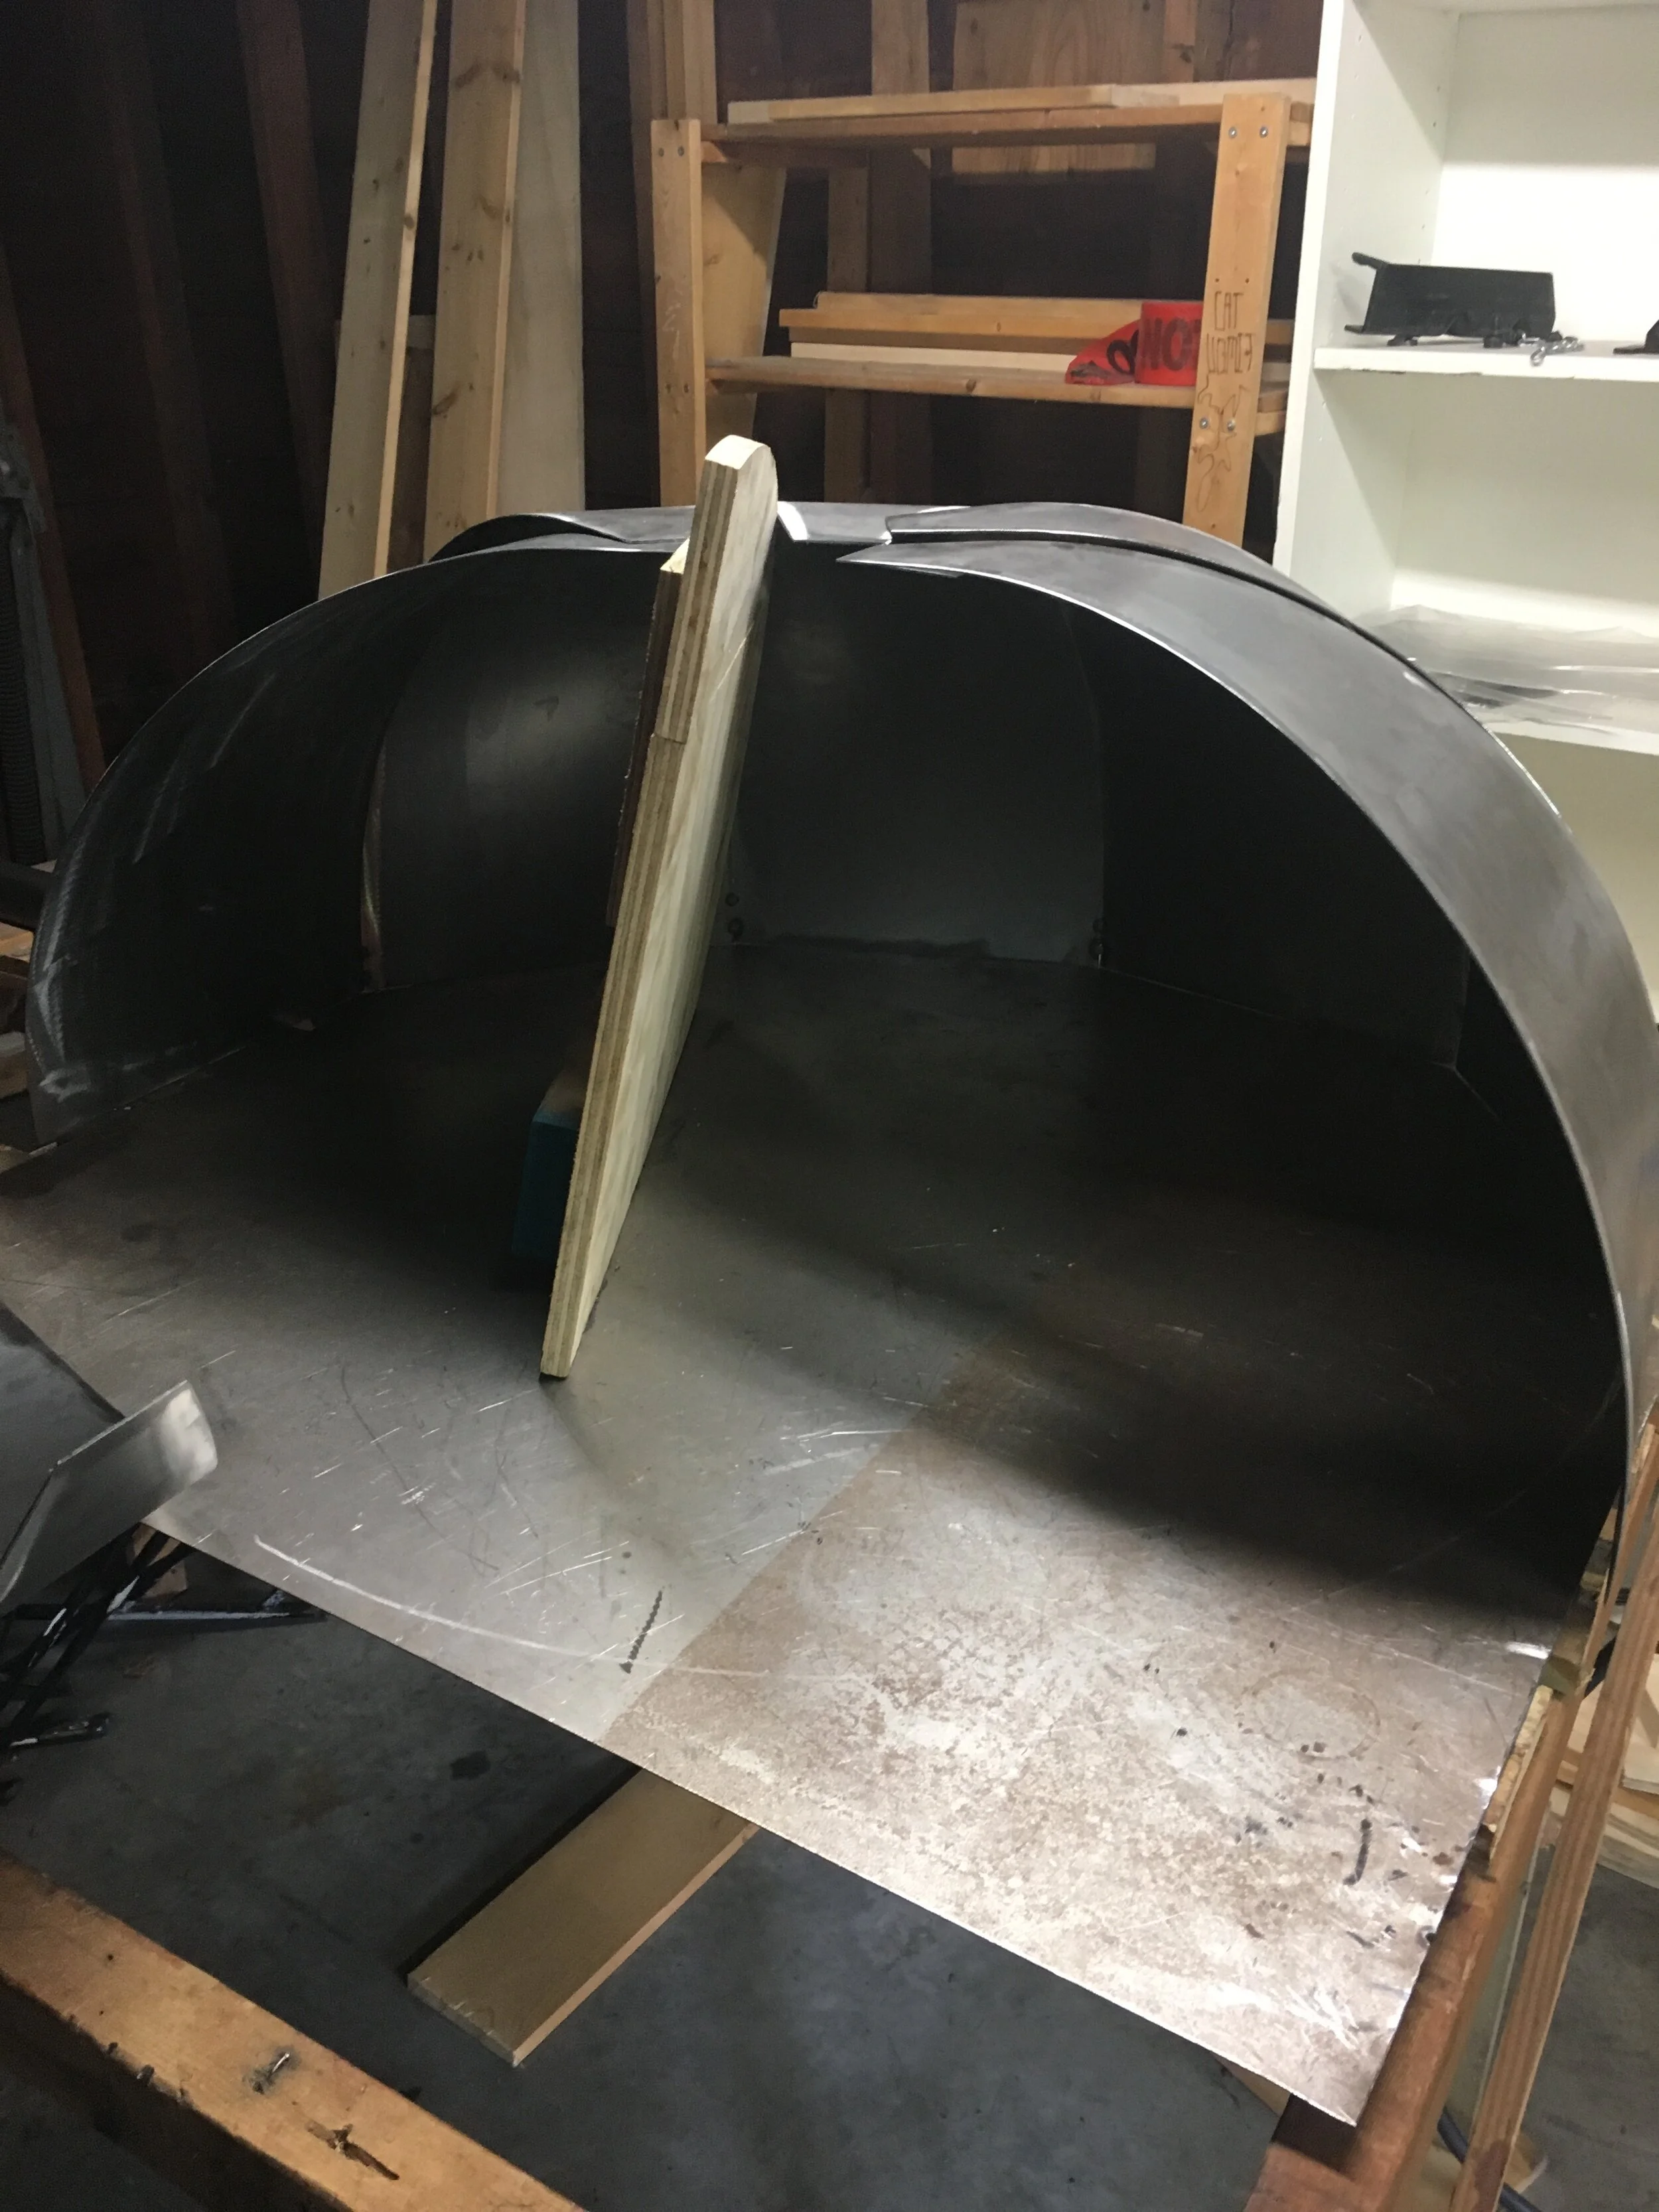
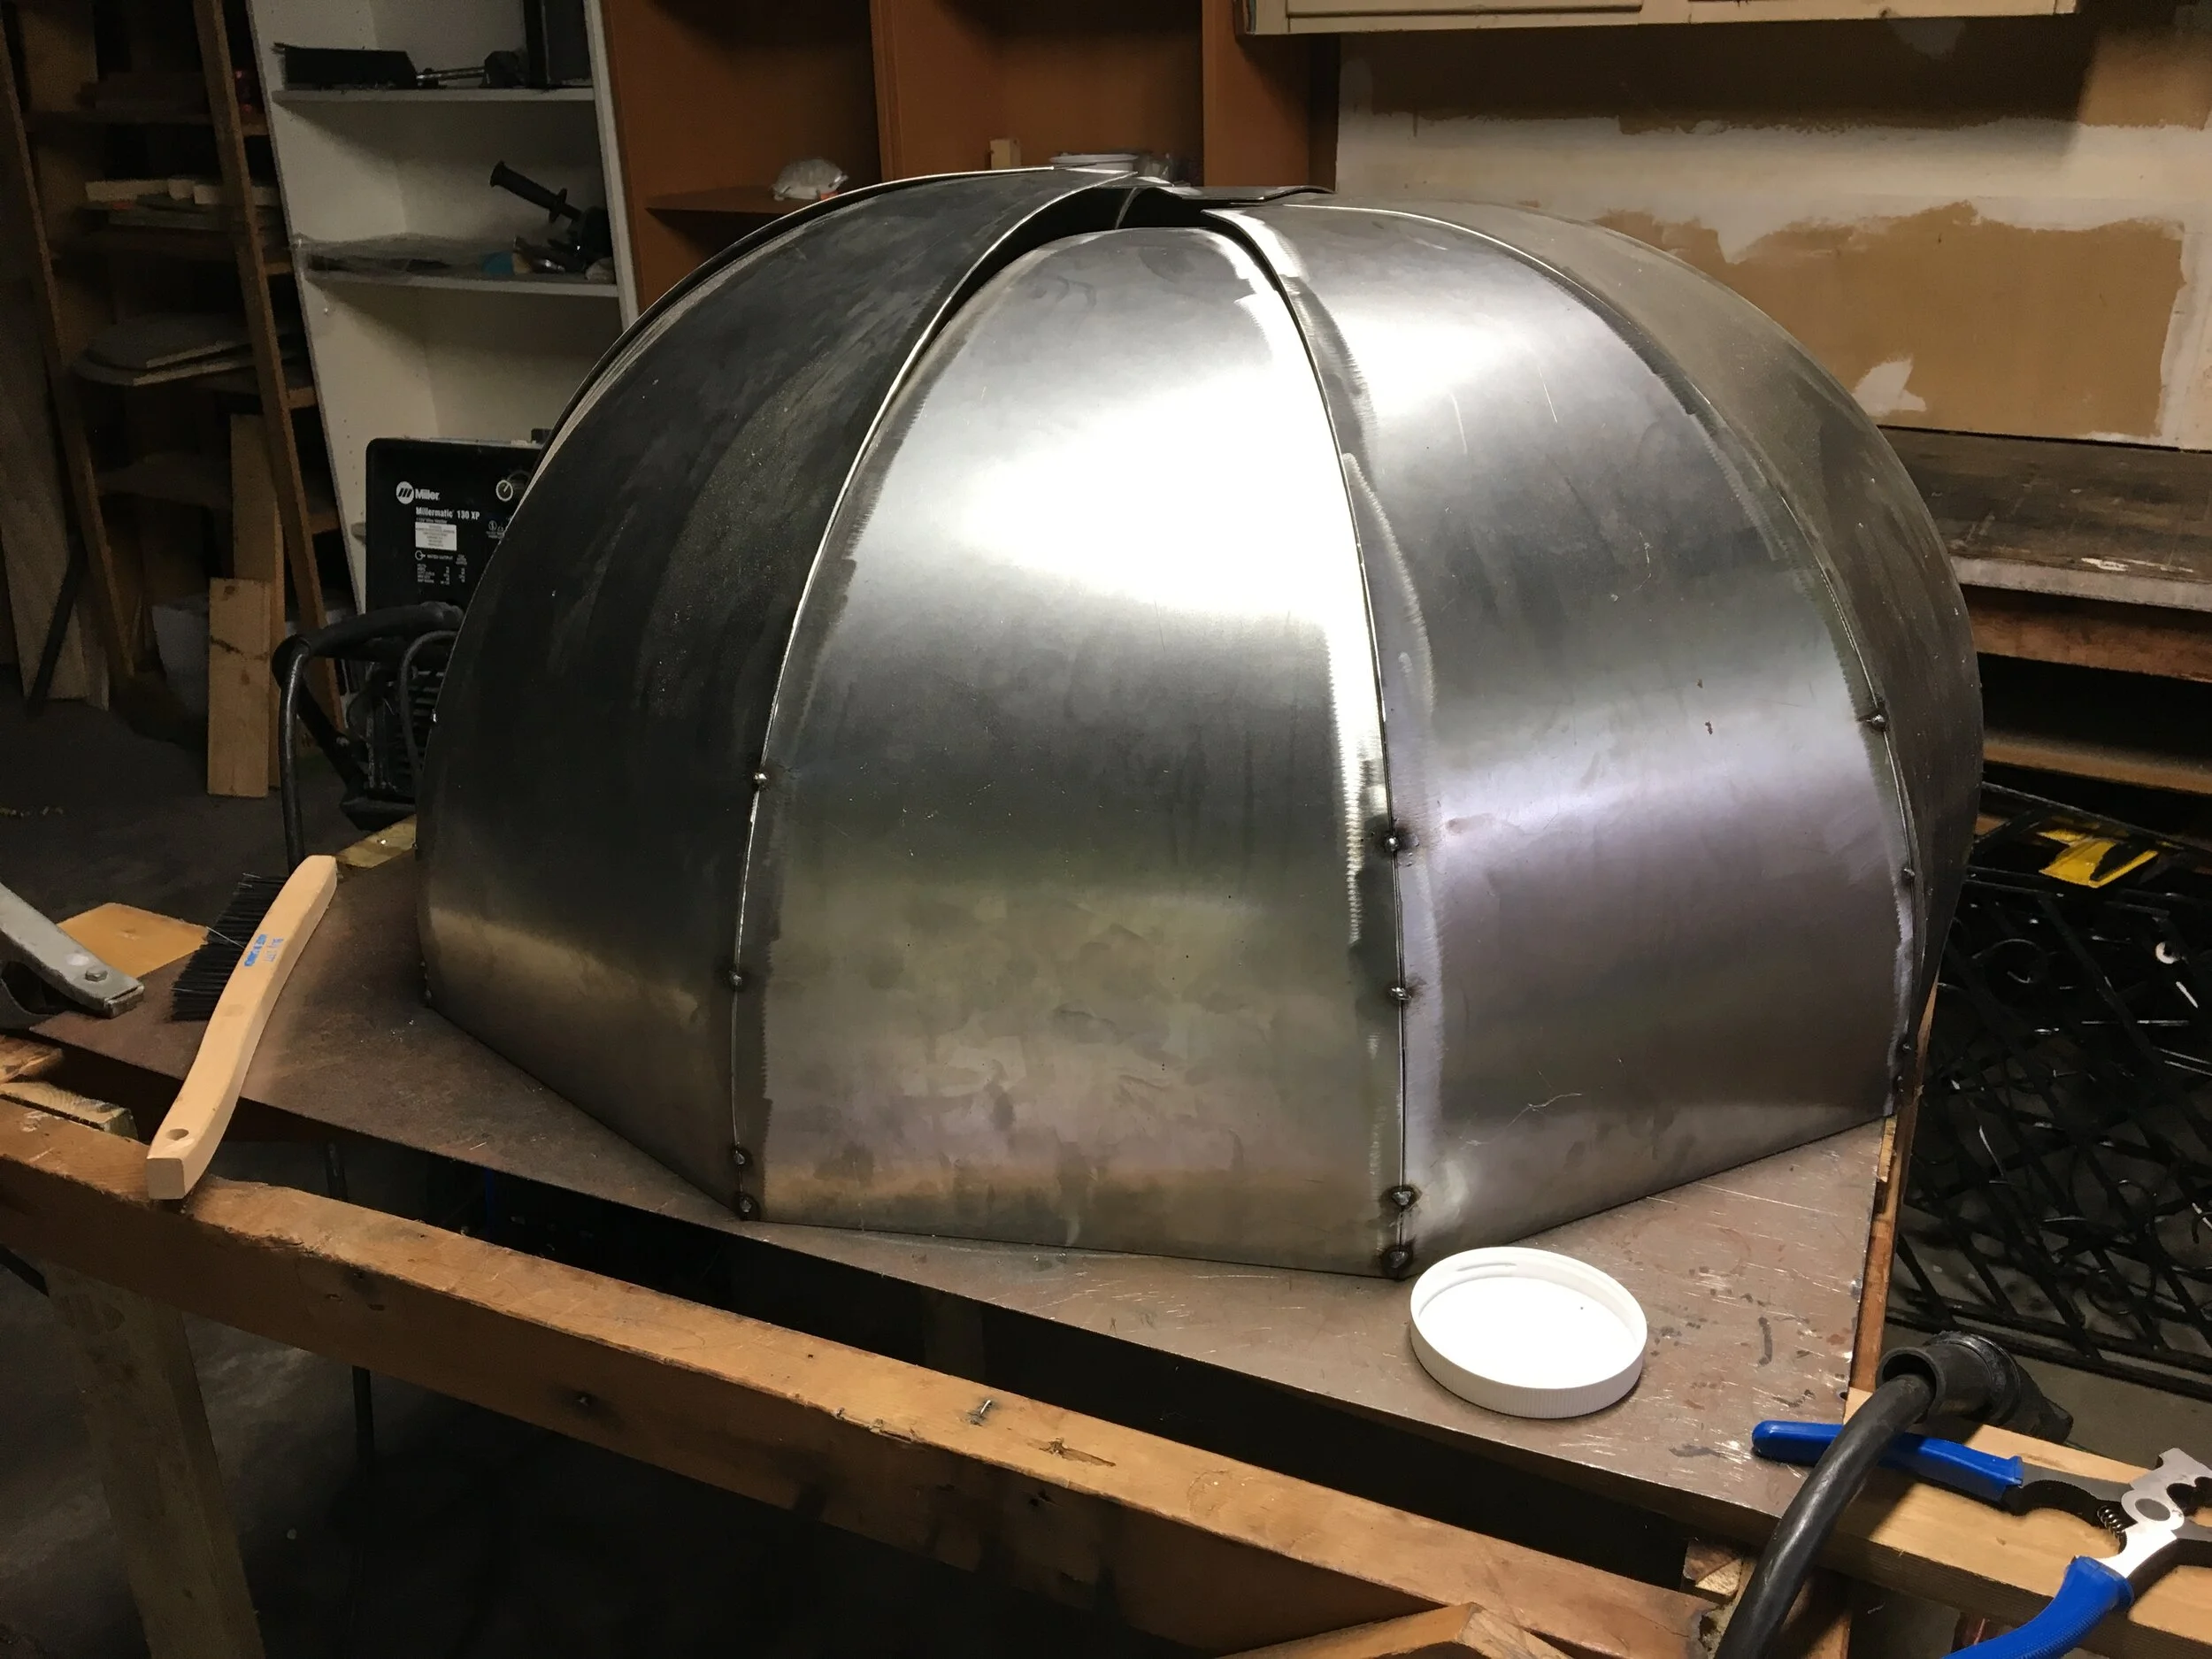
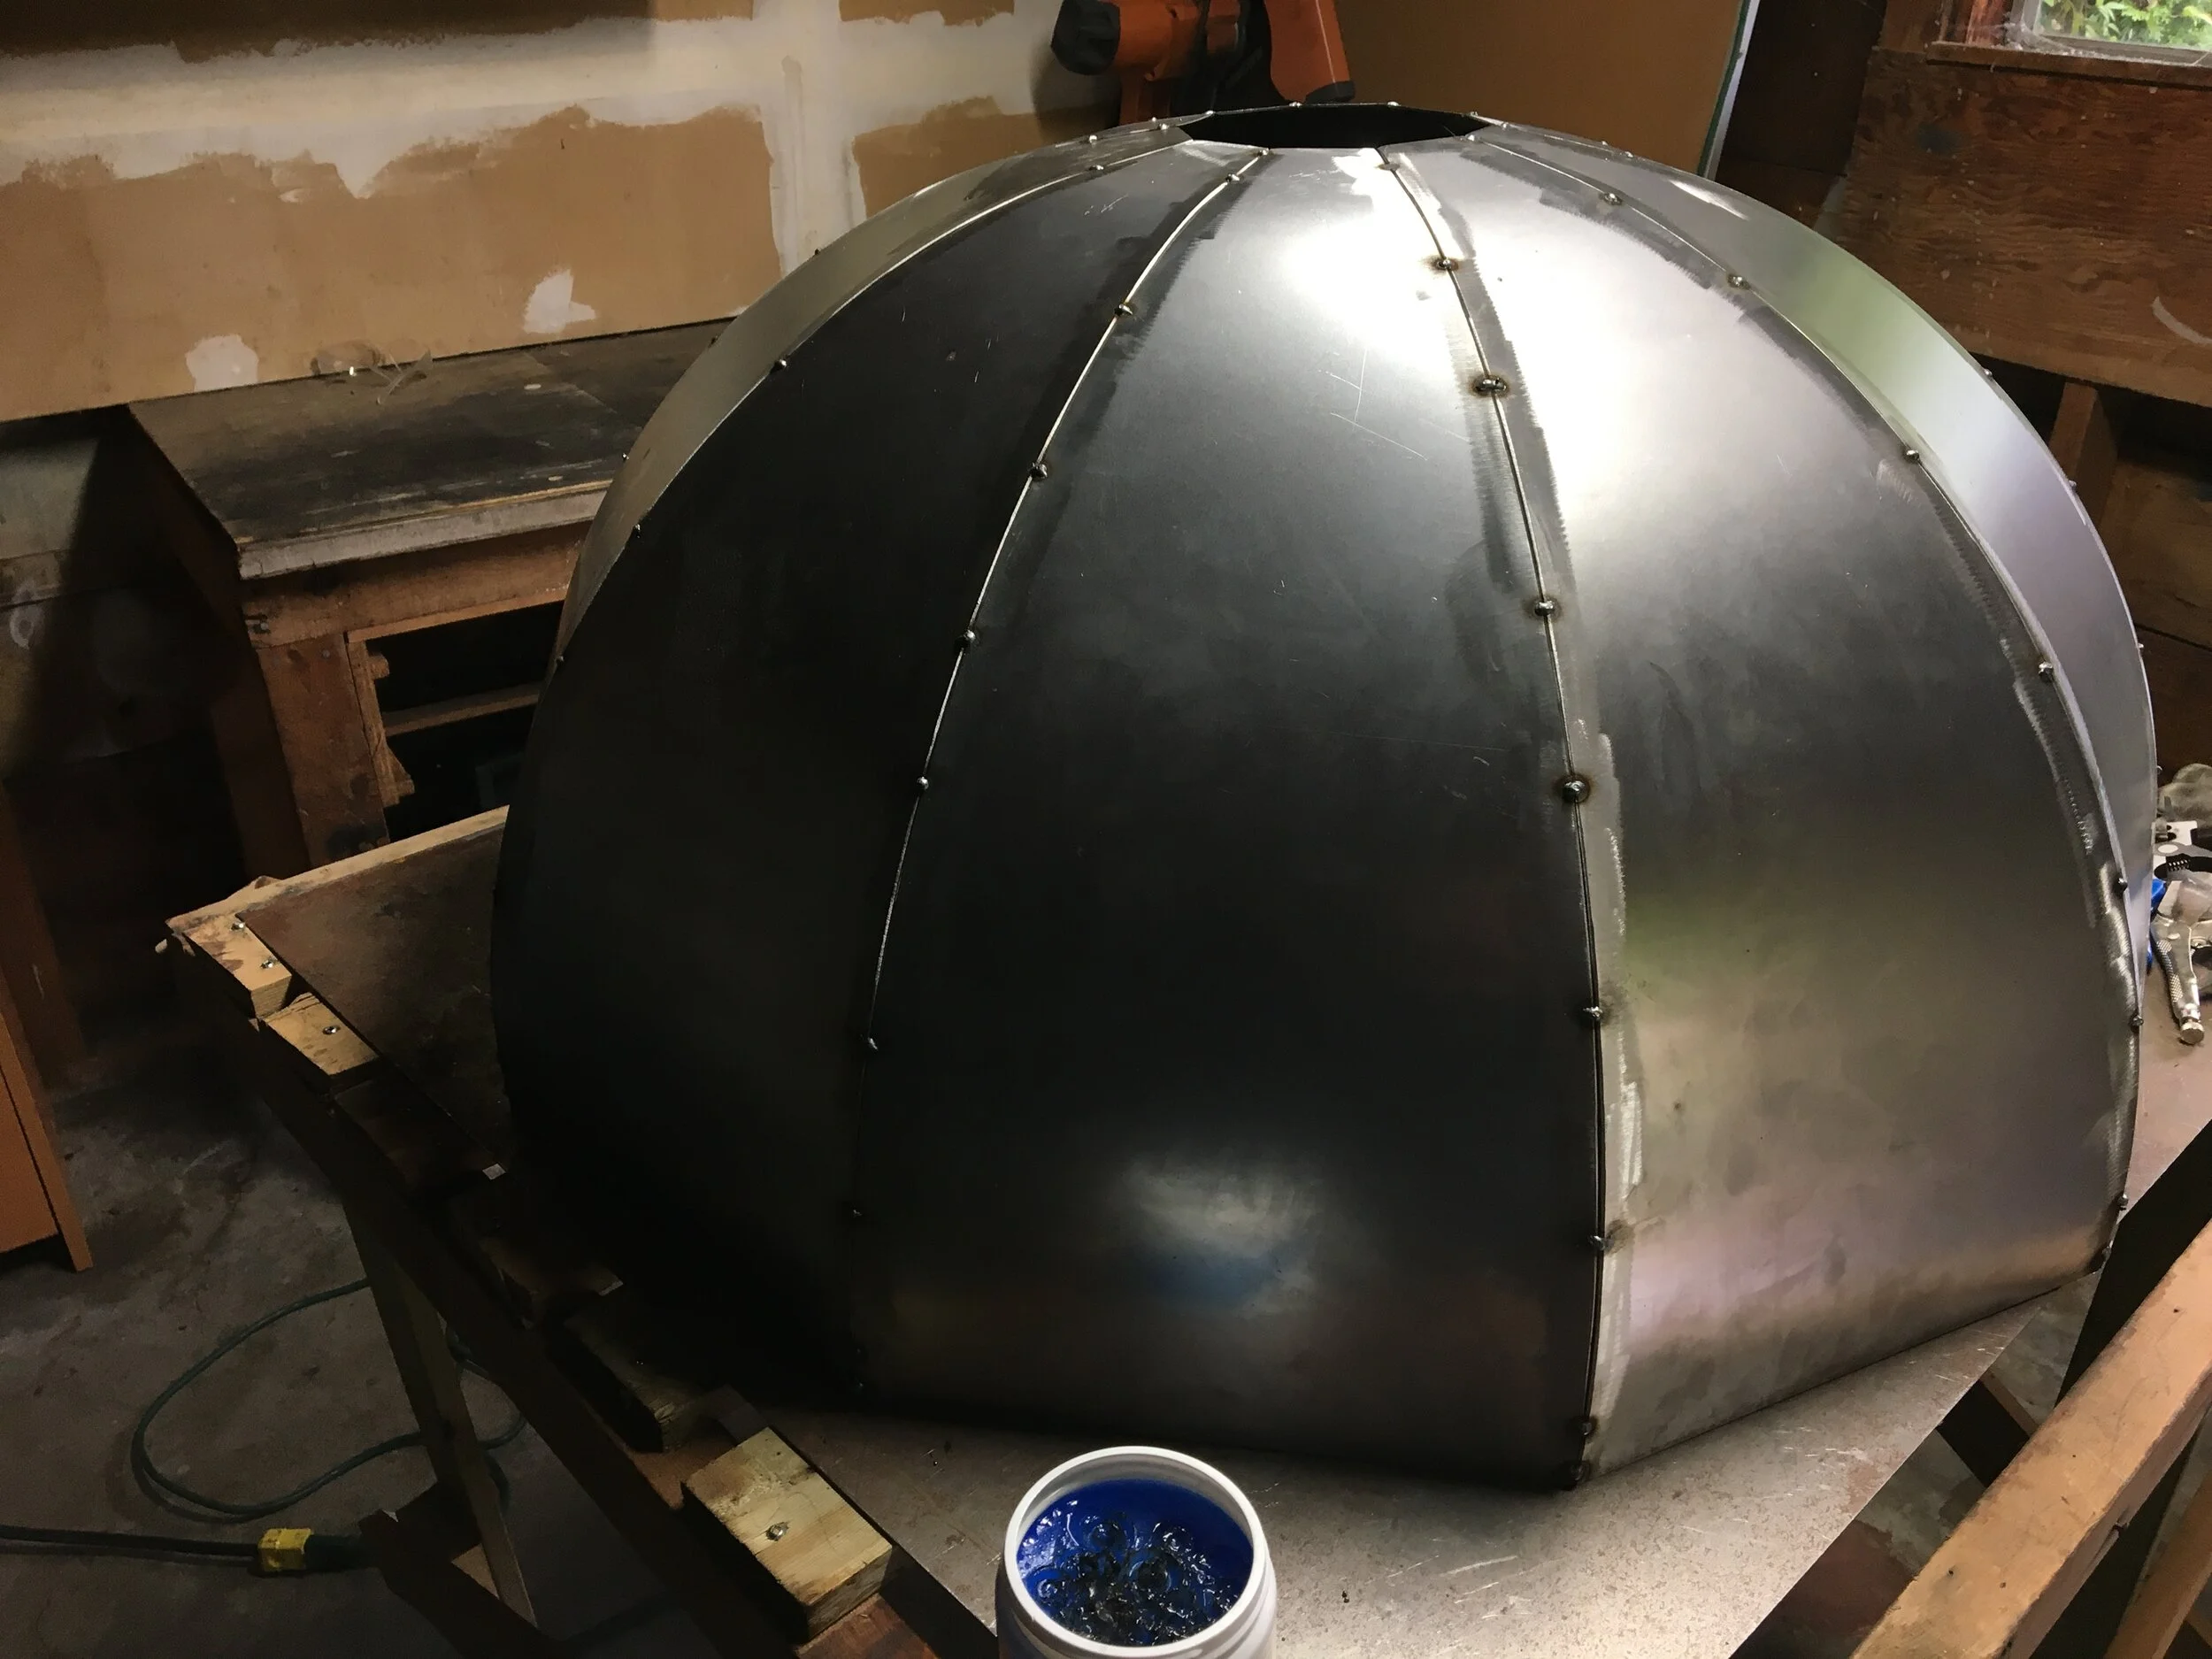
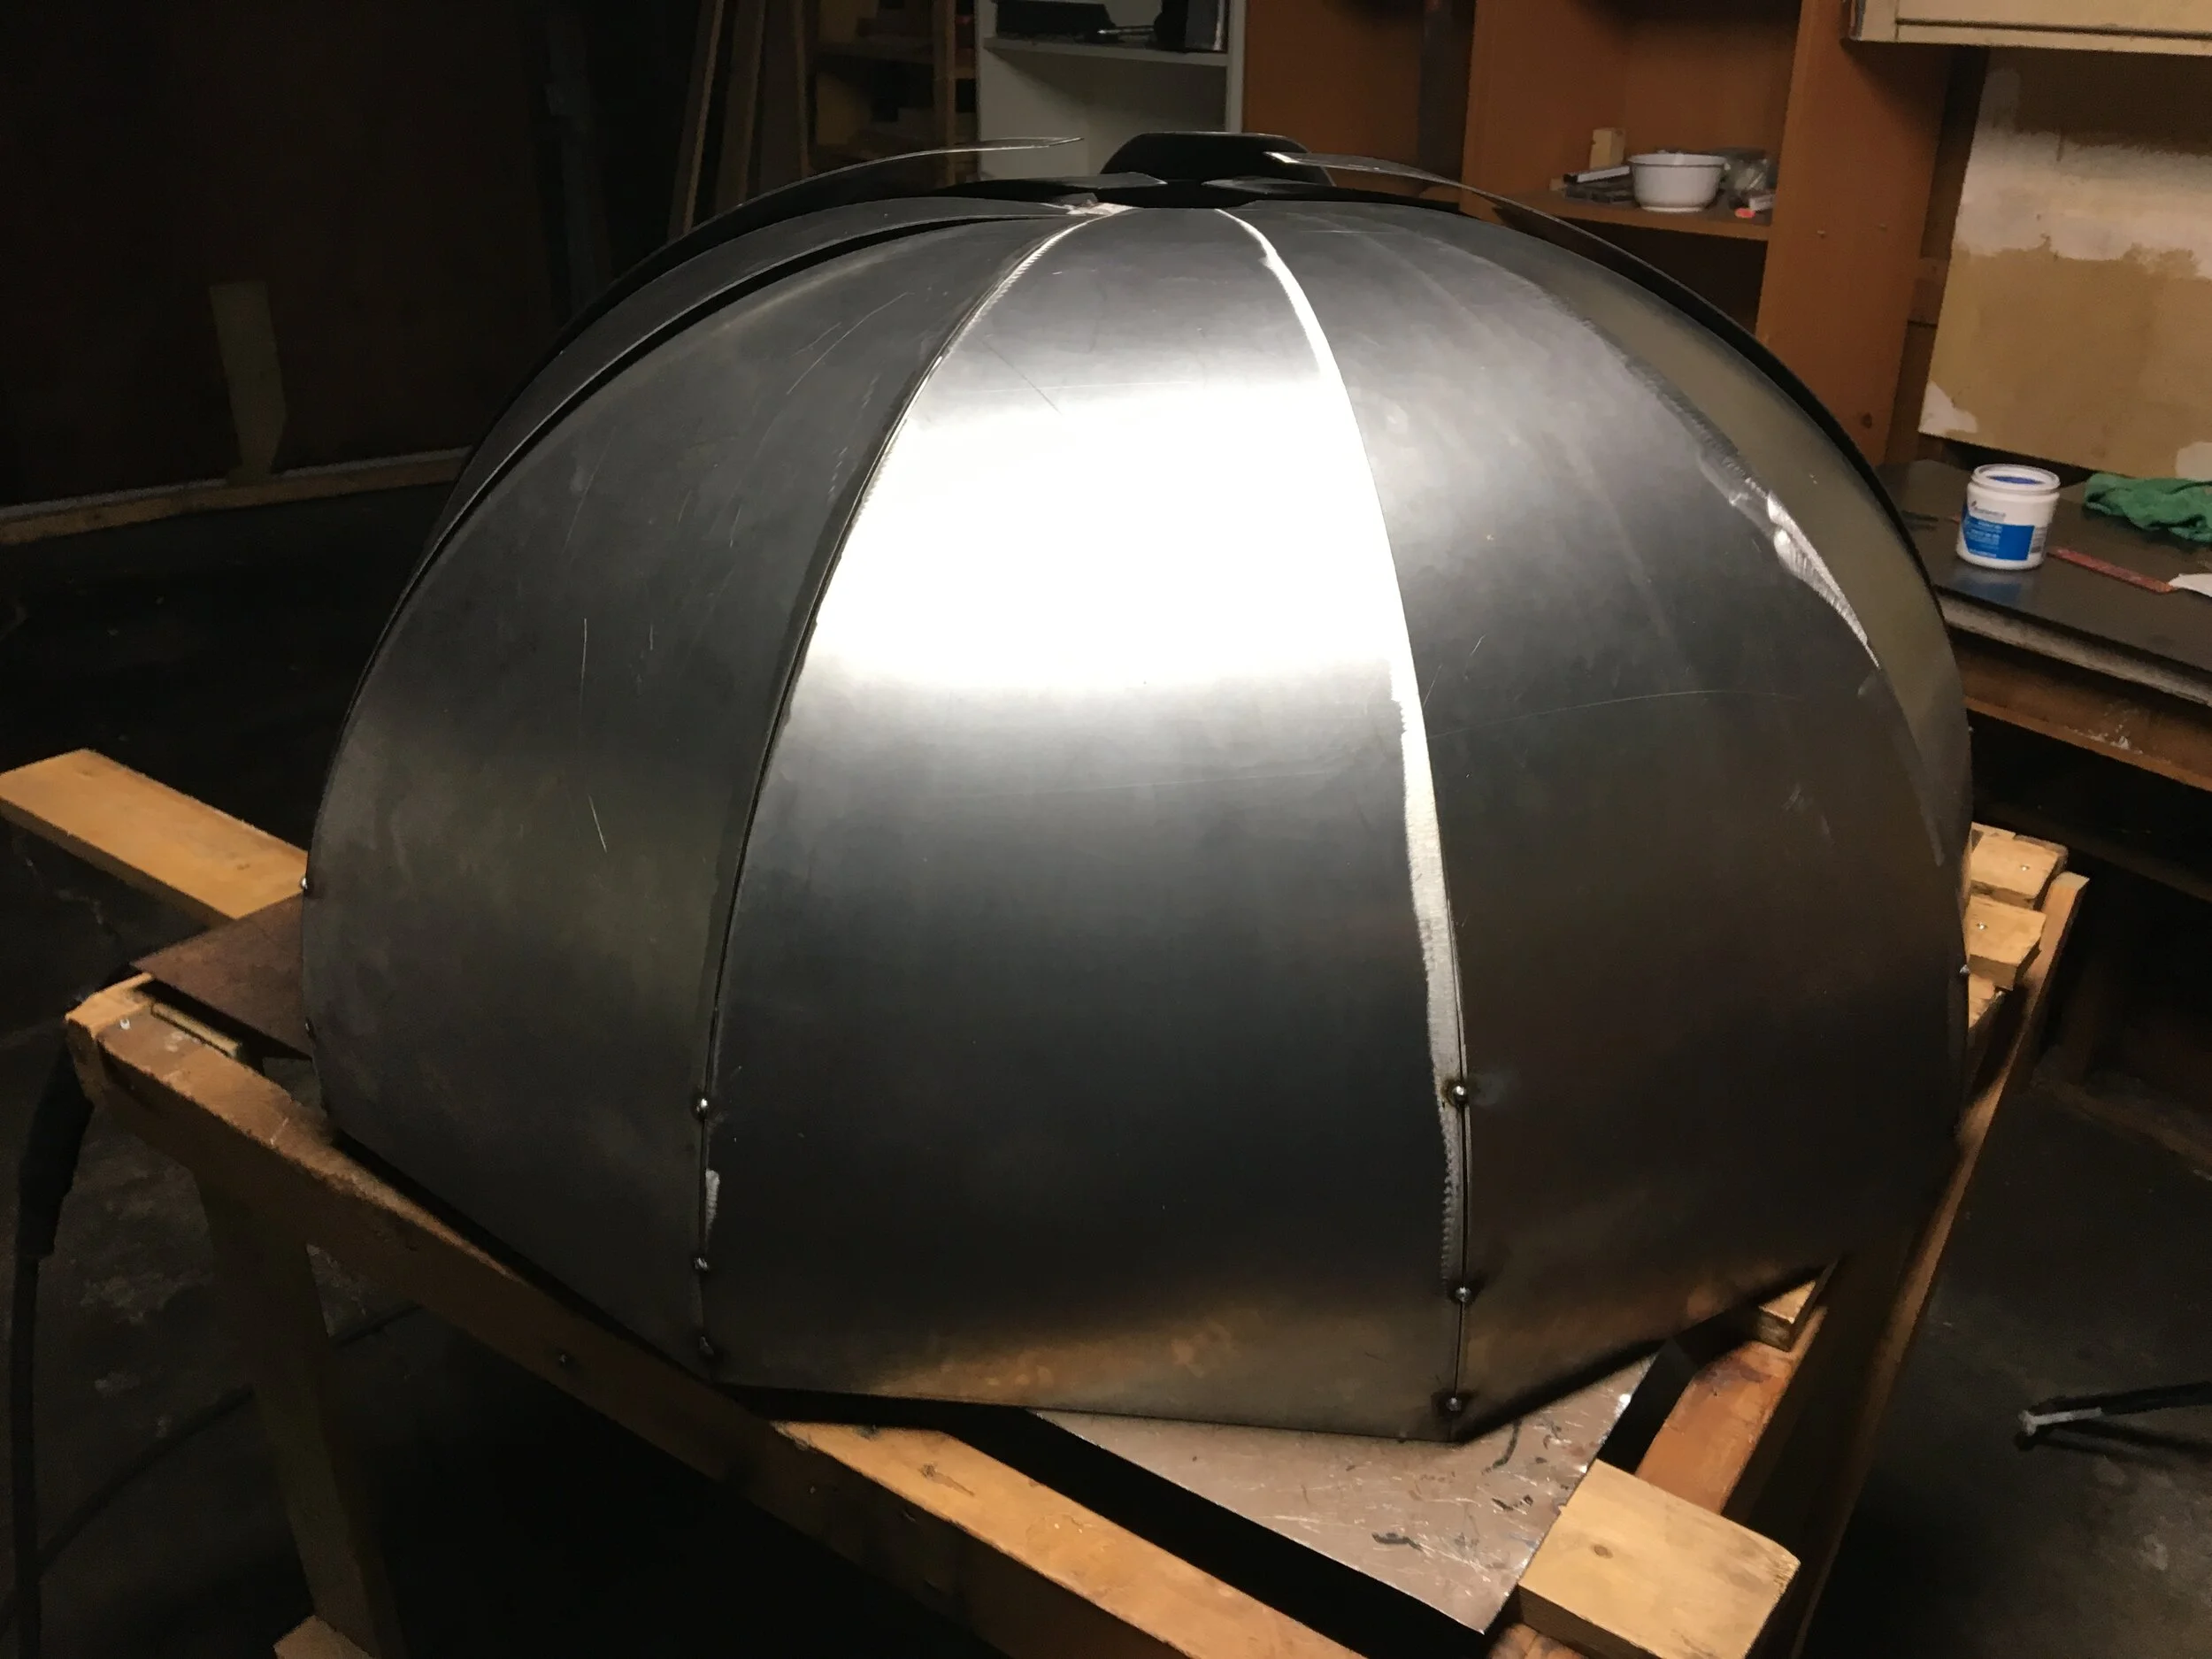
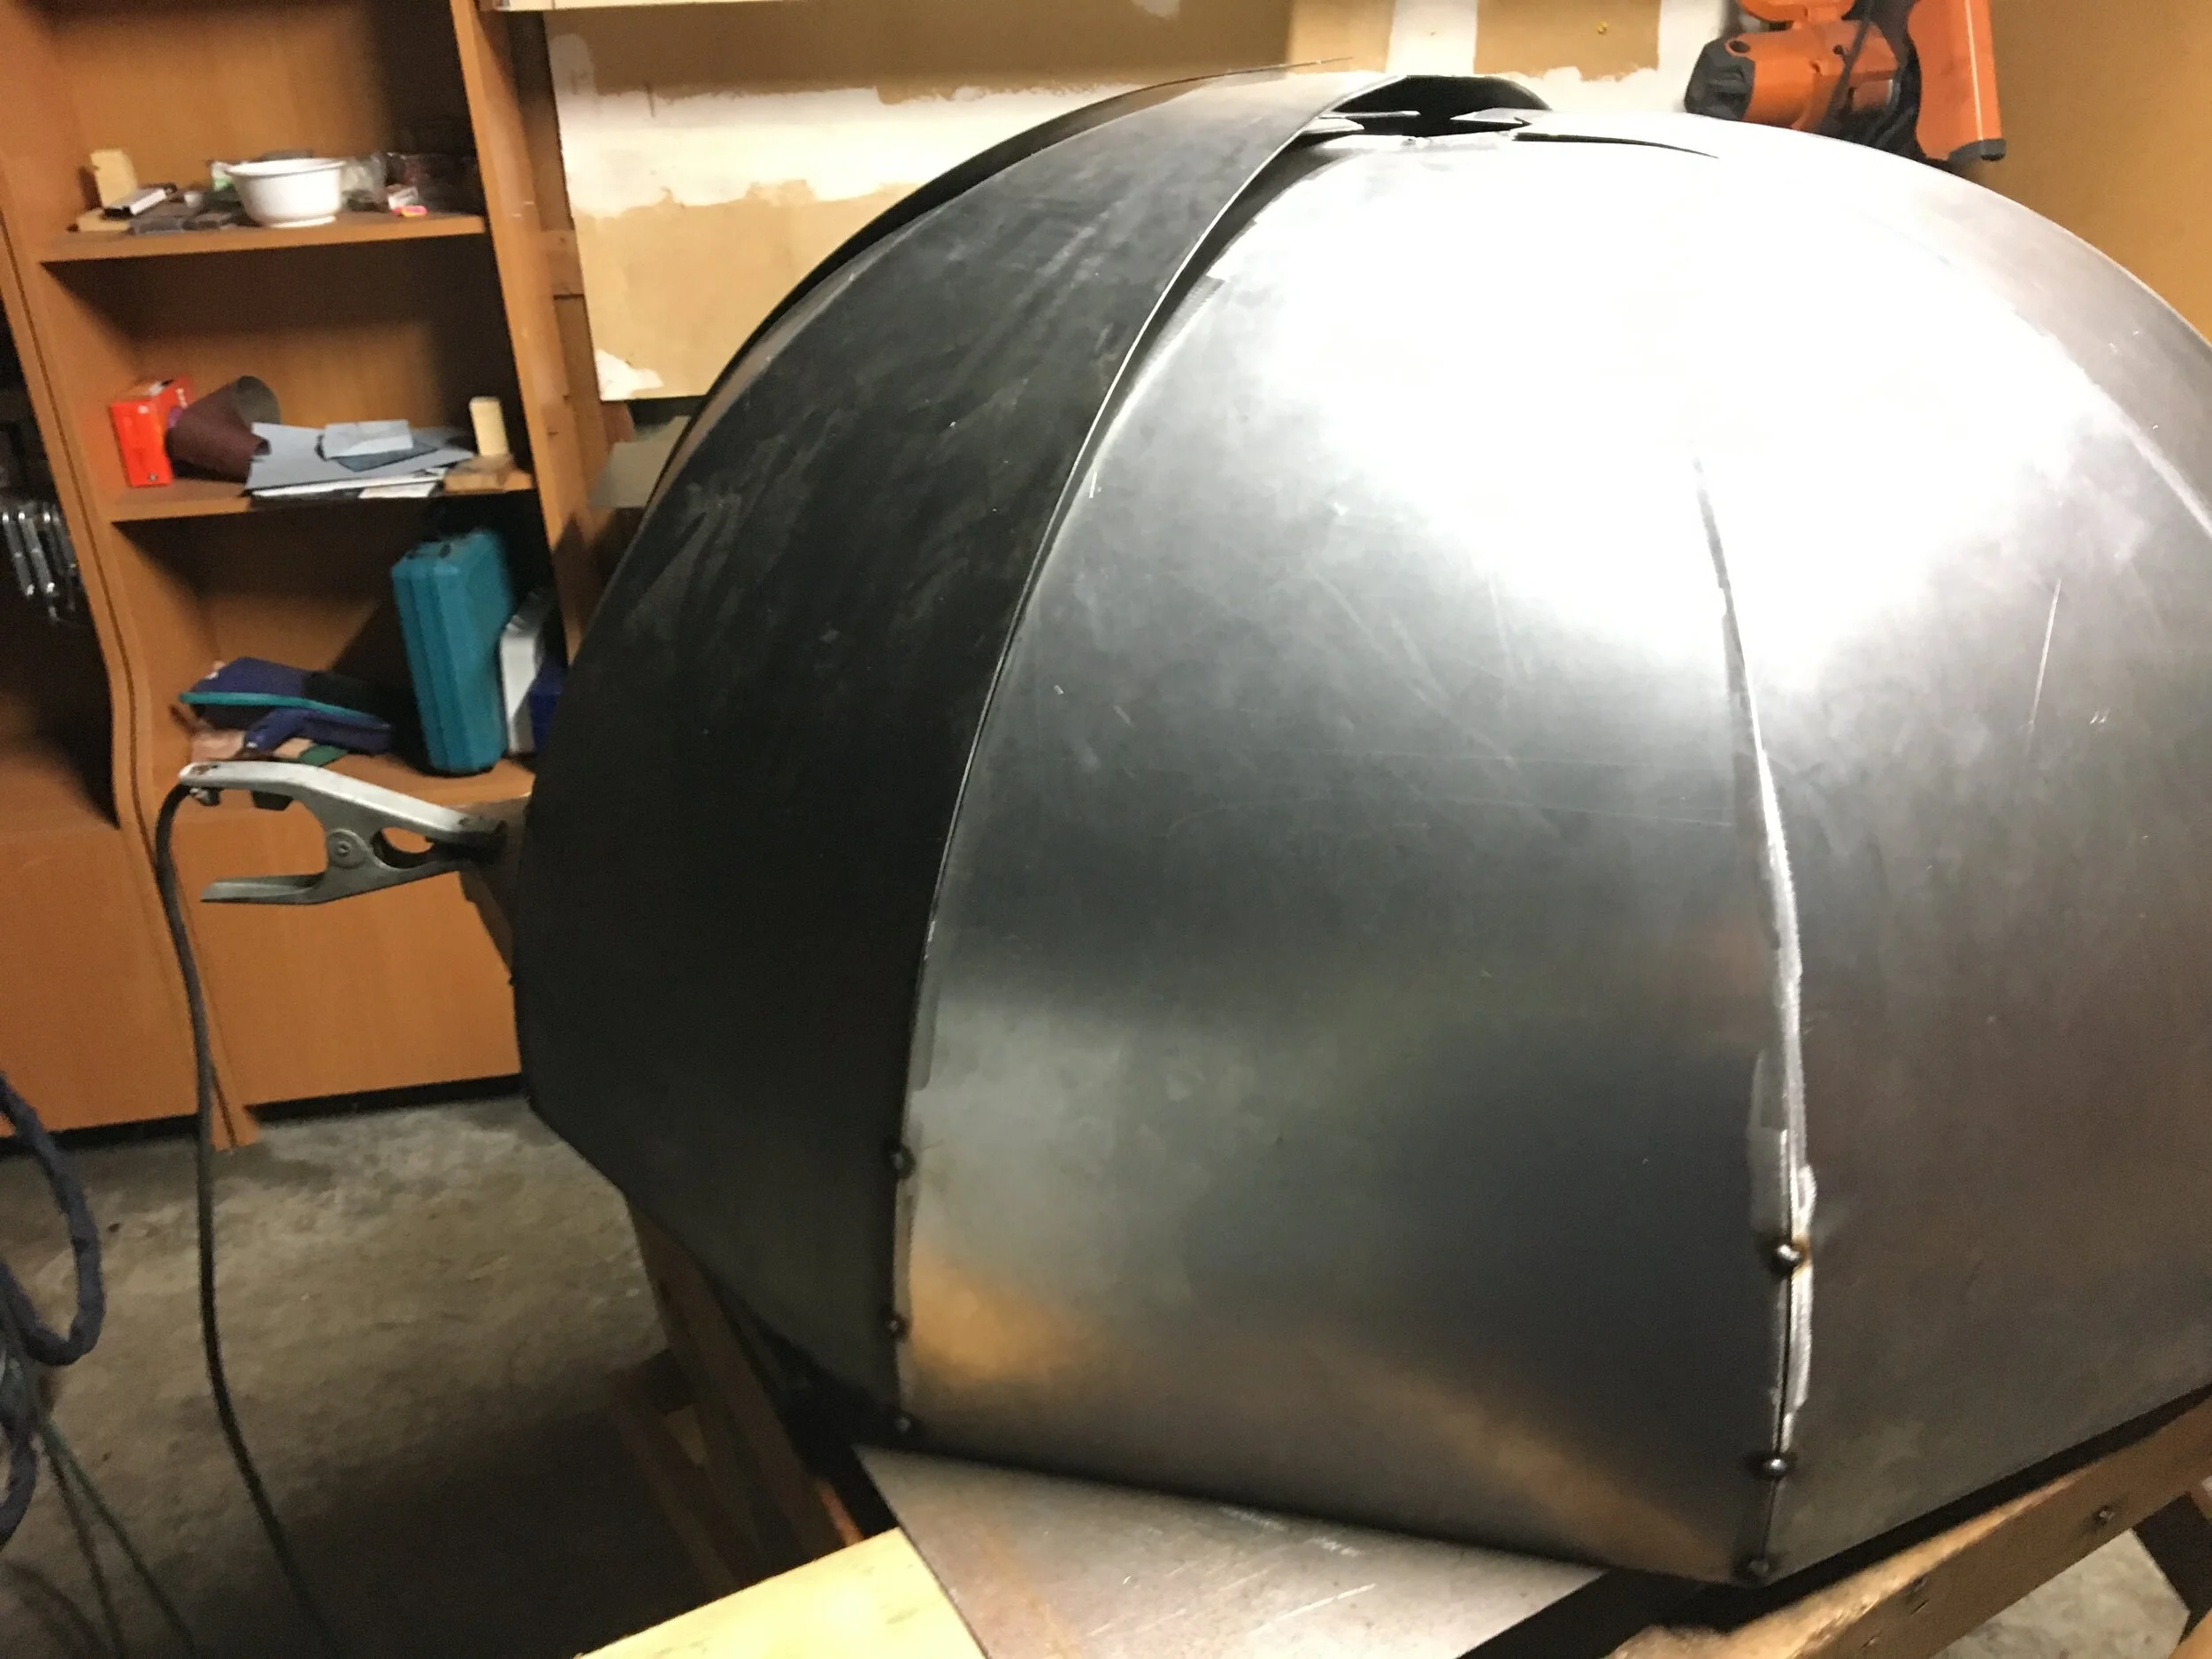
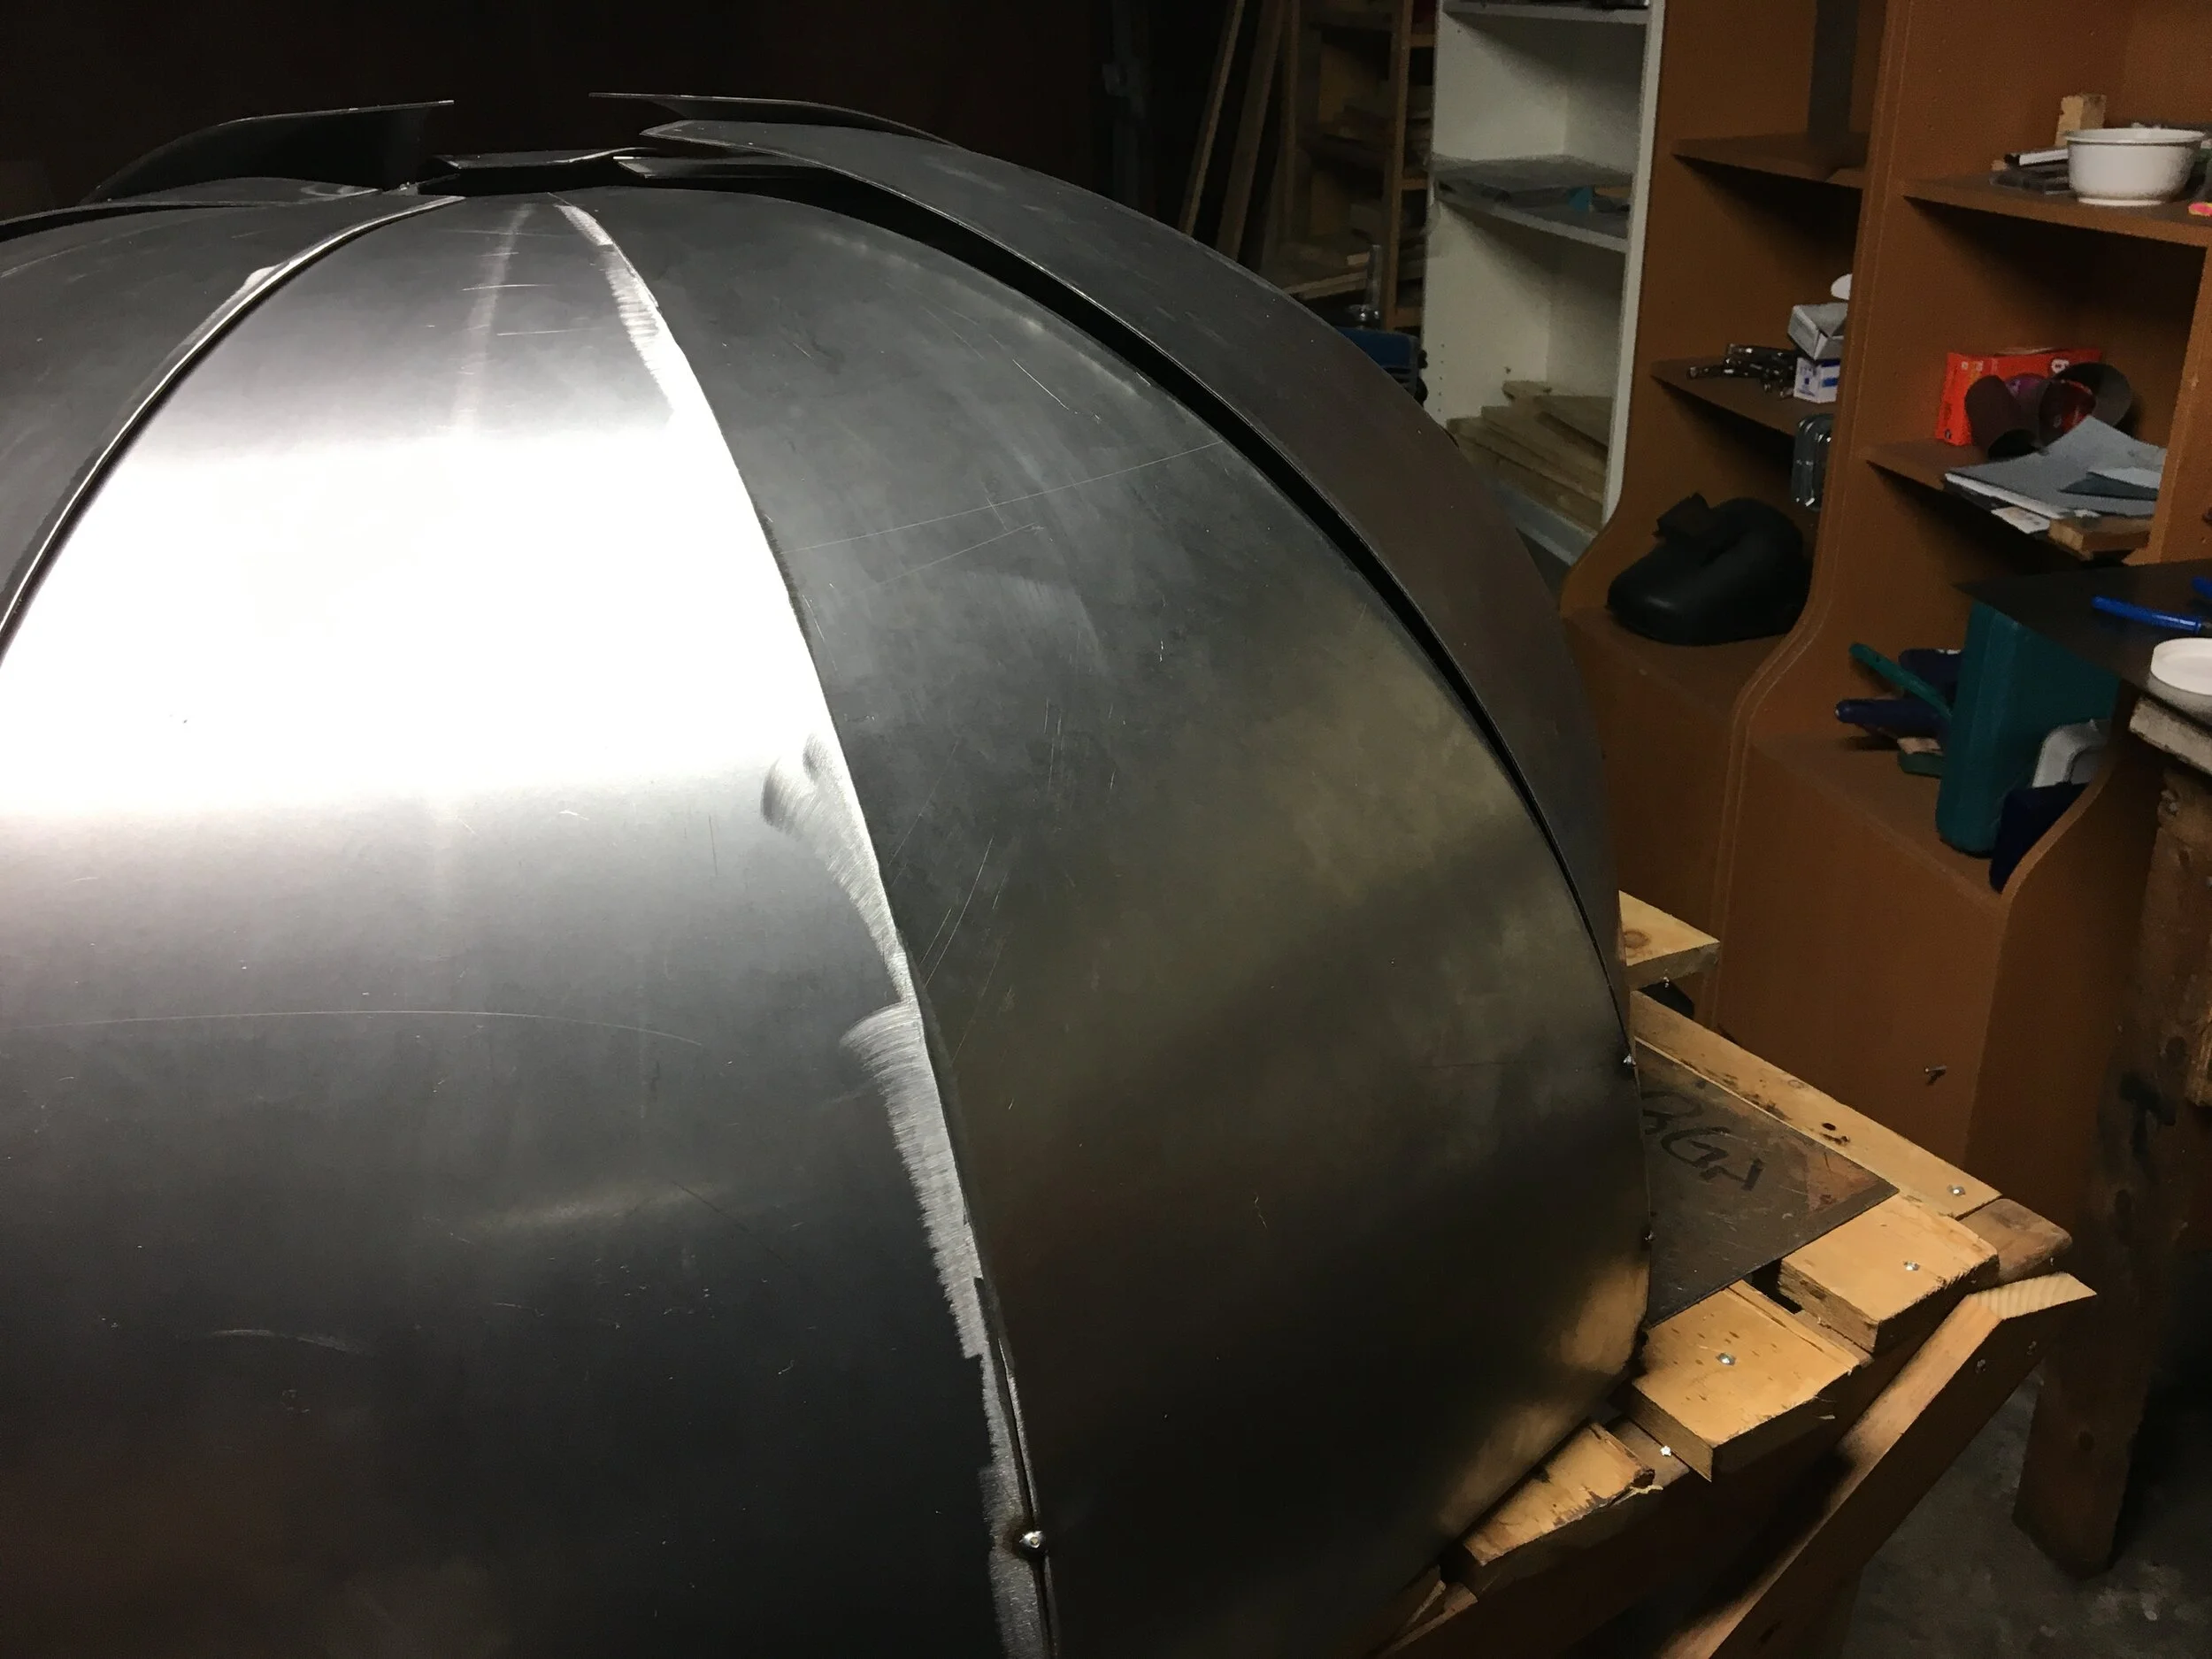
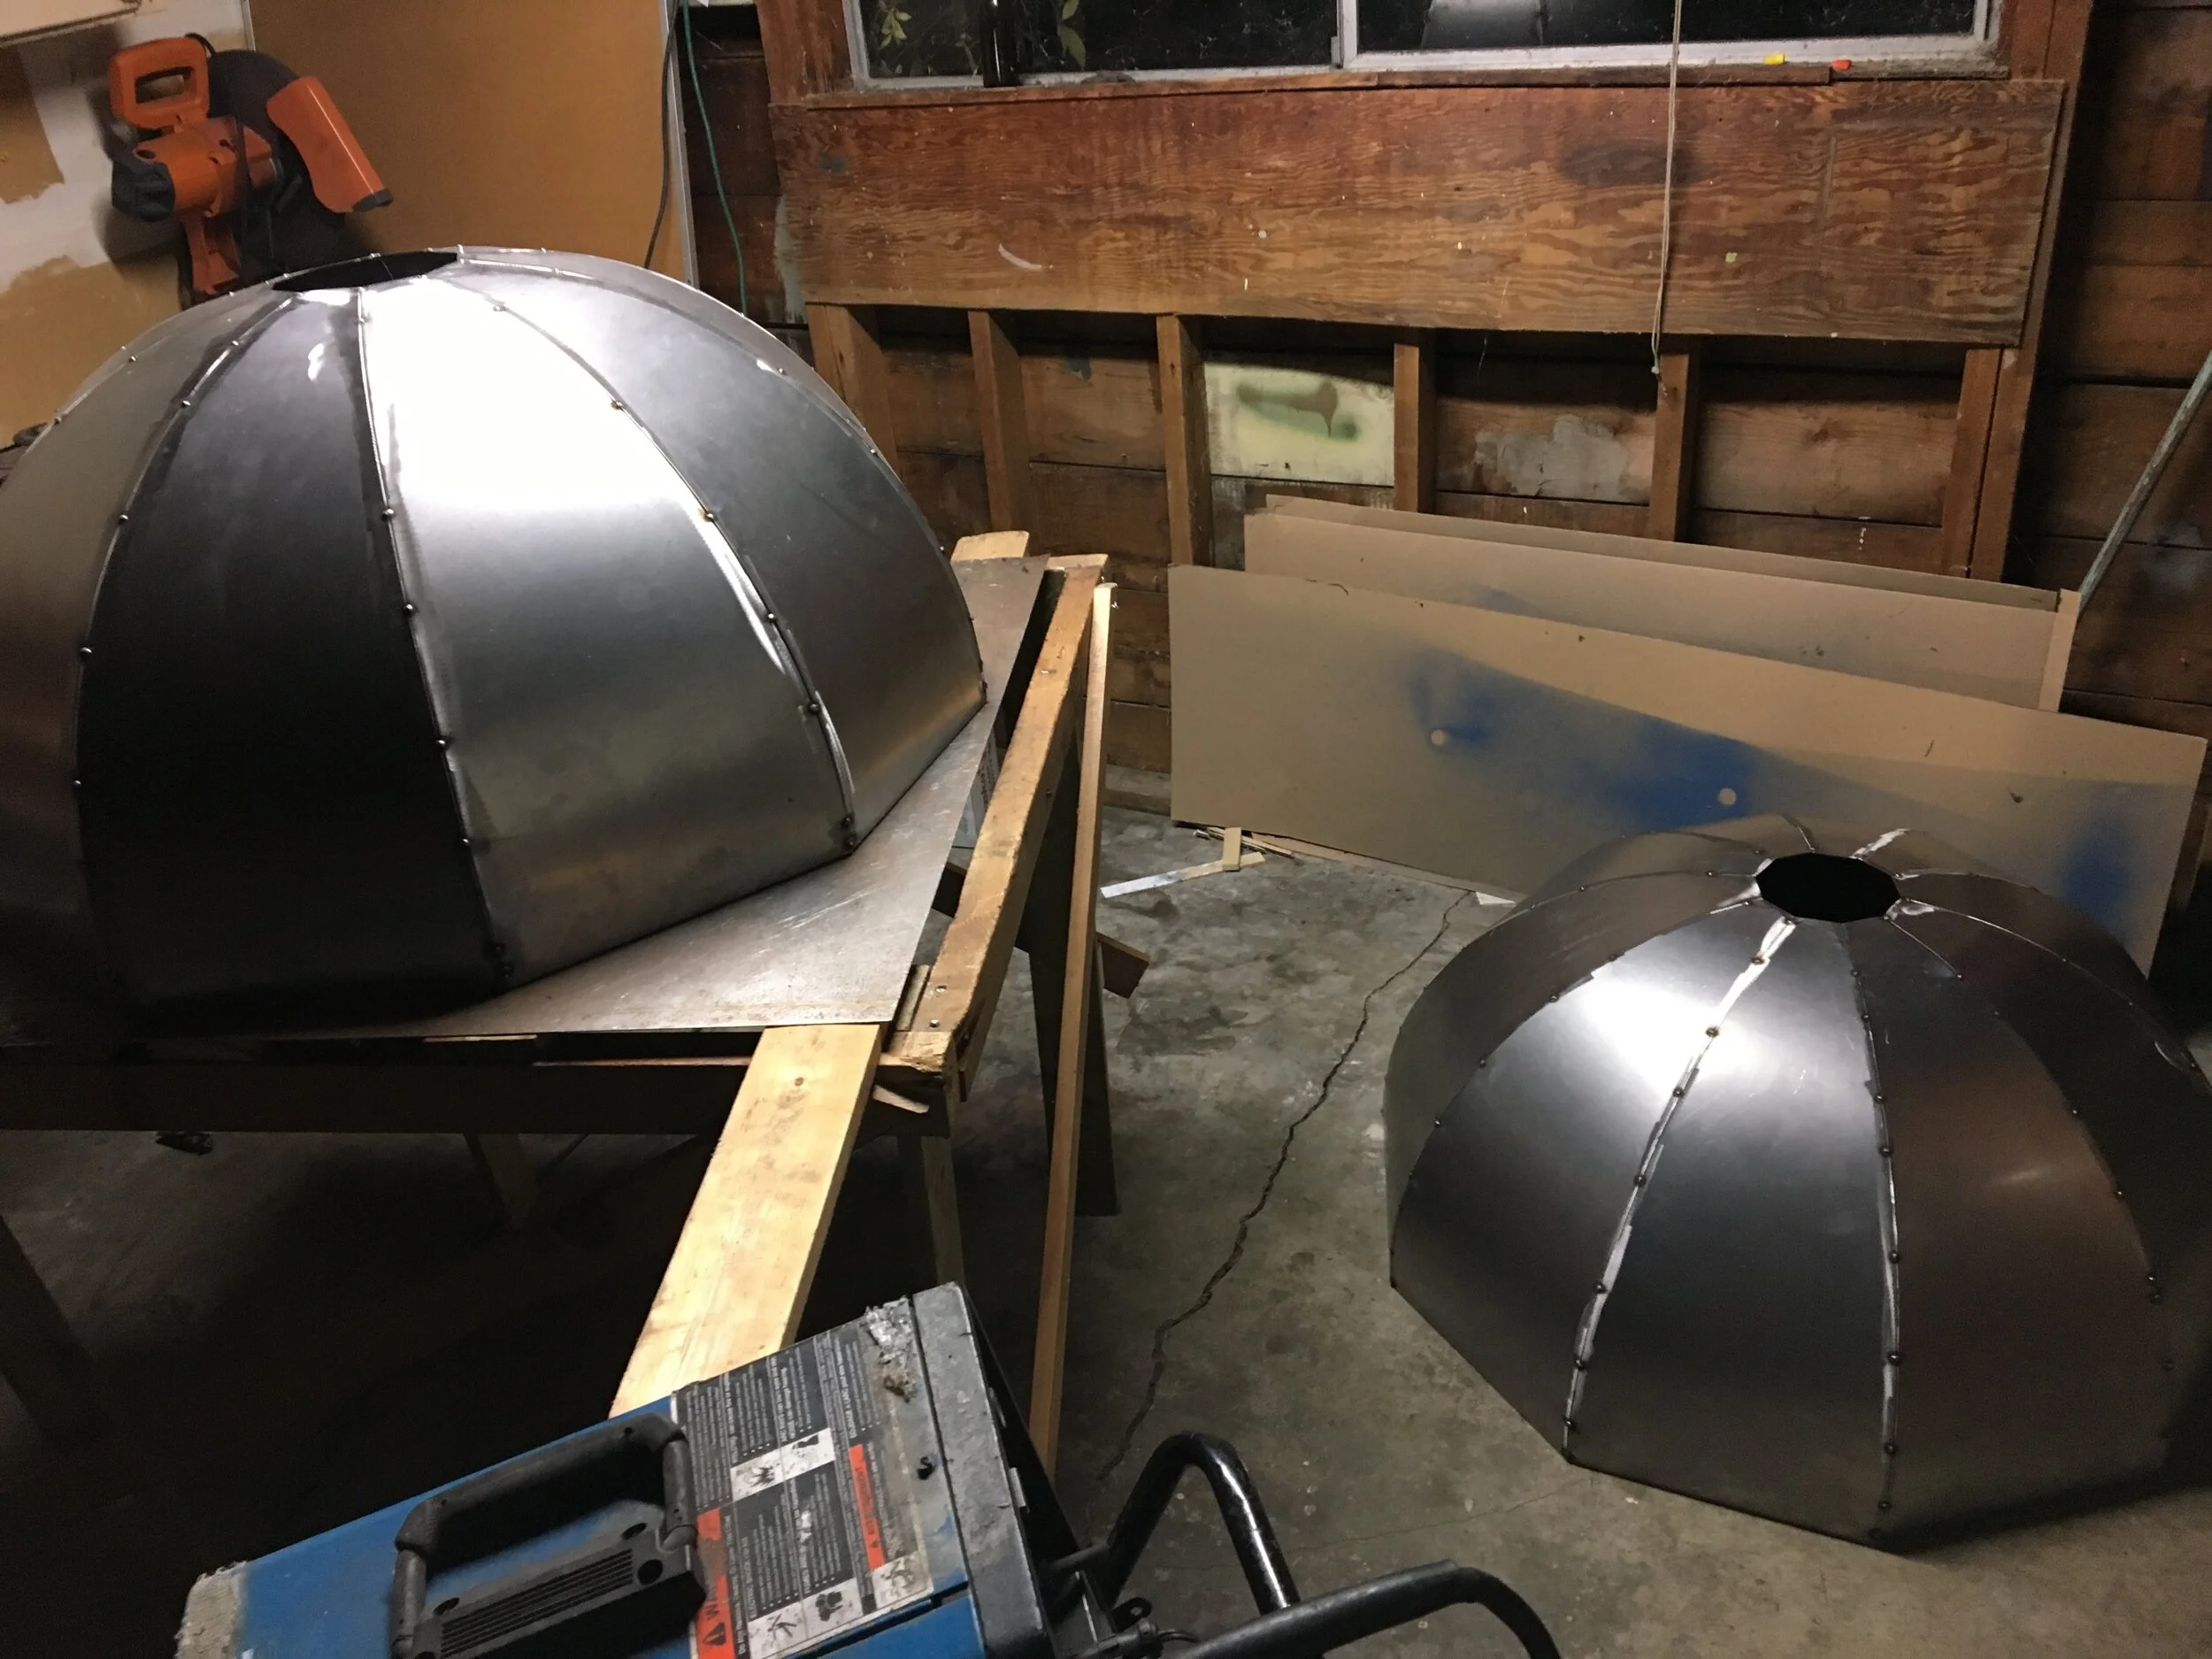
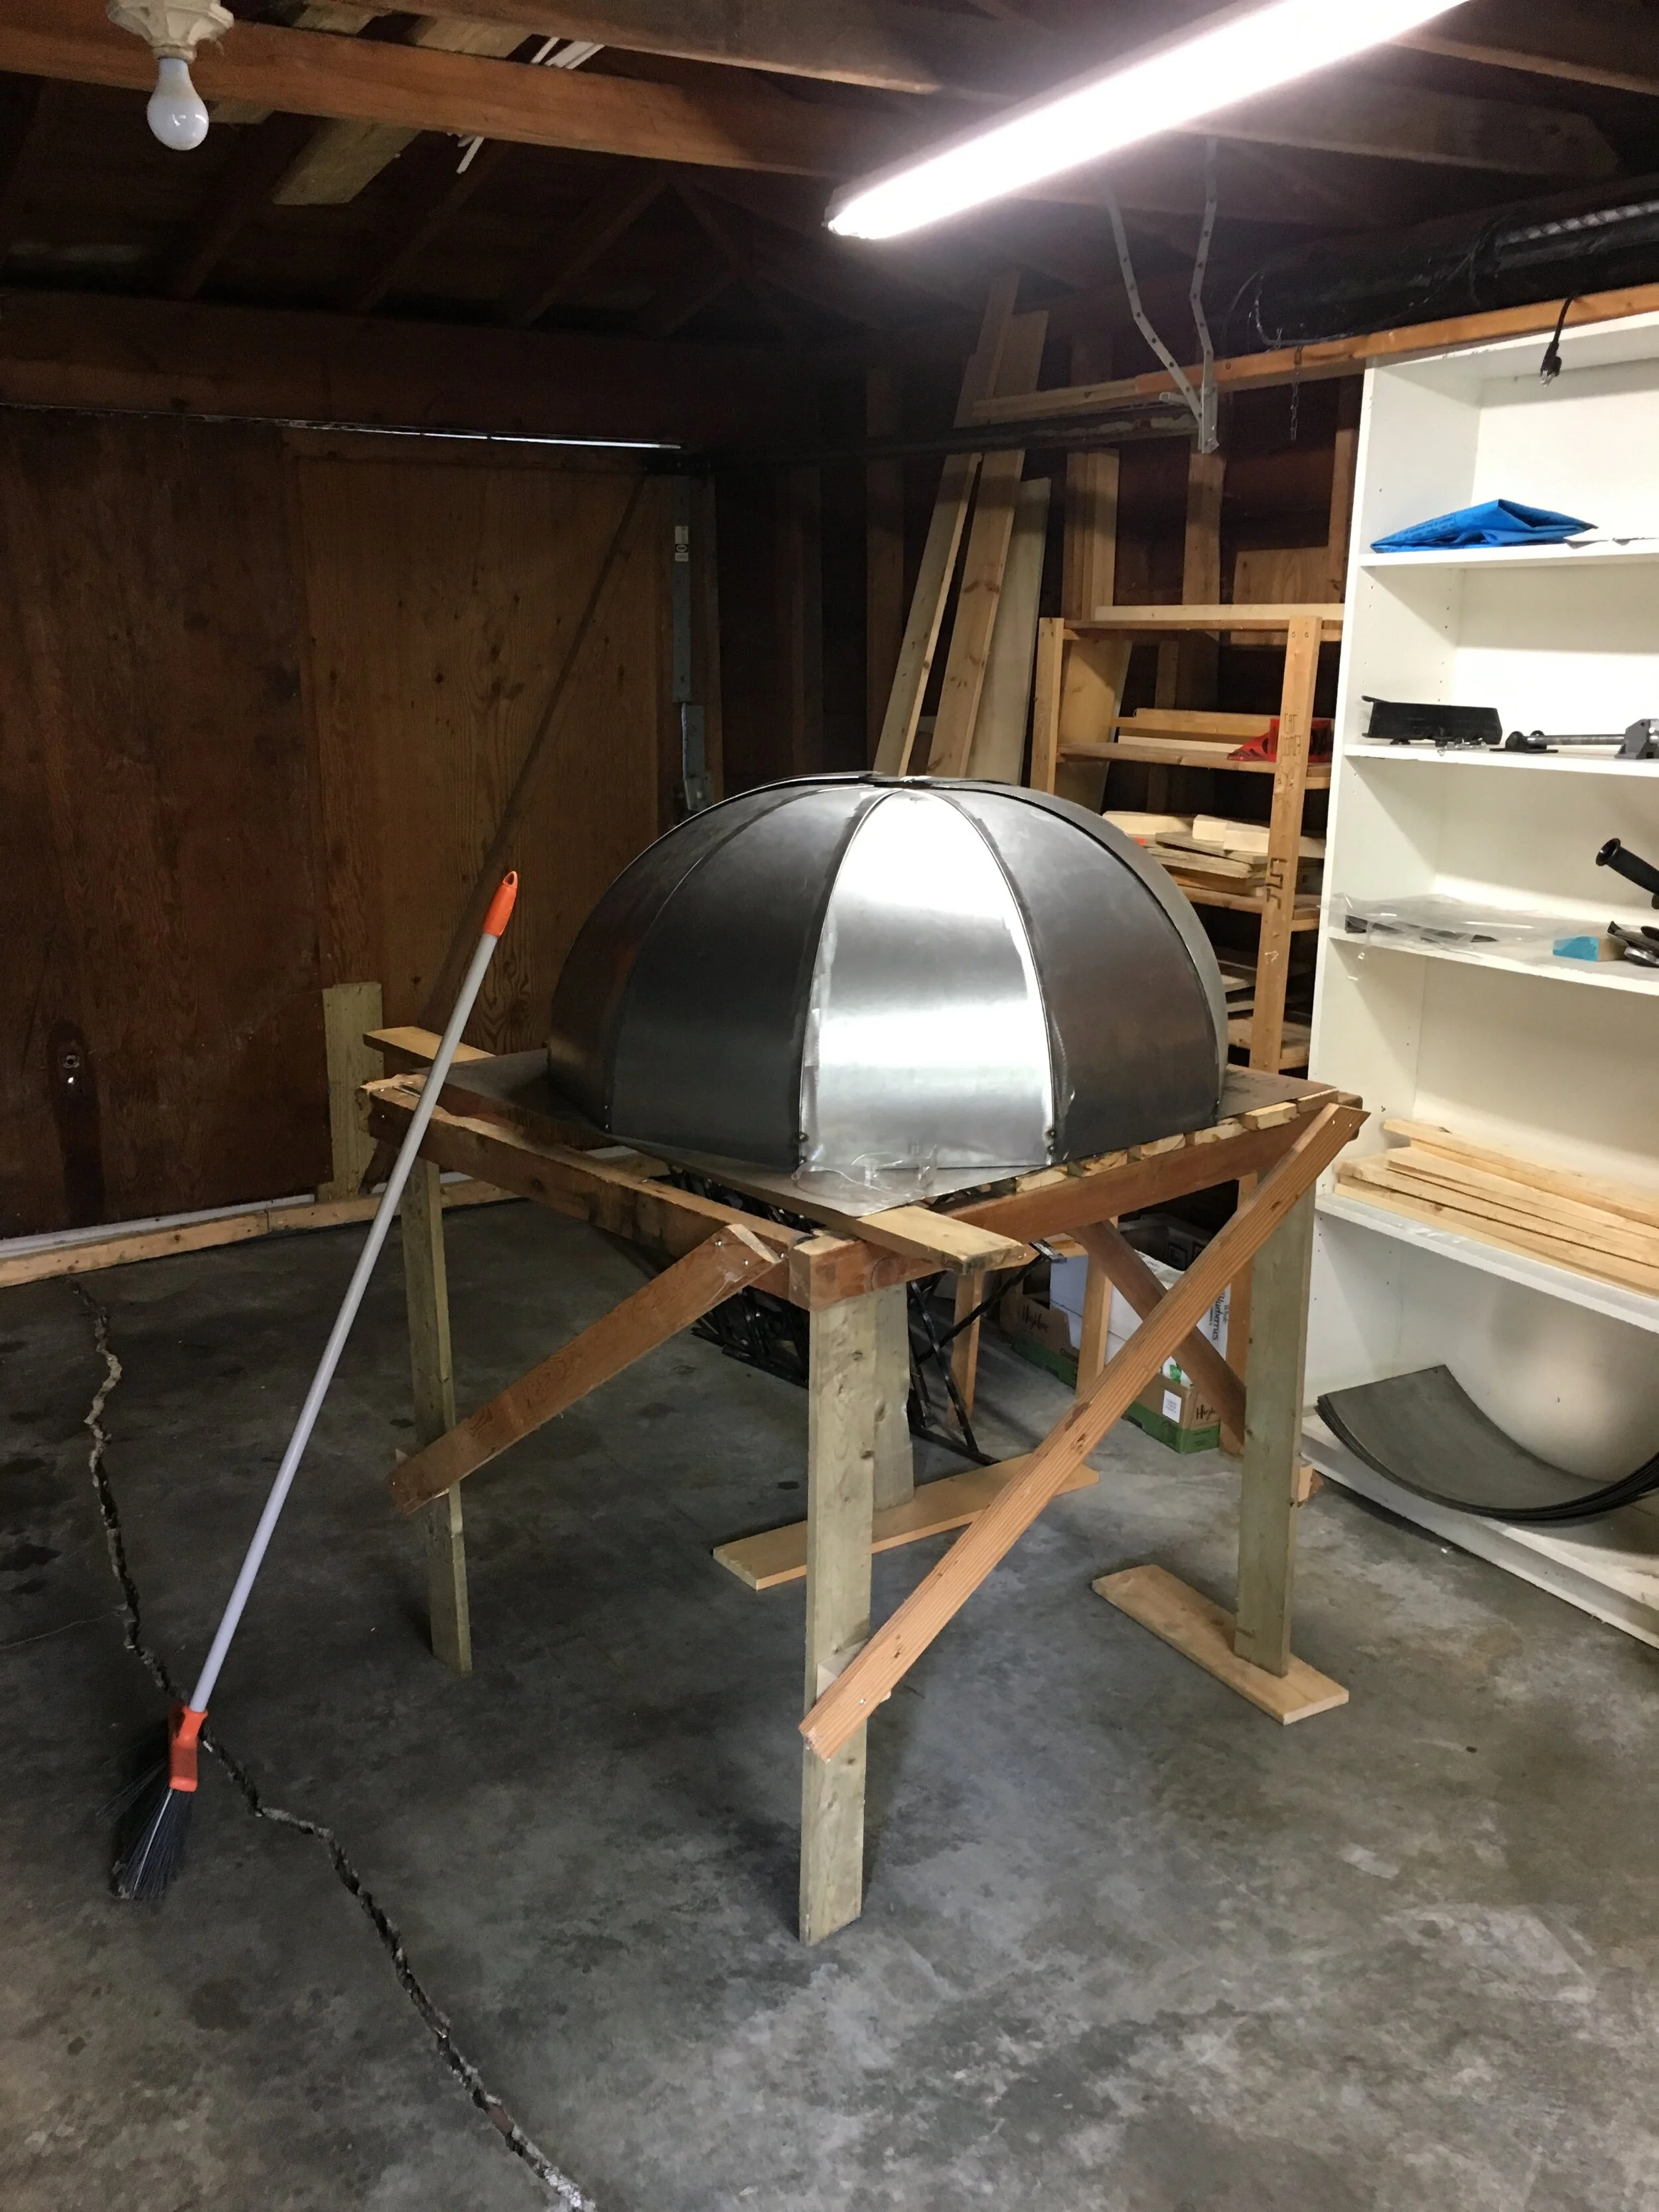
With the panels curved, I was ready to start tacking together the domes. I wish I could have video taped this because it was hilarious. I had two forms I had made out of plywood that were guides for the radius, and basically had to prop up and align ten panels that were not perfect spherical sections (increasing curvature). I ended up piling wood blocks in the middle to I could get some resemblance of a hemisphere, and started to tack the panels together, working from the bottom to the top, prying the panels into shape as I went. See below:
Legs and Frame
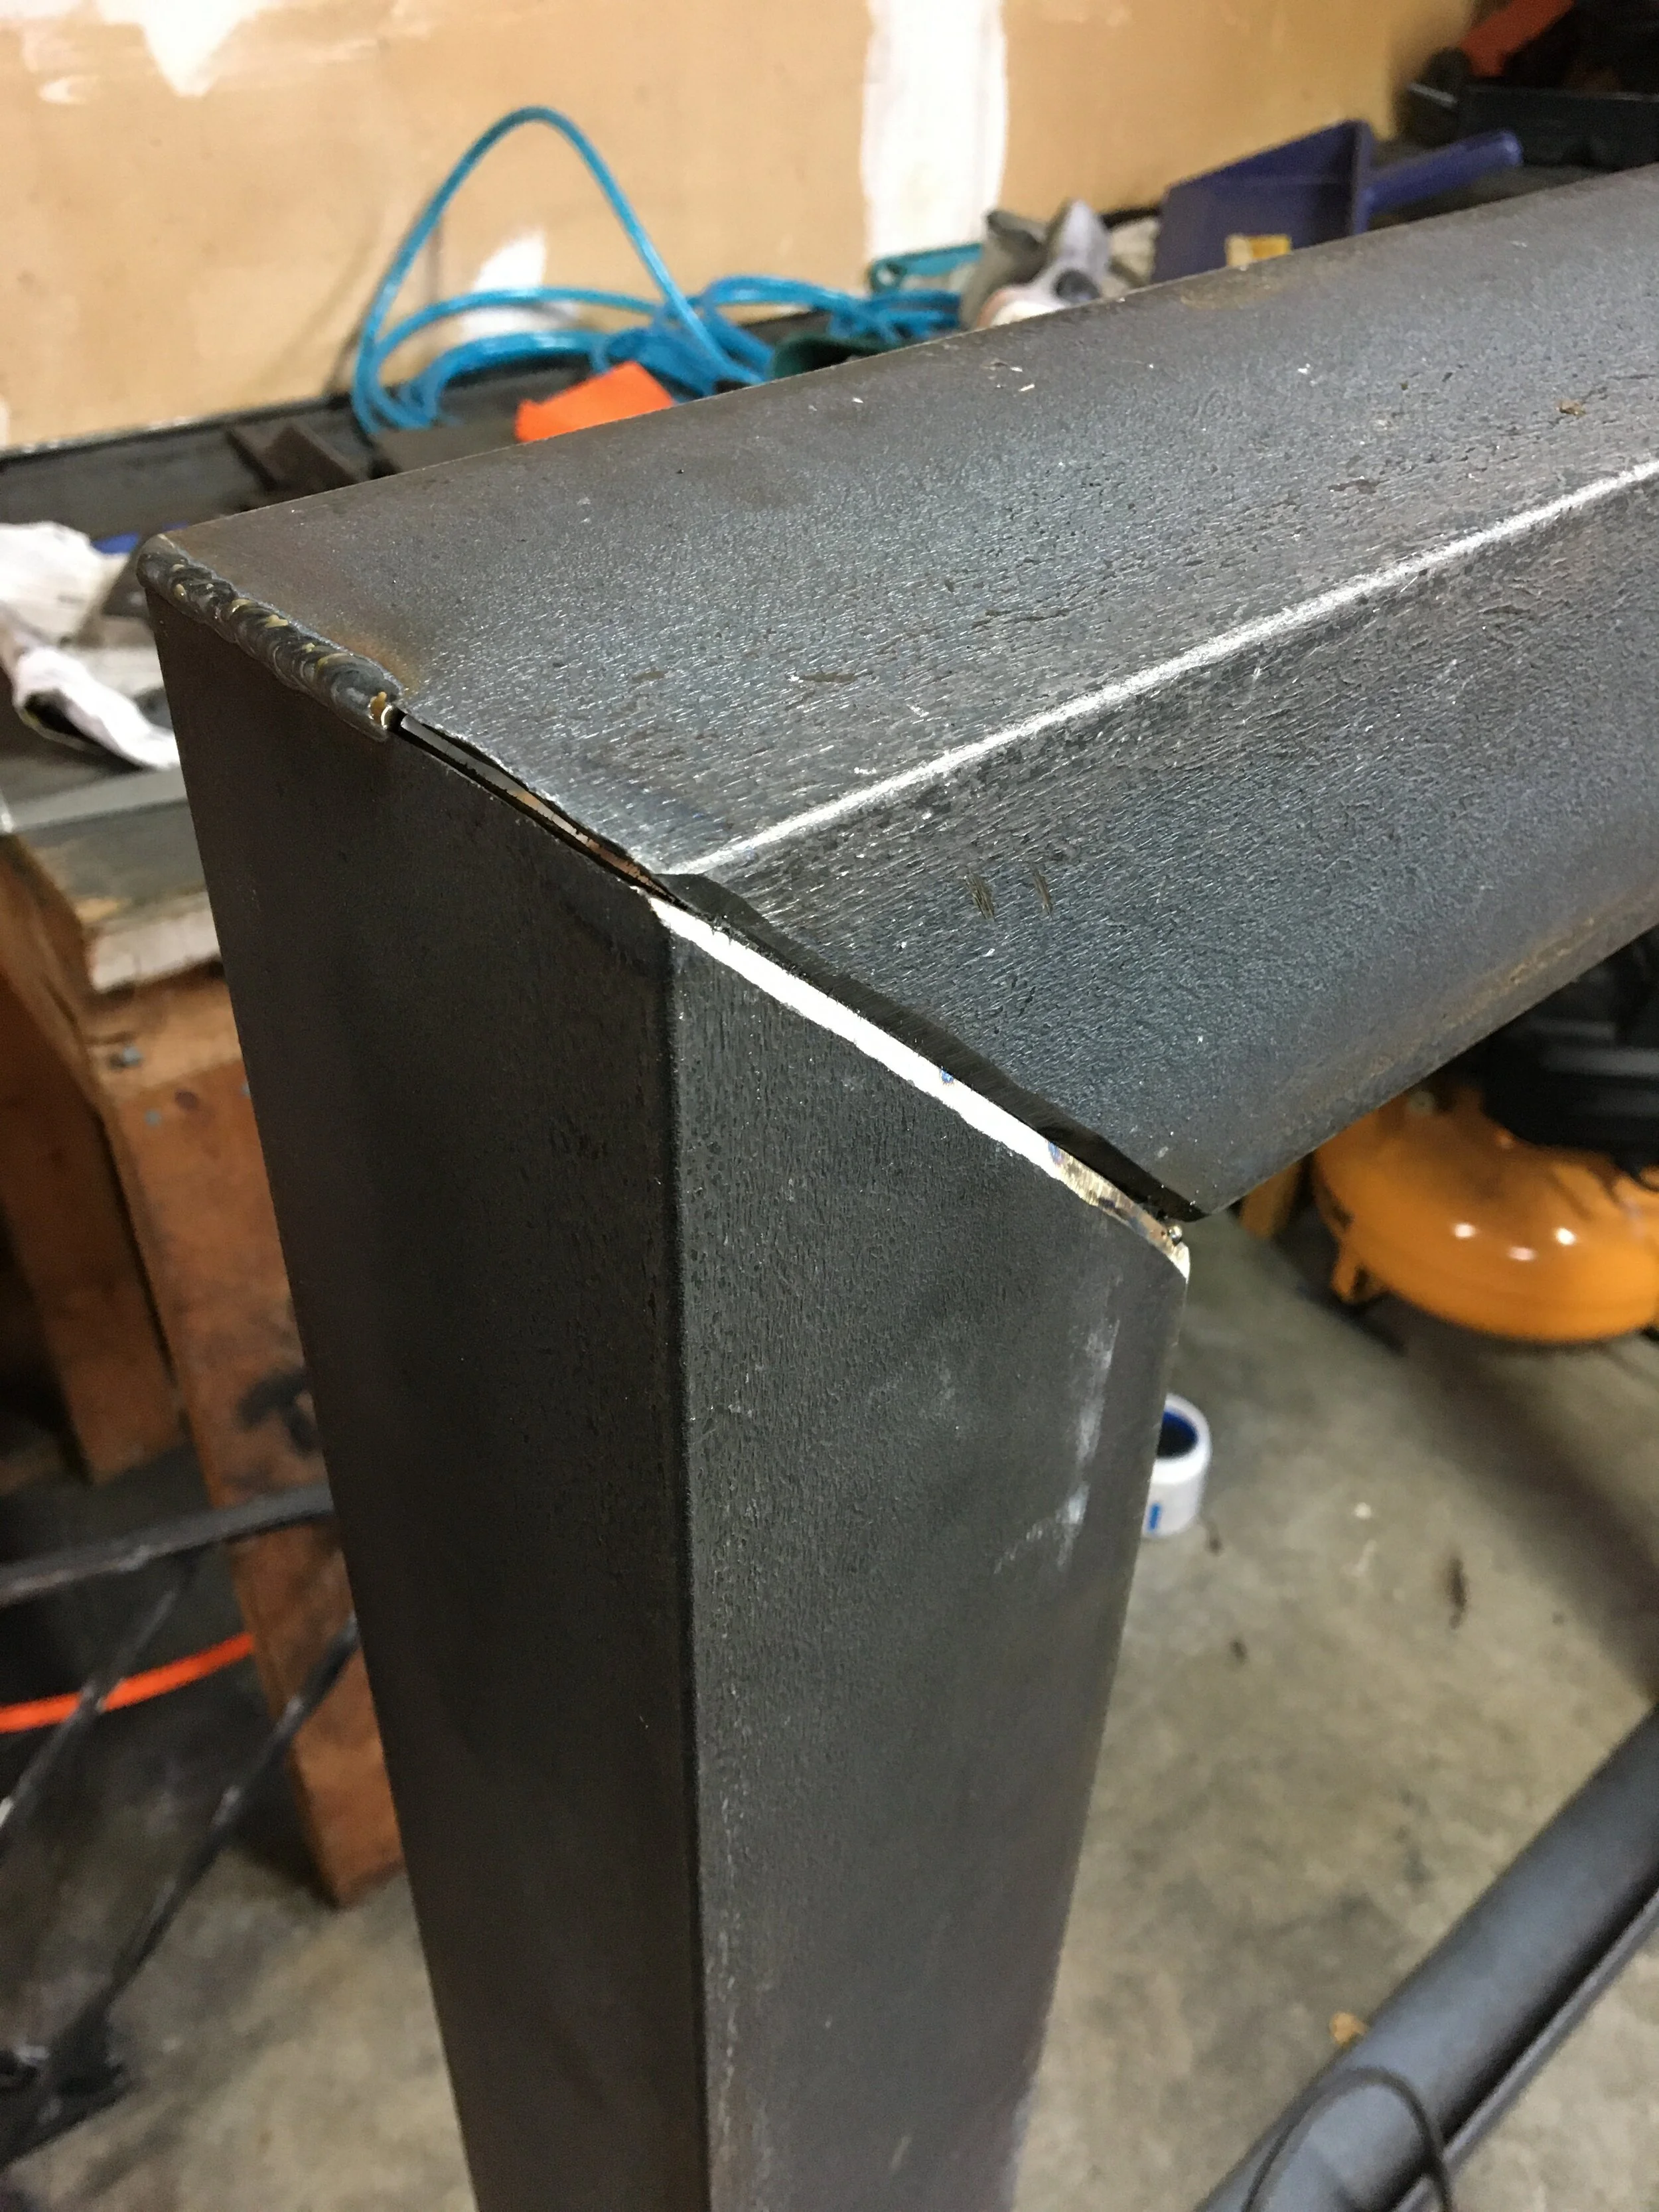
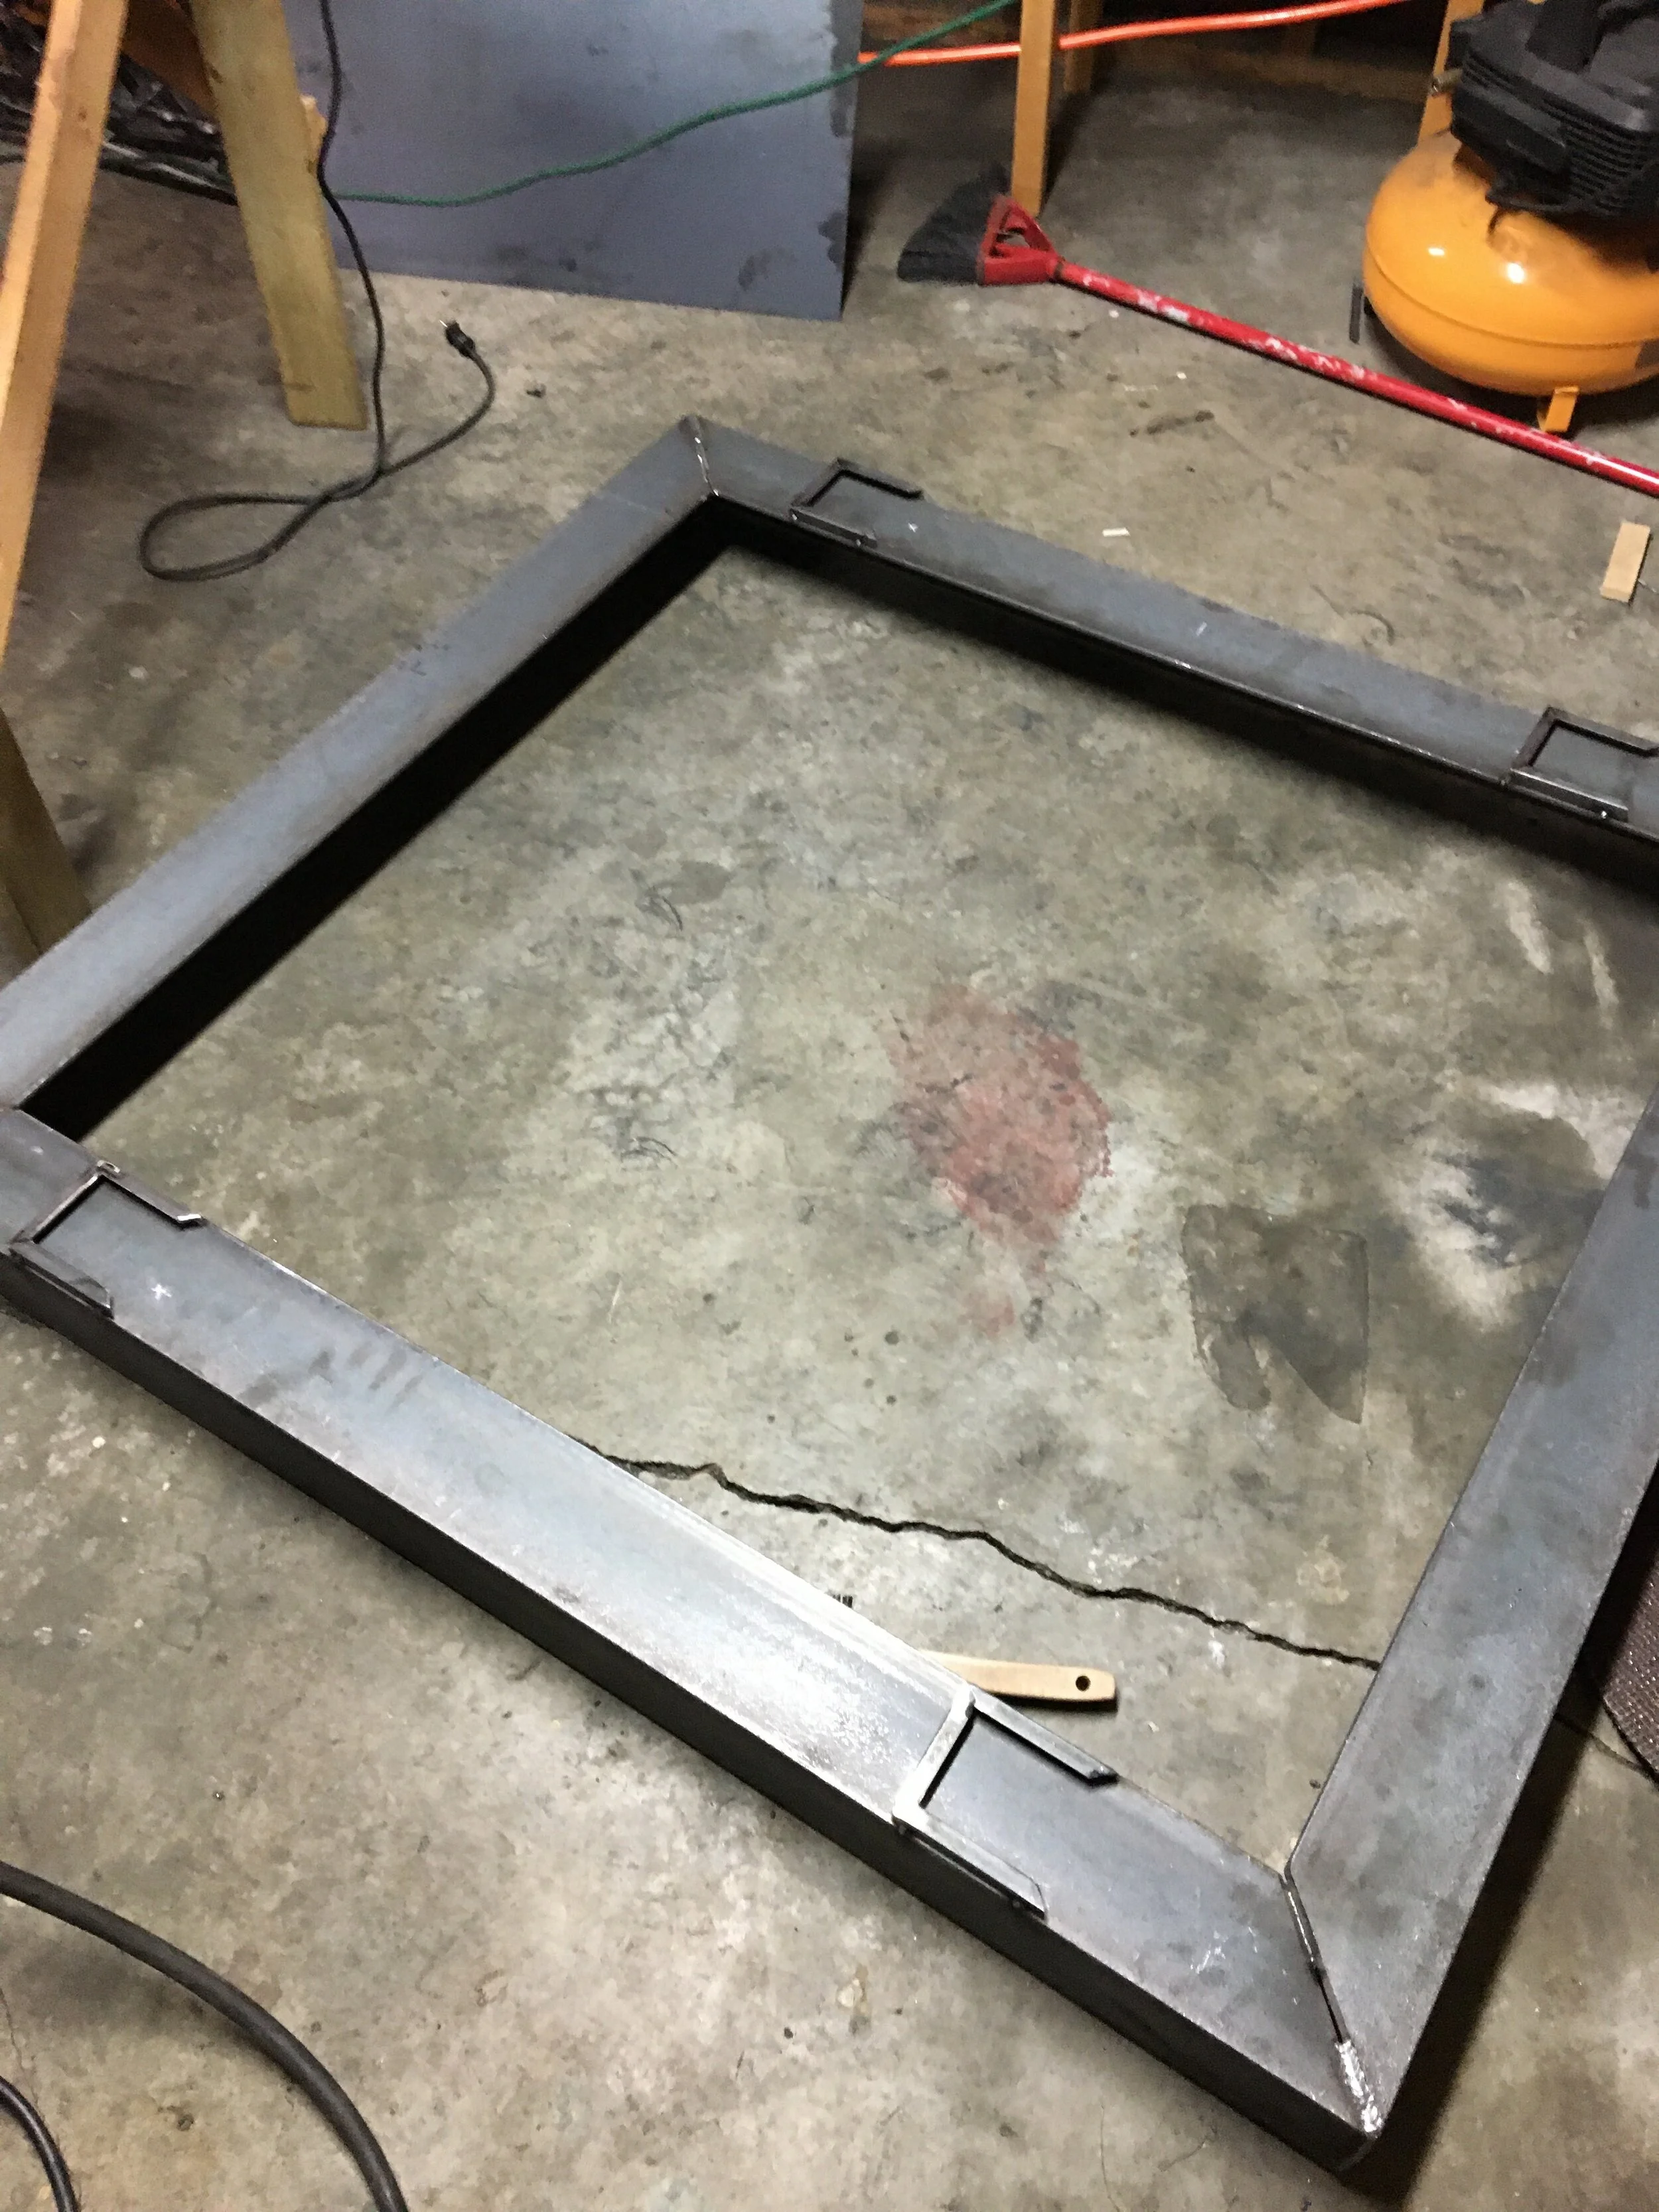
Ok, so I had the two domes welded, but I had out grown my work table. After the summer break, I shifted toward building the frame and legs for the domes. According to my plan, I needed 1” of insulation board, followed by ~2.5” firebrick (standard size), which the domes would sit atop of. I knew I wanted some sort of angle steel for the frame, however I decided it would be easier to buy 4” angle at 1/4” thick rather than a thinner, sheet or bar and weld at 90 degrees to make angle. This resulted in two lengths of 40” and two of 45” of 4”x 4”x 1/4” steel, each one weighing about 30 lbs. So if I ever gave up on the pizza oven, I would have the structural support to build a small two story house.
Truck
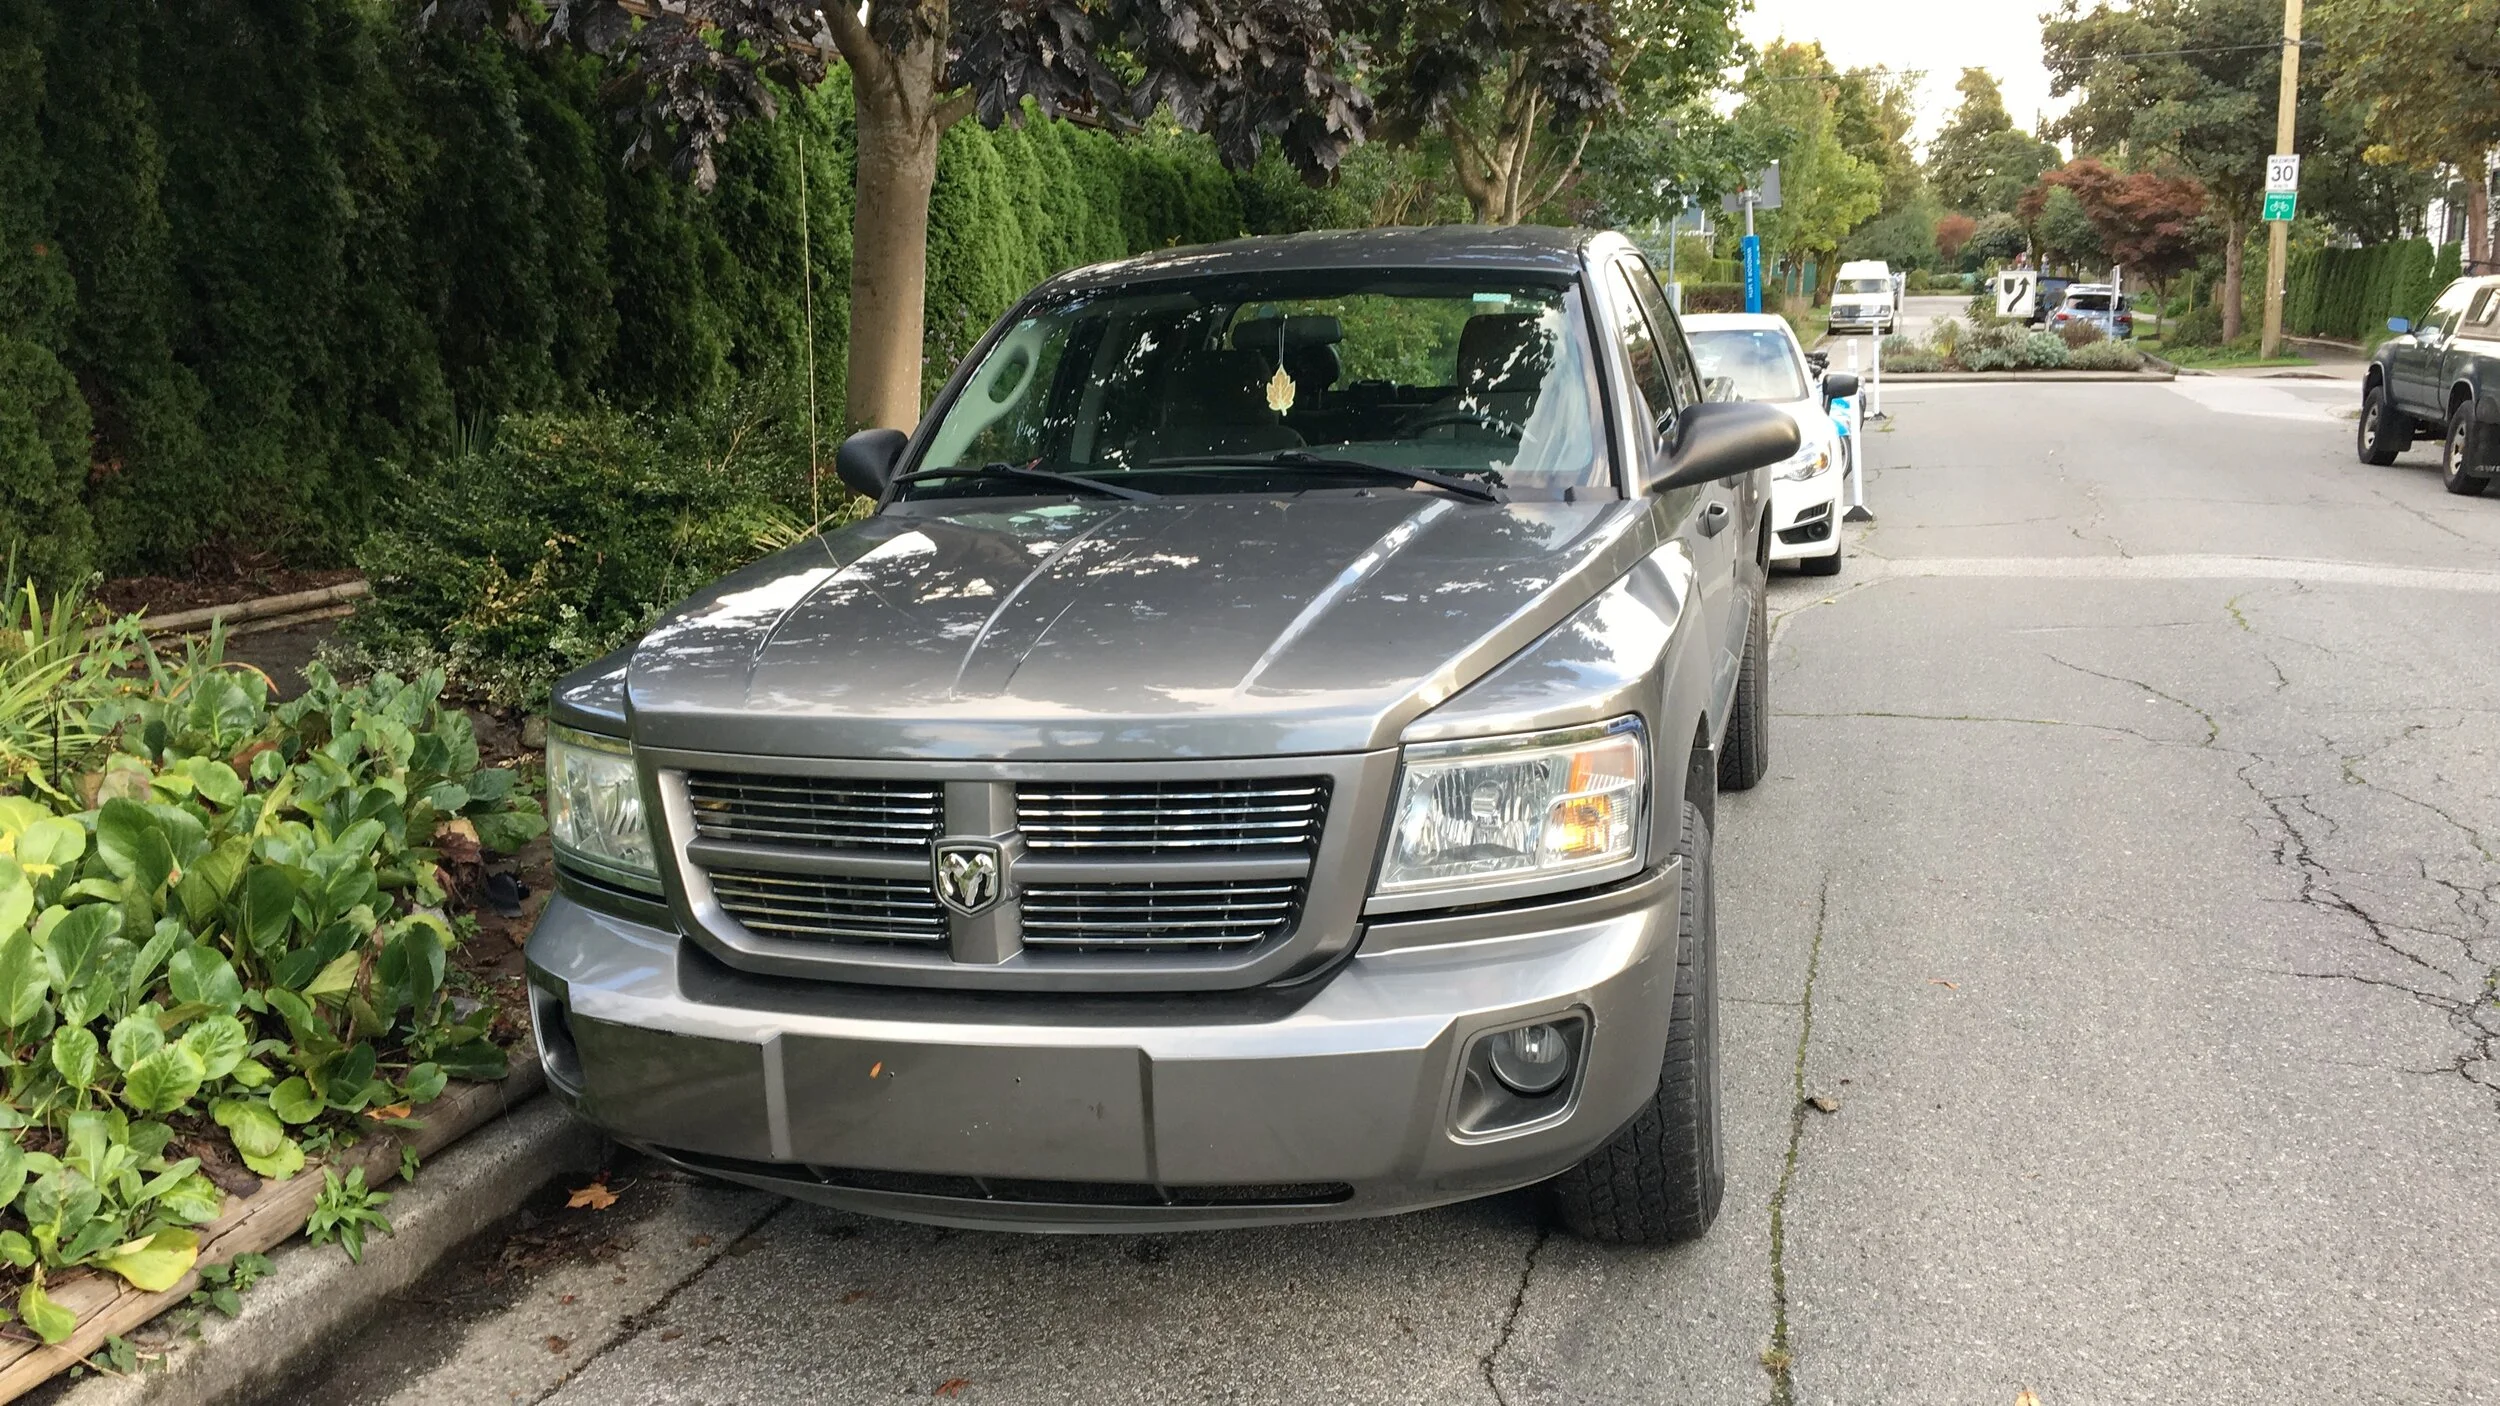
Almost forgot. I had to buy a truck. This was always part of the plan, but if I was going to build the frame, I needed to make sure it would fit on the back. My requirements were:
Has to be a pickup truck.
Needs to have a 51% percent chance of making it across Canada.
Luckily, I found a construction site special on Craigslist for cheap. The engine, breaks, radio seemed in great condition. The interior had never been cleaned and was still being used as a trash bin, and the turn indicator was dyslexic at best - if I wanted to turn left, it said right. Turing on the high beams made the windshield washer spray and to turn left I had to muster a tricky Mortal Kombat finishing move of ‘Left turn, Hazard Lights, Right turn, Hazard lights off’.
The truck worked great though. I bought some fake leather seat covers and replaced the turning indicator switch (Also hilarious, but another story), and I am at least 70% confident it will make it across the country.
Legs again
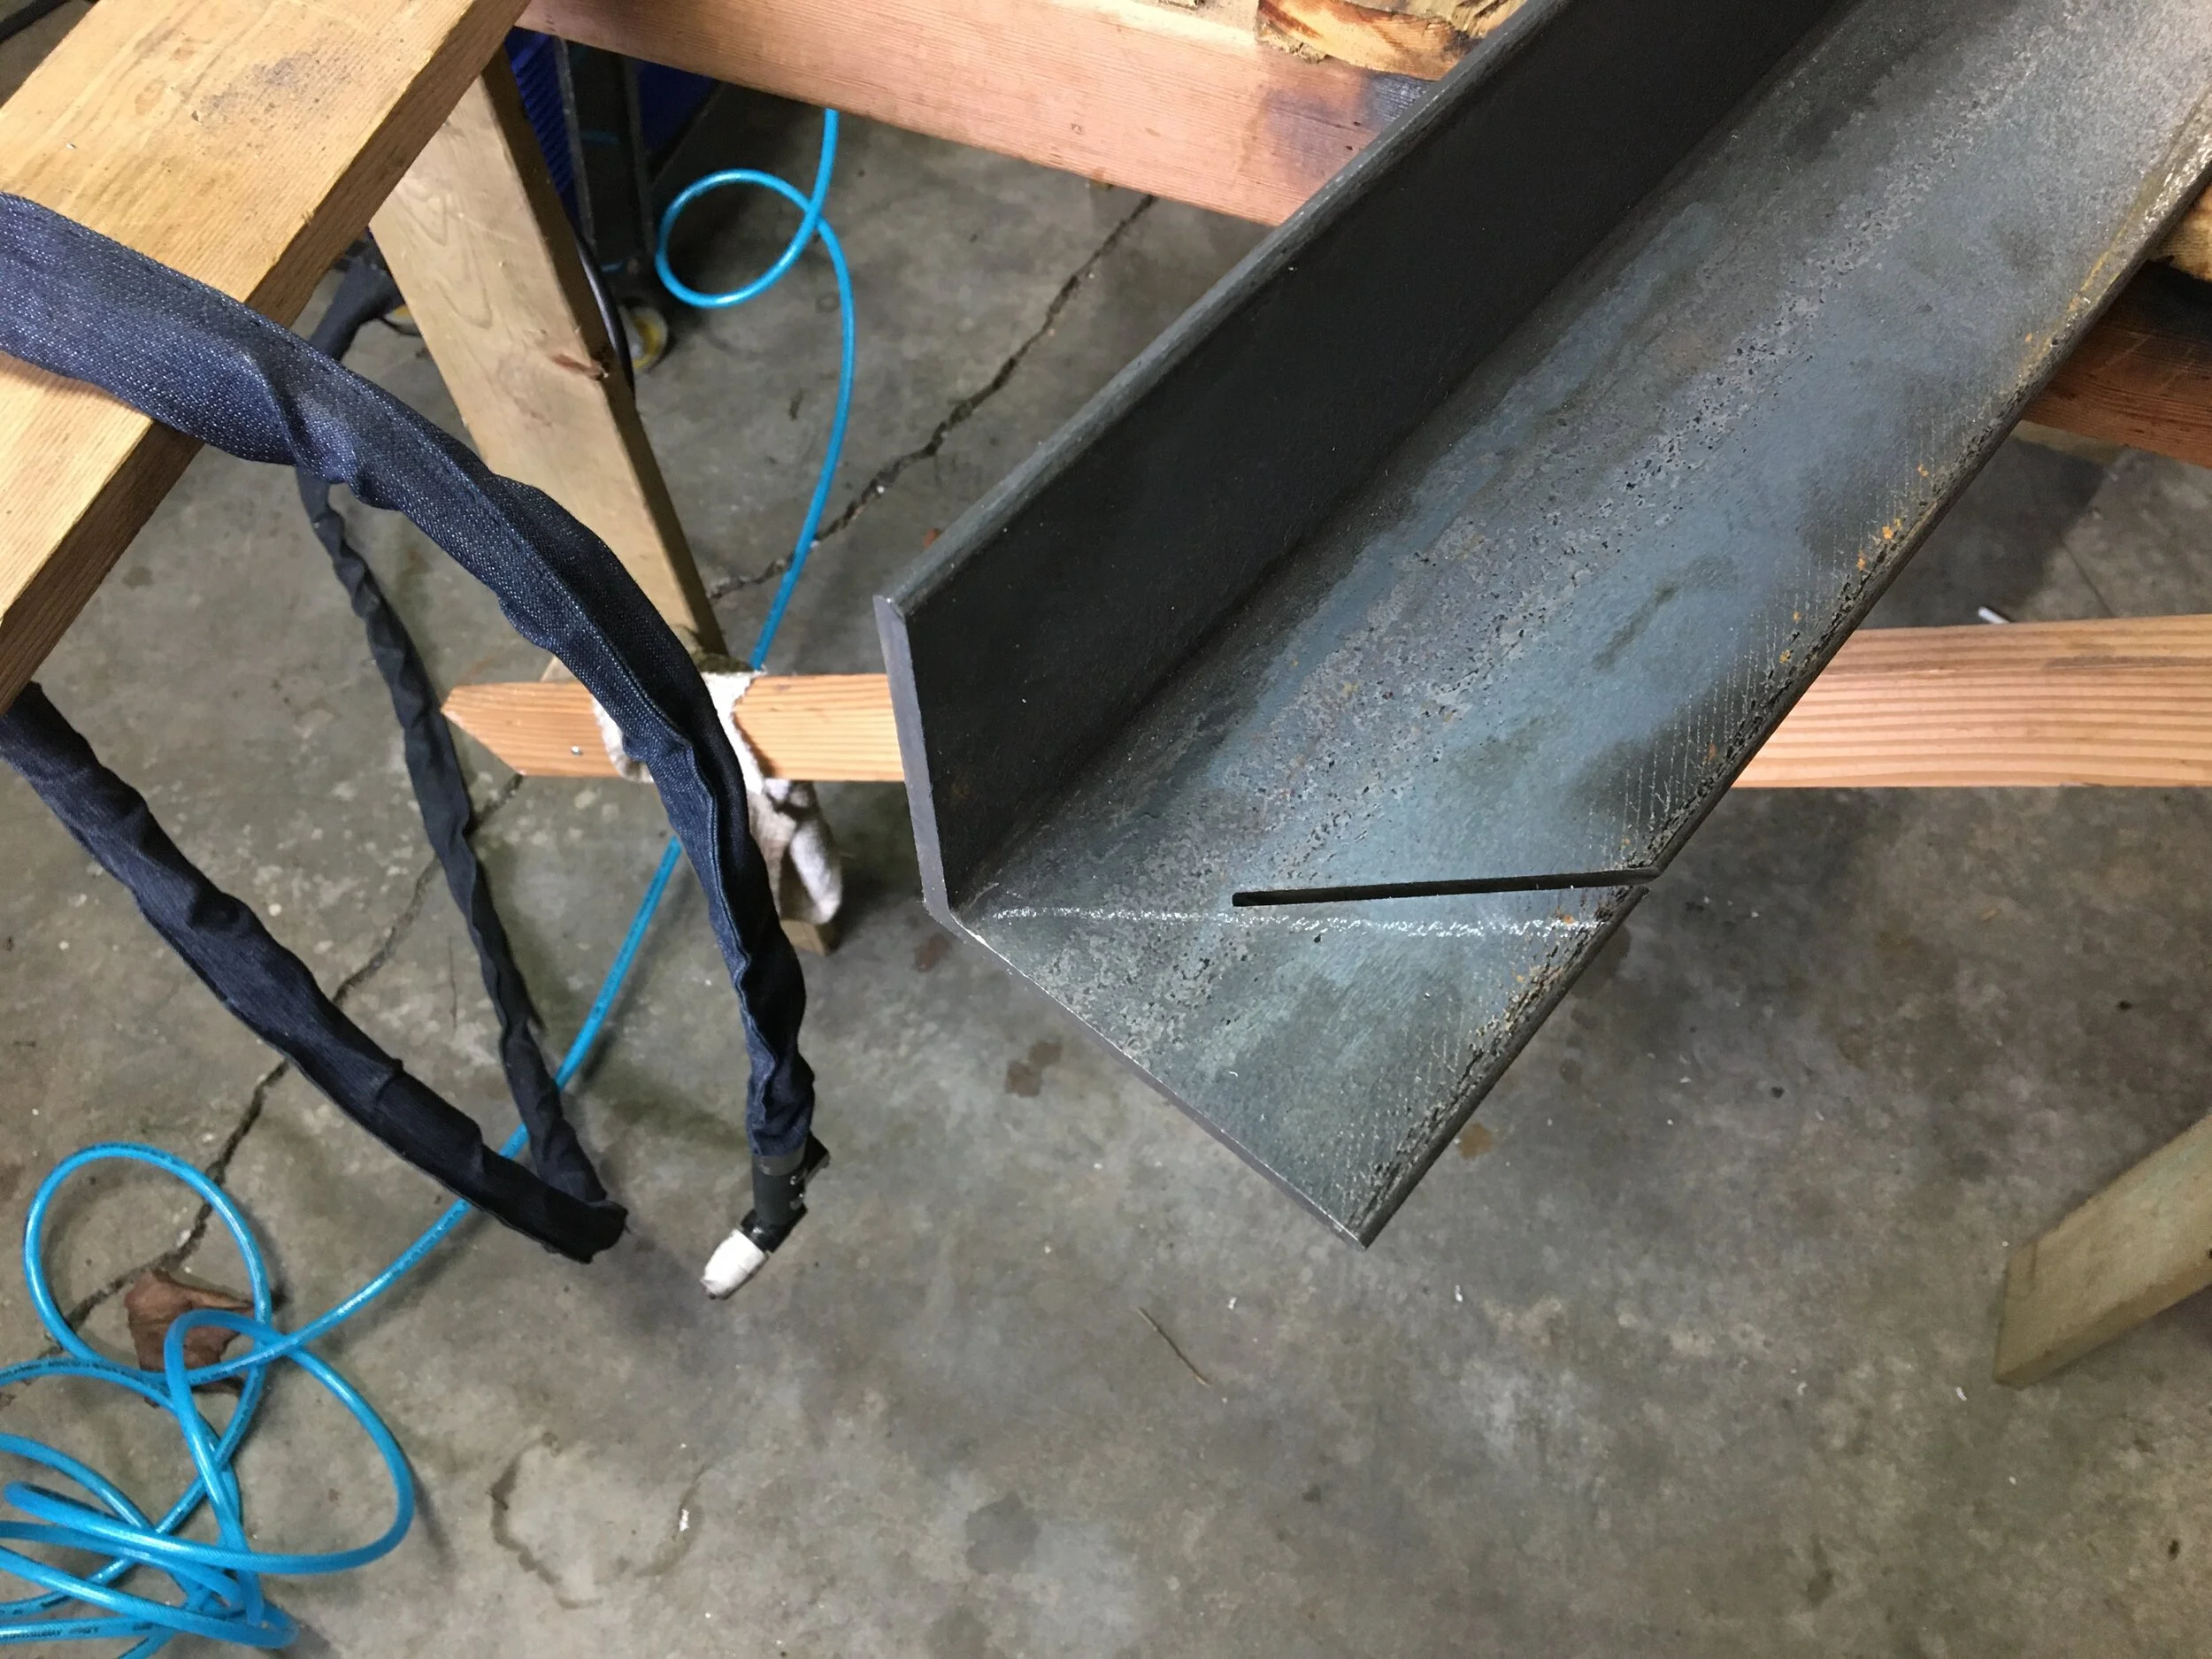
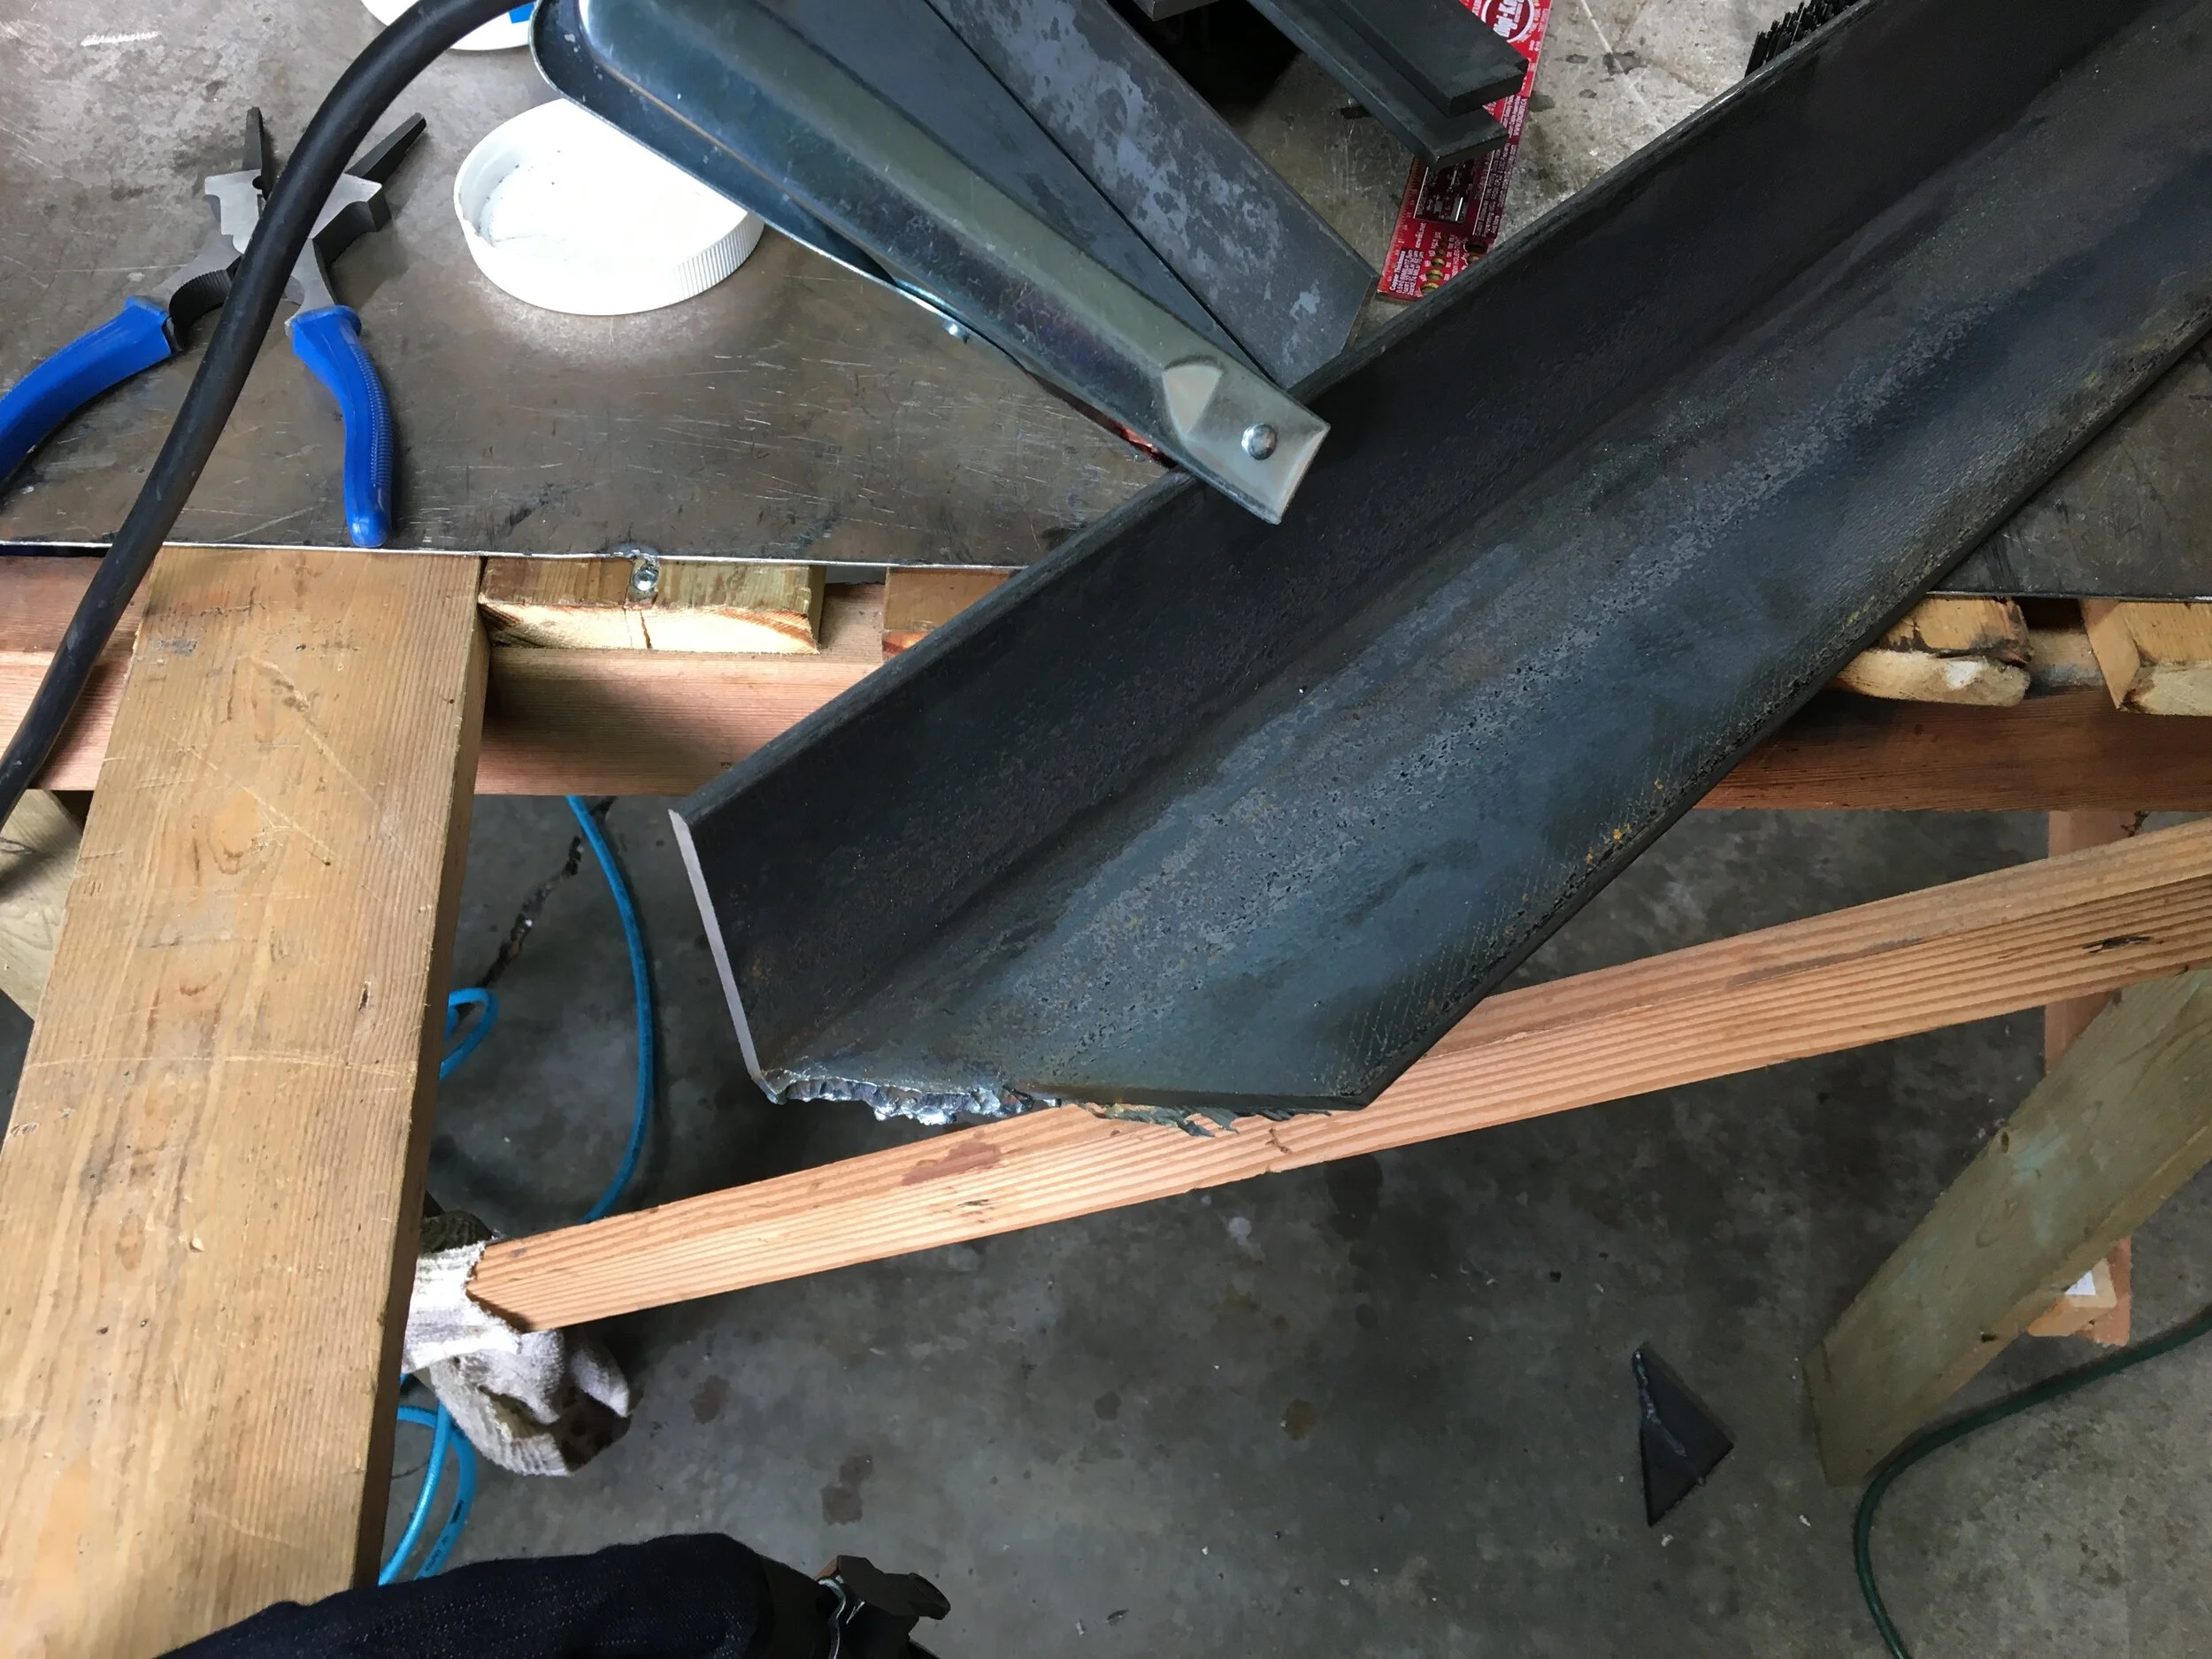
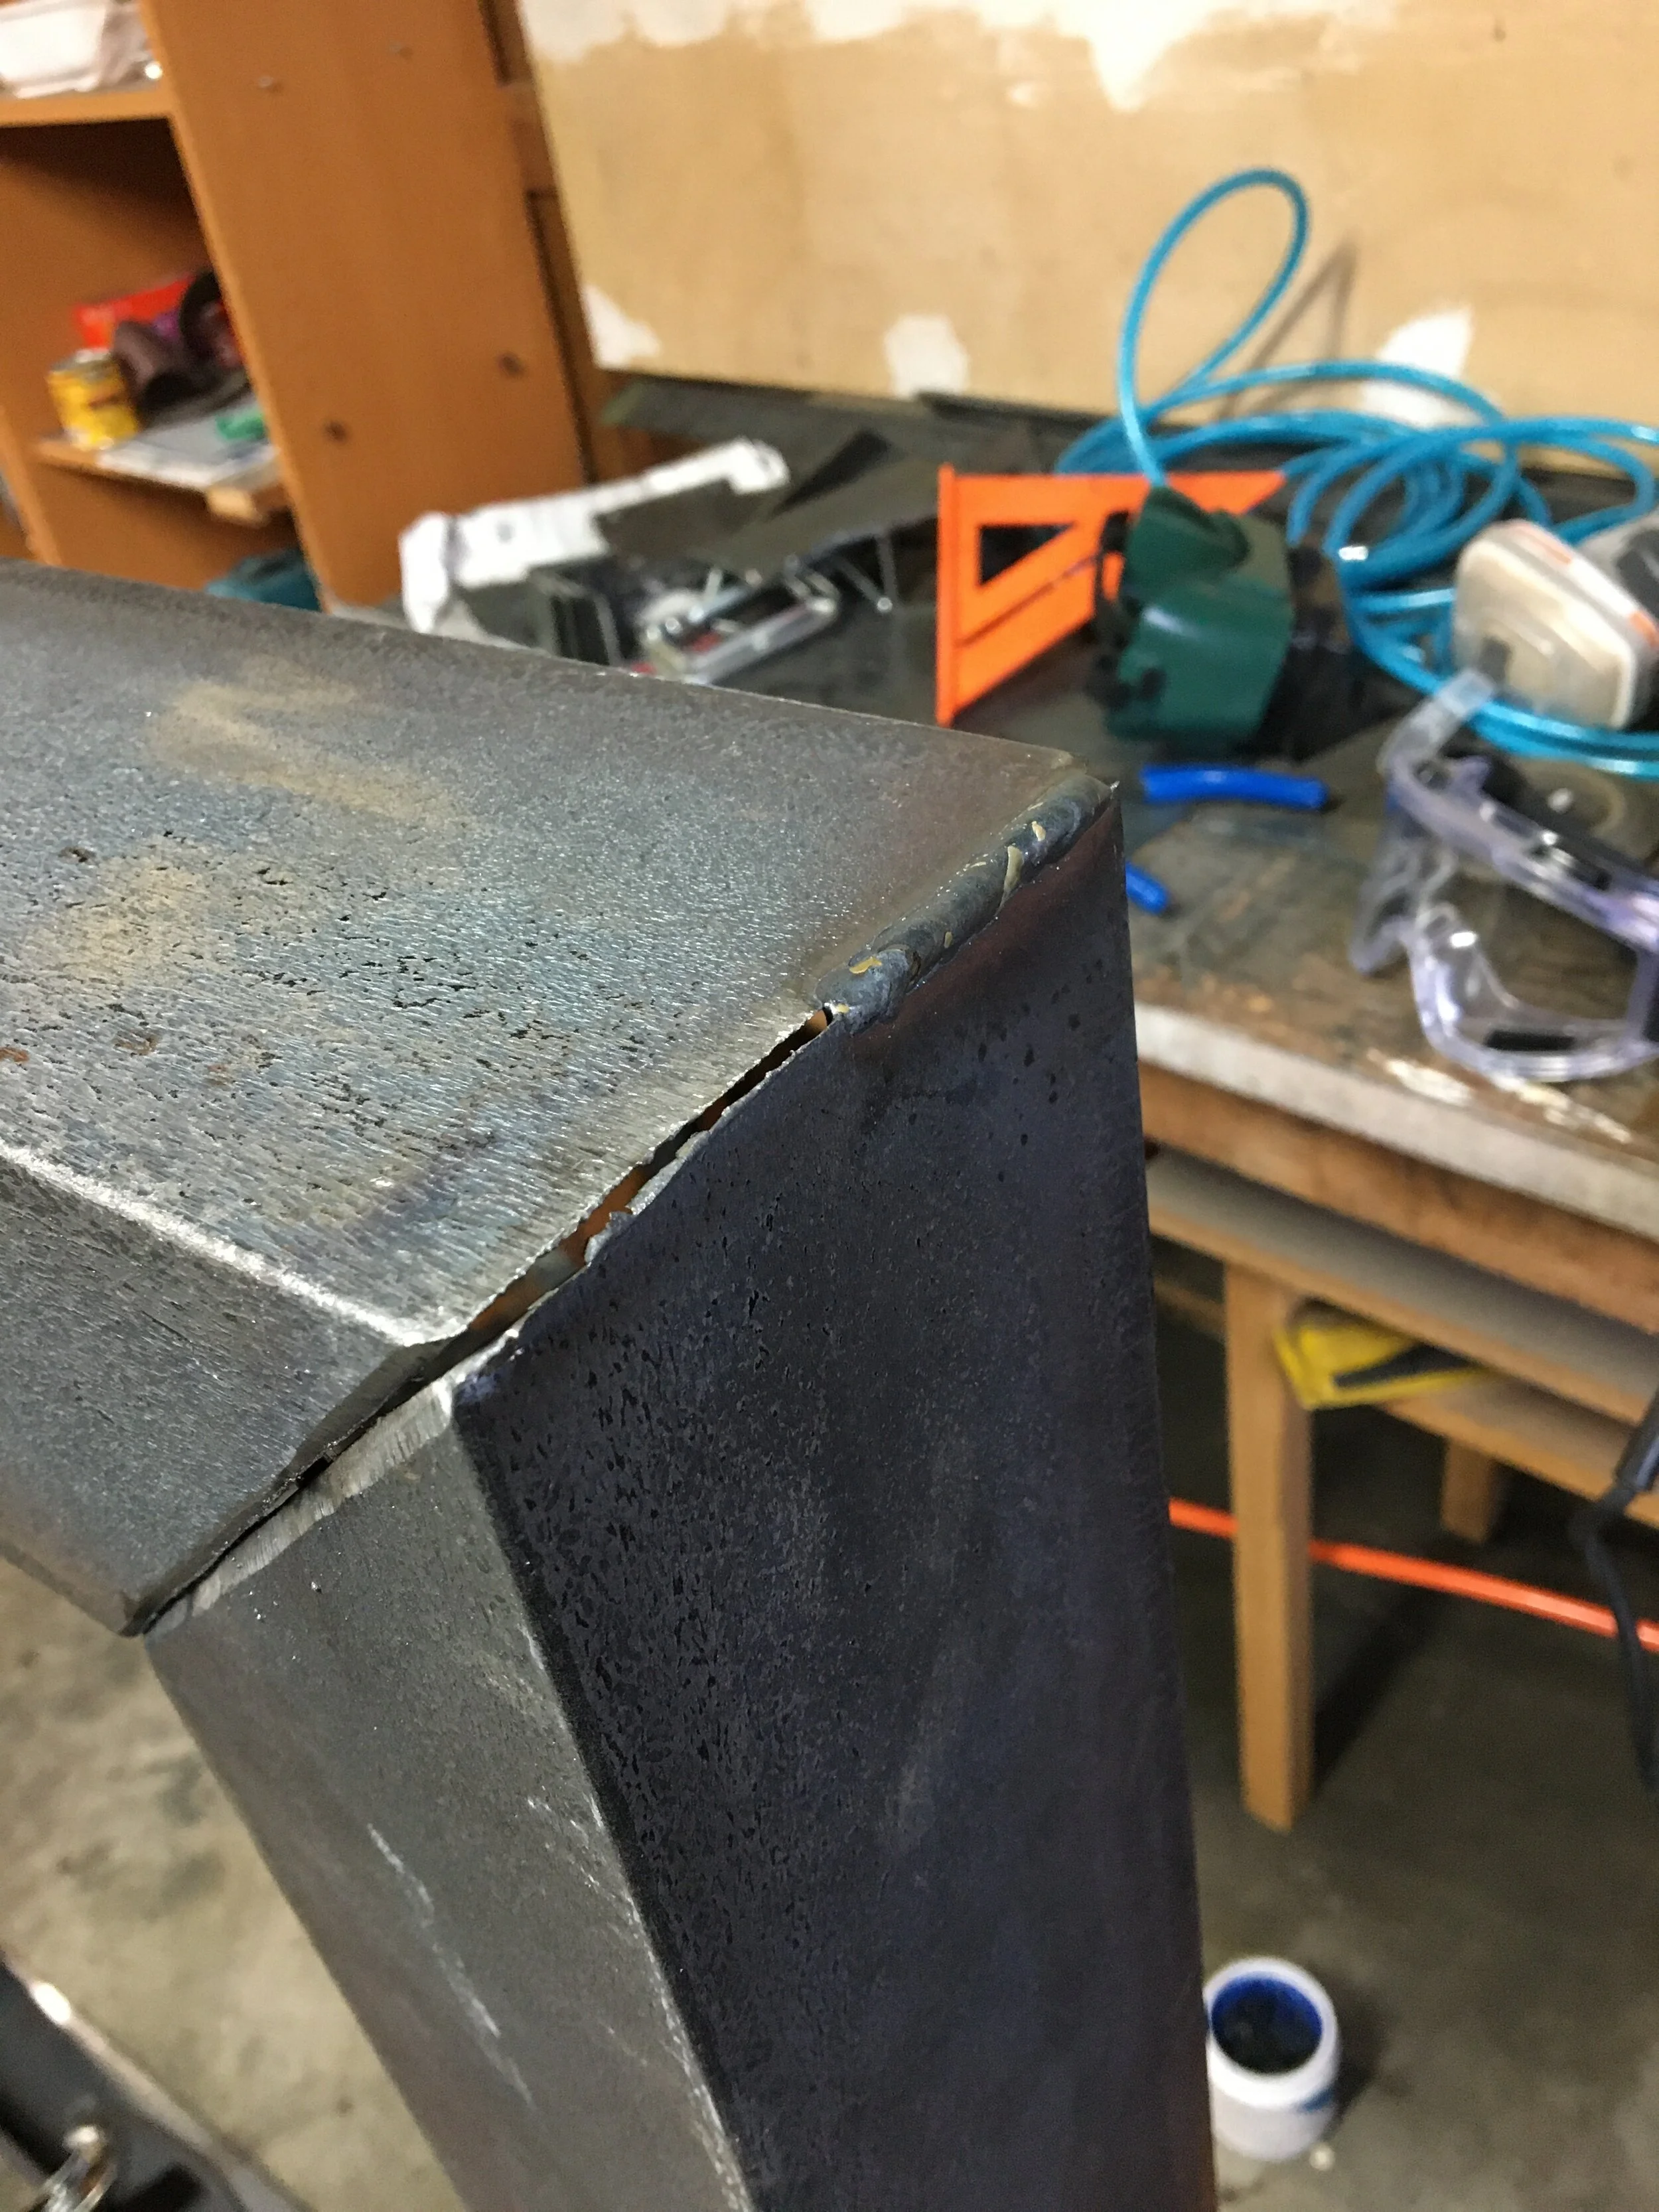
I first tried cutting the angle with the chop saw to get a good 45 degree cut. It was really annoying and due to my setup and laziness, it wouldn’t go through the whole beam. Also. Plasma cutting. Perhaps my favourite part of the project so far was cutting through the 1/4” angle with the plasma cutter. I also learned about the speed square. Anyone ever cutting 45 degrees needs to have a speed square. Lesson #5. Jumping right into Lesson #6, always tack weld, measure to make sure it fits, and then do the final weld. I calculated wrong an embarrassing number of times, but luckily measured twice. In this case, it was the frame into the bed. I needed to shave off 1/2” on the lateral dimension. Guess where that came from….
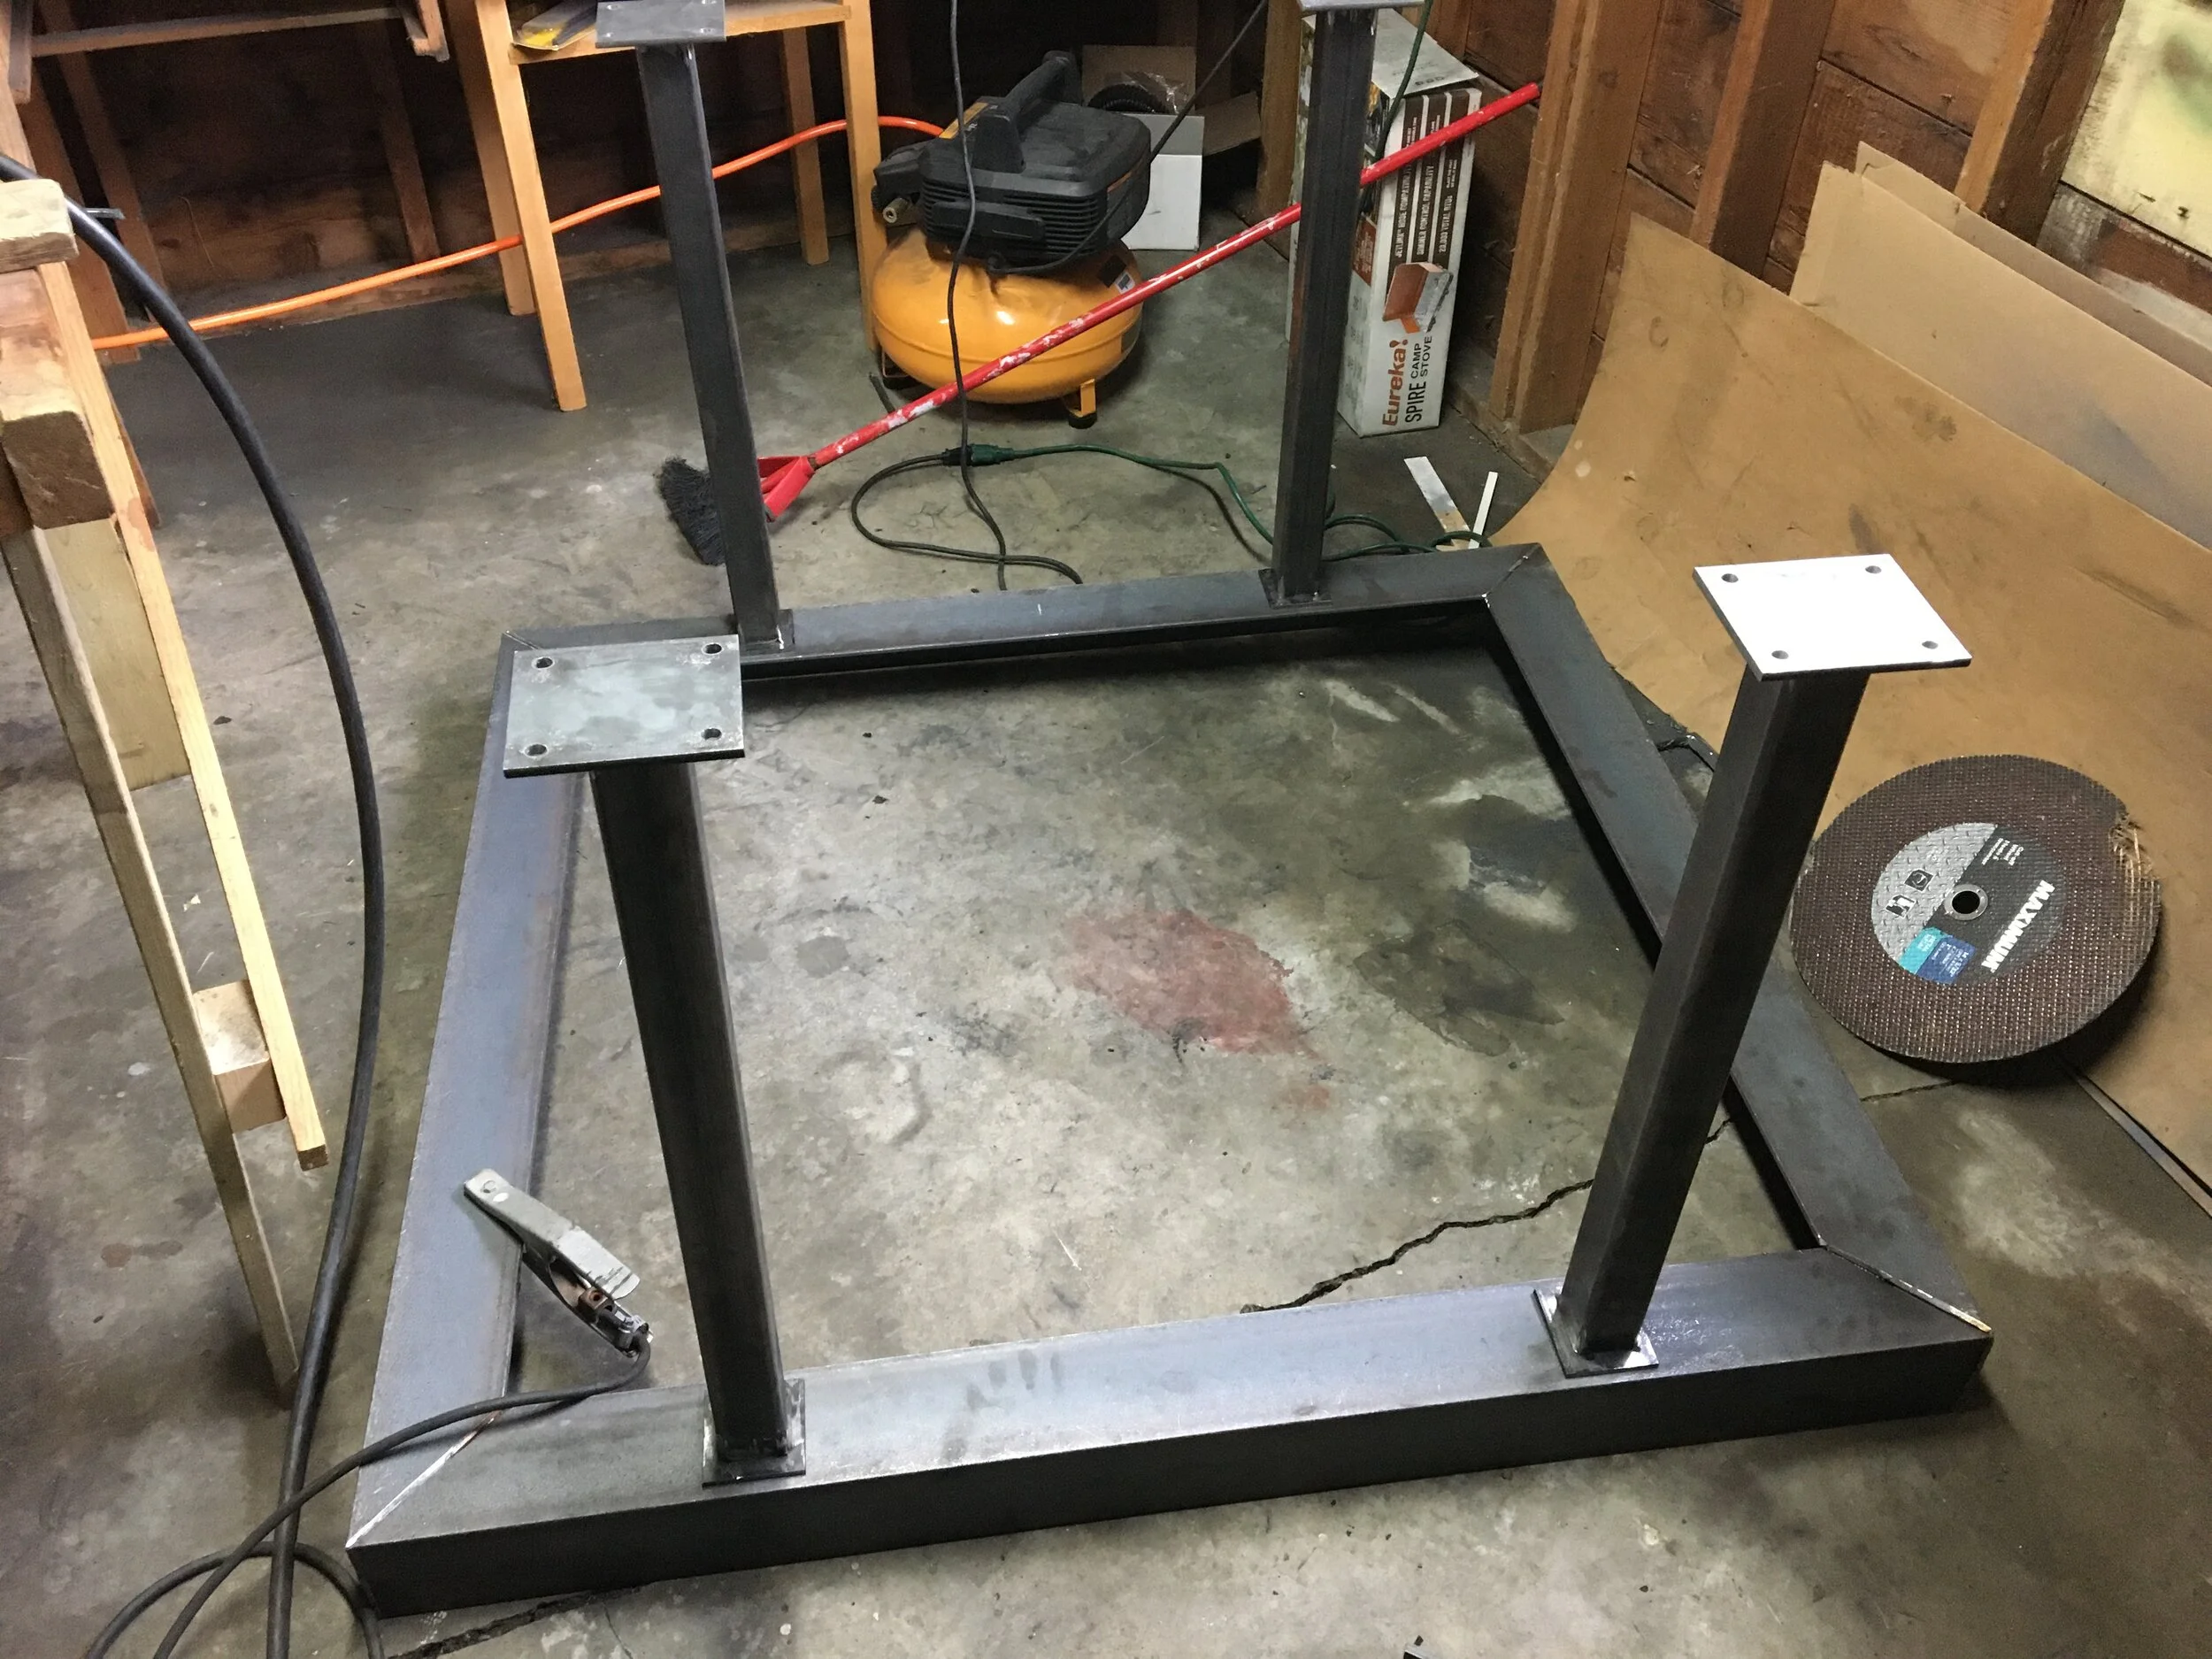
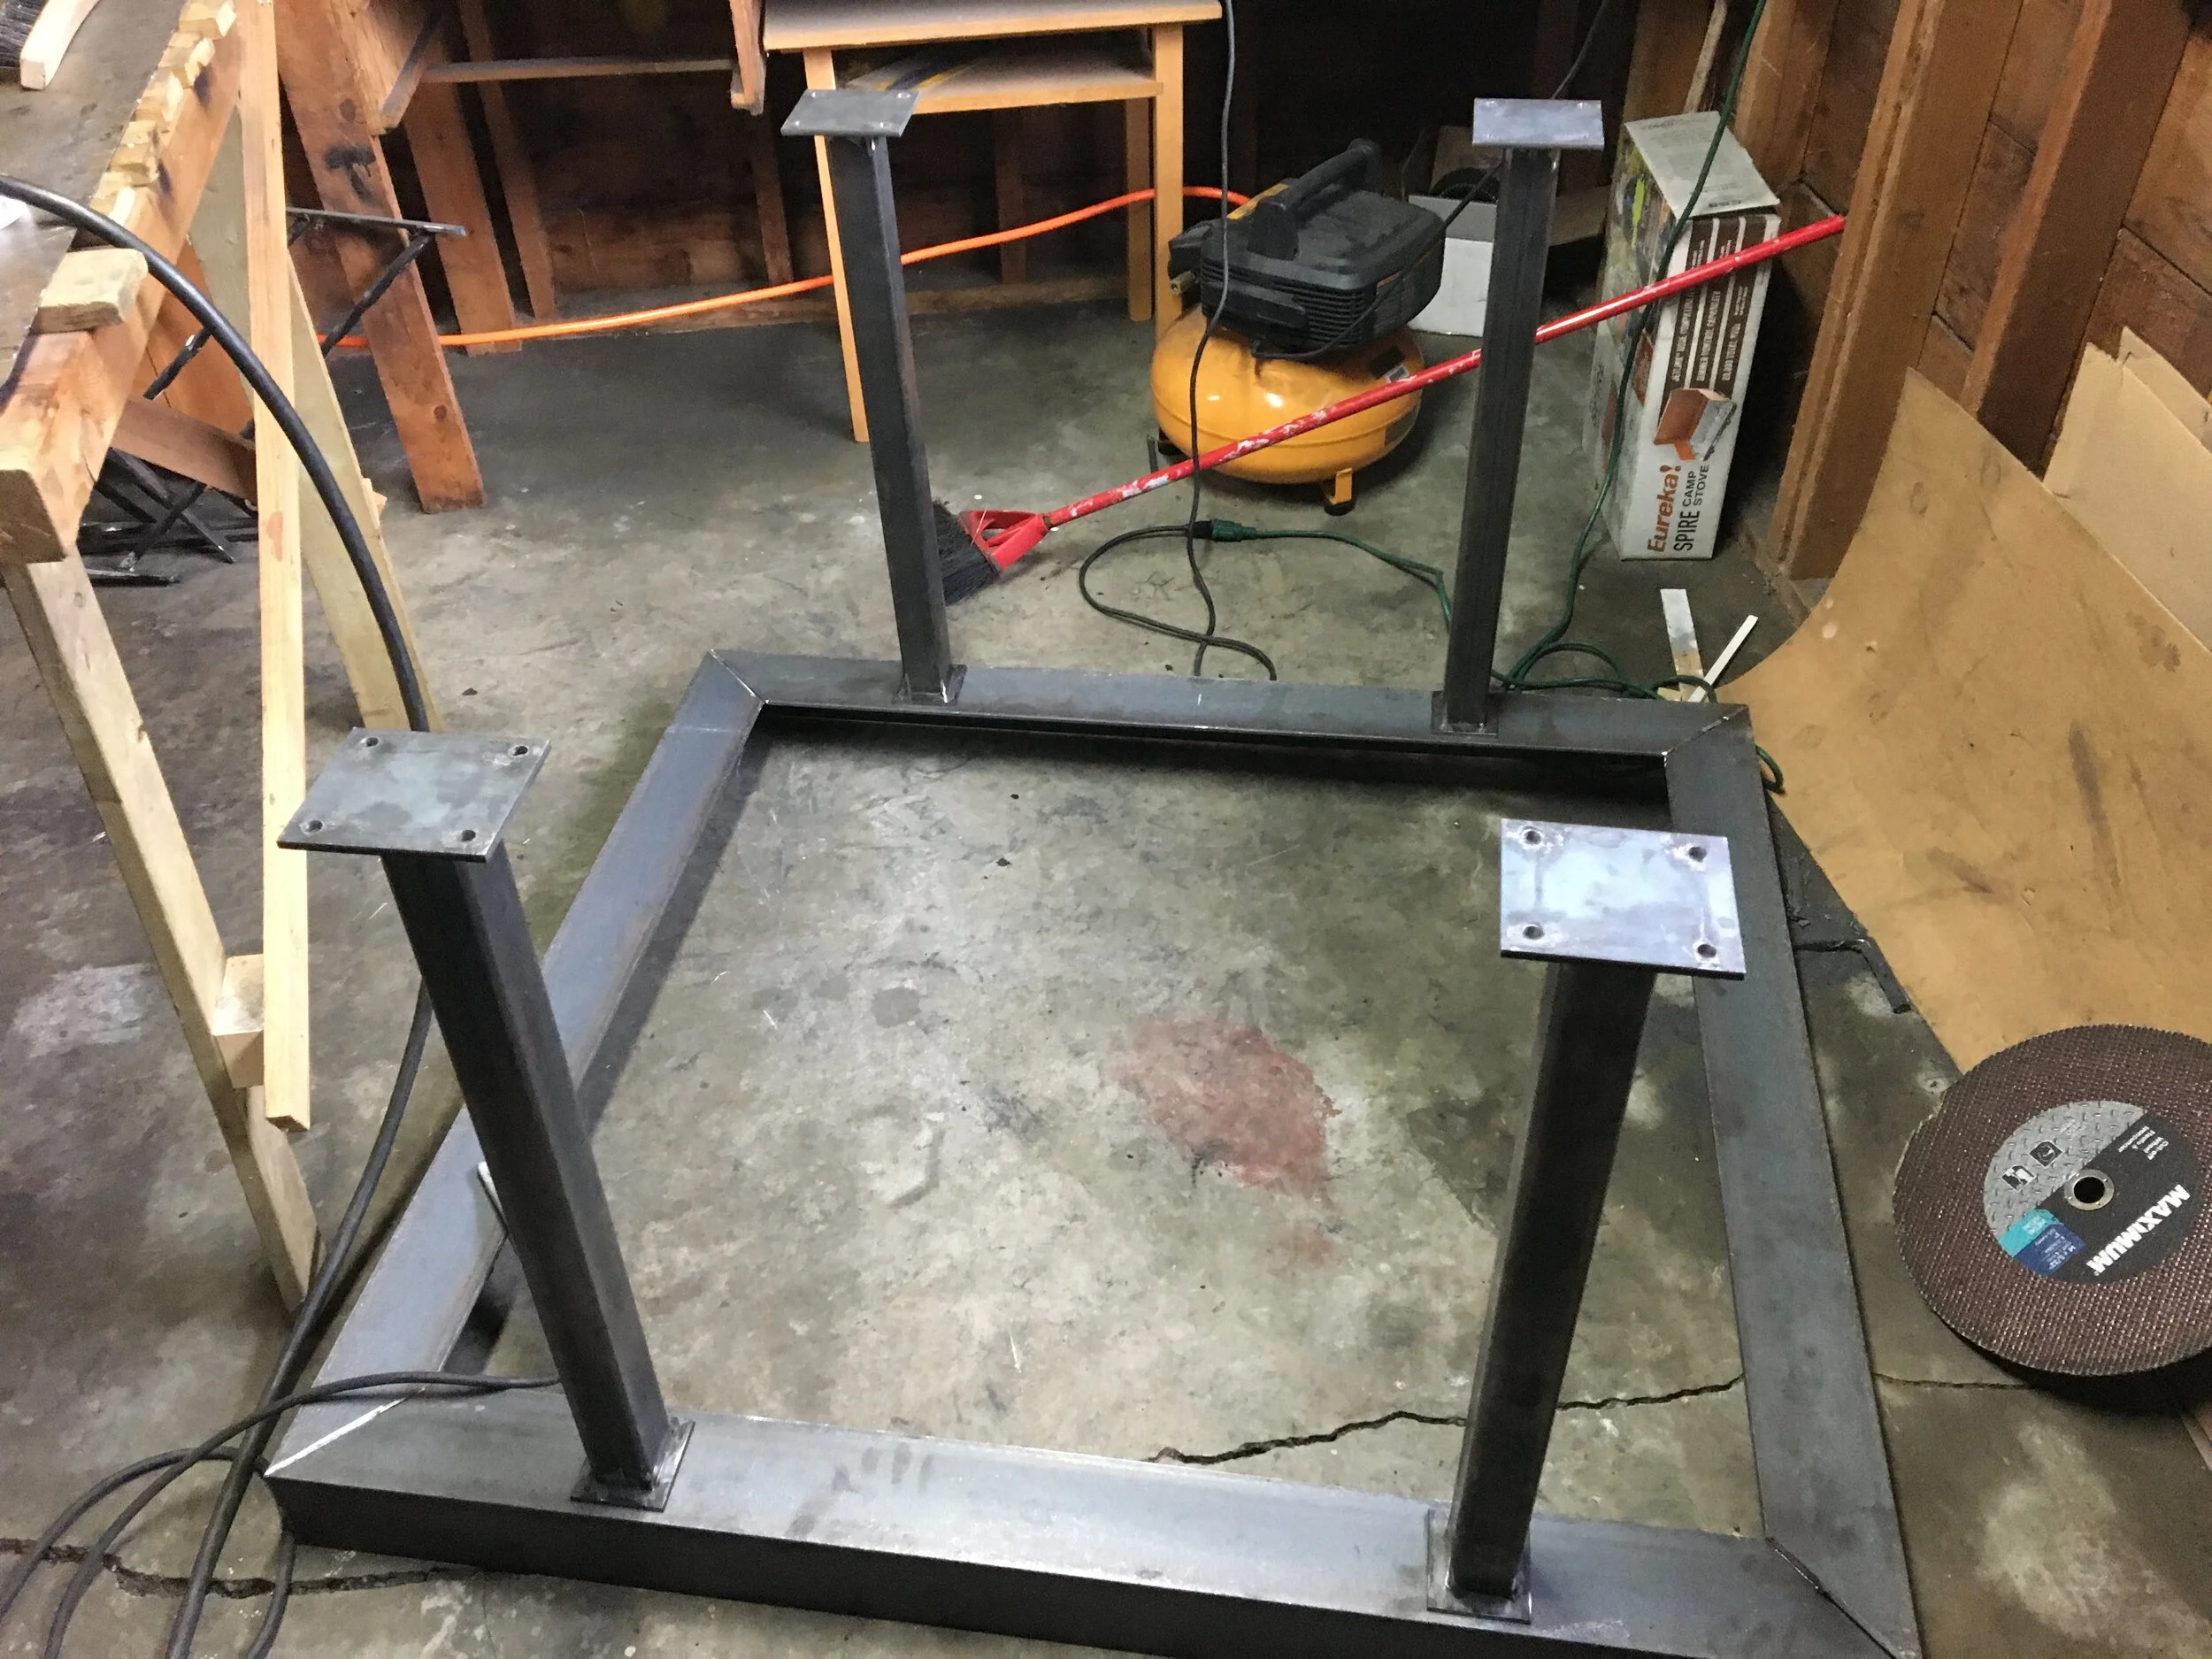
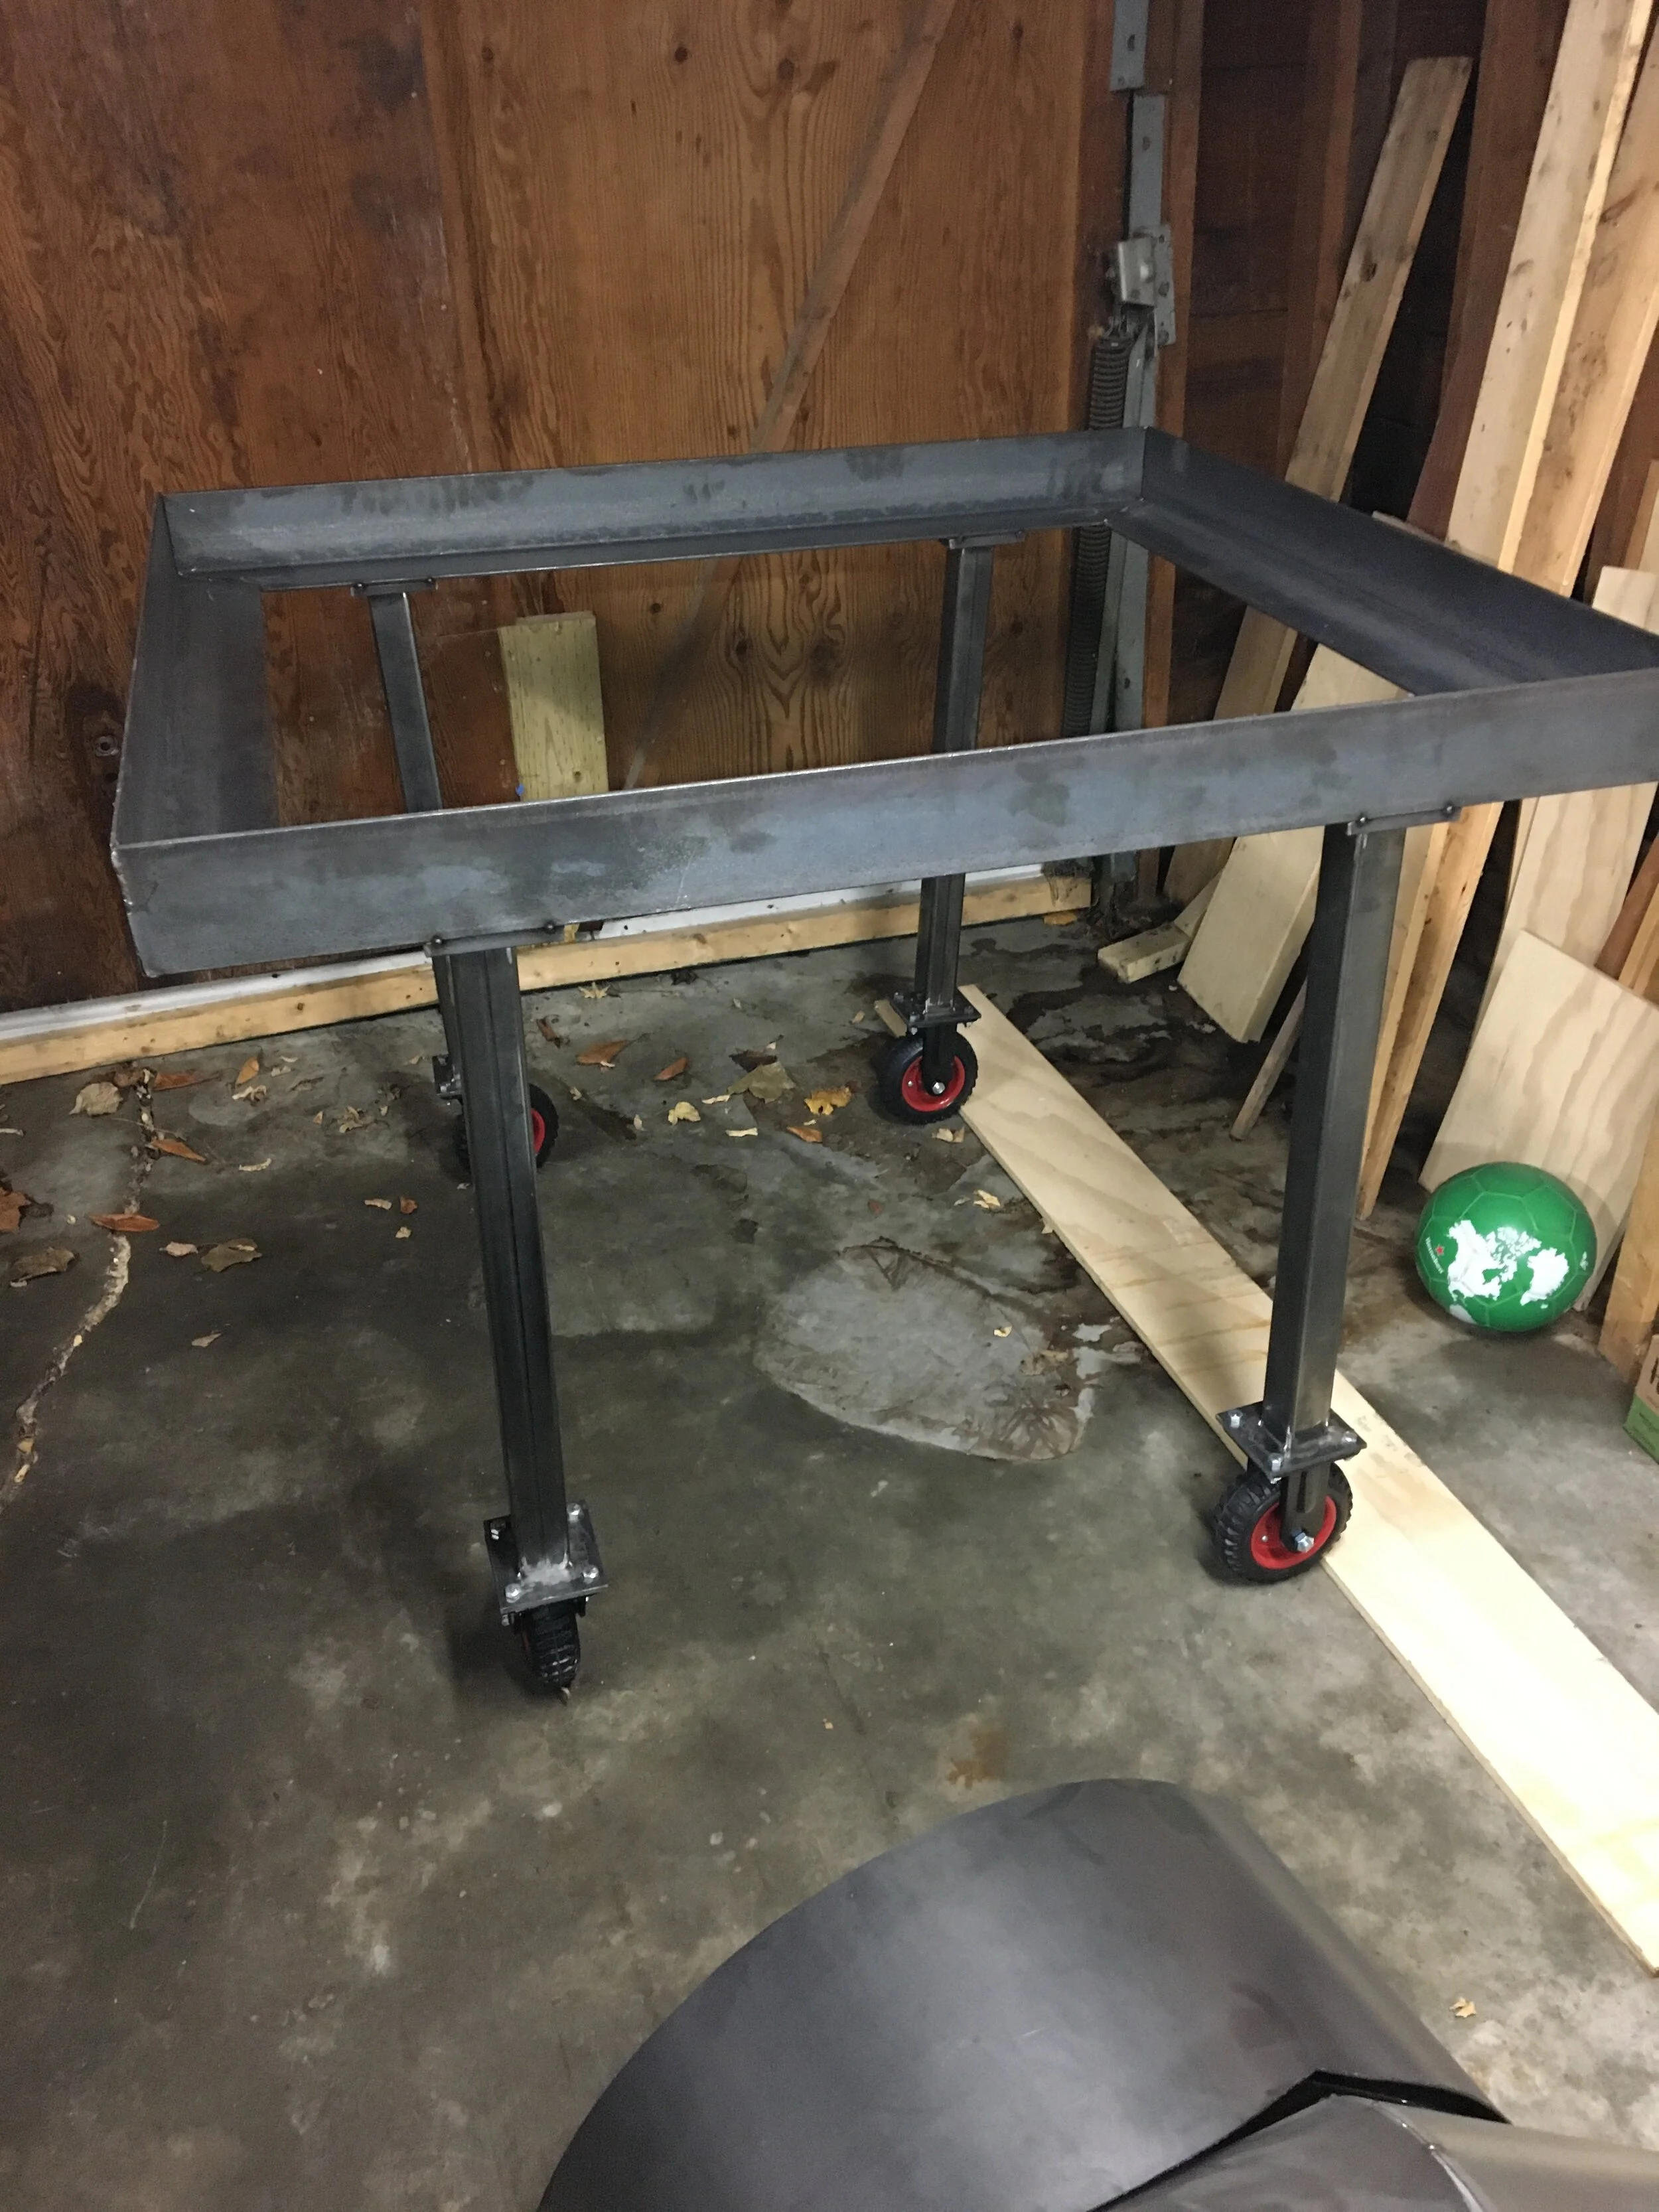
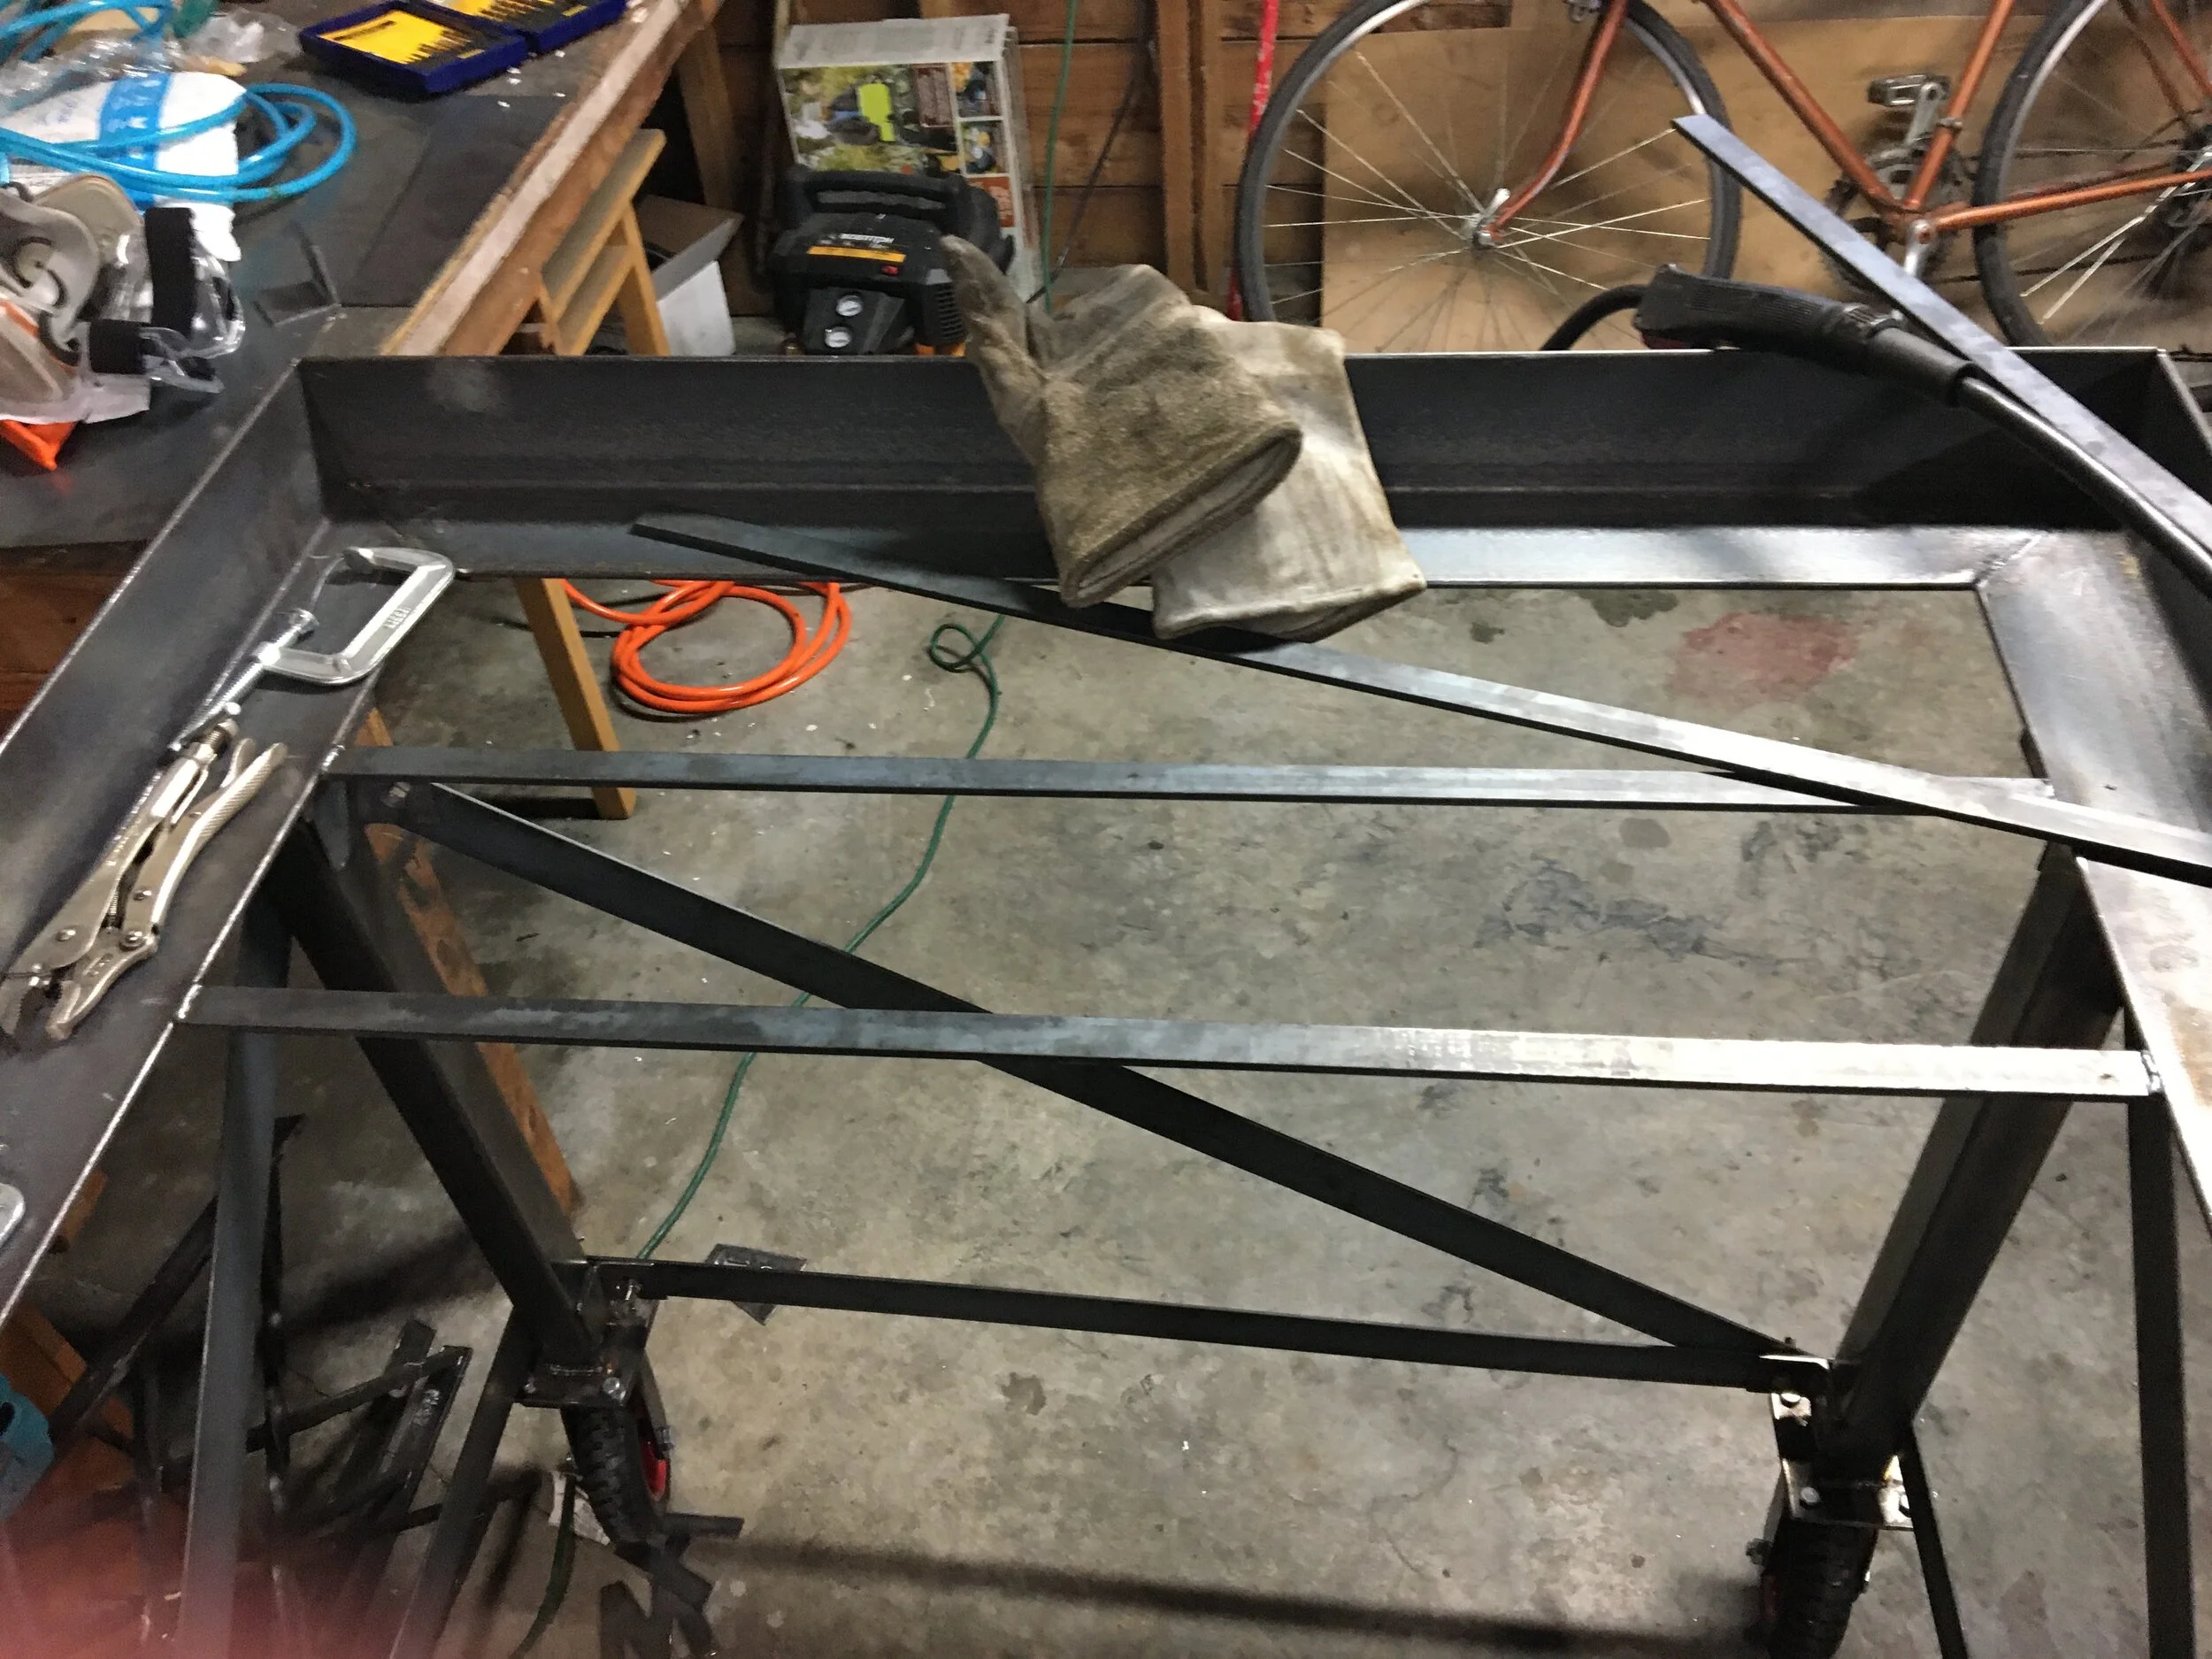
With the frame welded, I needed to prop it up on some wheels so I could use it to continue the project. The plan here was to have the legs bring the bottom of the frame, just to level with the truck bed. Having lifted the frame a few times, I really didn’t want to have to work hard to get it into the truck, so if they were close to the same height, I could transfer the frame to the truck in stages, removing the legs as I went. So. Measured the truck height, ordered some steel, and got to work.
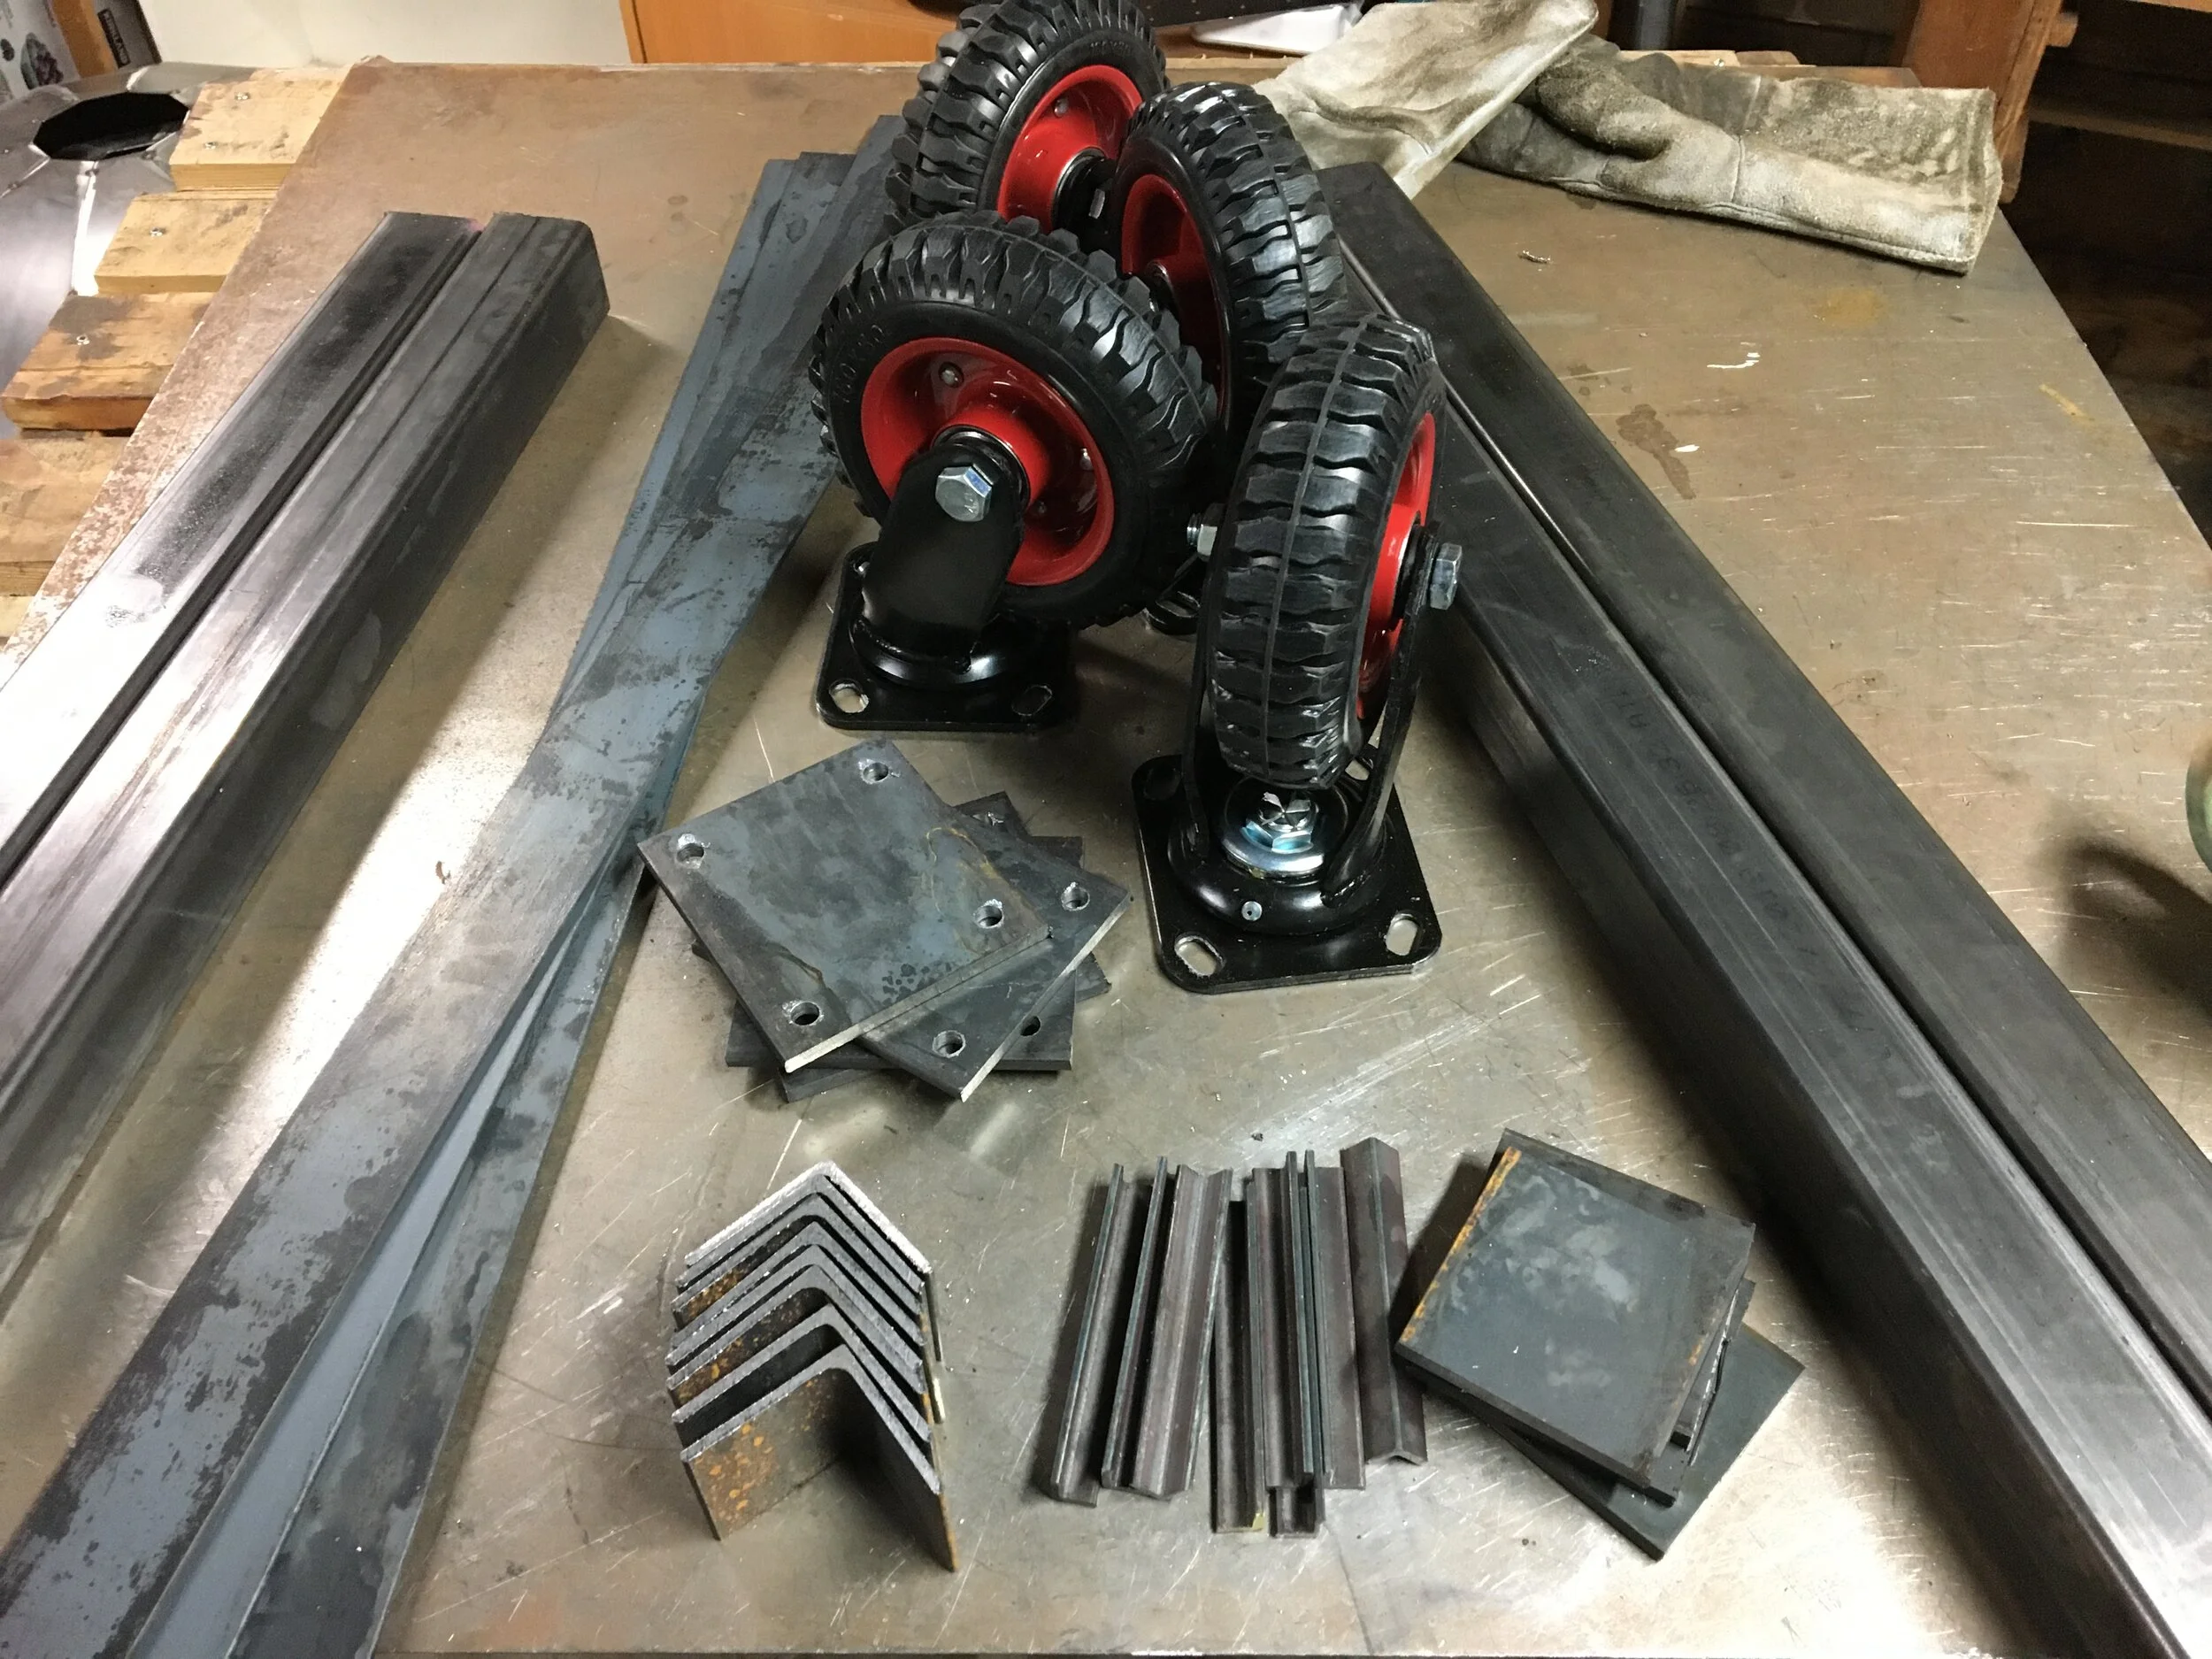
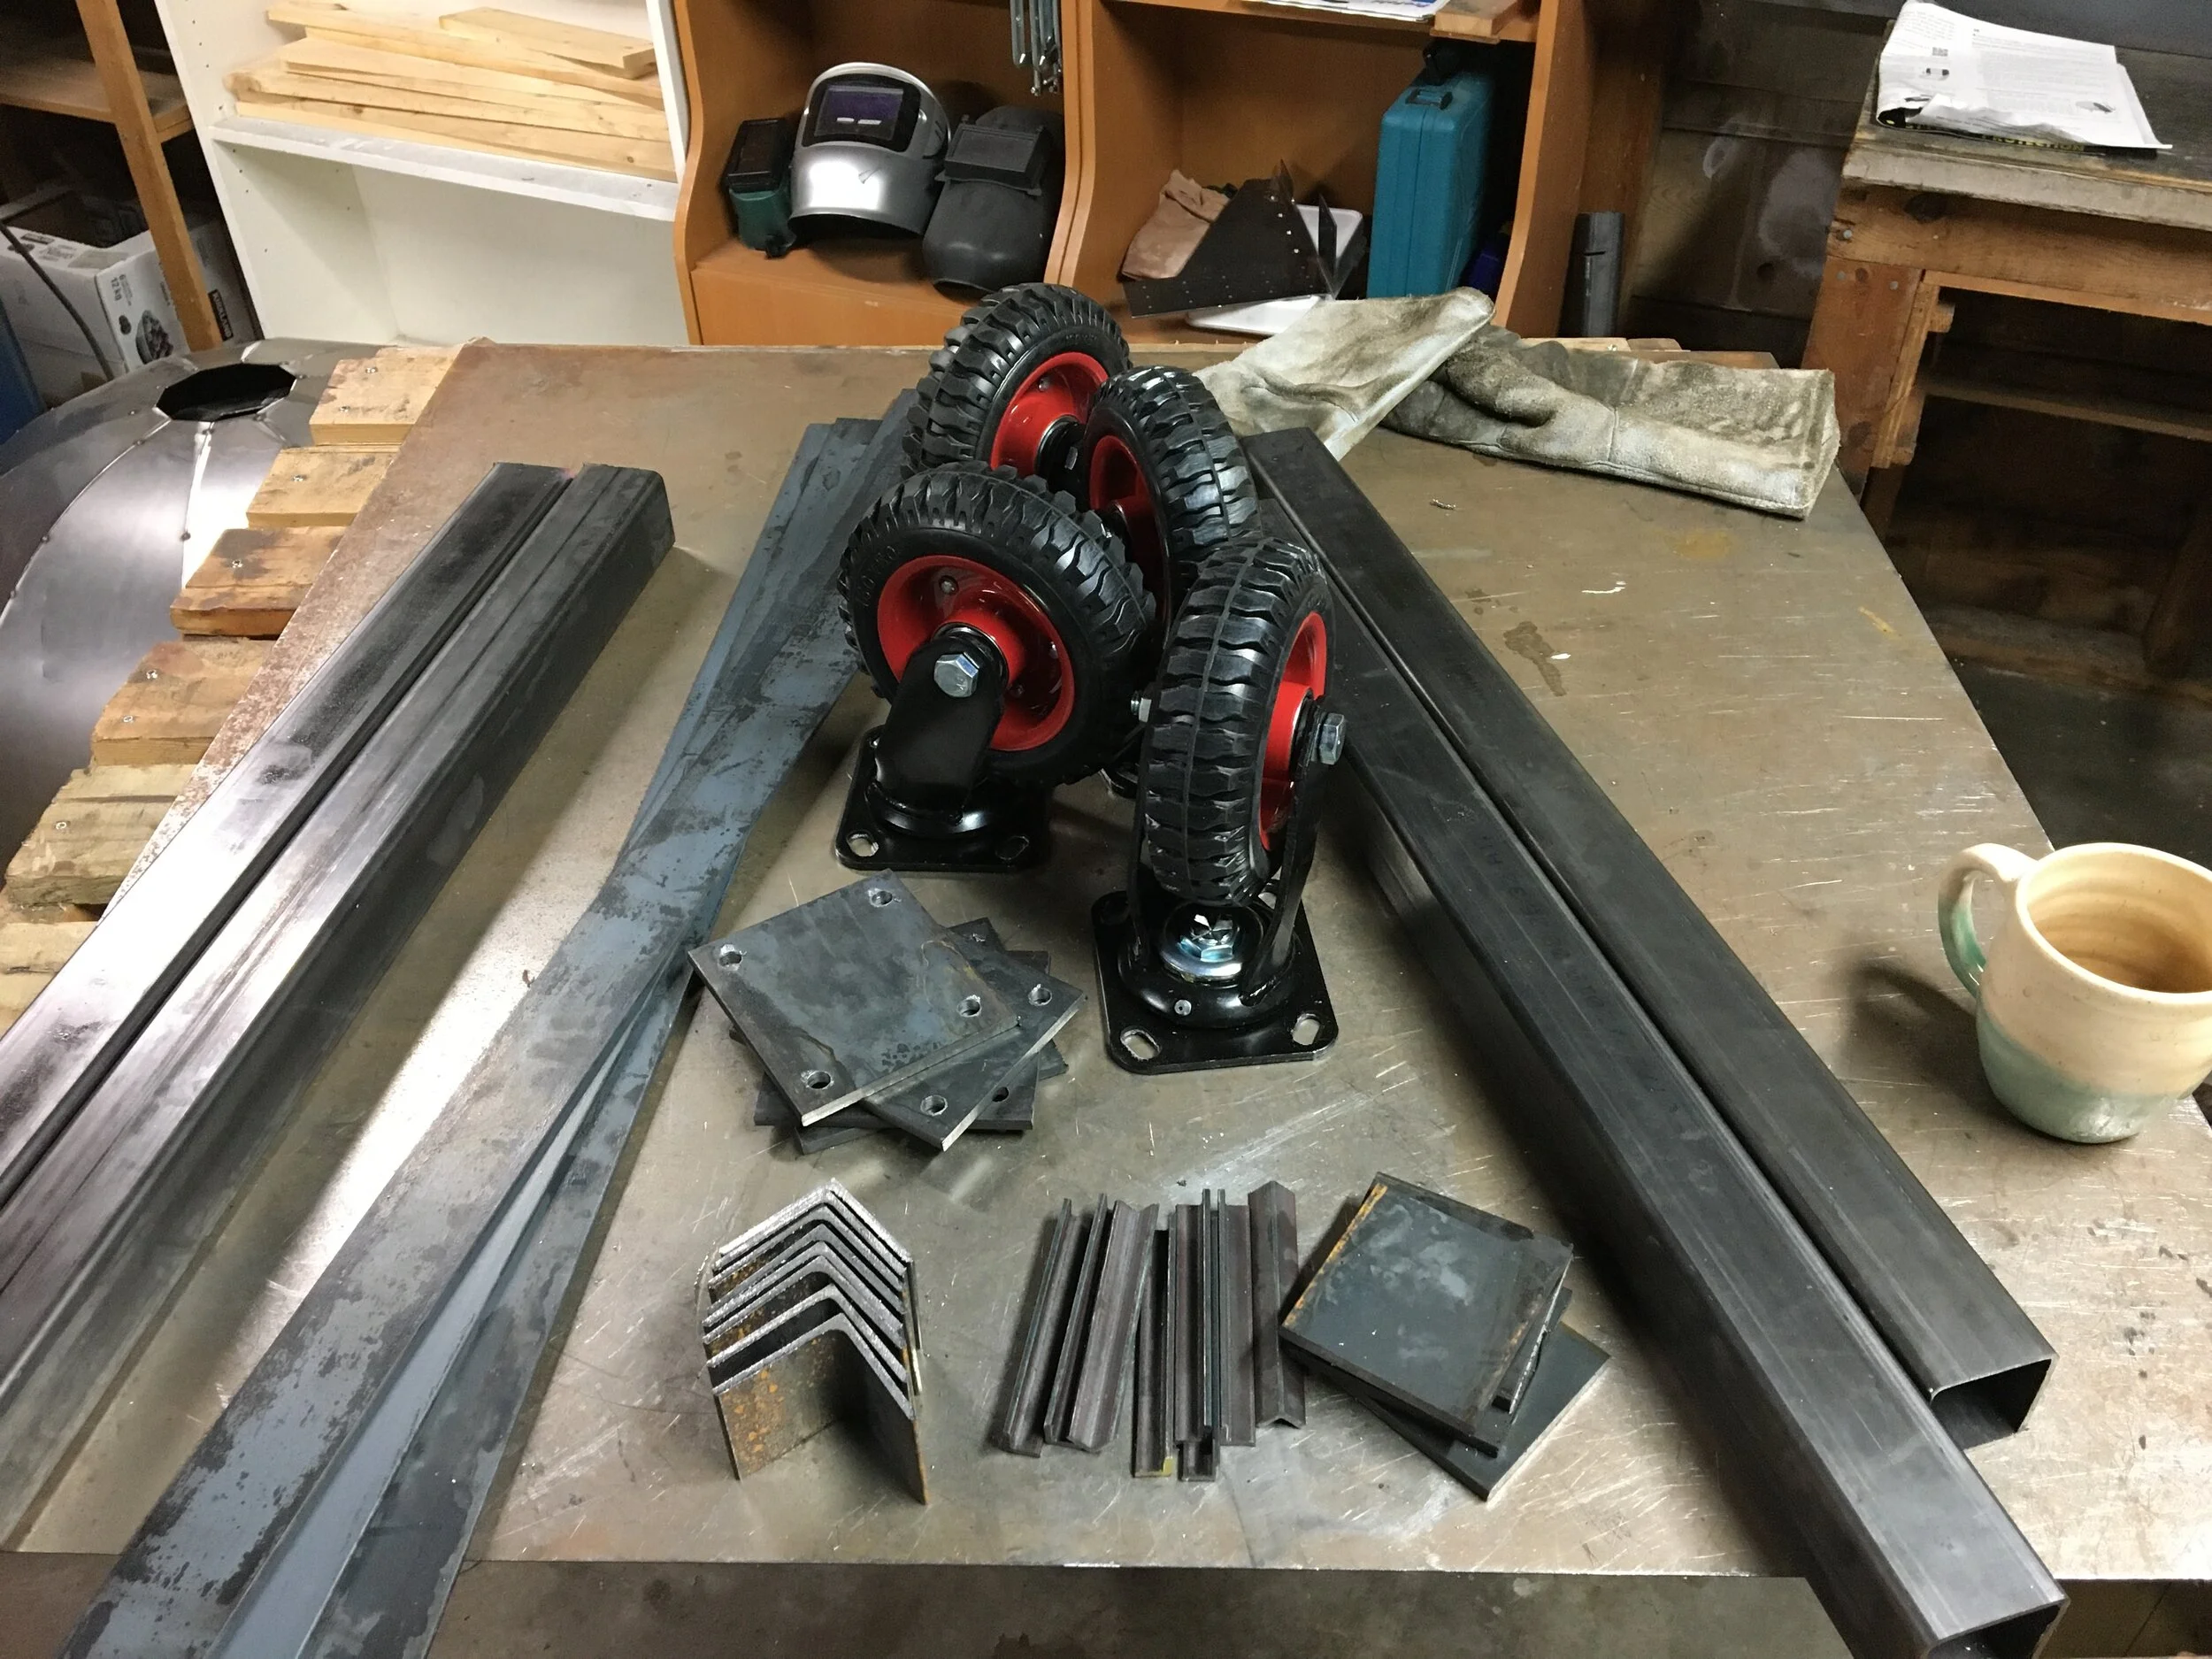
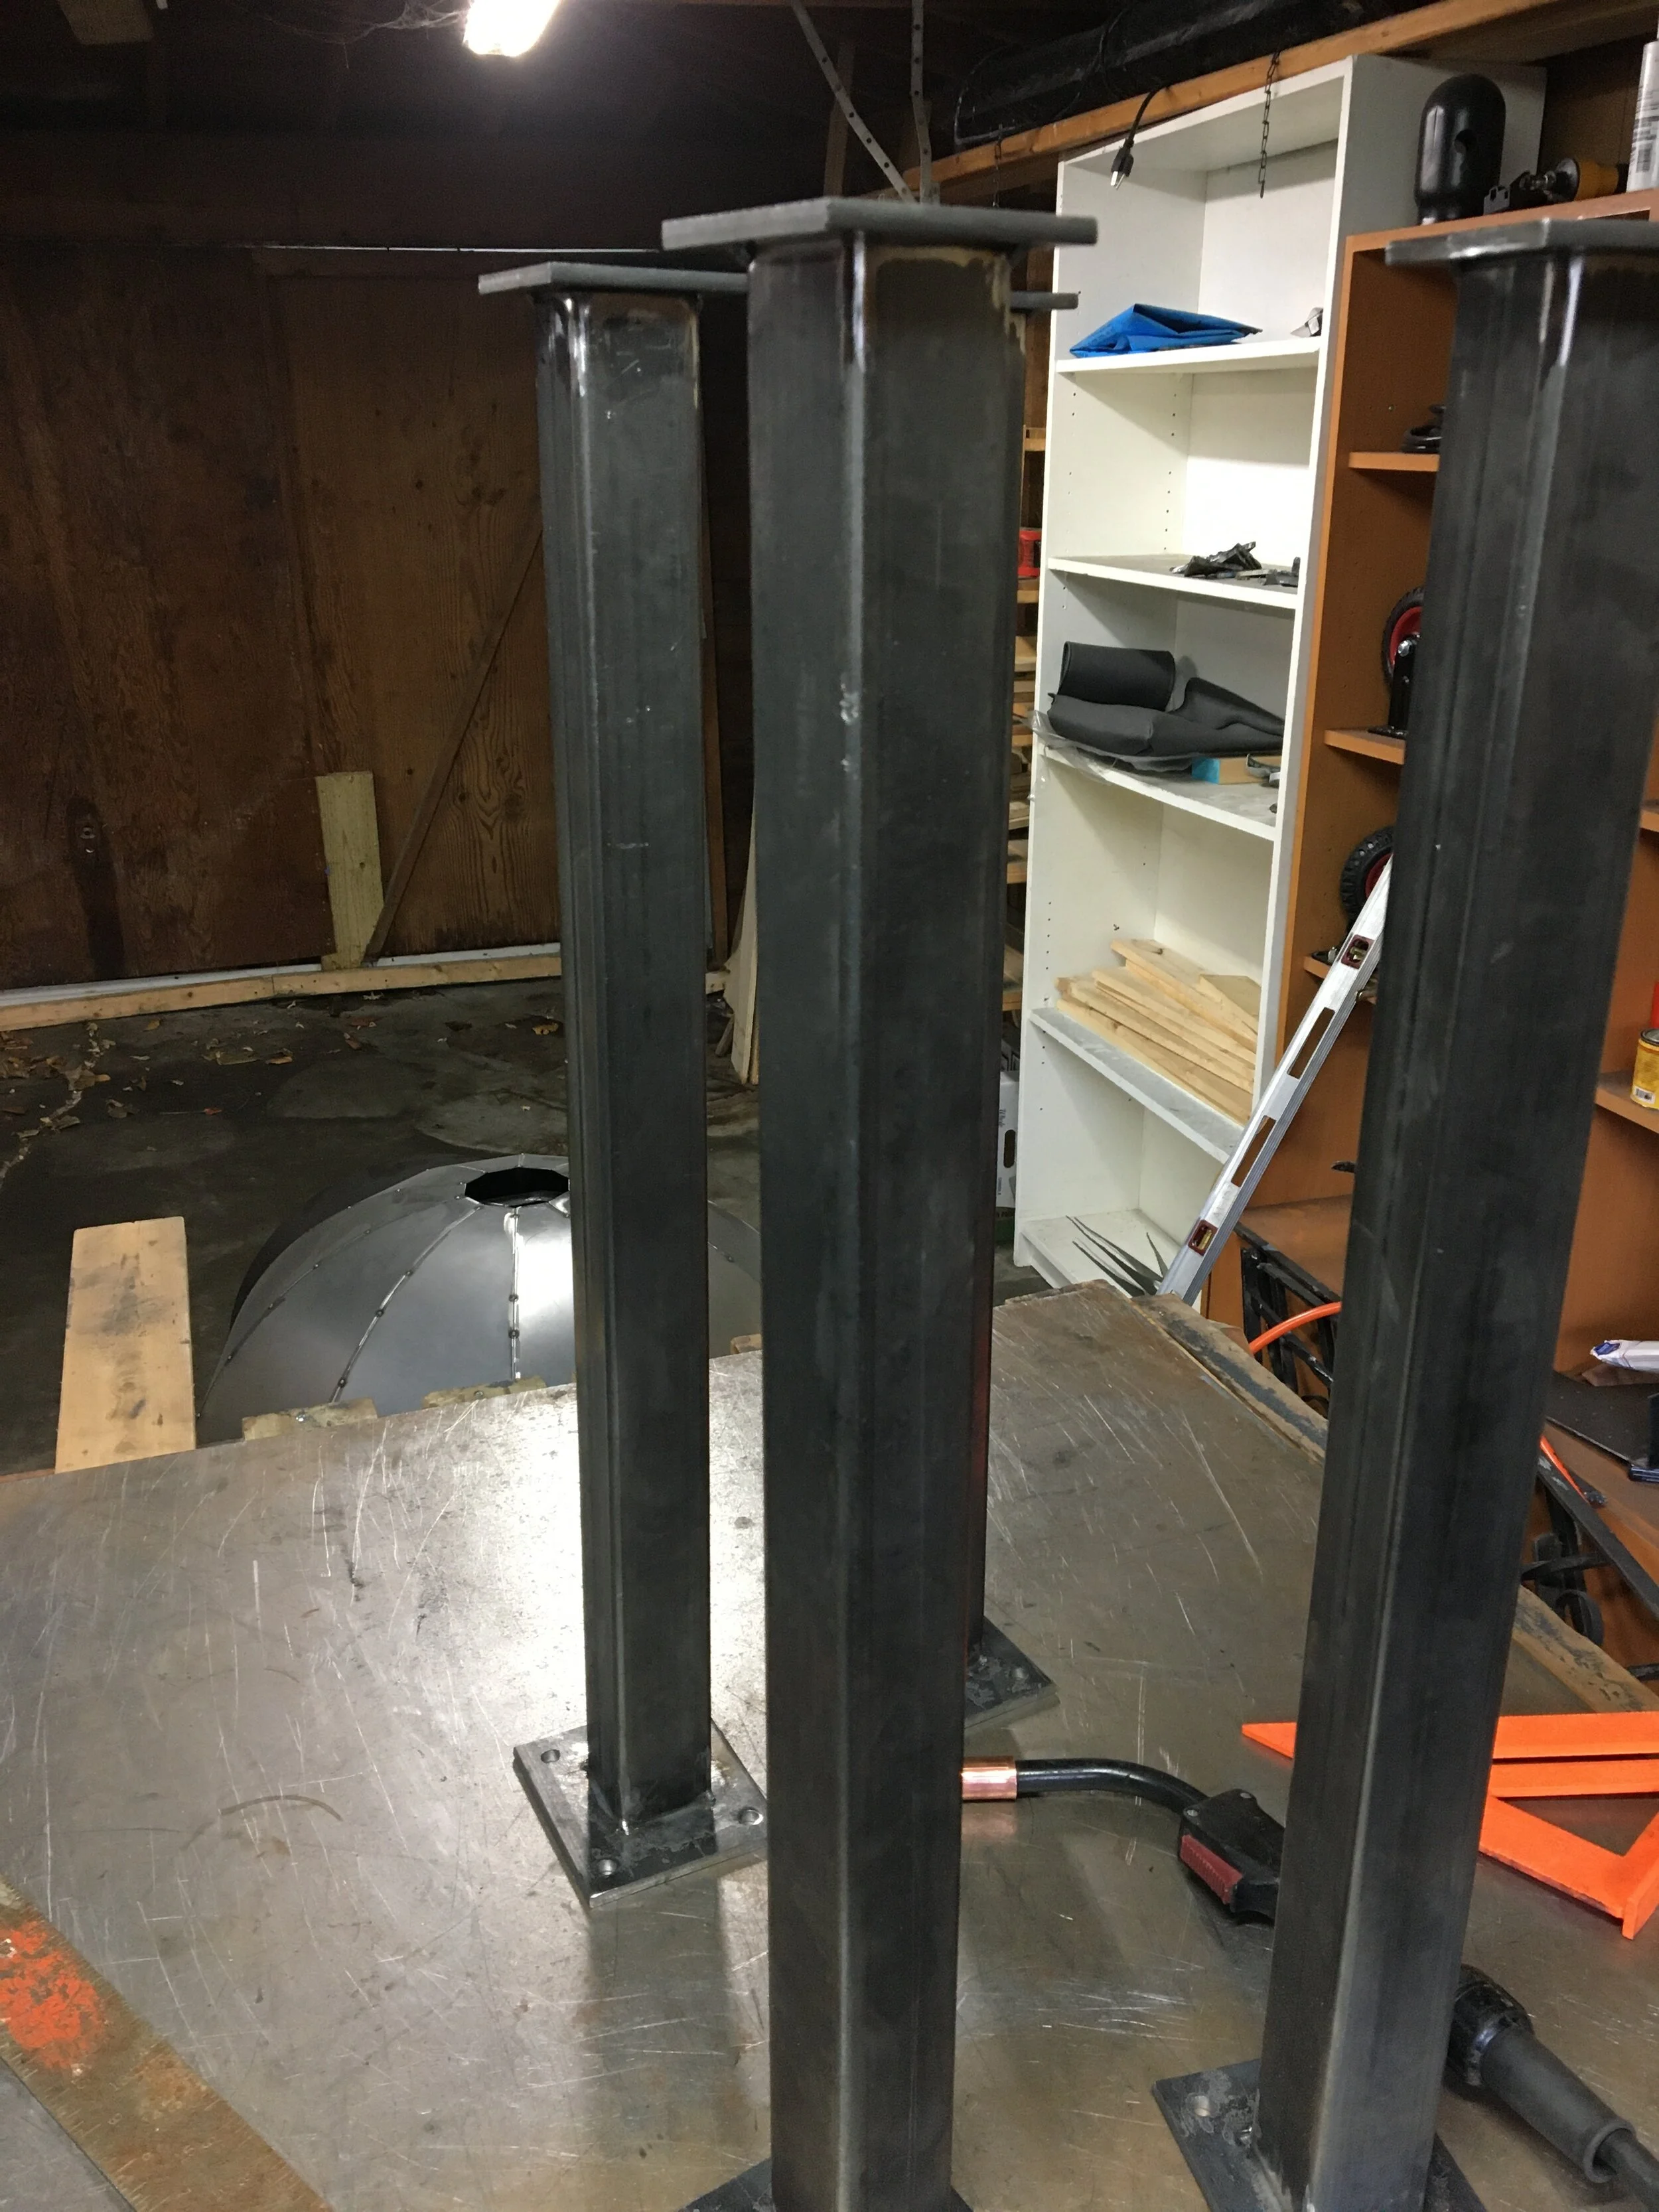
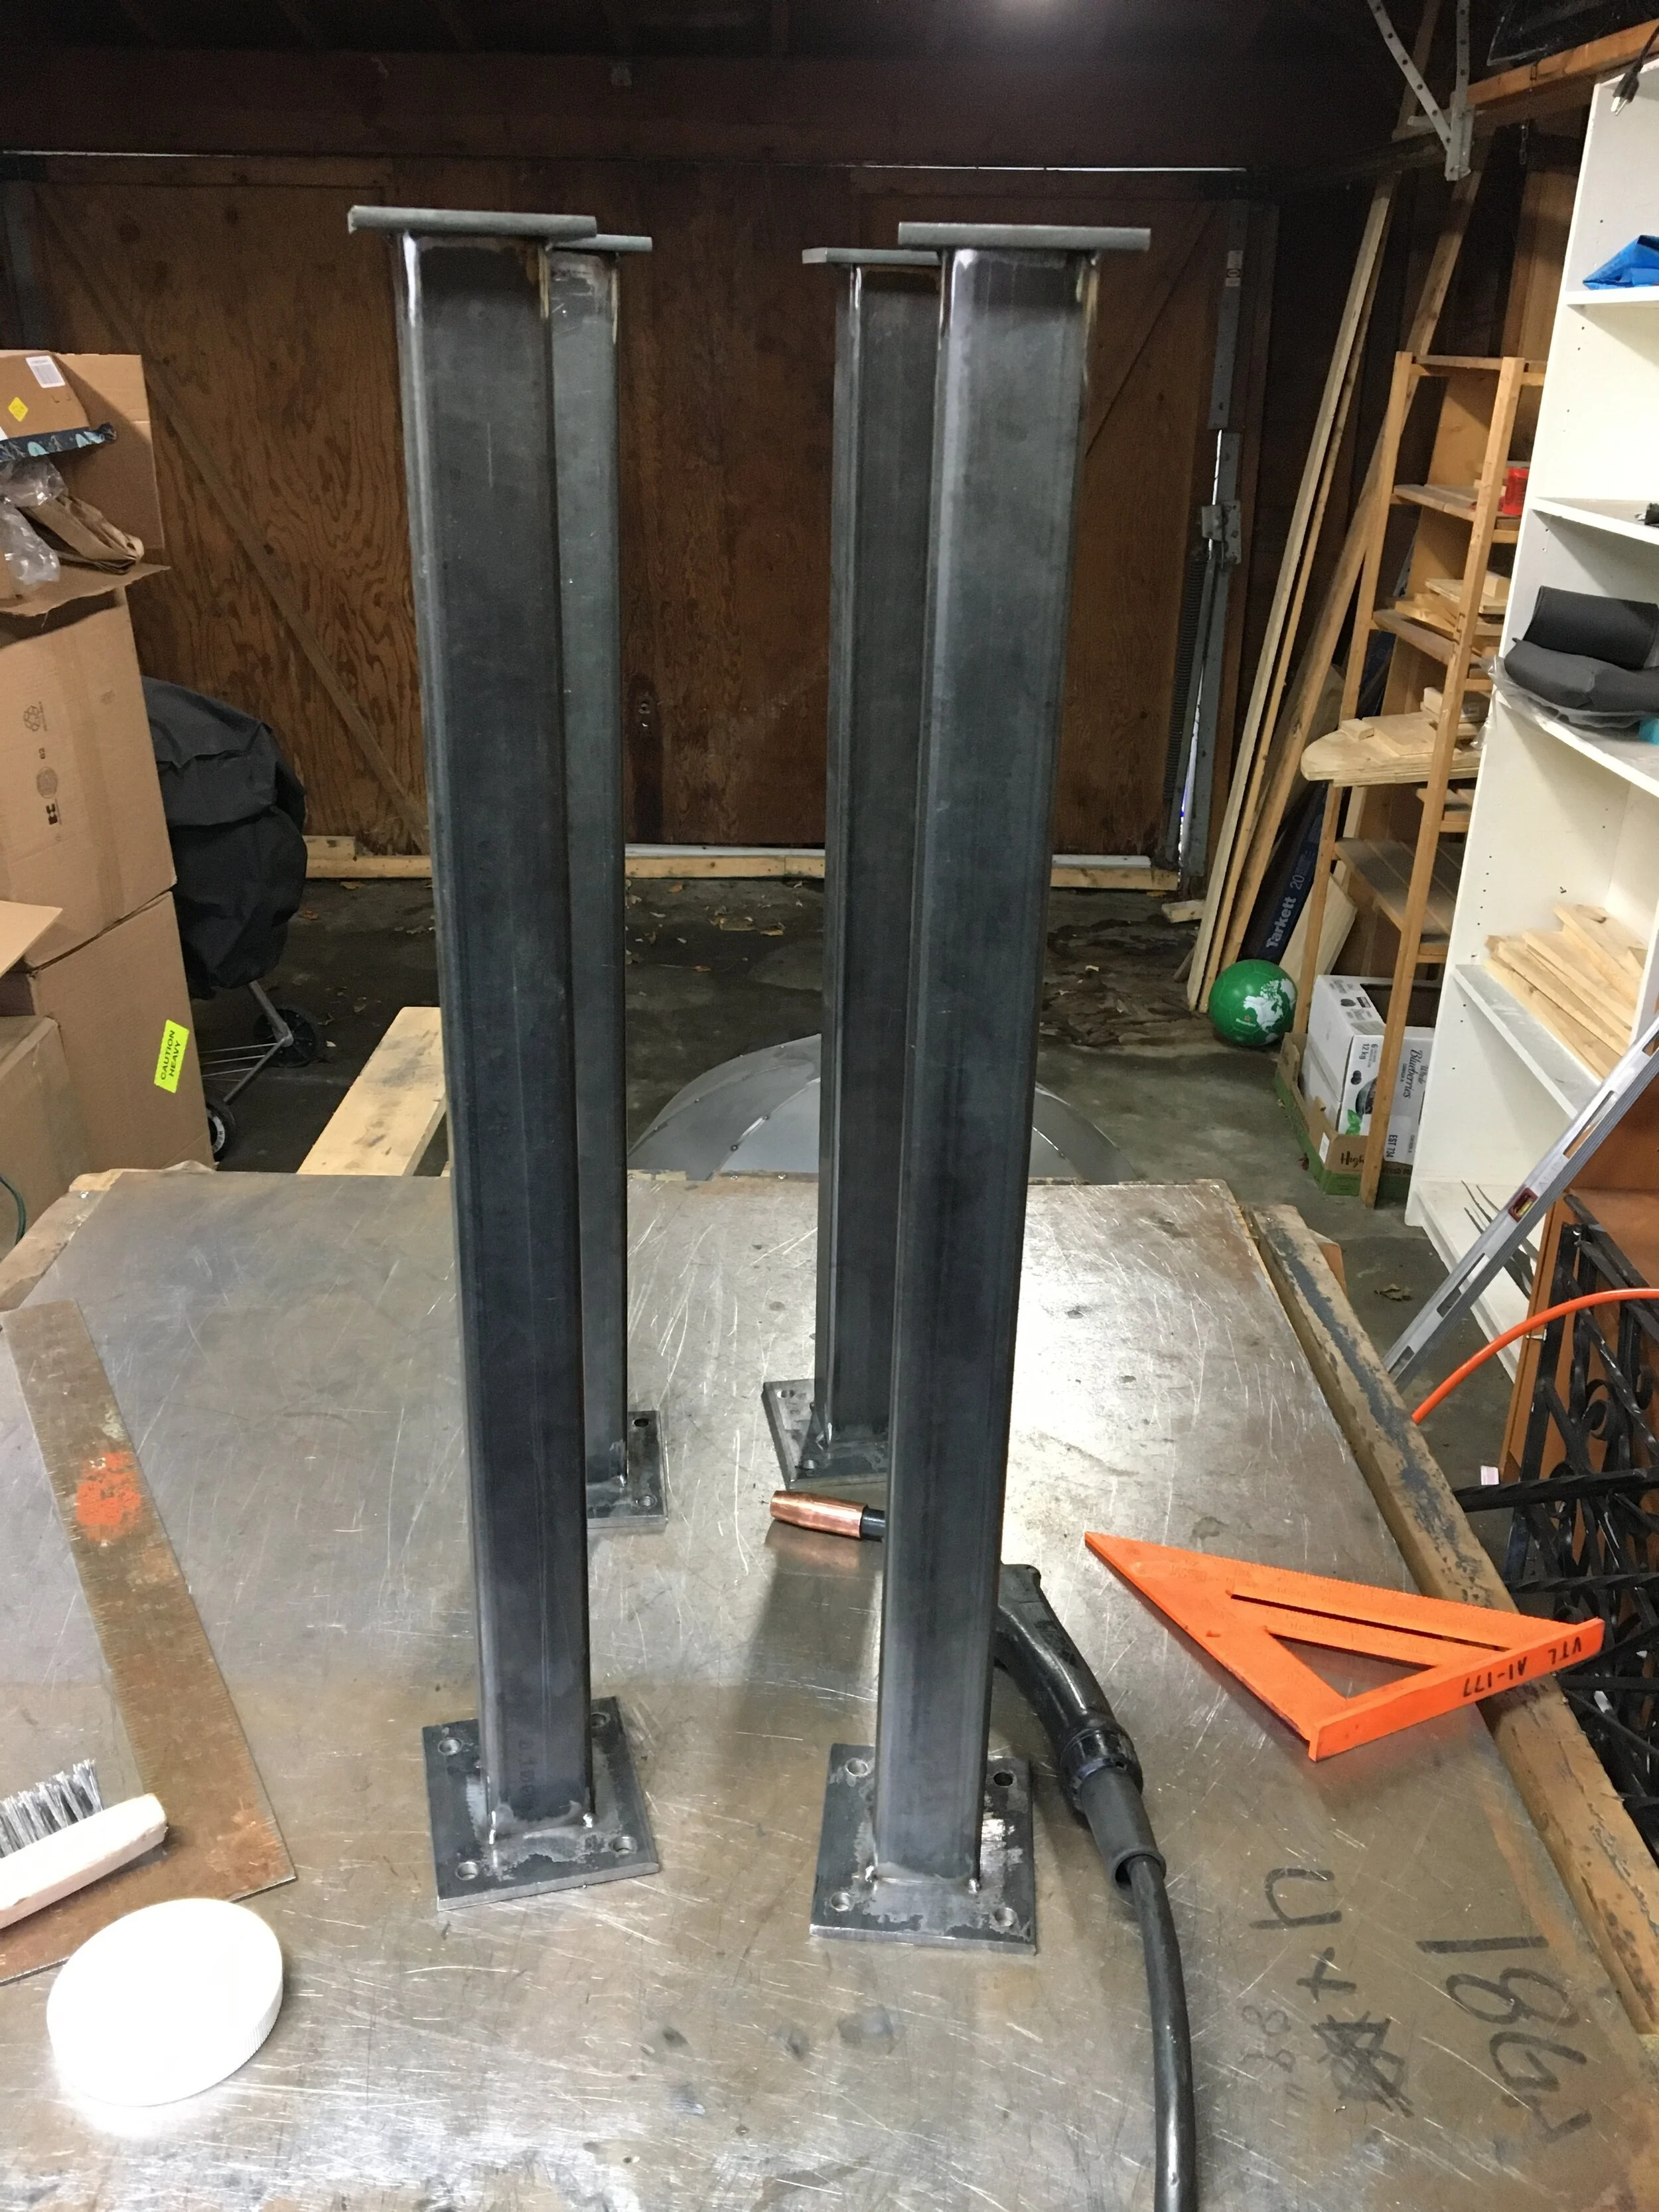
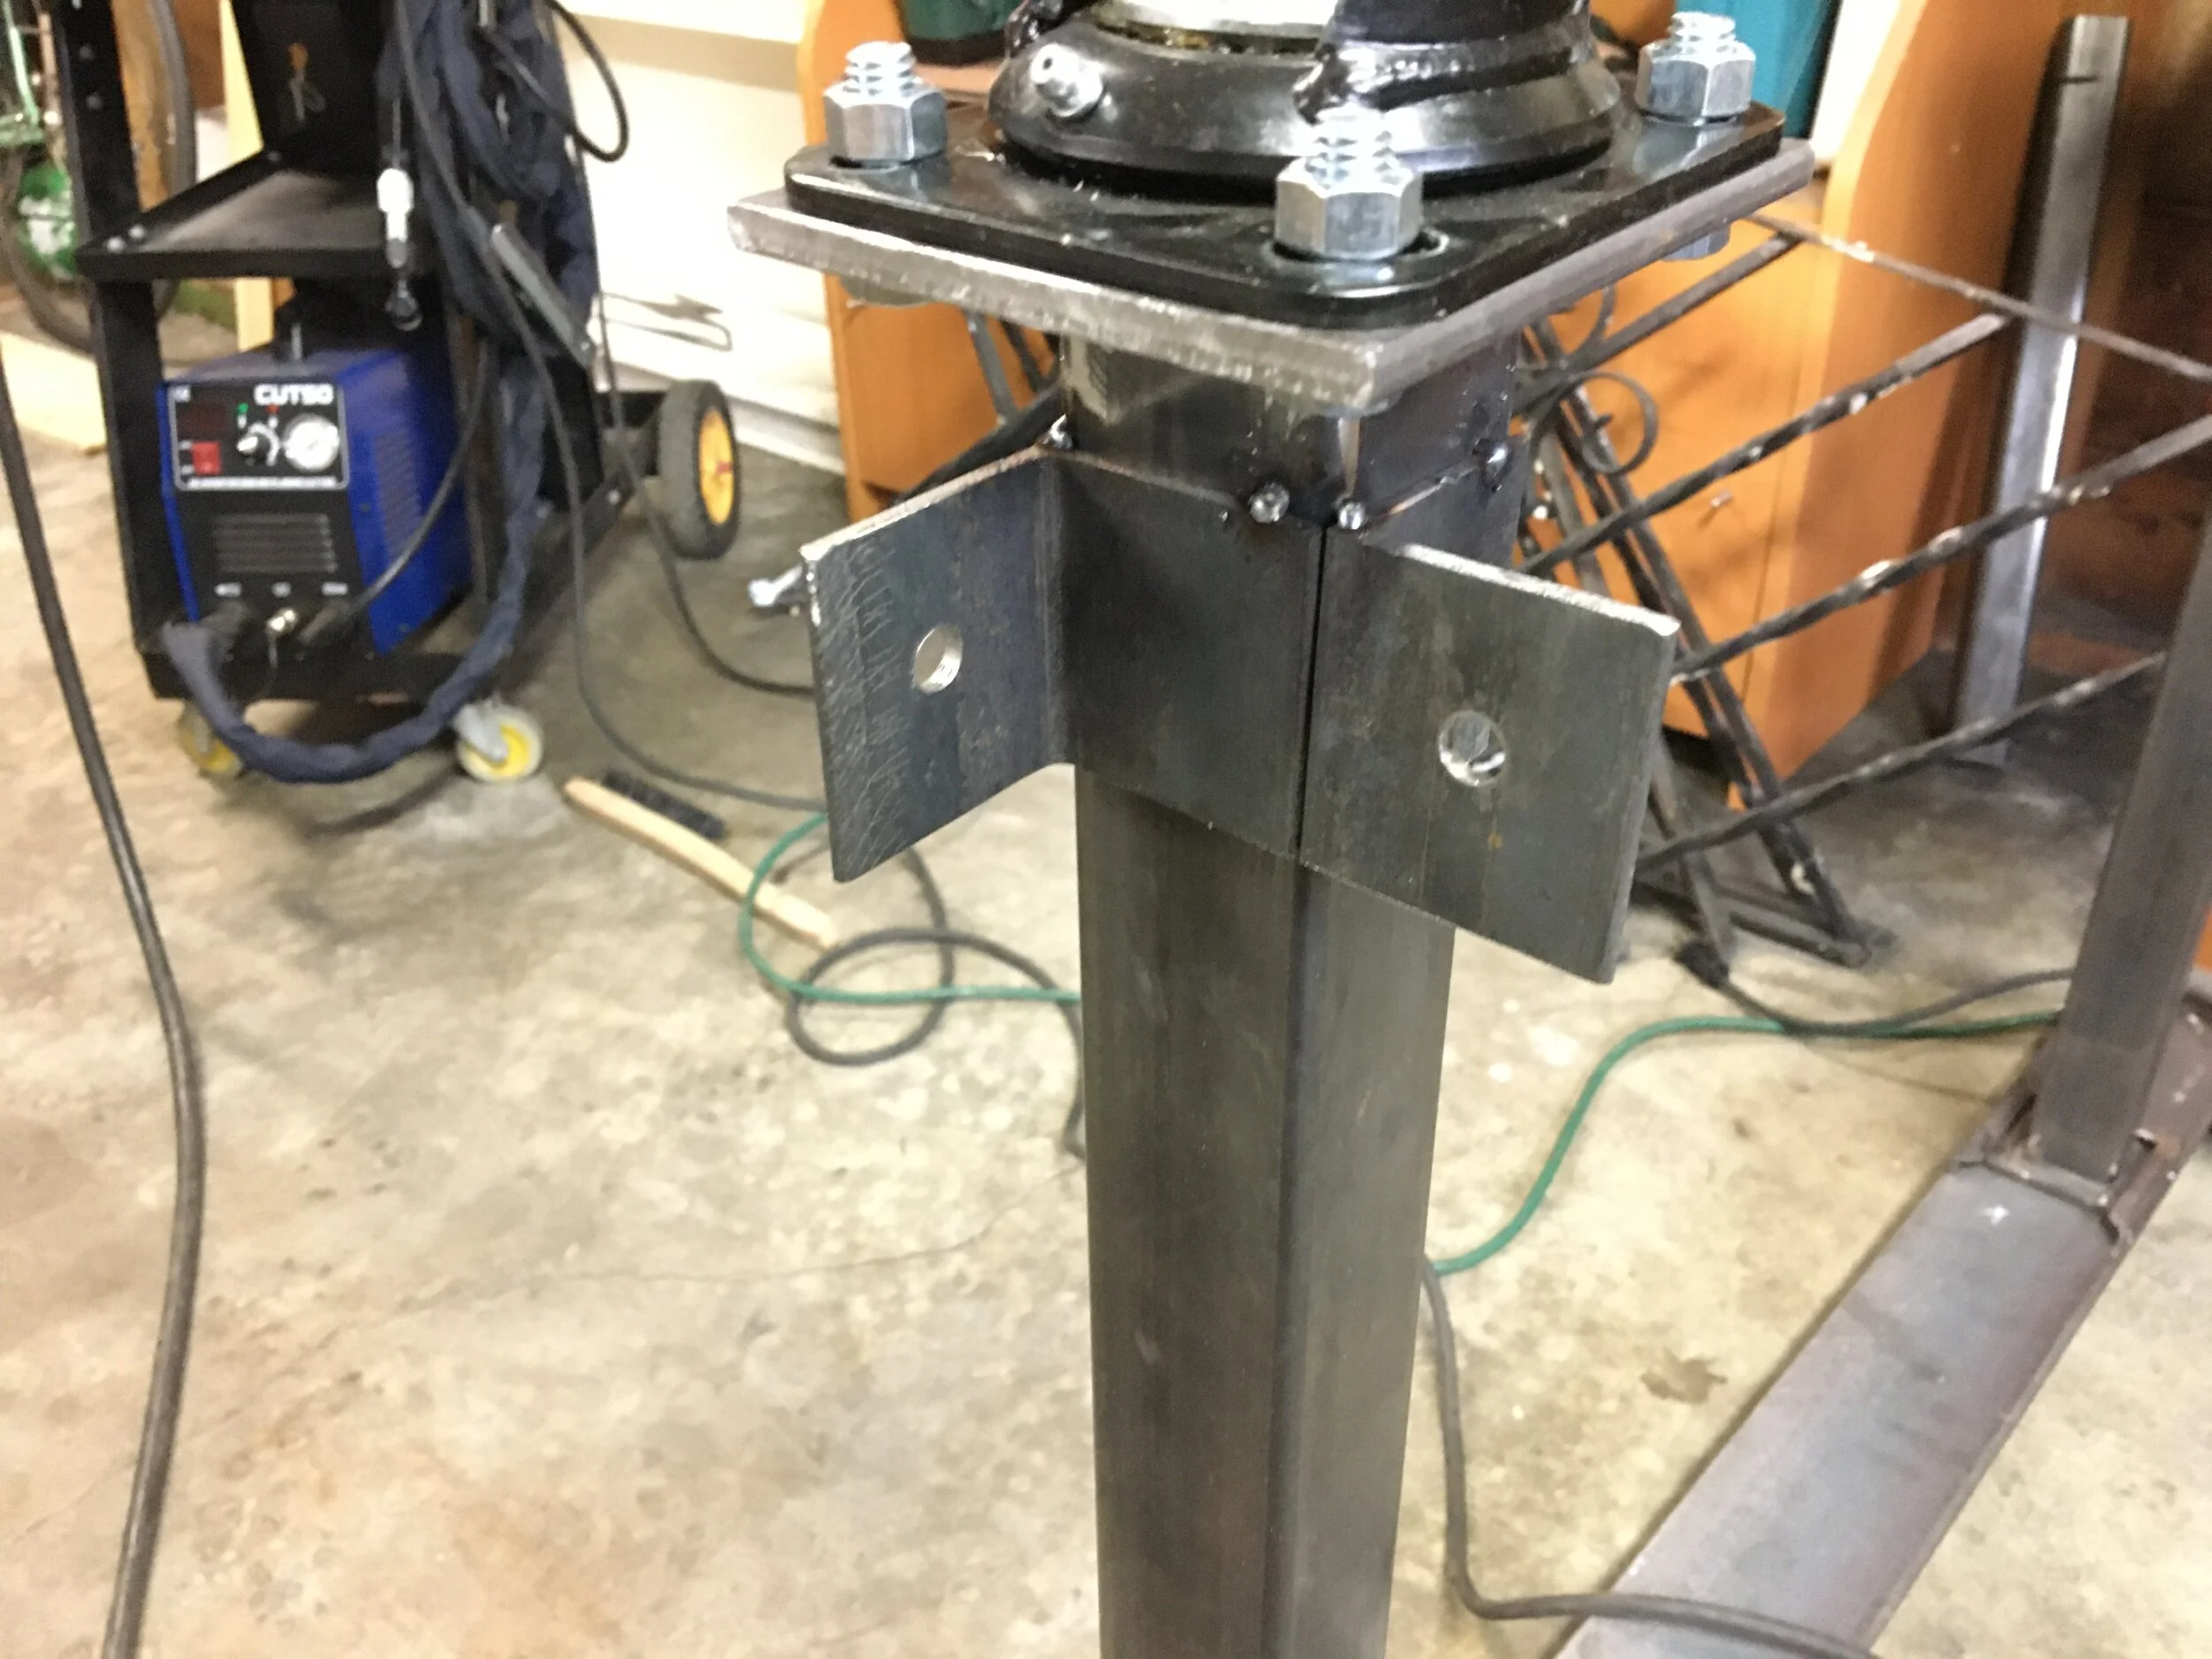
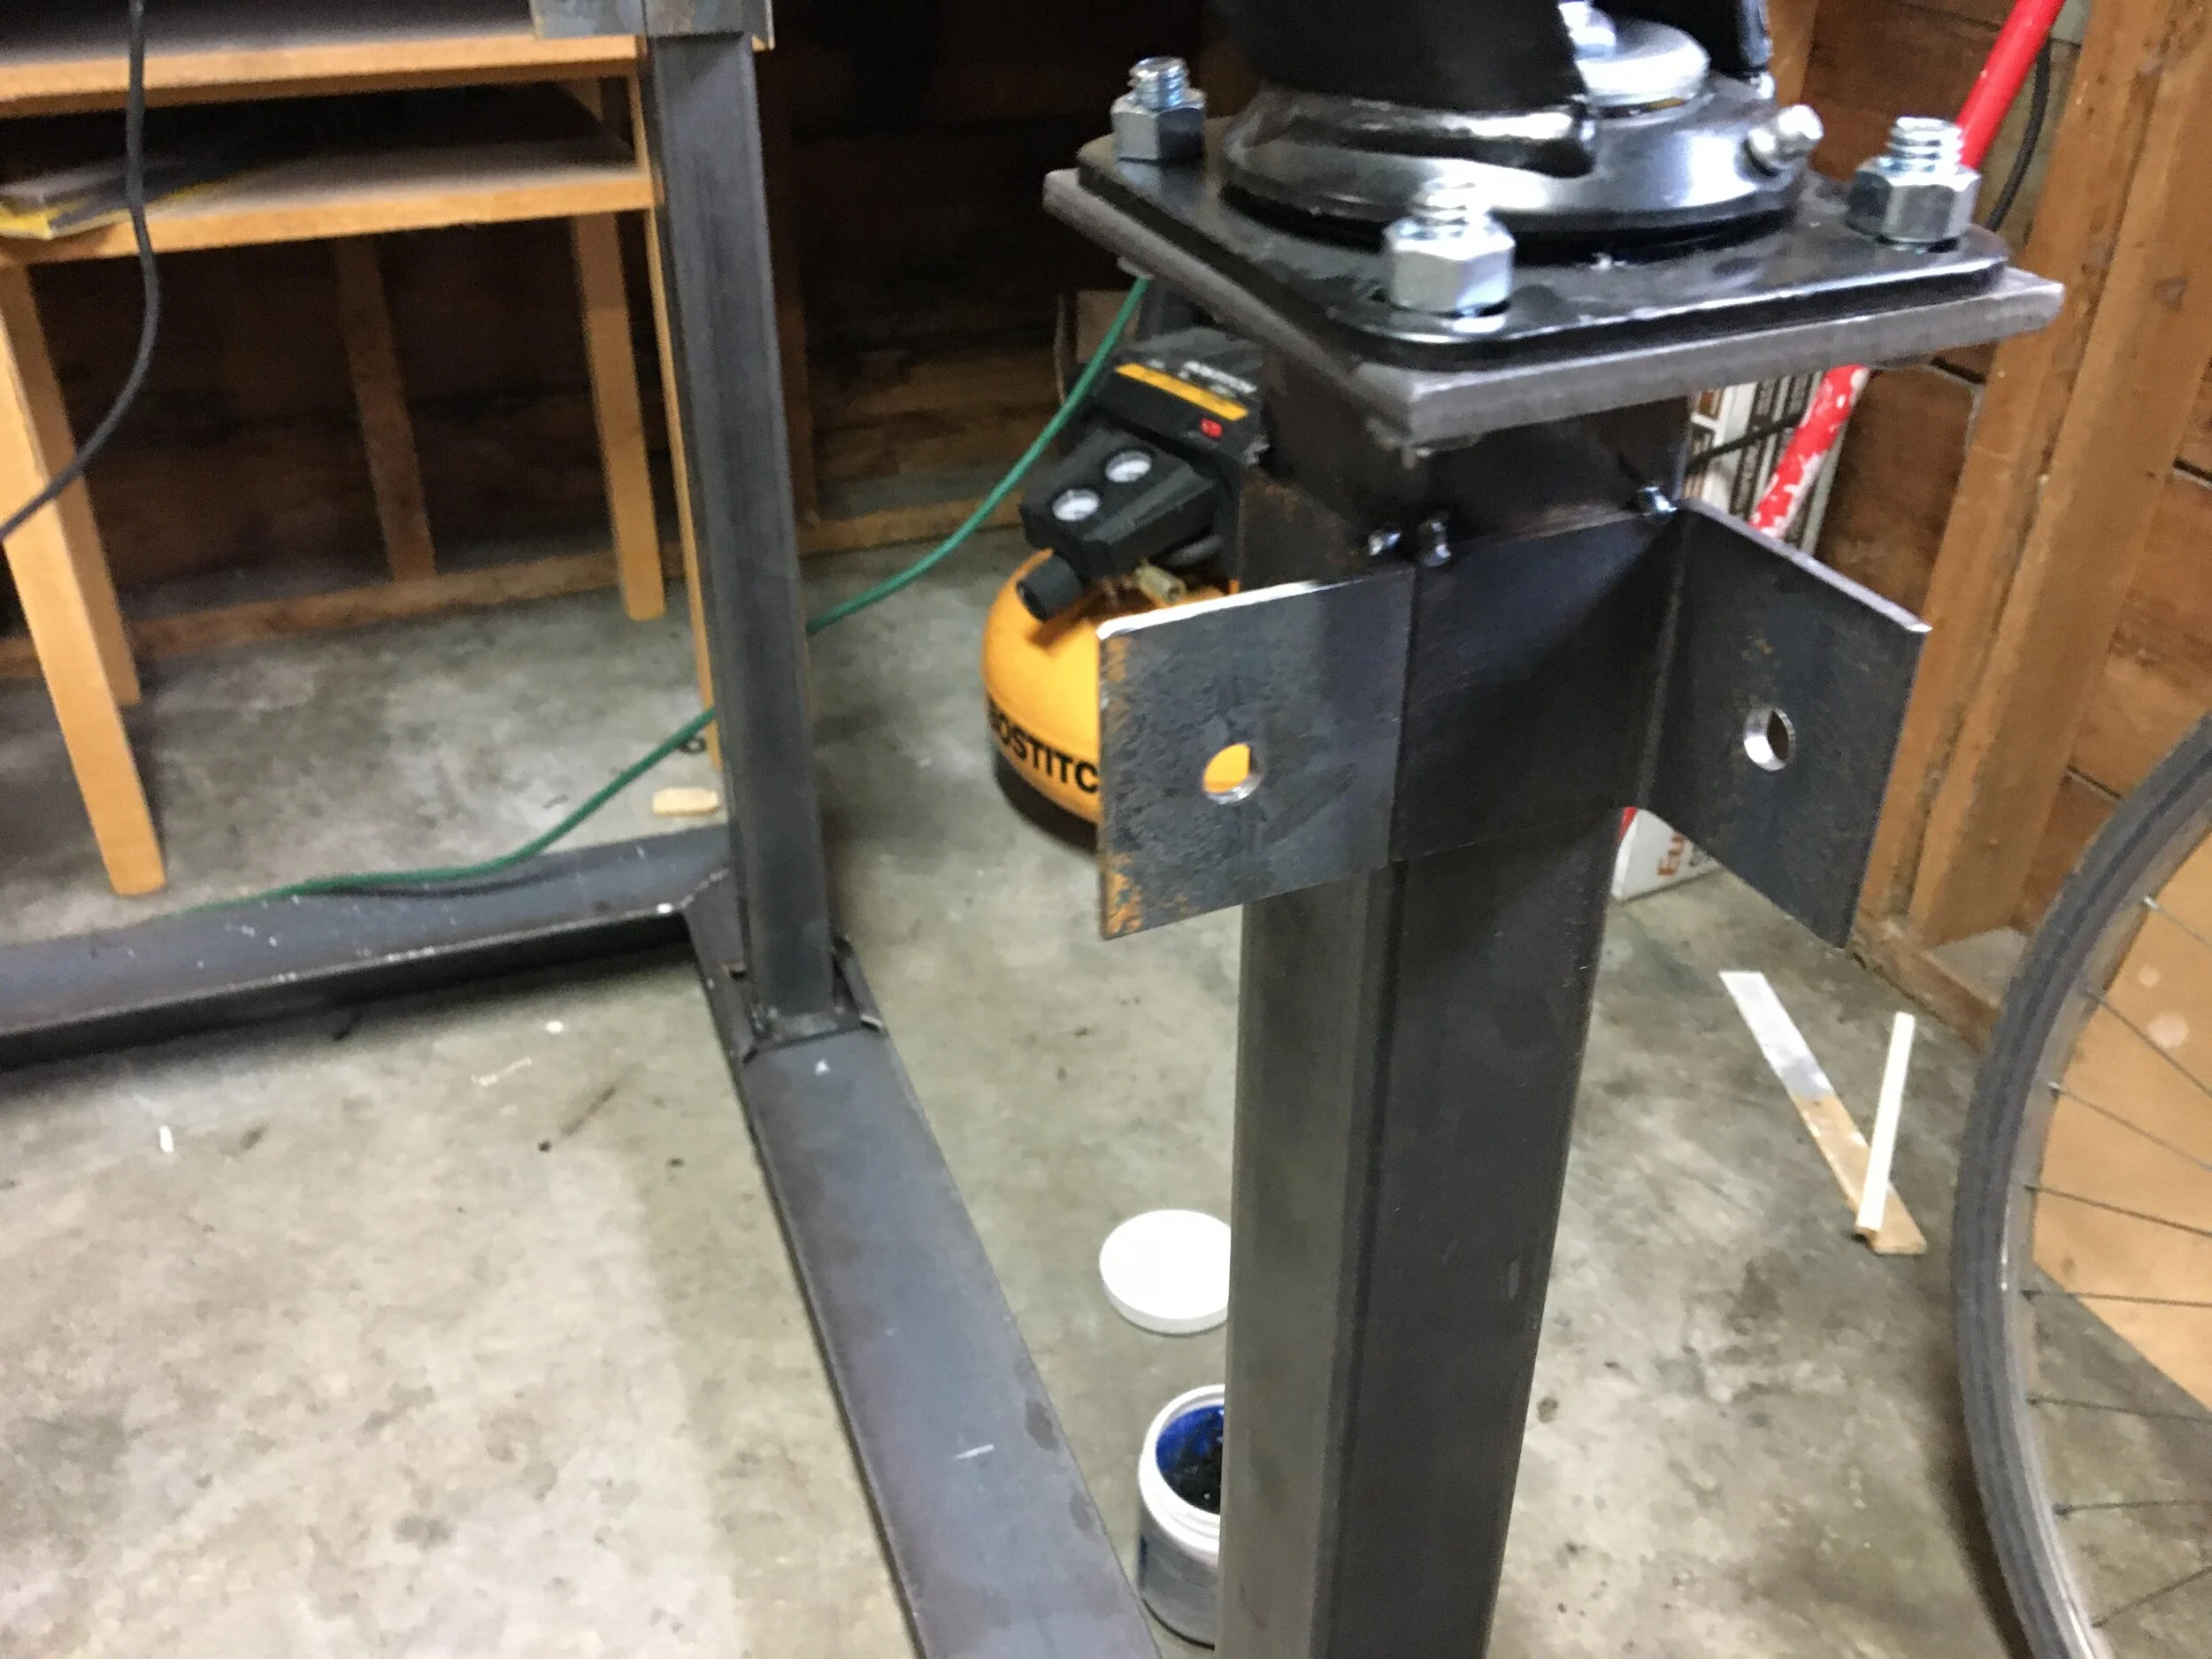
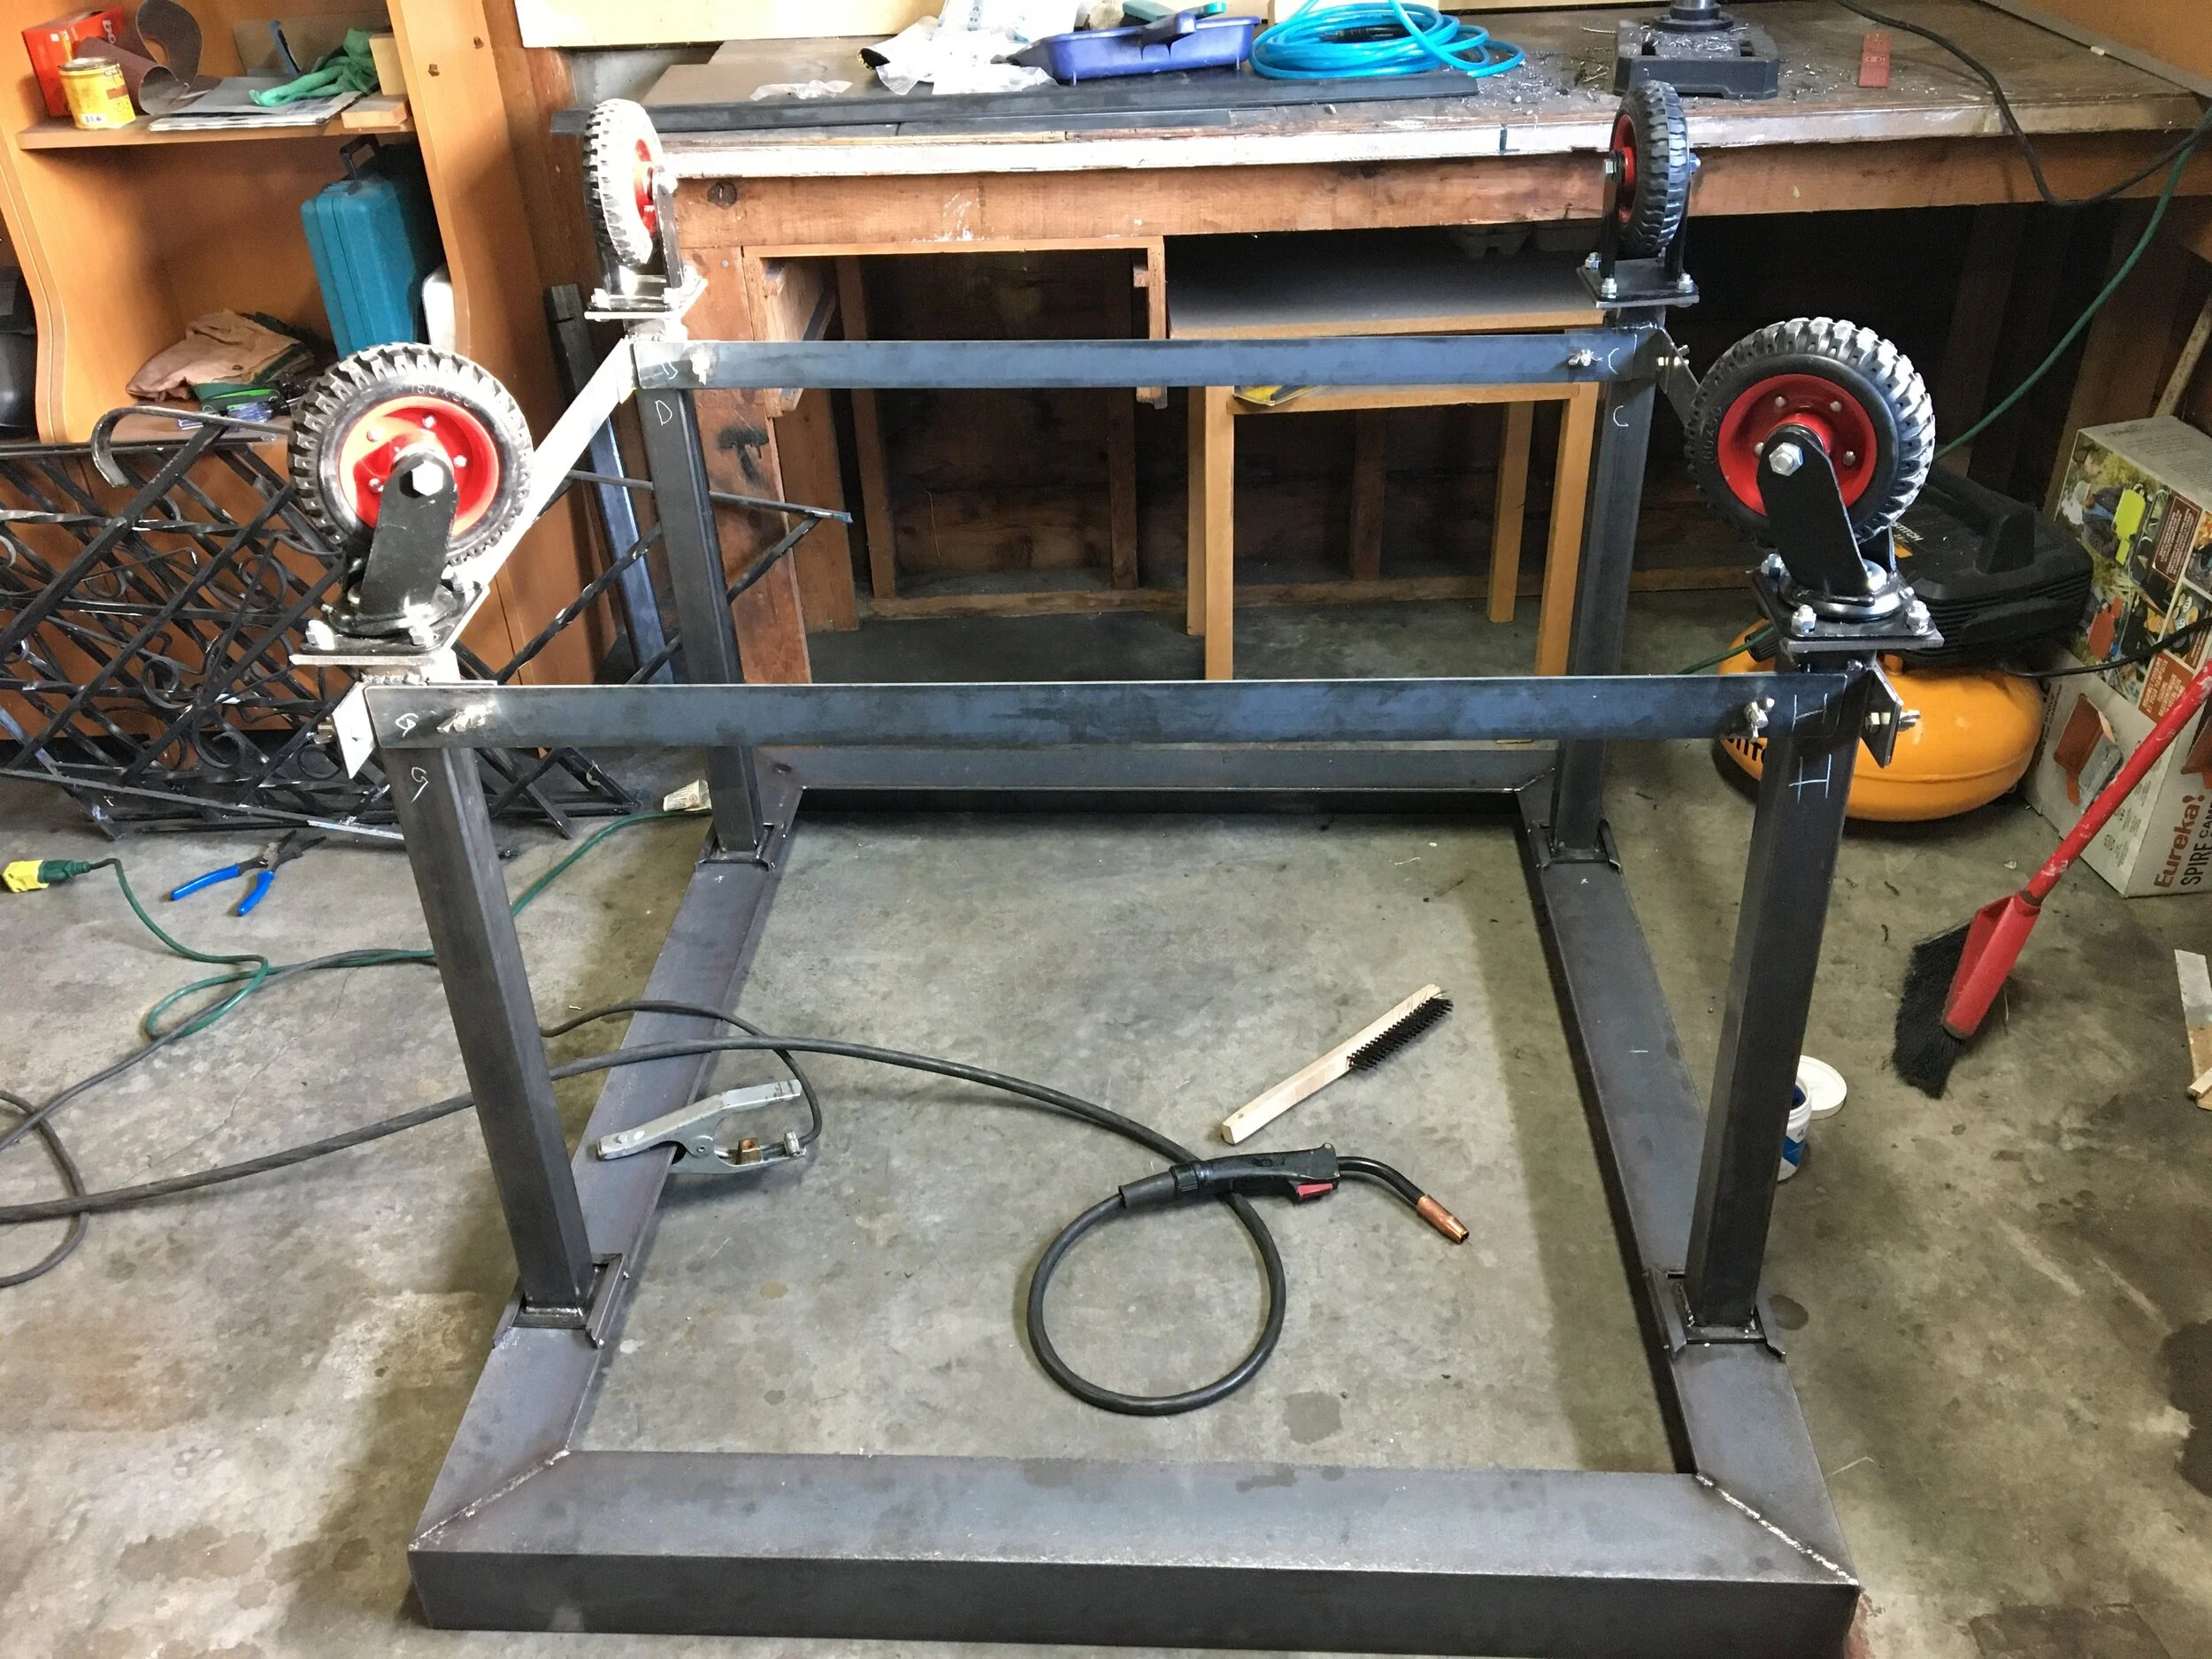
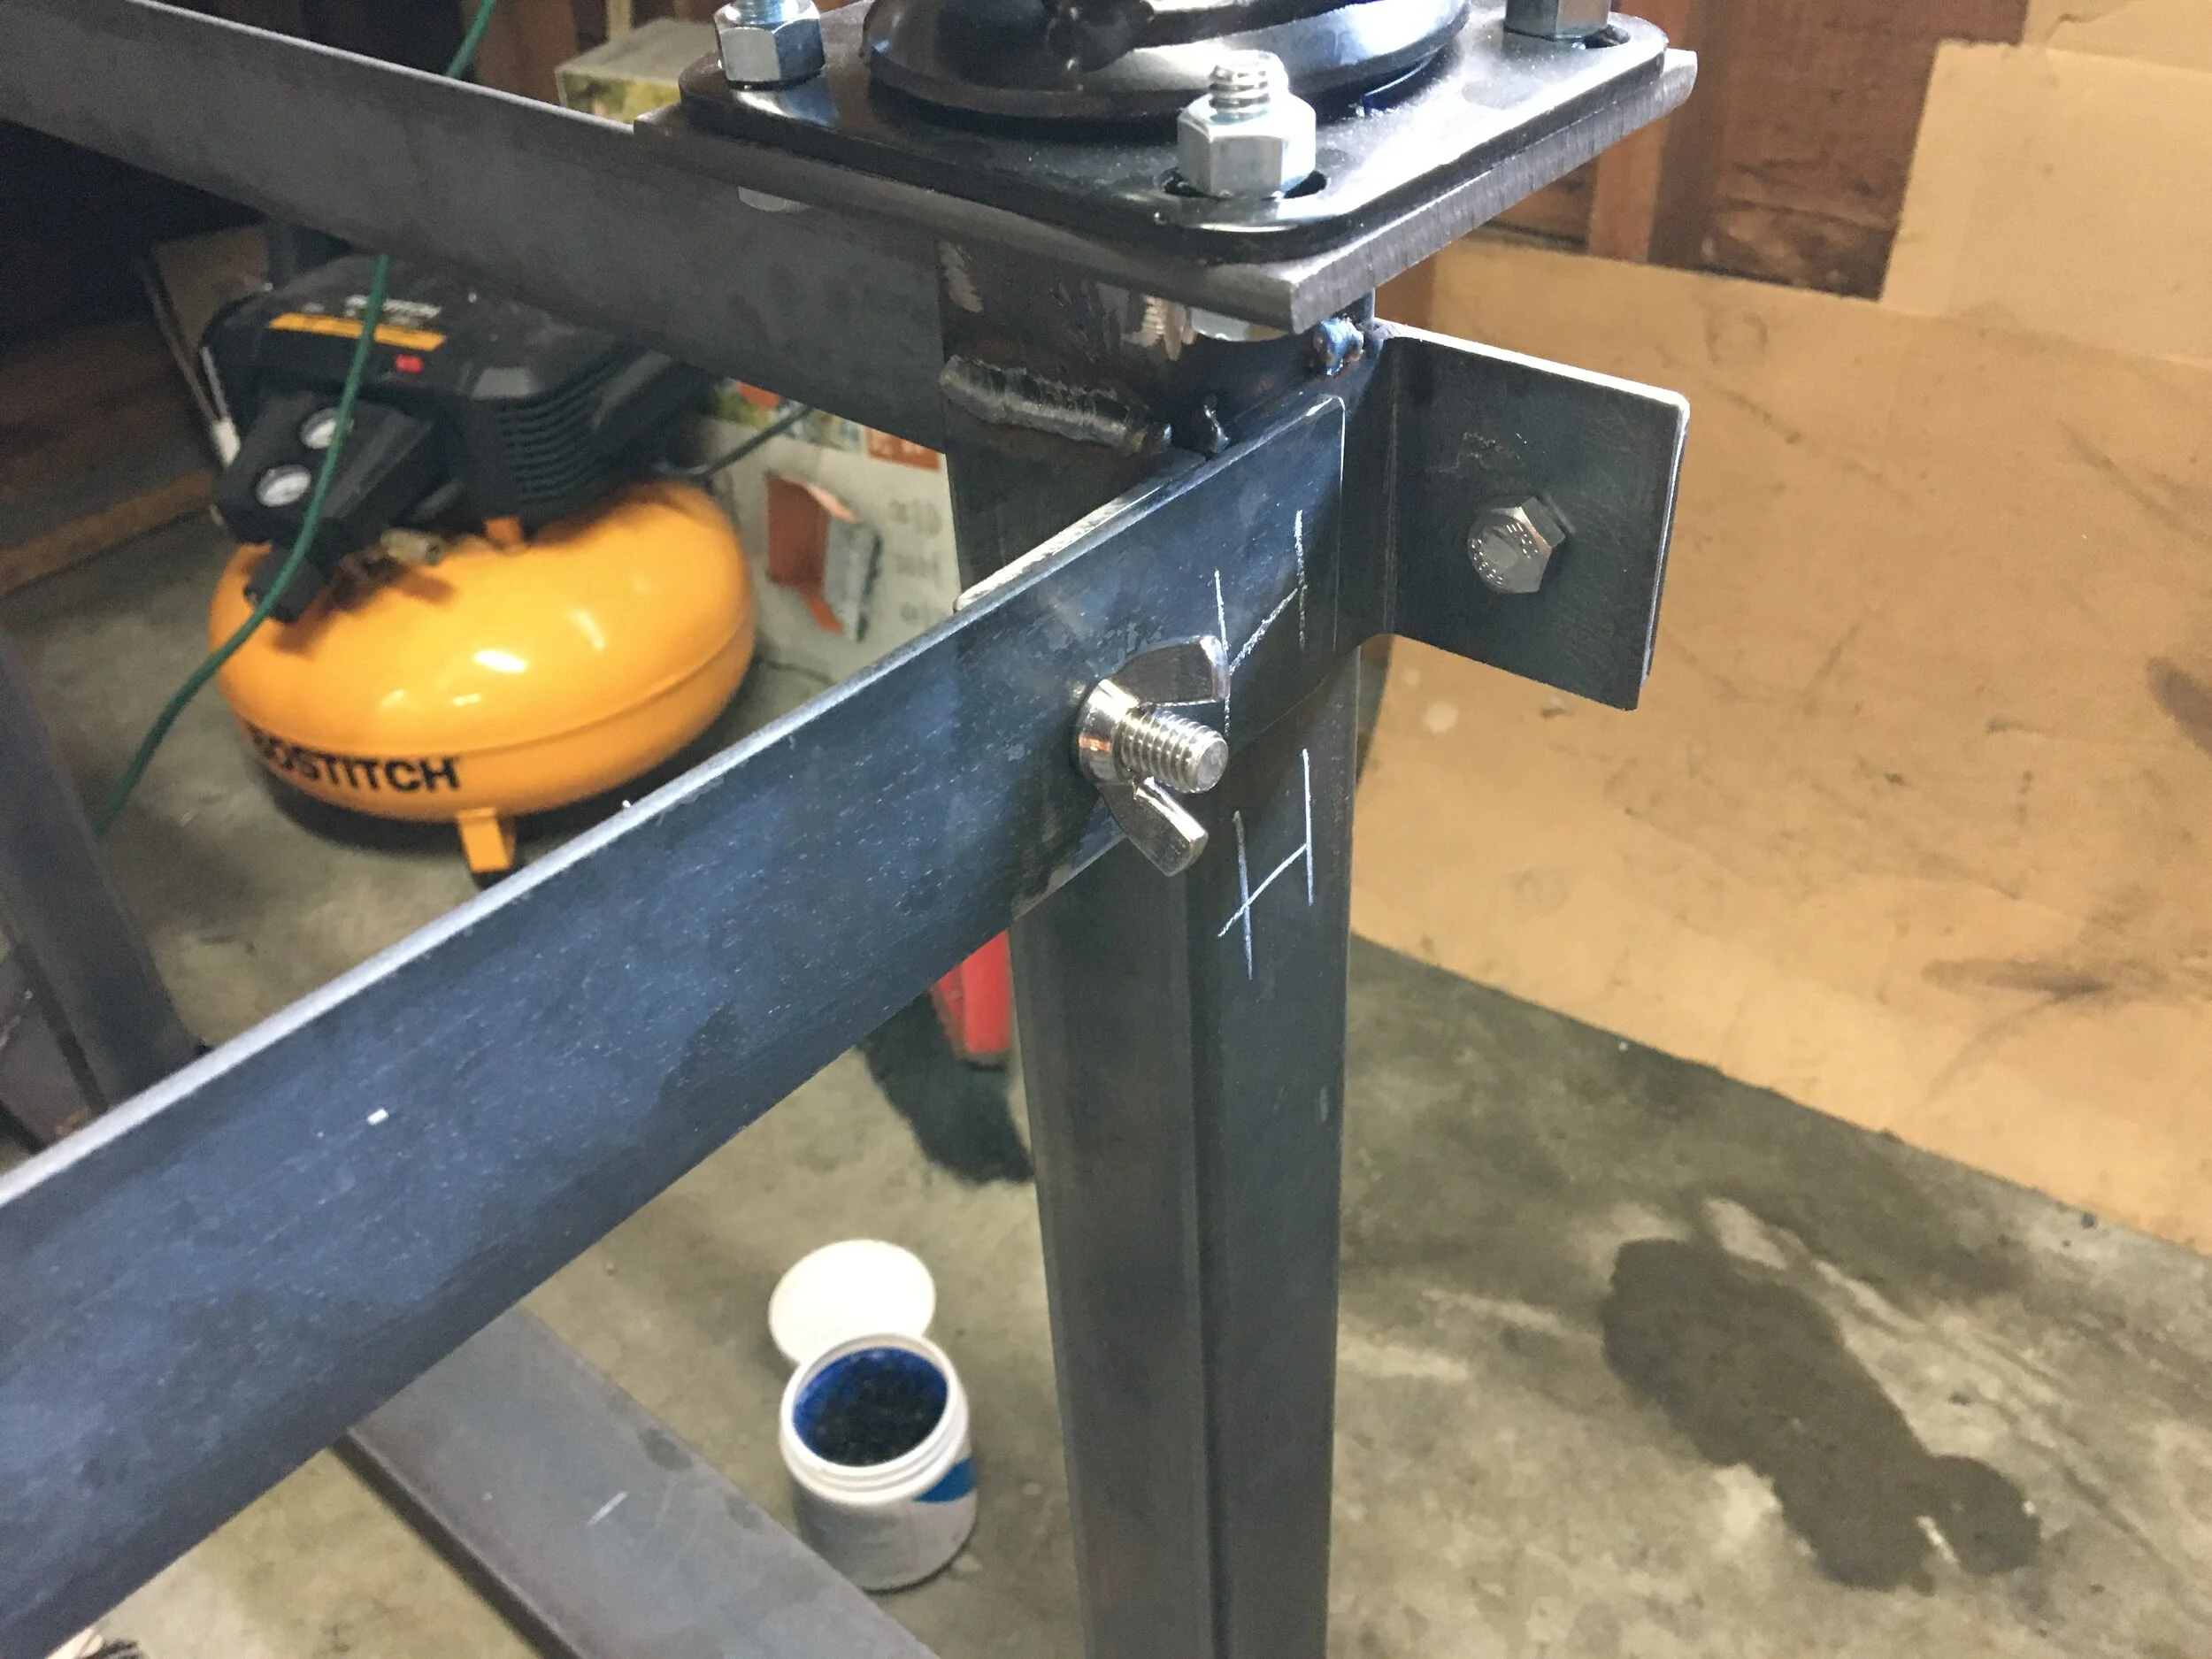
The simplest design I could think of for the legs was to have pedestal type design, the top sliding into rails on the frame, and the bottom bolting on to casters. I then planned to make some pretty flimsy cross bars to limit the wobble. The goal was to keep the legs-to-truck transition fairly simple, so I didn’t over do the cross bars, however they definitely are flimsy.
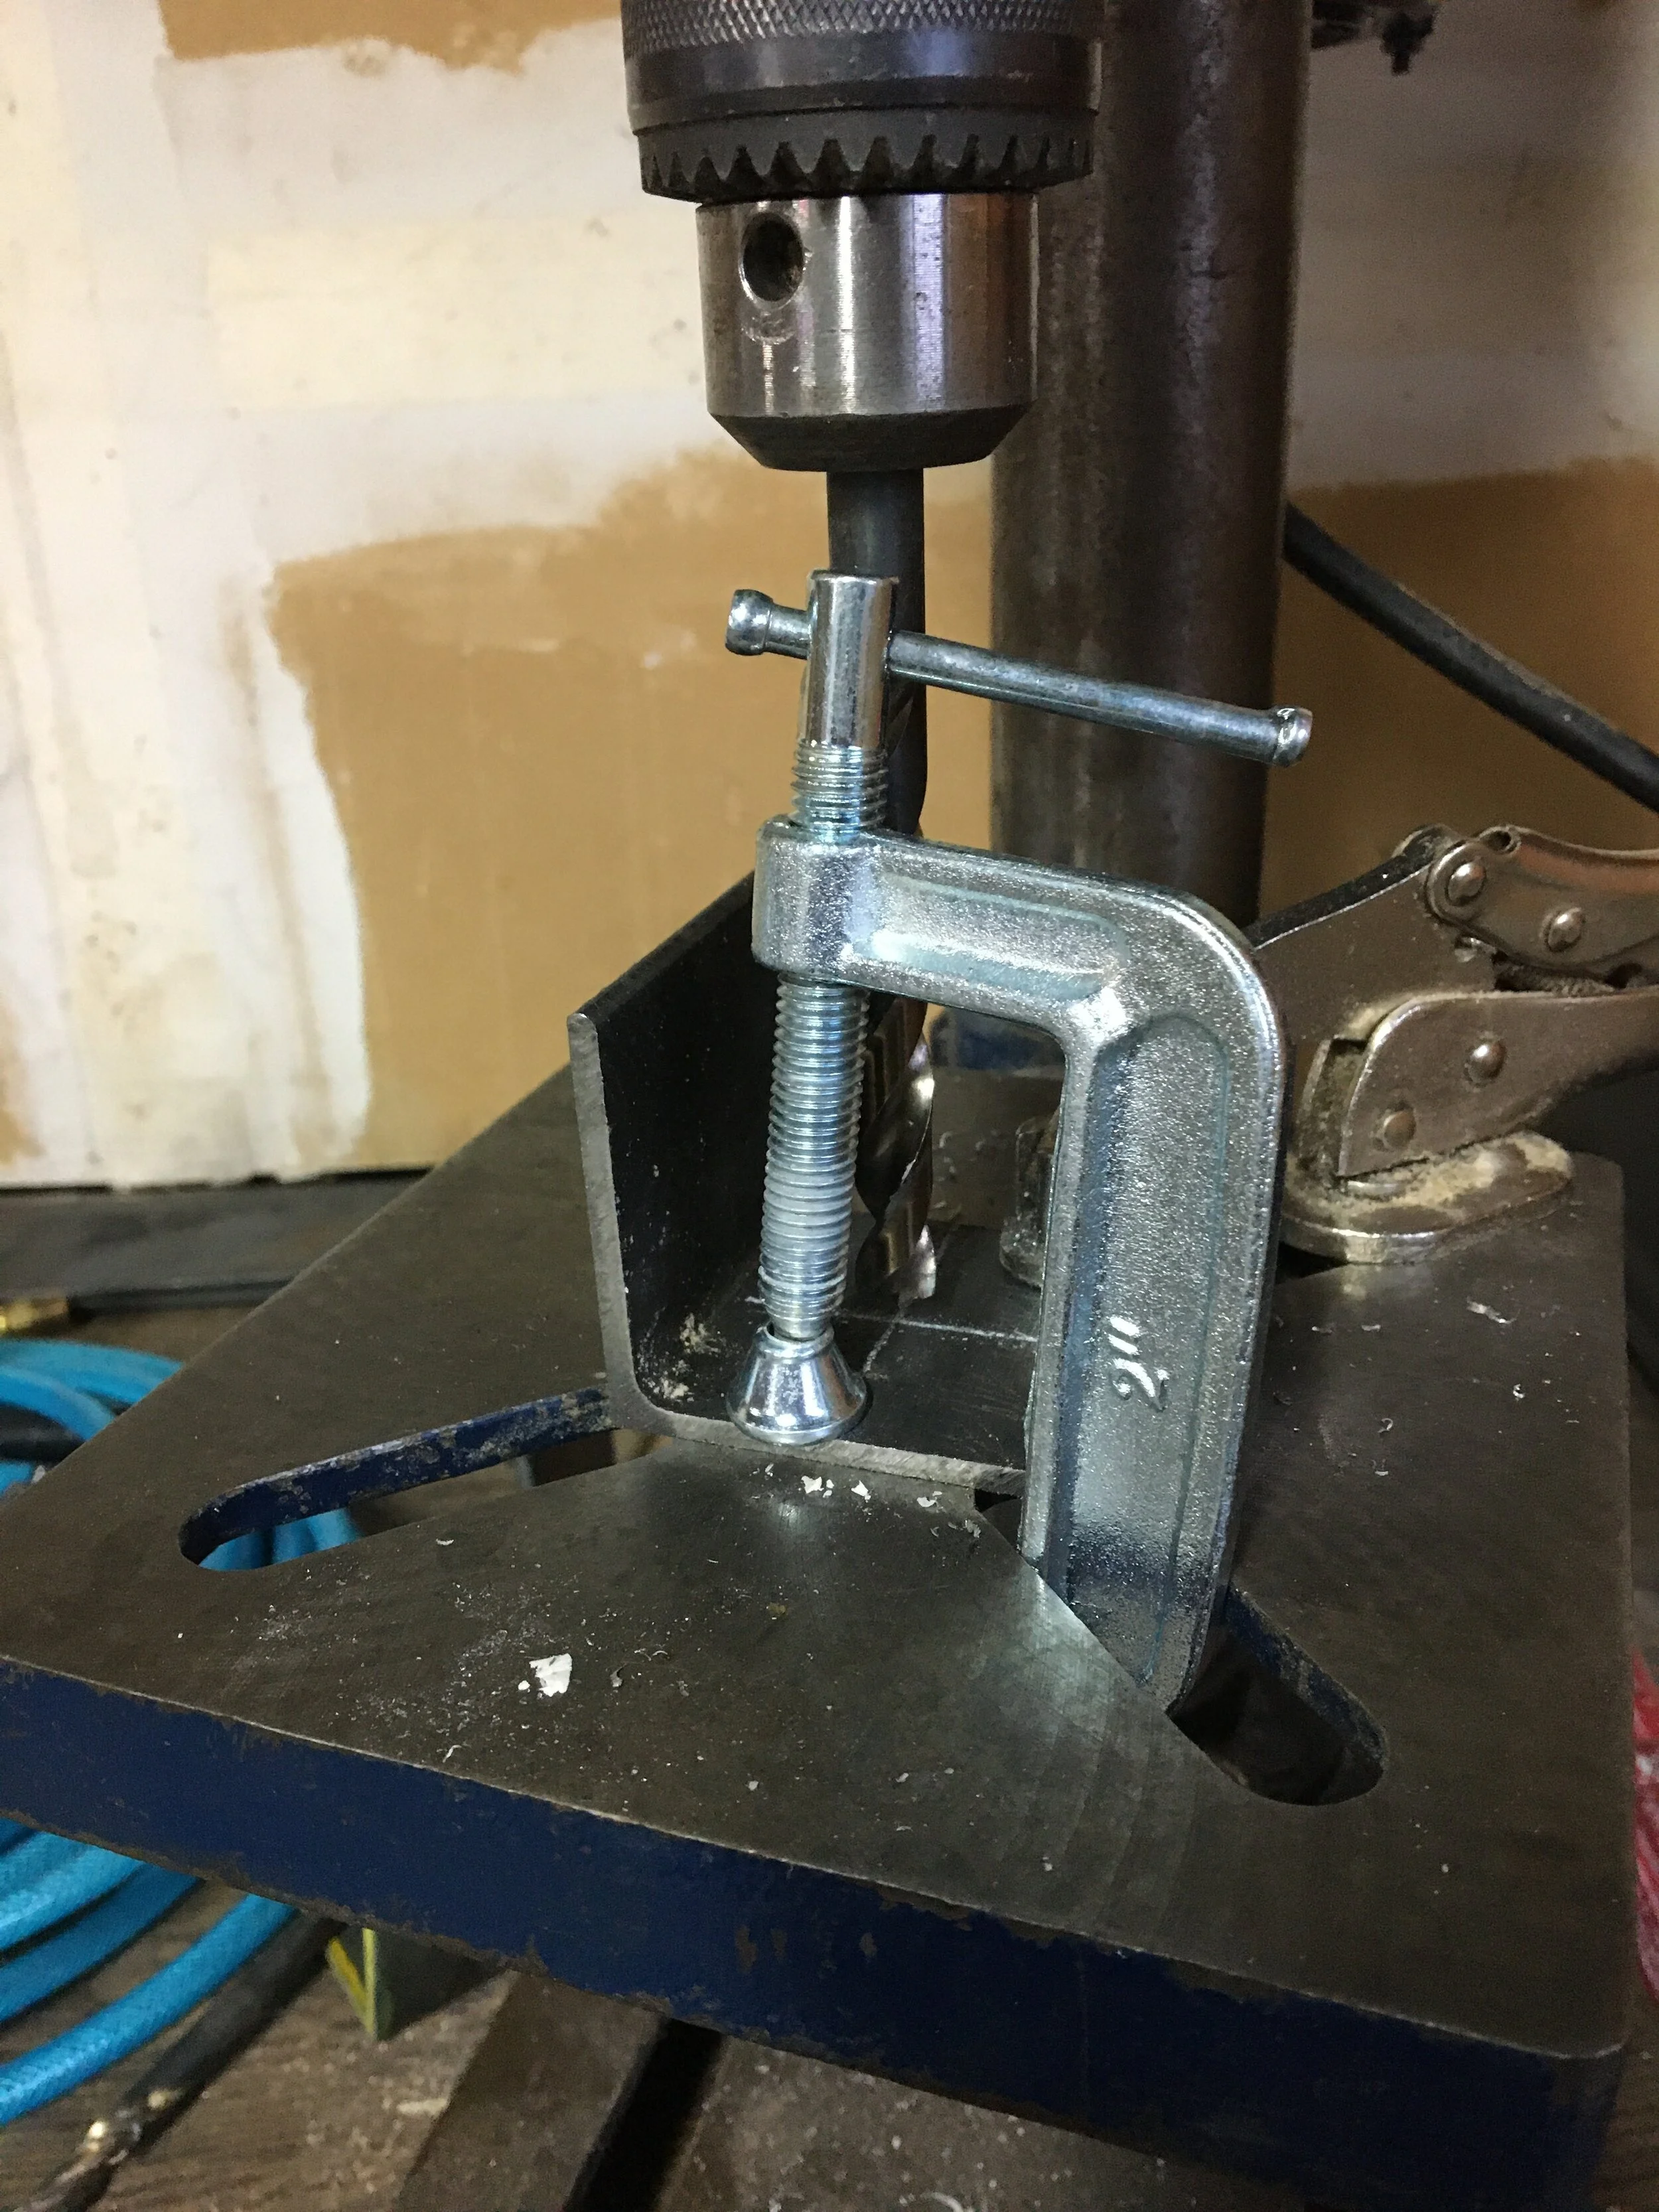
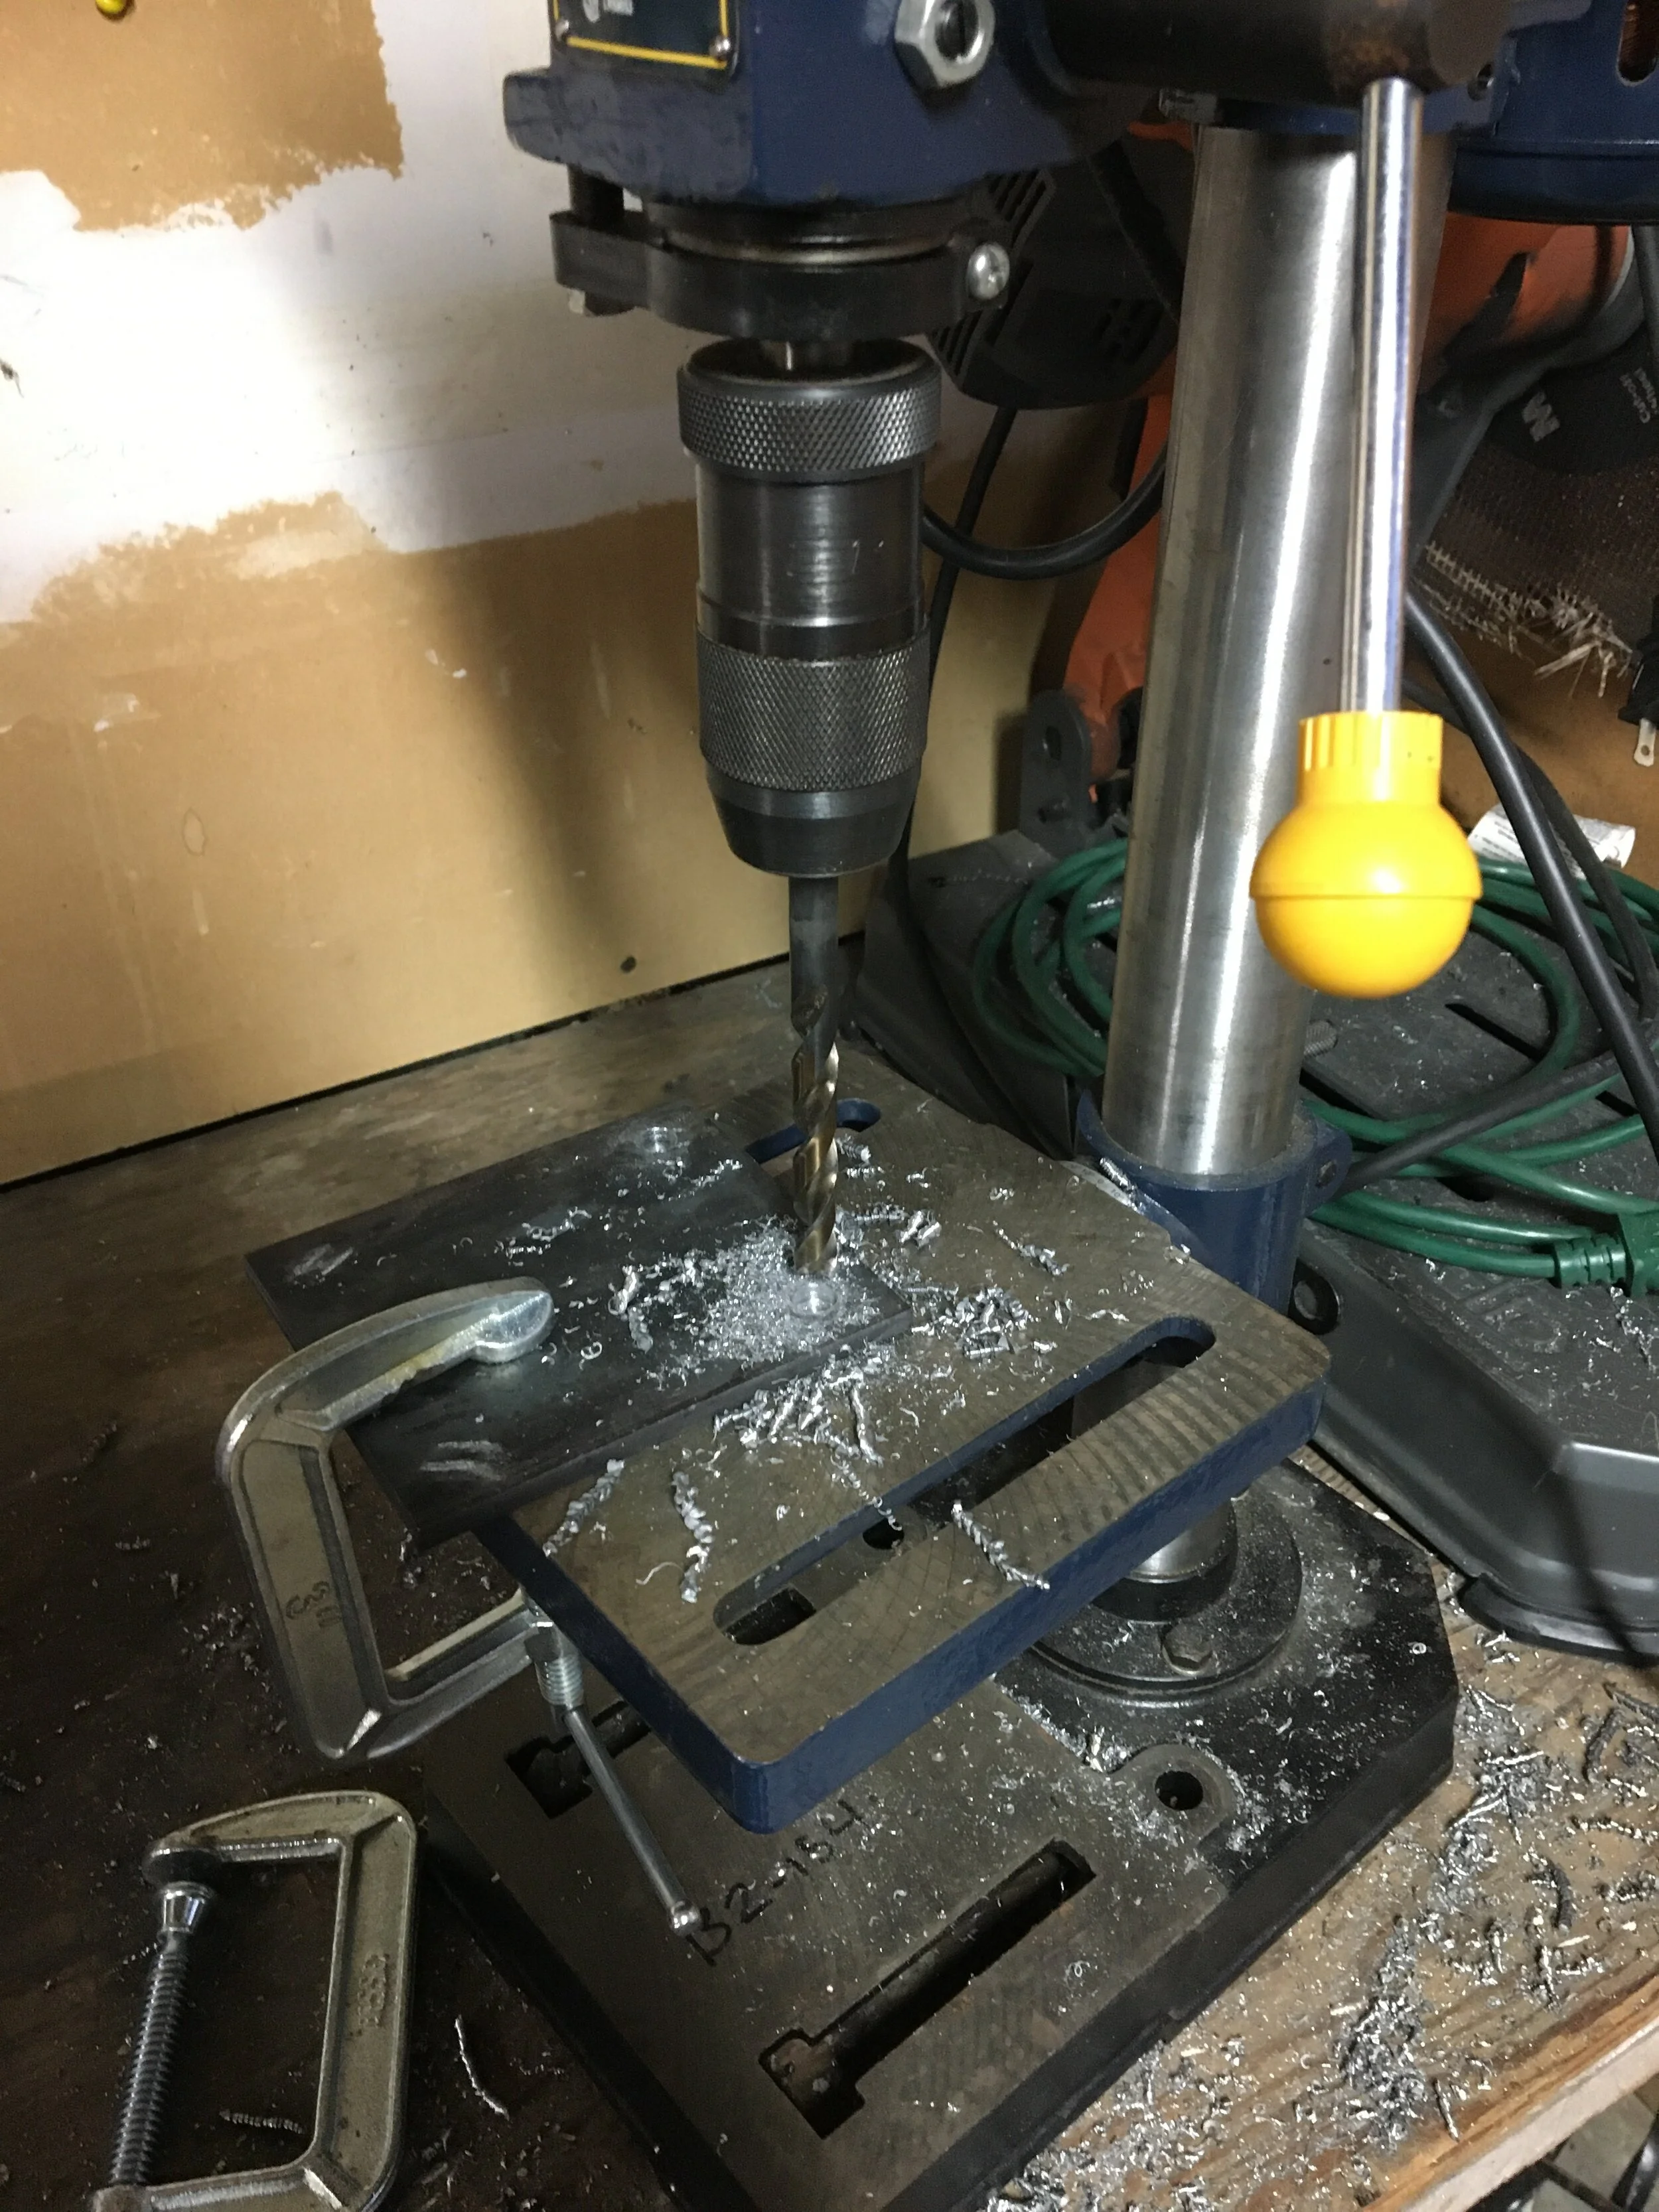
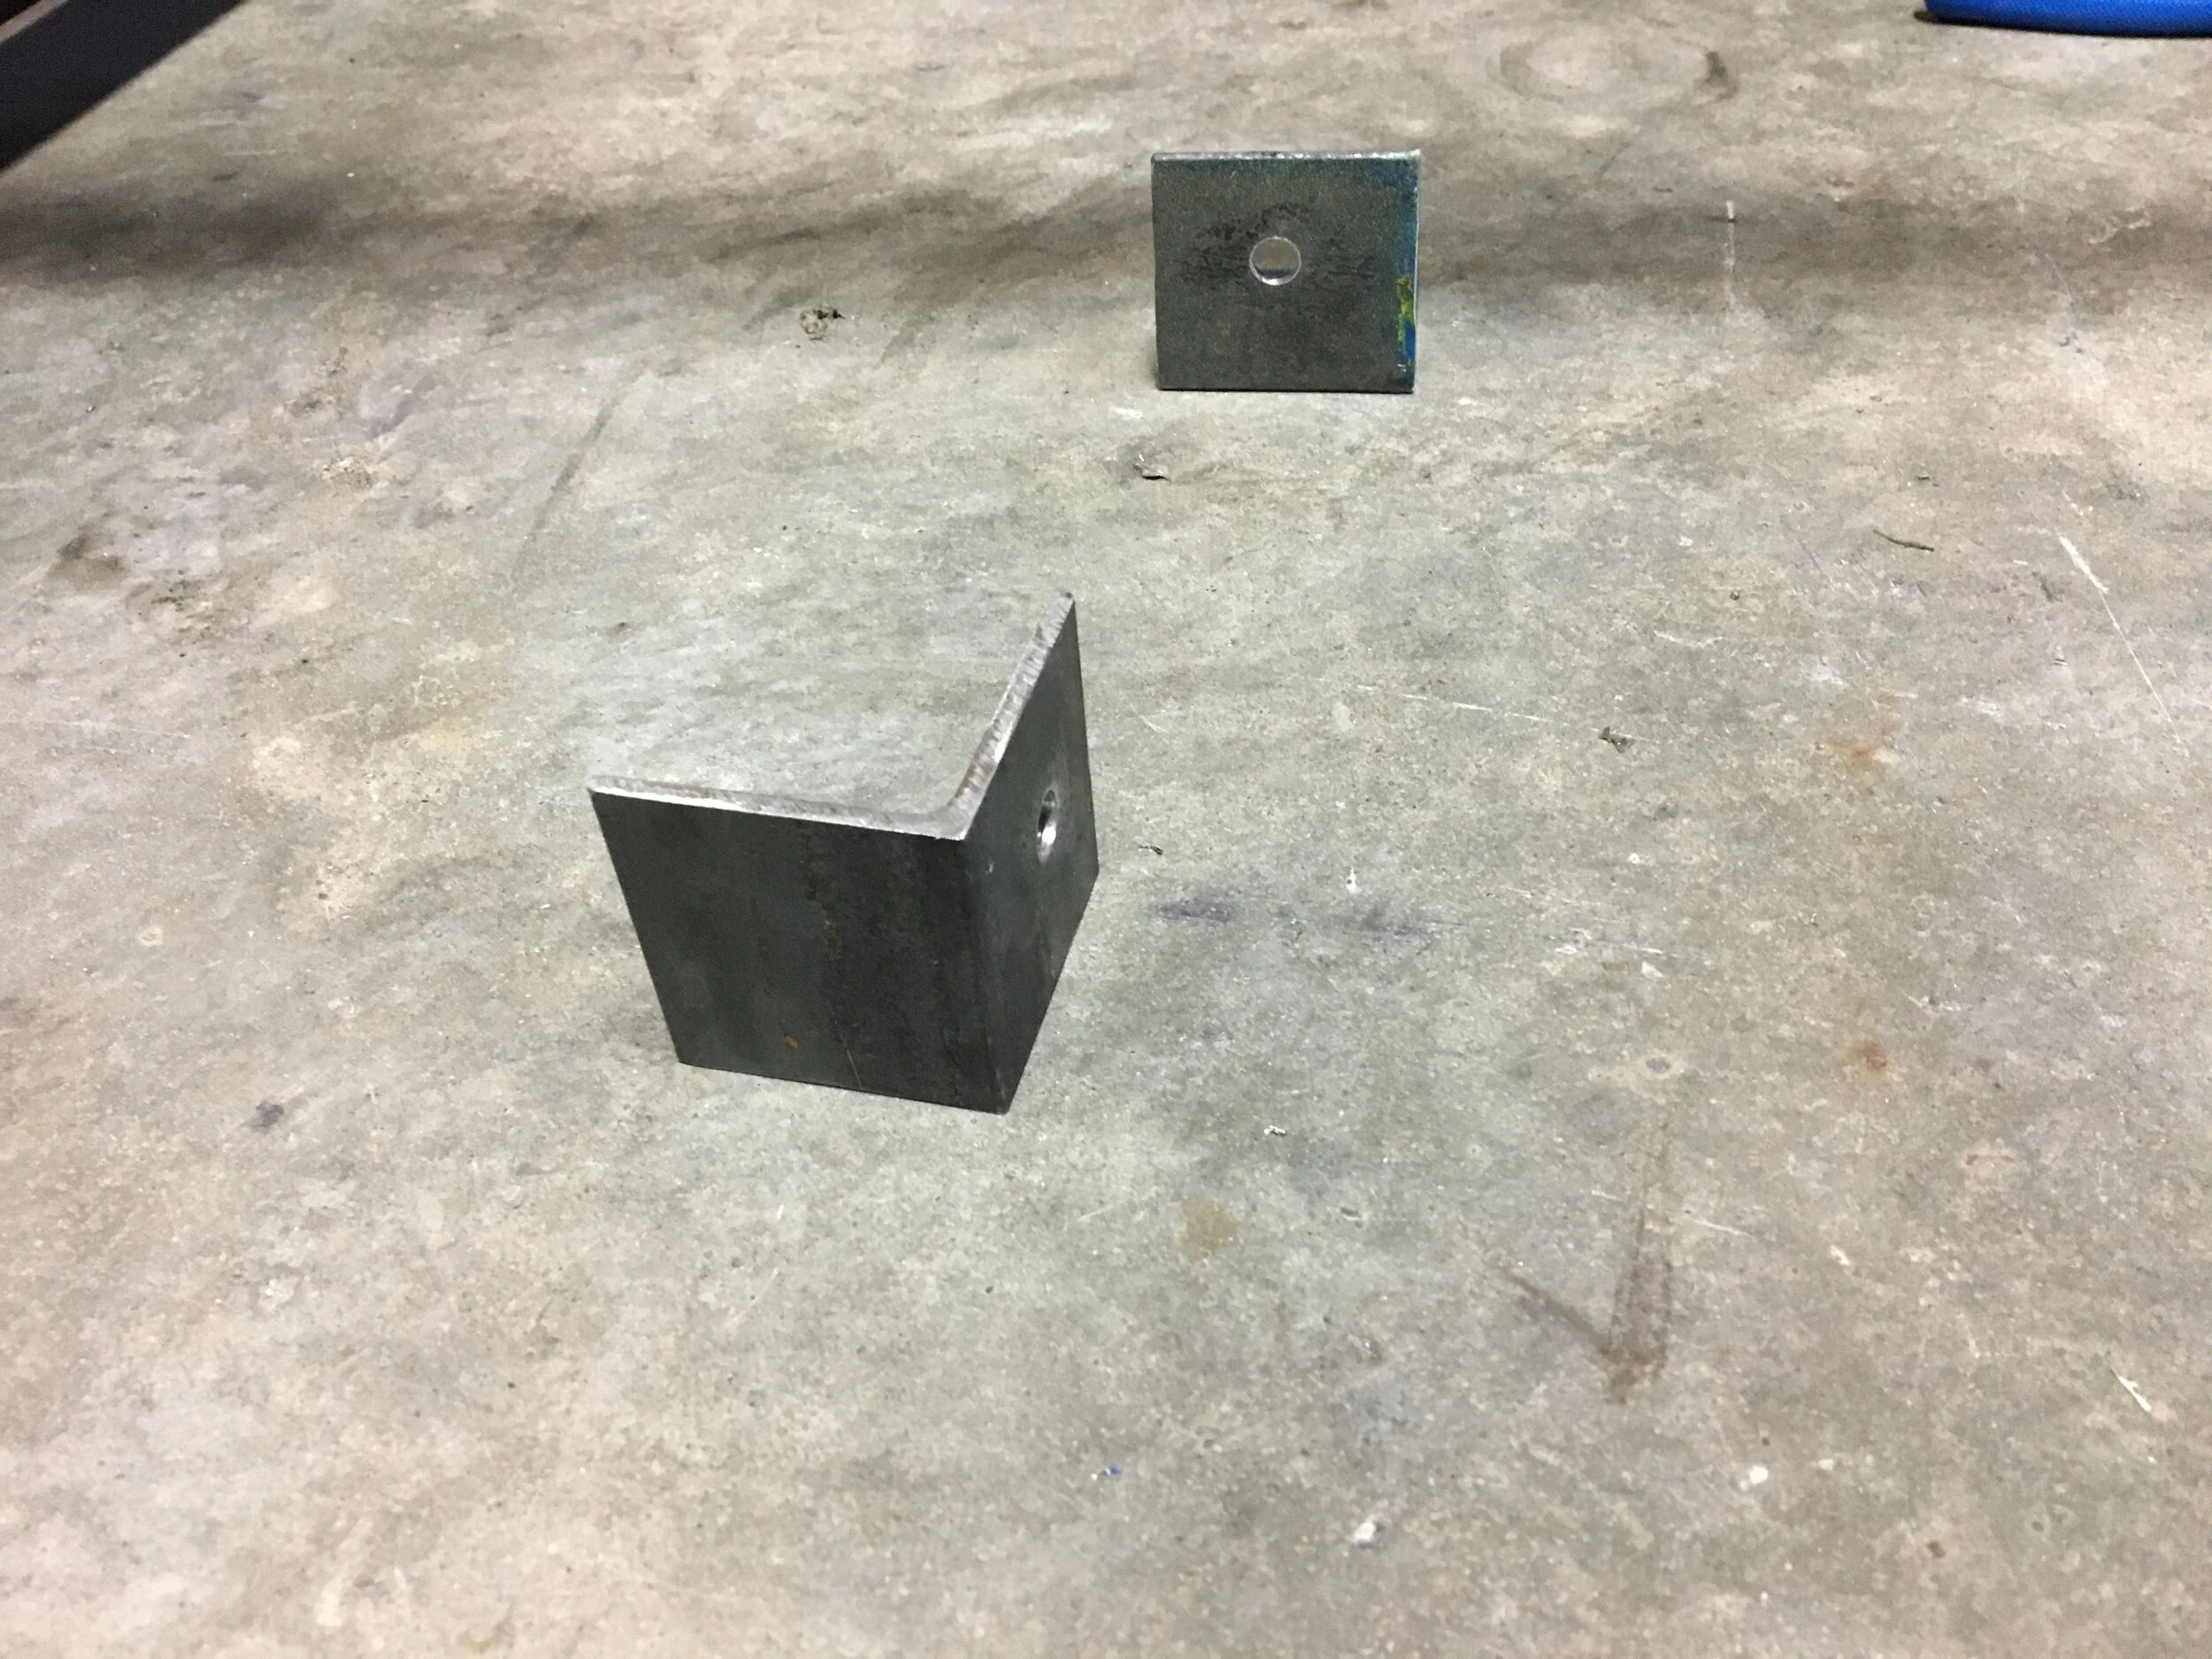
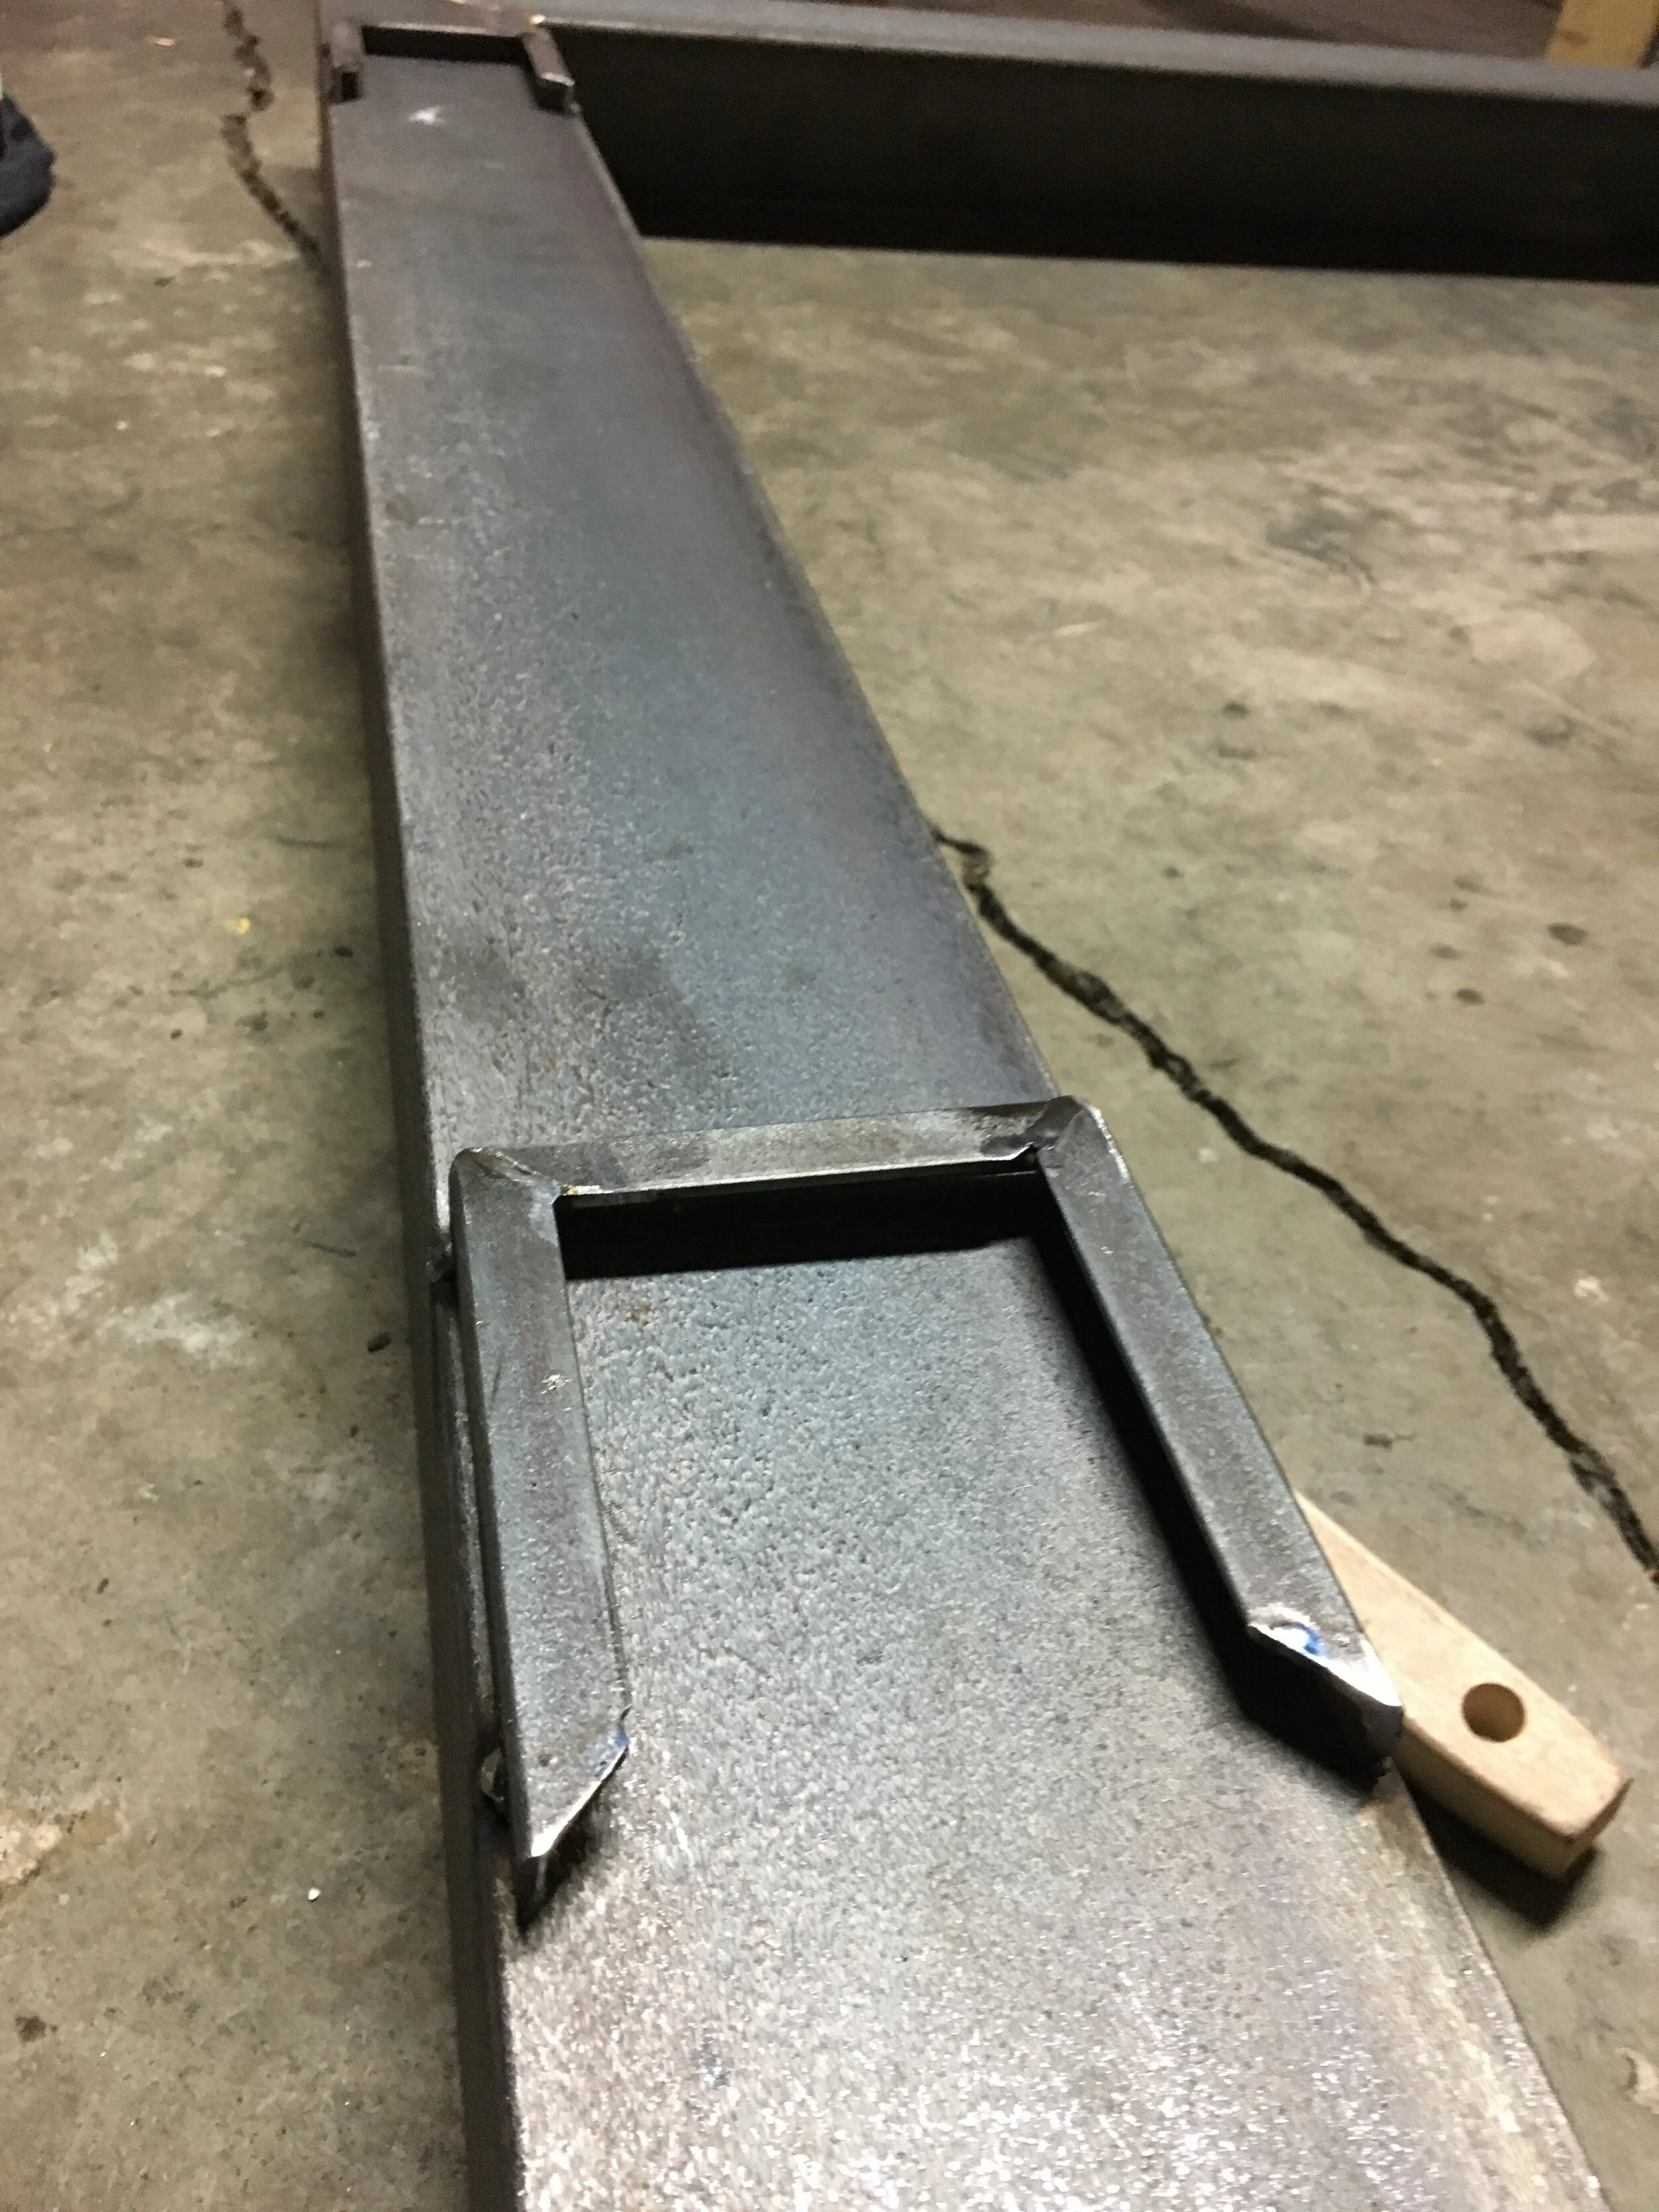
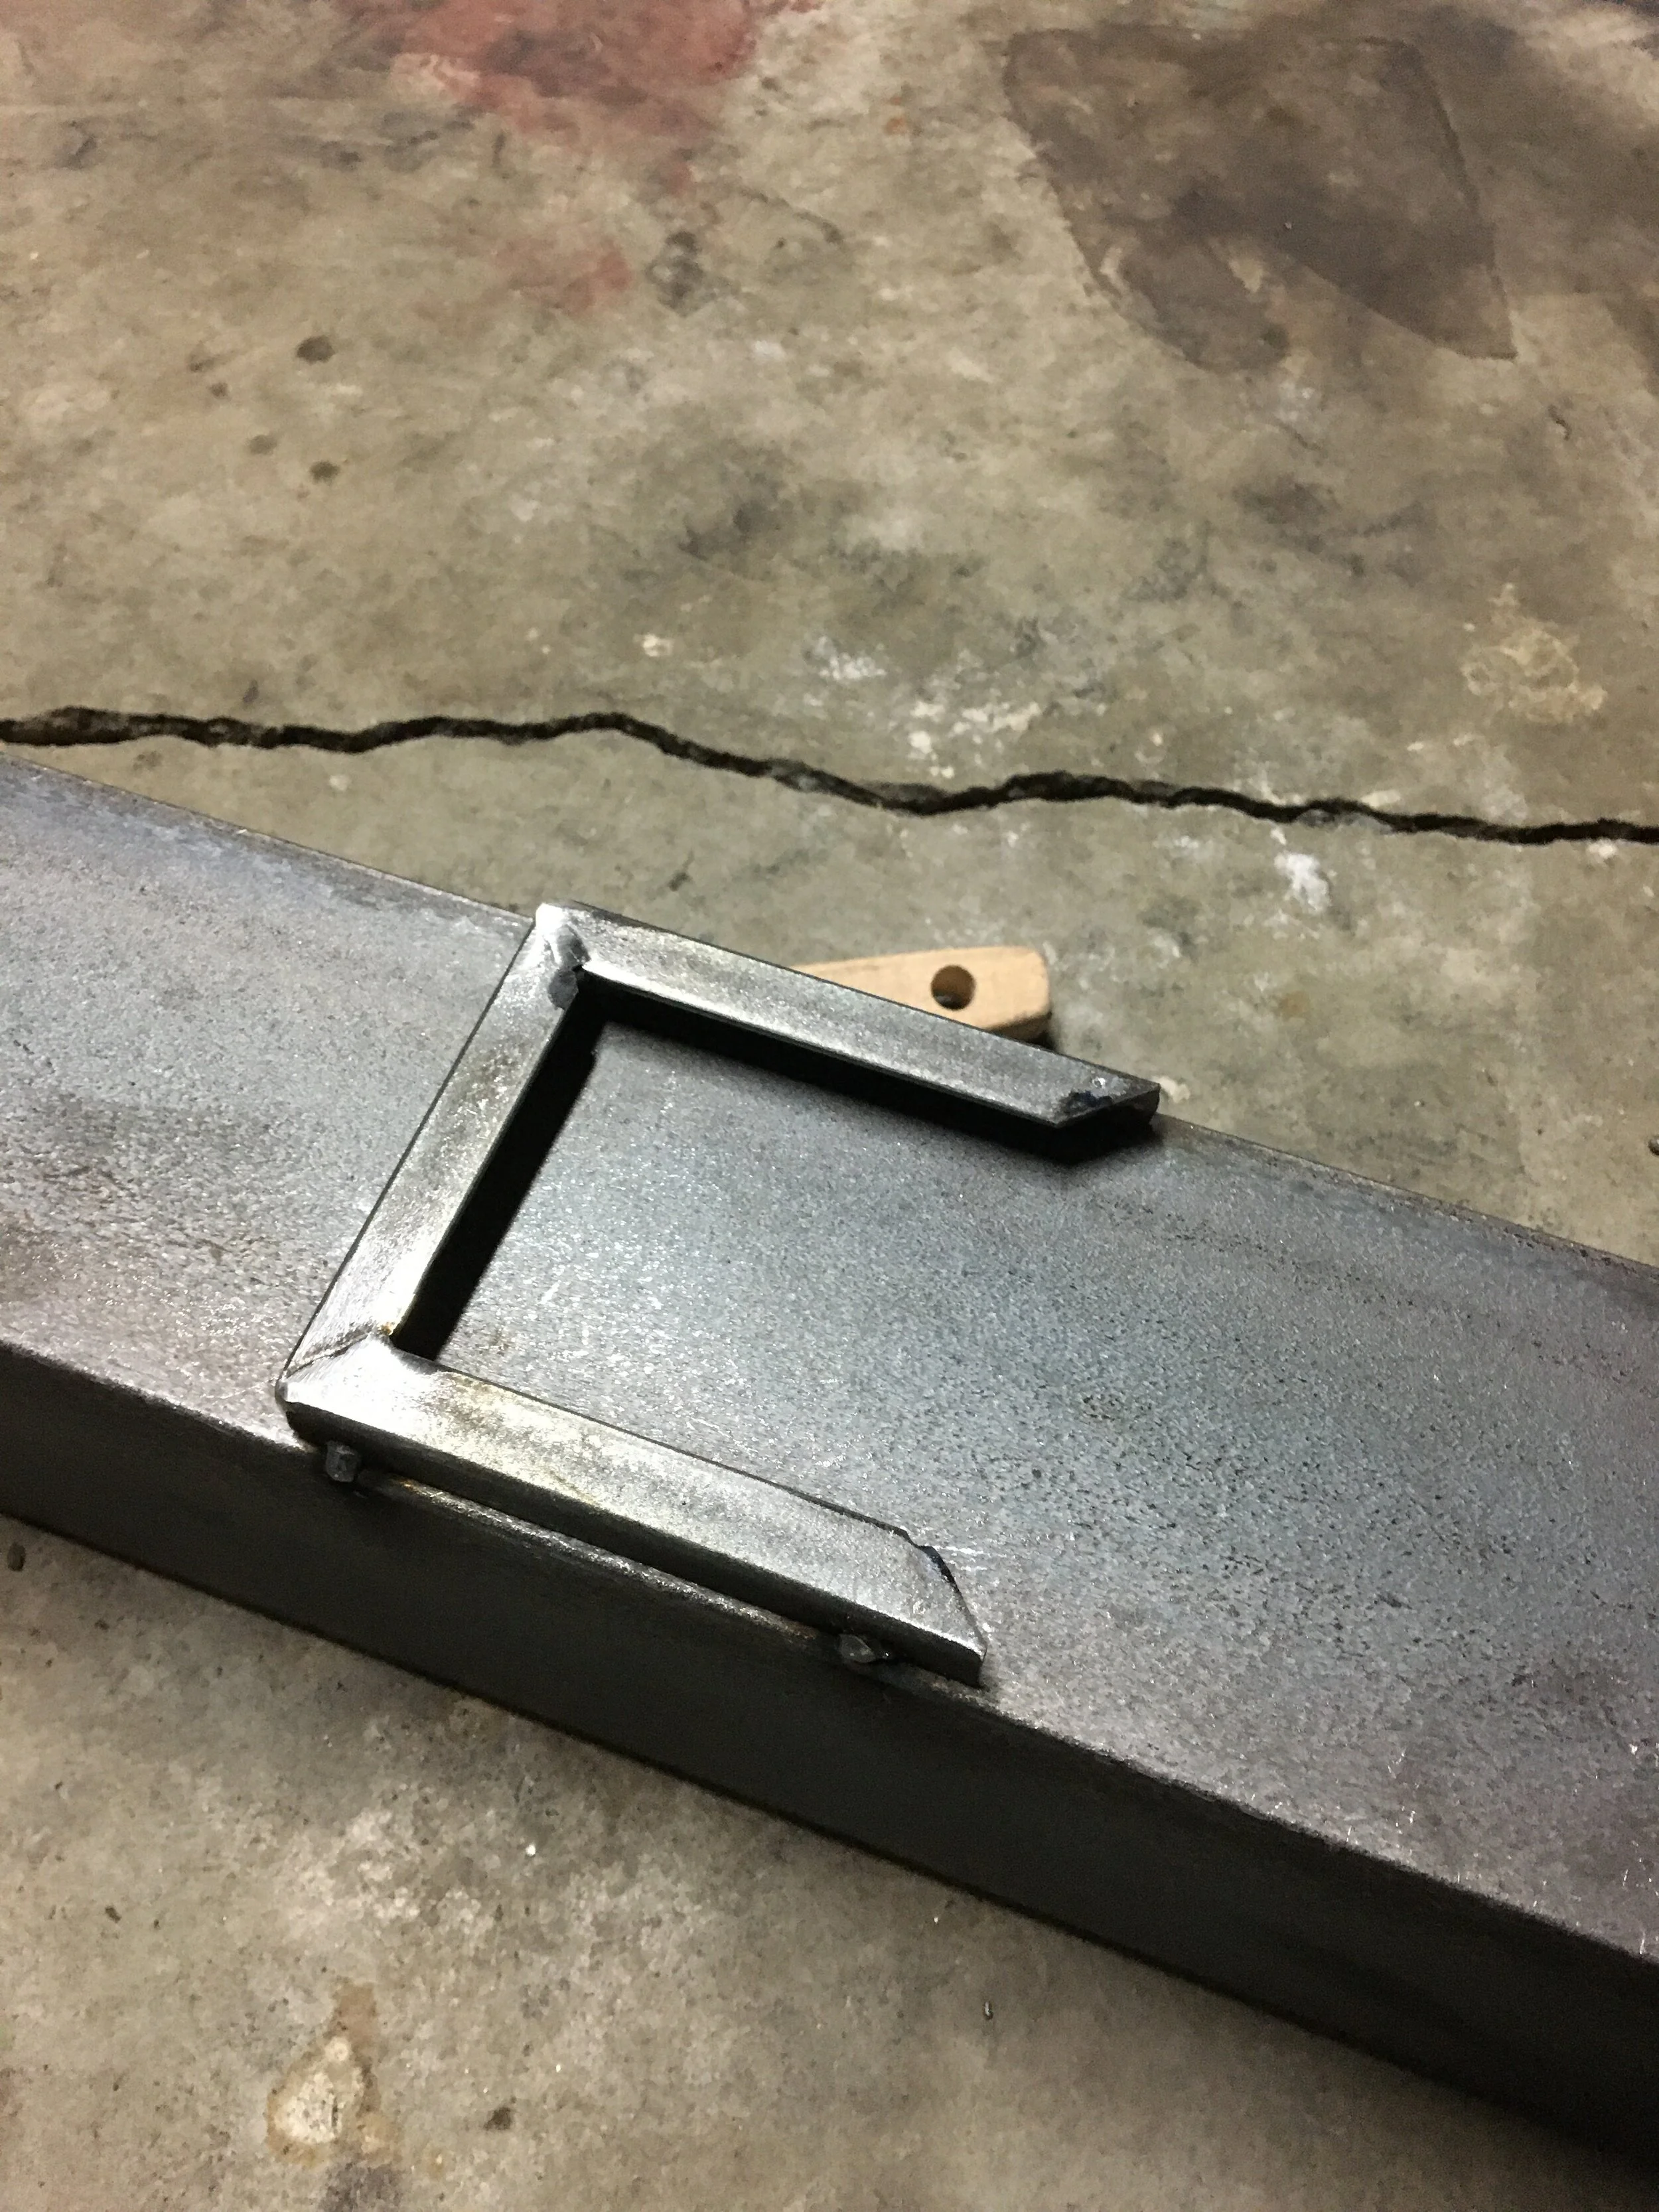
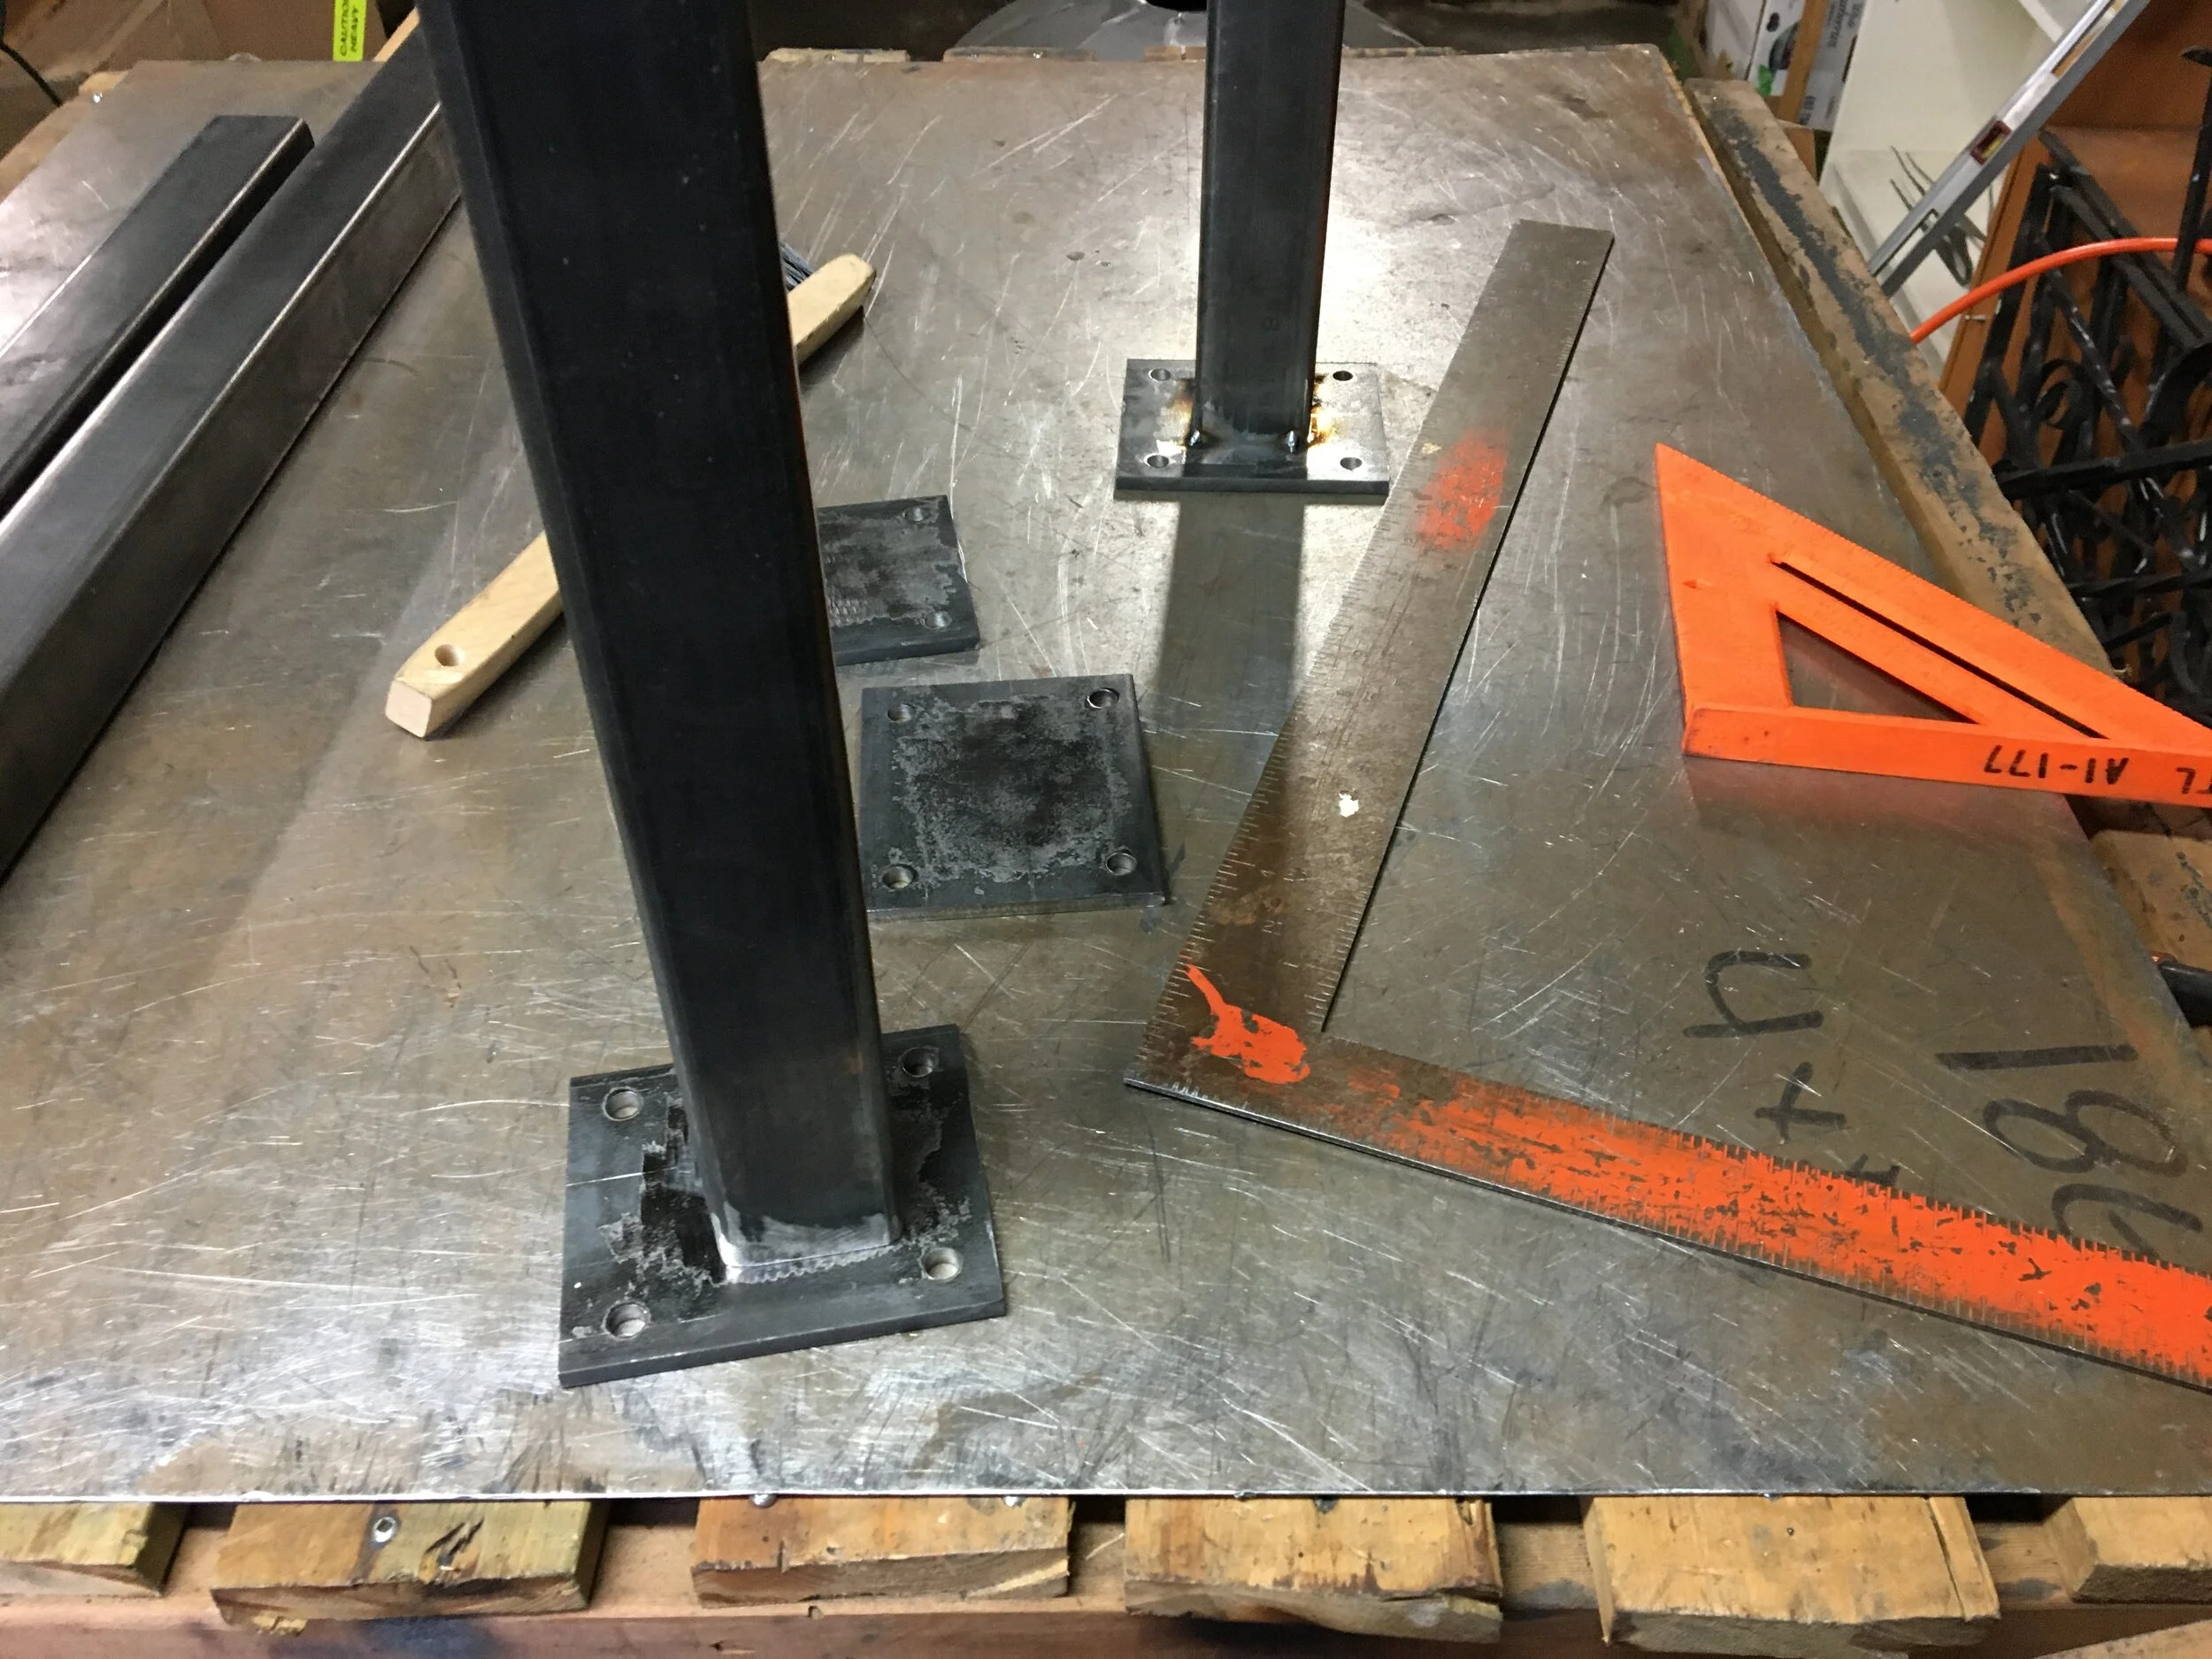
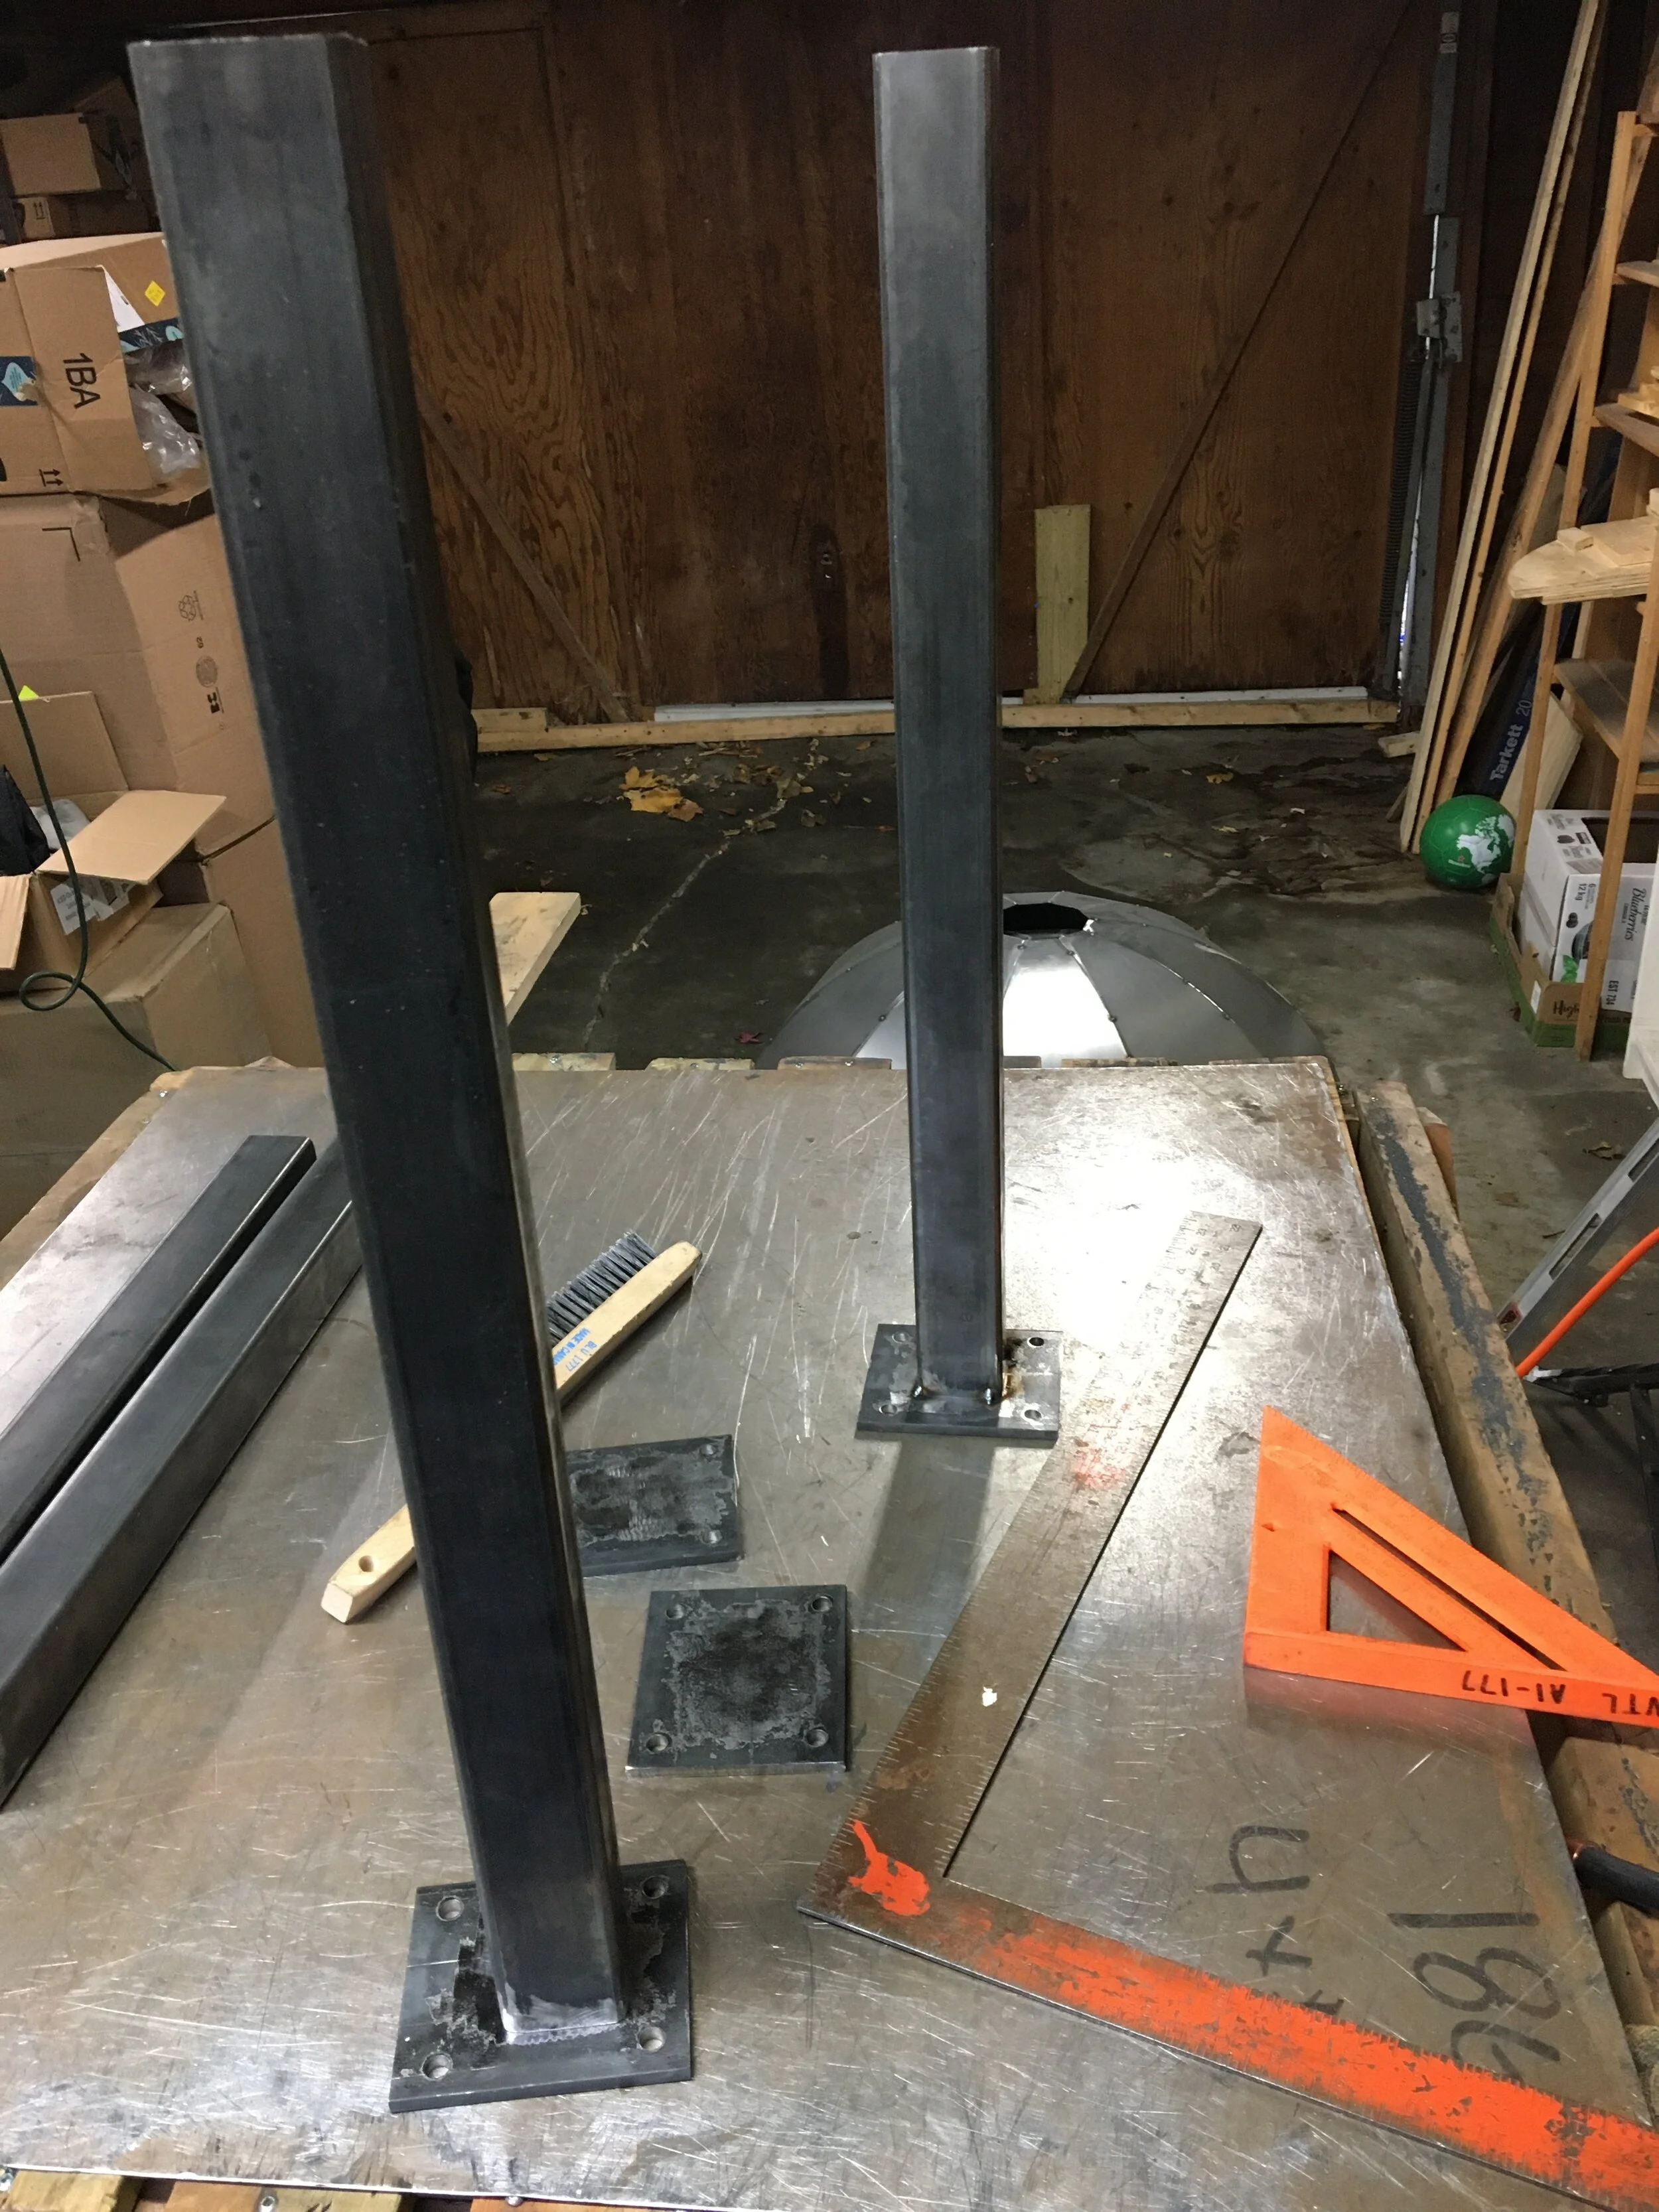
For the legs, I purchased 1.5” square tube, and a bunch of tiny bits and pieces to put everything together. I pre-drilled all the metal for bolts to hold on the cross beams, and to hold the wheels to the bottom of the legs. I cut and welded tiny angle onto the bottom of the frames to make the rails. I even used a level.
The legs came together pretty quickly. I did not measure anything, and just eye-balled it. In retrospect if I had measured everything the cross beams would be identical, which would make for less of a puzzle every time I put them on. I guess an update for next time.
After completing the legs, I put some bar across the floor of the frame to support the insulation and bricks. I also needed this to continue using this table as my work top. I ended up putting an old piece of sheet over the bar because I had it lying around and thought it provided a bit of extra support for the somewhat fragile insulation board.
Barrels
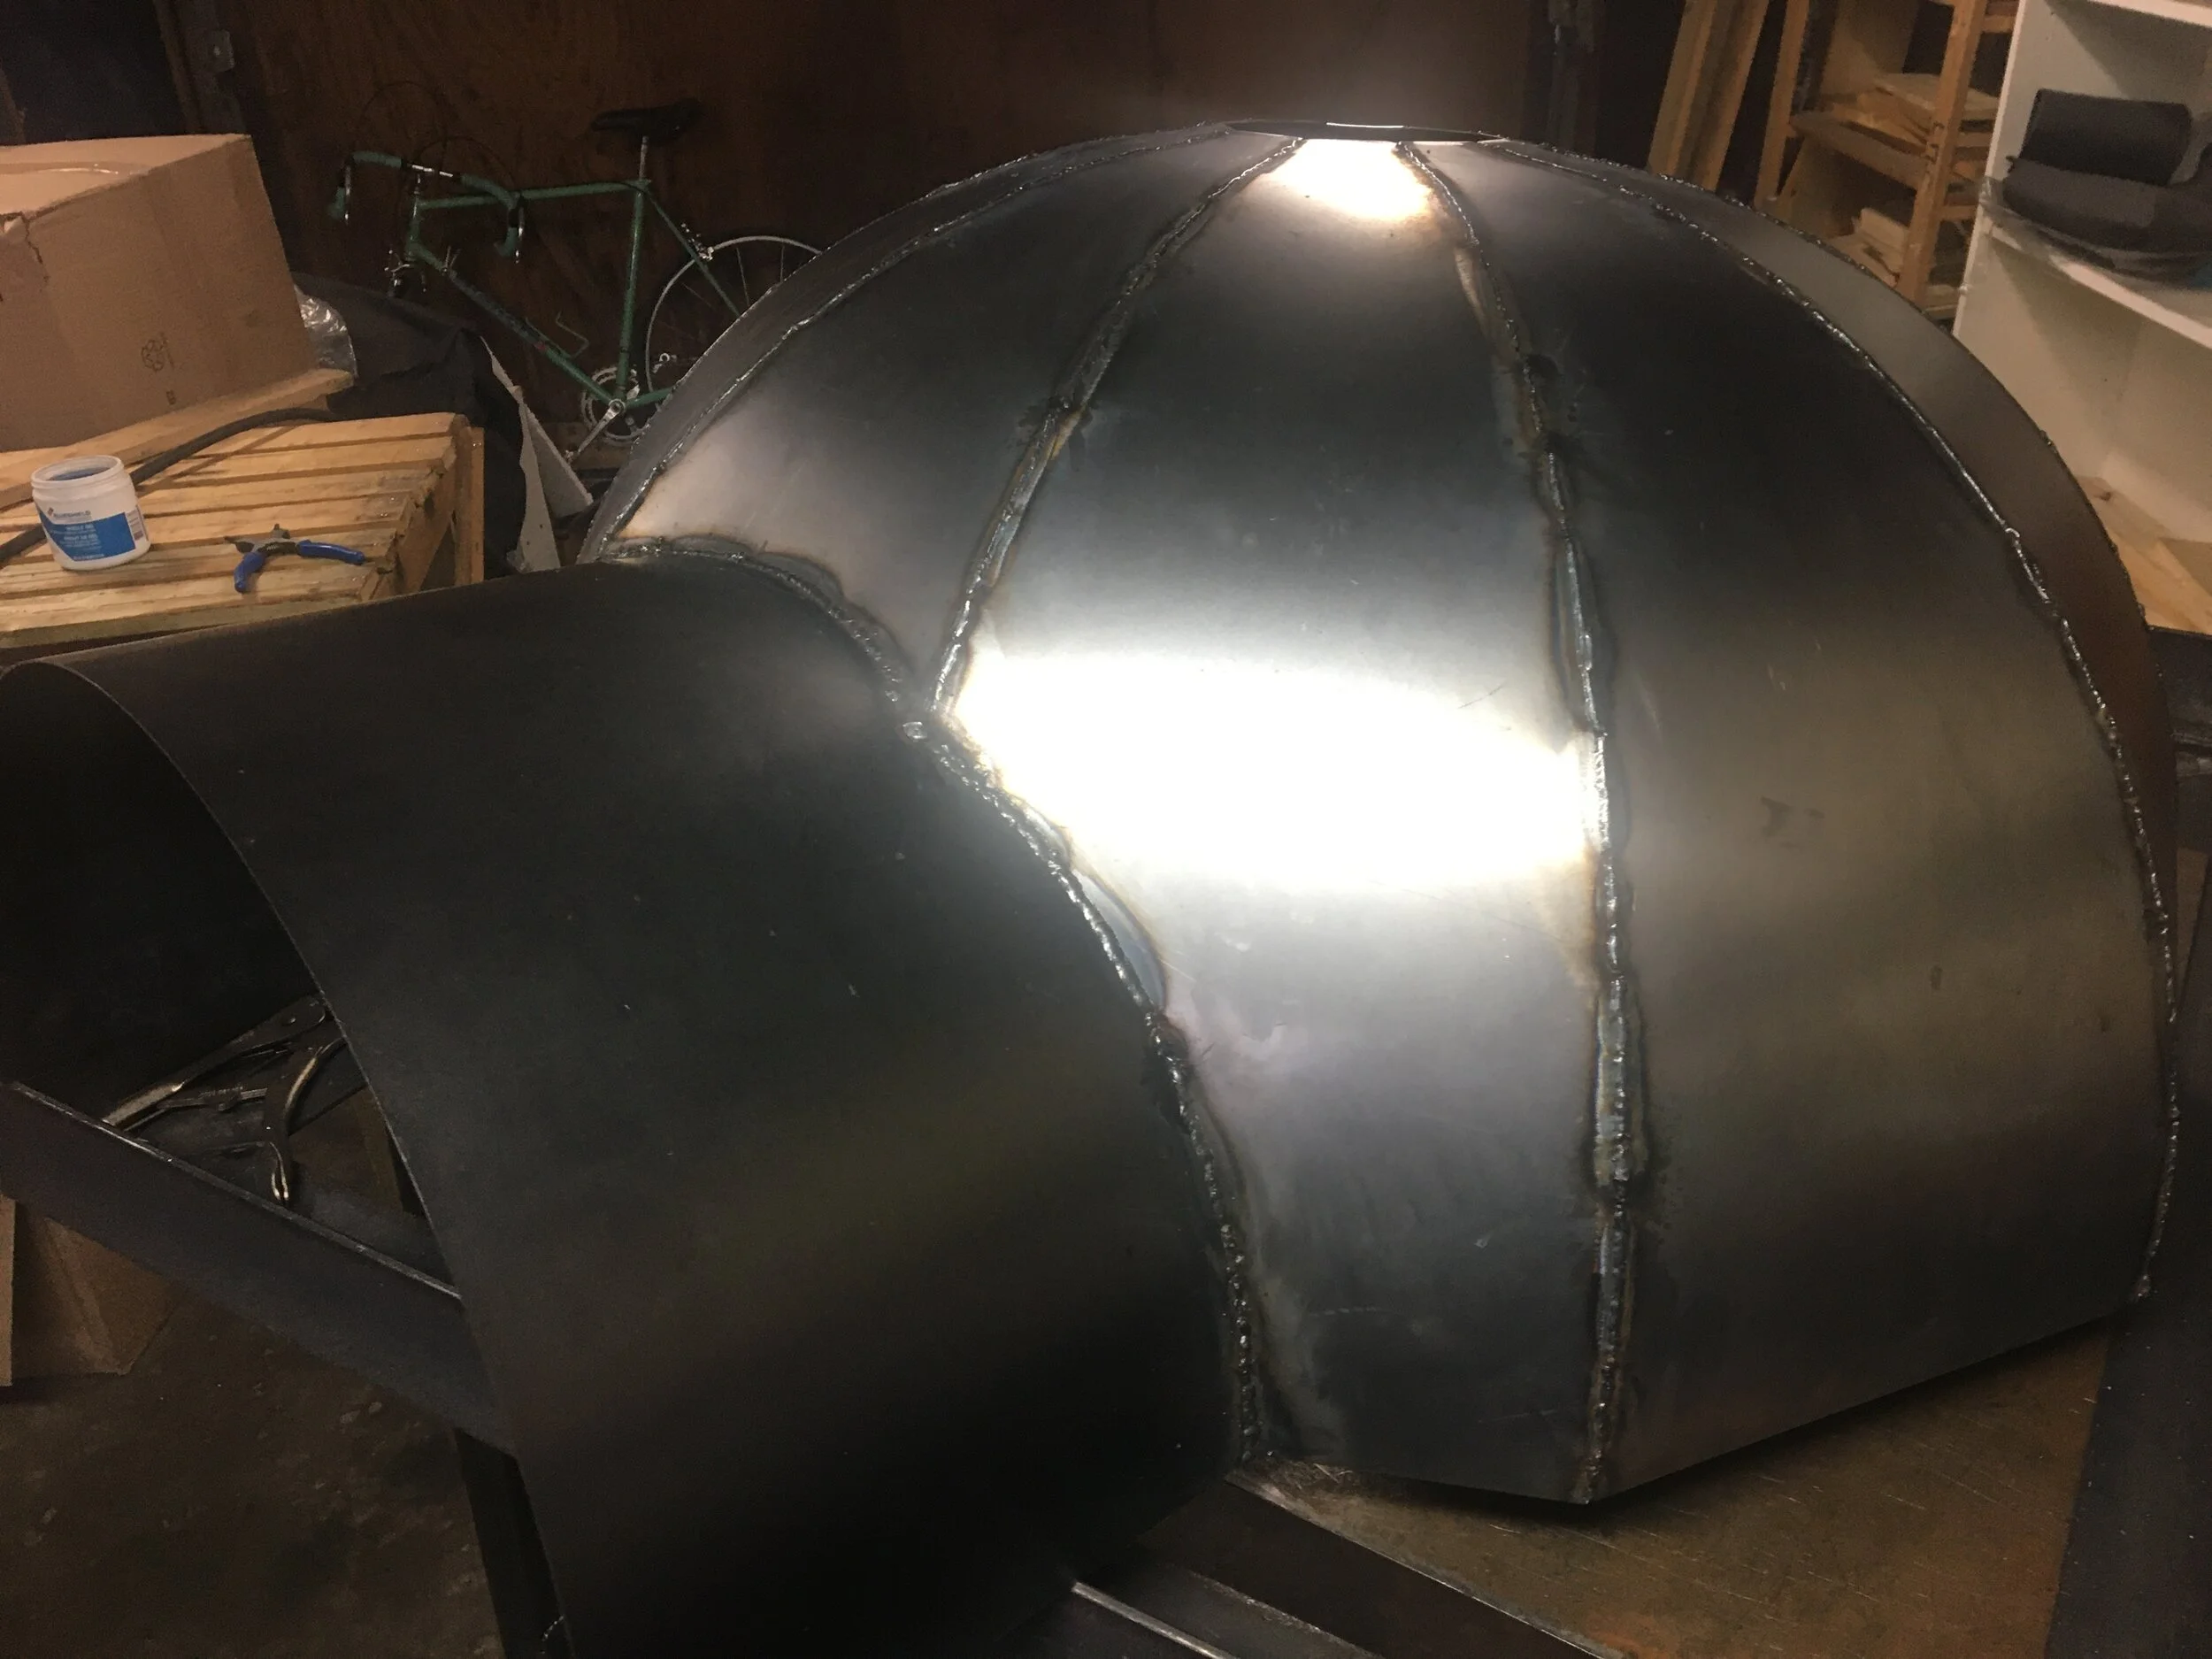
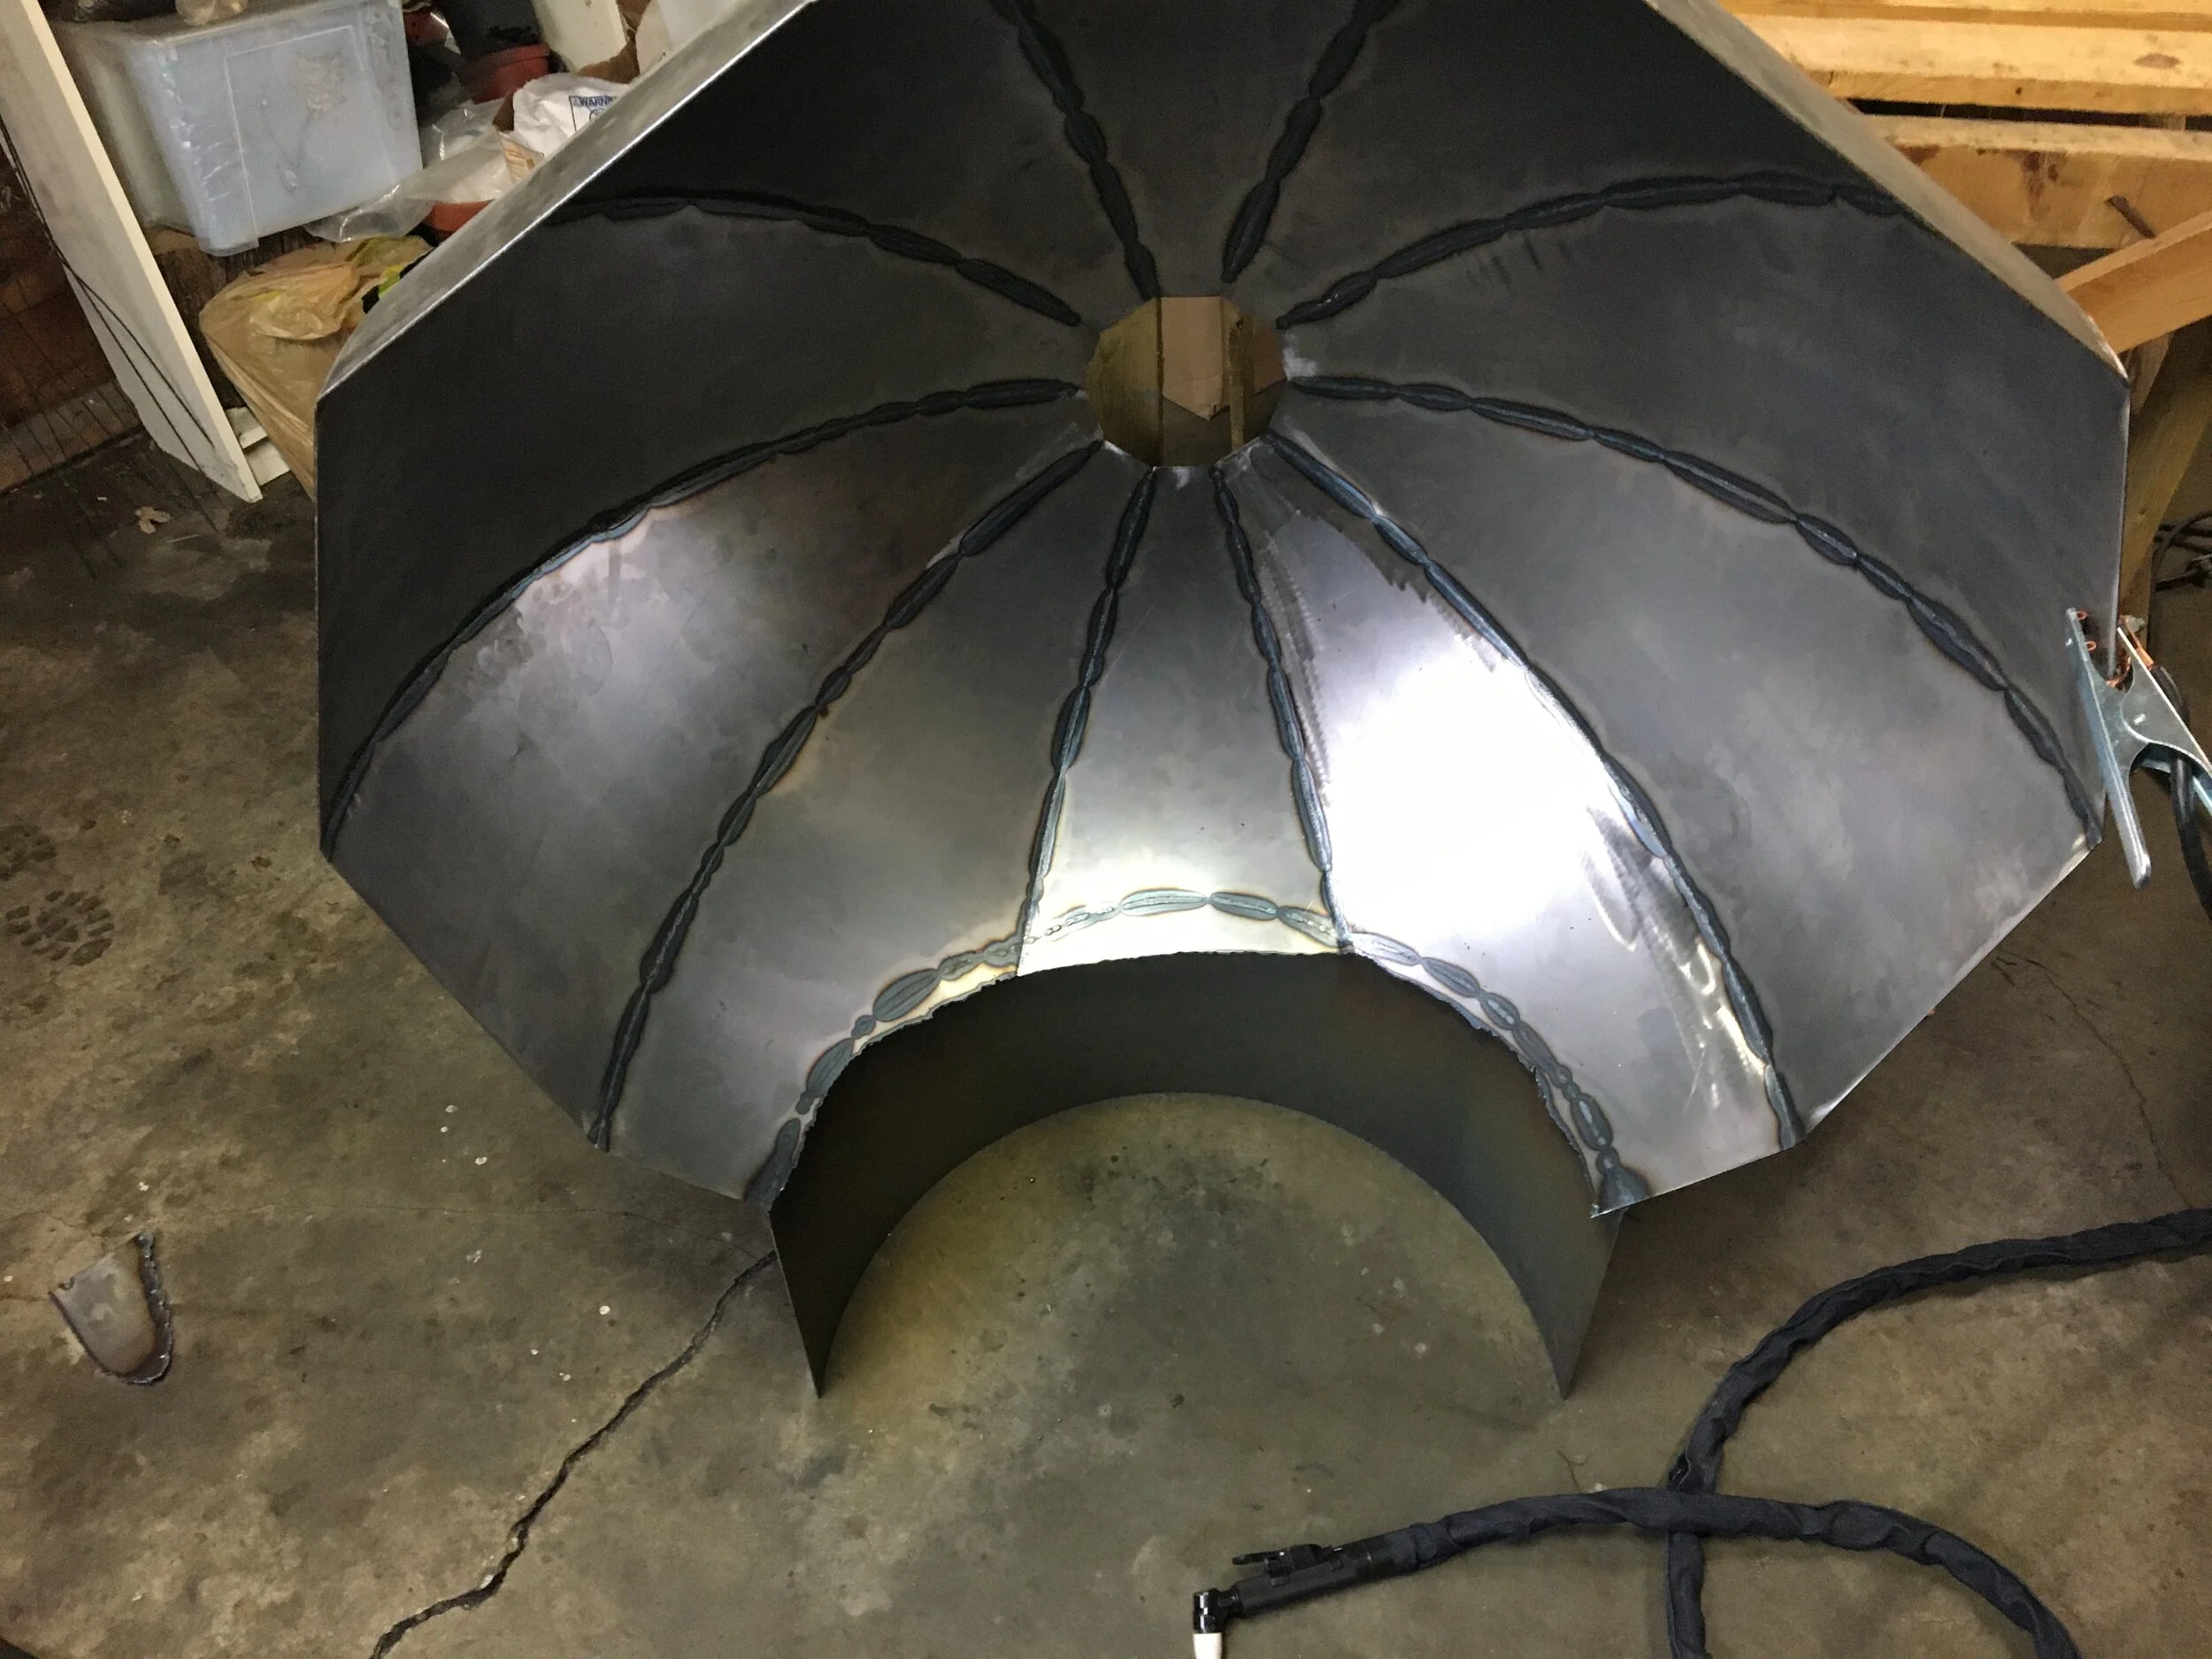
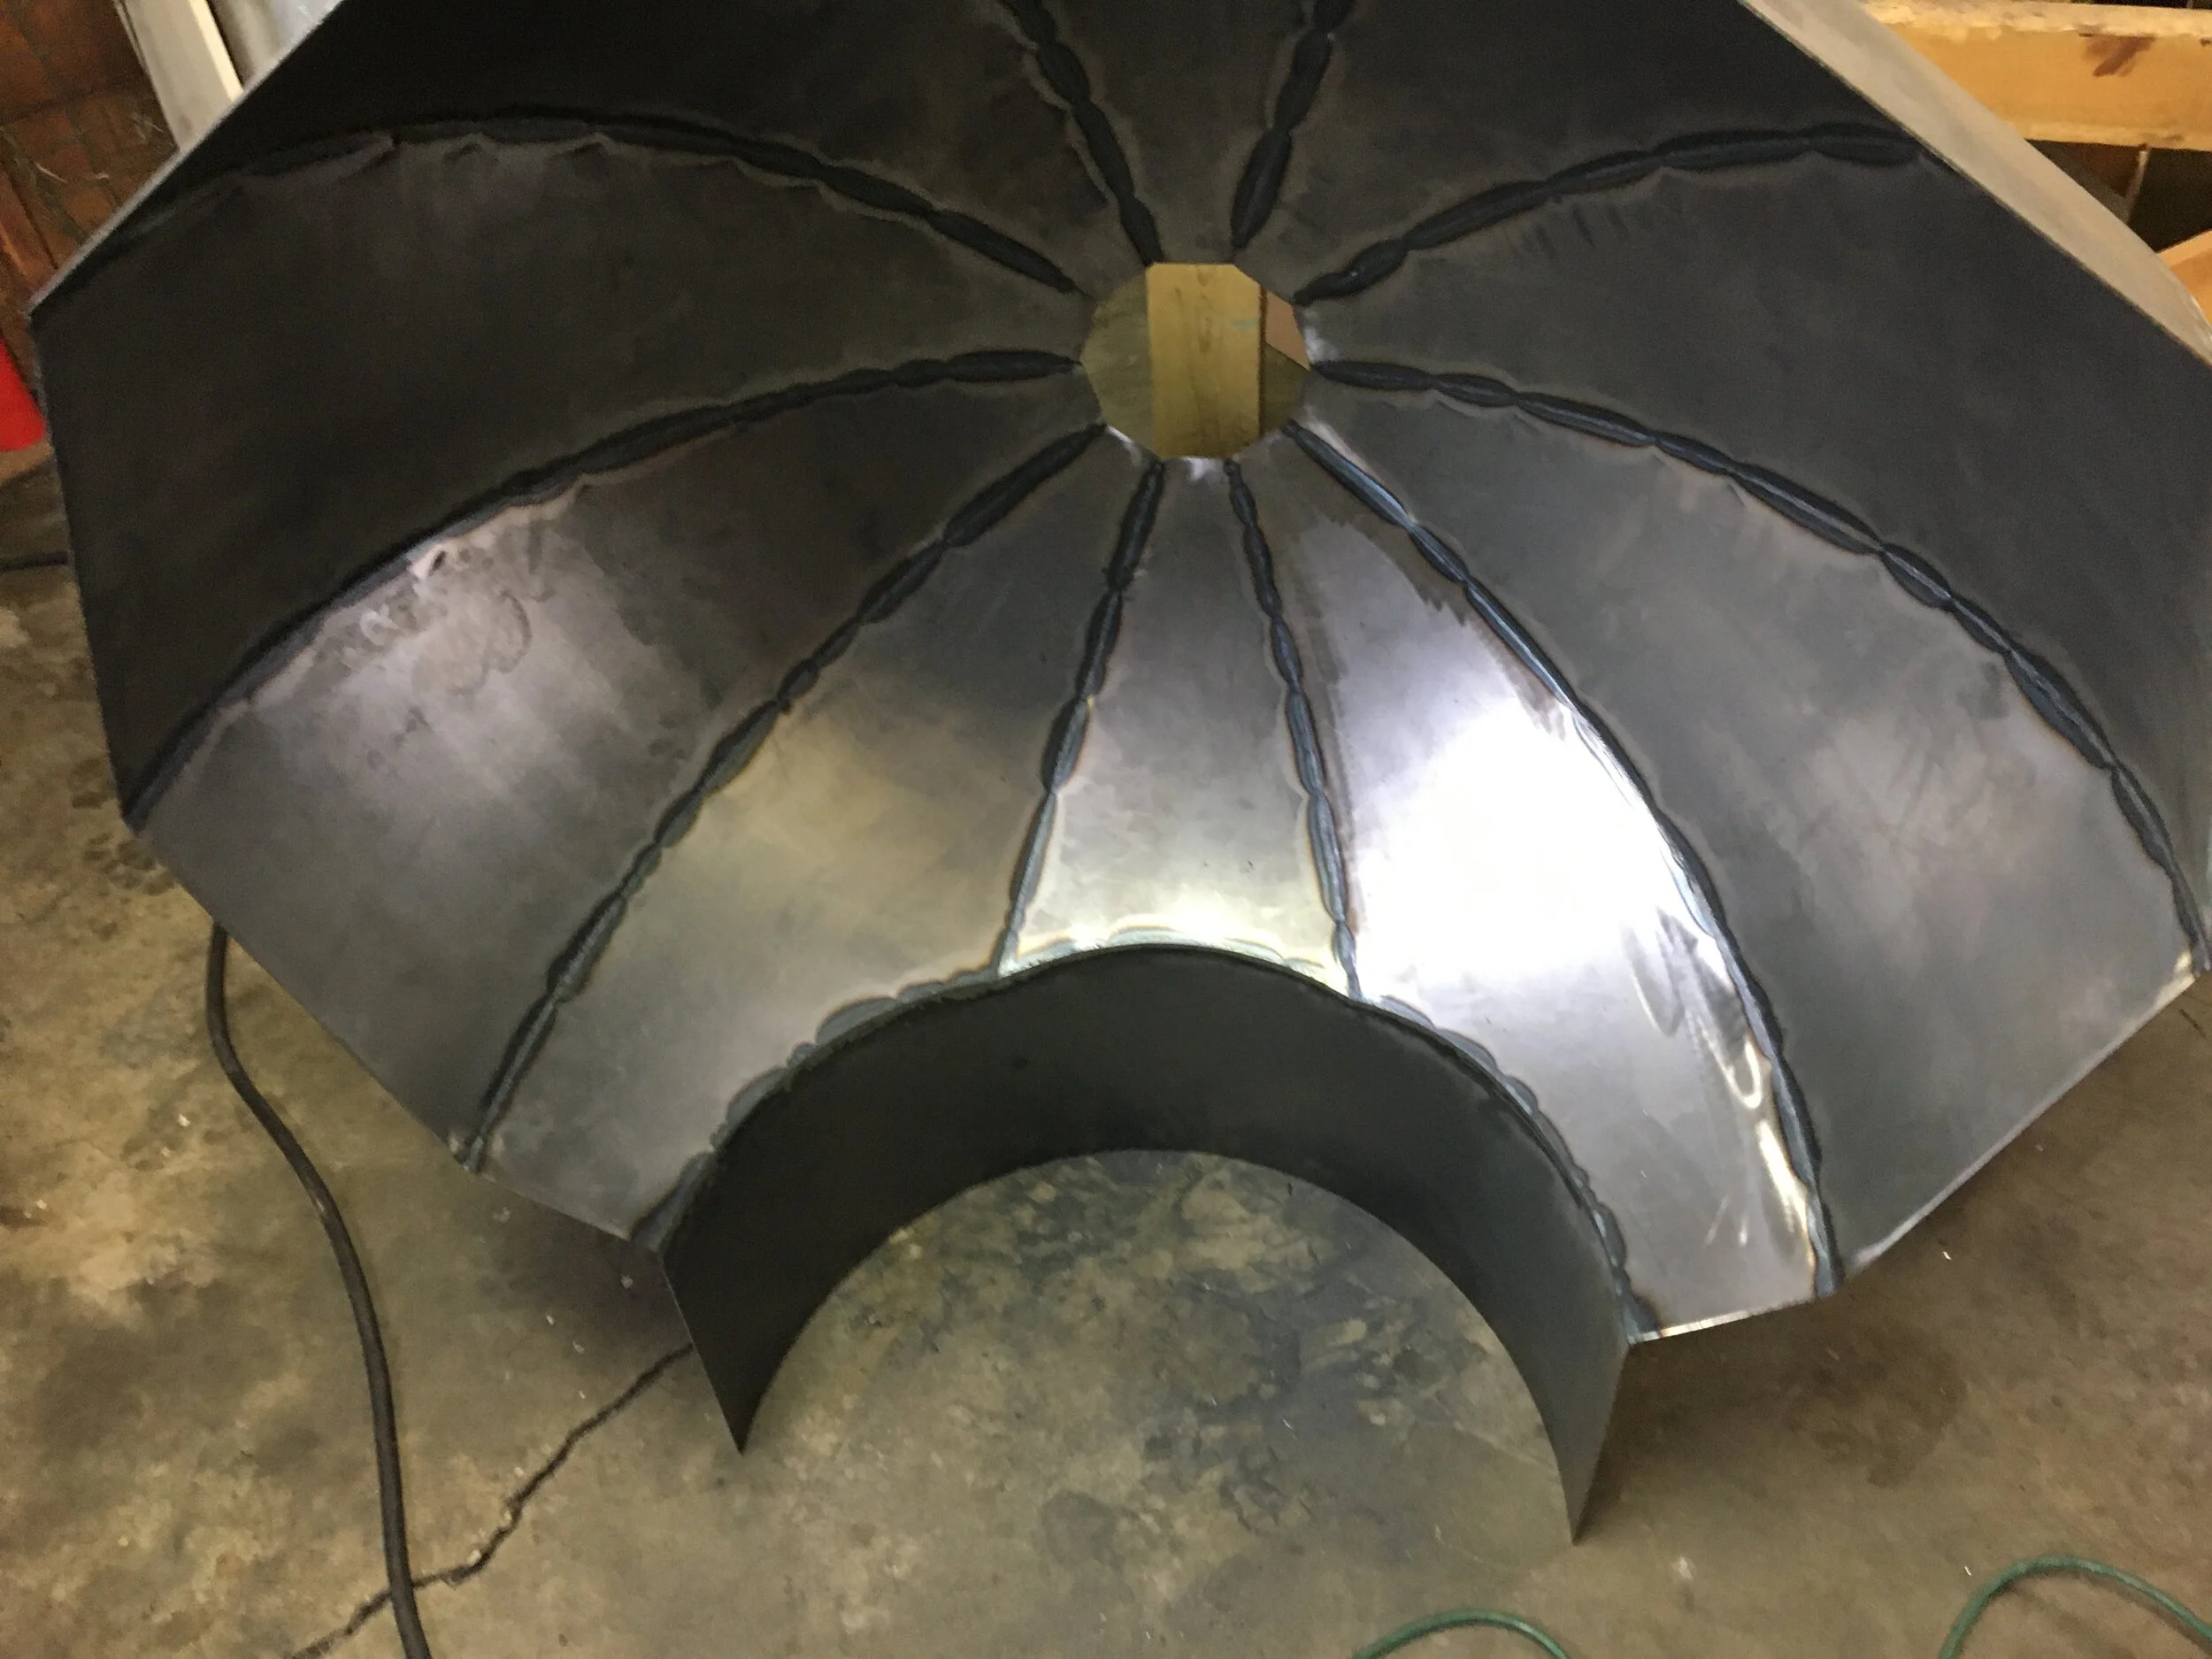
The opening to the oven was particularly challenging. Again, I have the forums for Fusion360 largely to thank for getting through that. Because the barrels are being welded to a curved, panelized dome, their flat pattern looks somewhat like folded flat bow tie, except a rectangle on the bottom. I was finally able to draw up the pattern for the two domes, and ordered some sheet metal to fit the pattern.
It took me about 10 tries to get the print outs accurate, with a mix of printing to PDF, scaling, posterizing, Saving as PDF. I nearly gave up a few times it was so frustrating, however, the process was very cool and the possibilities seemed endless.
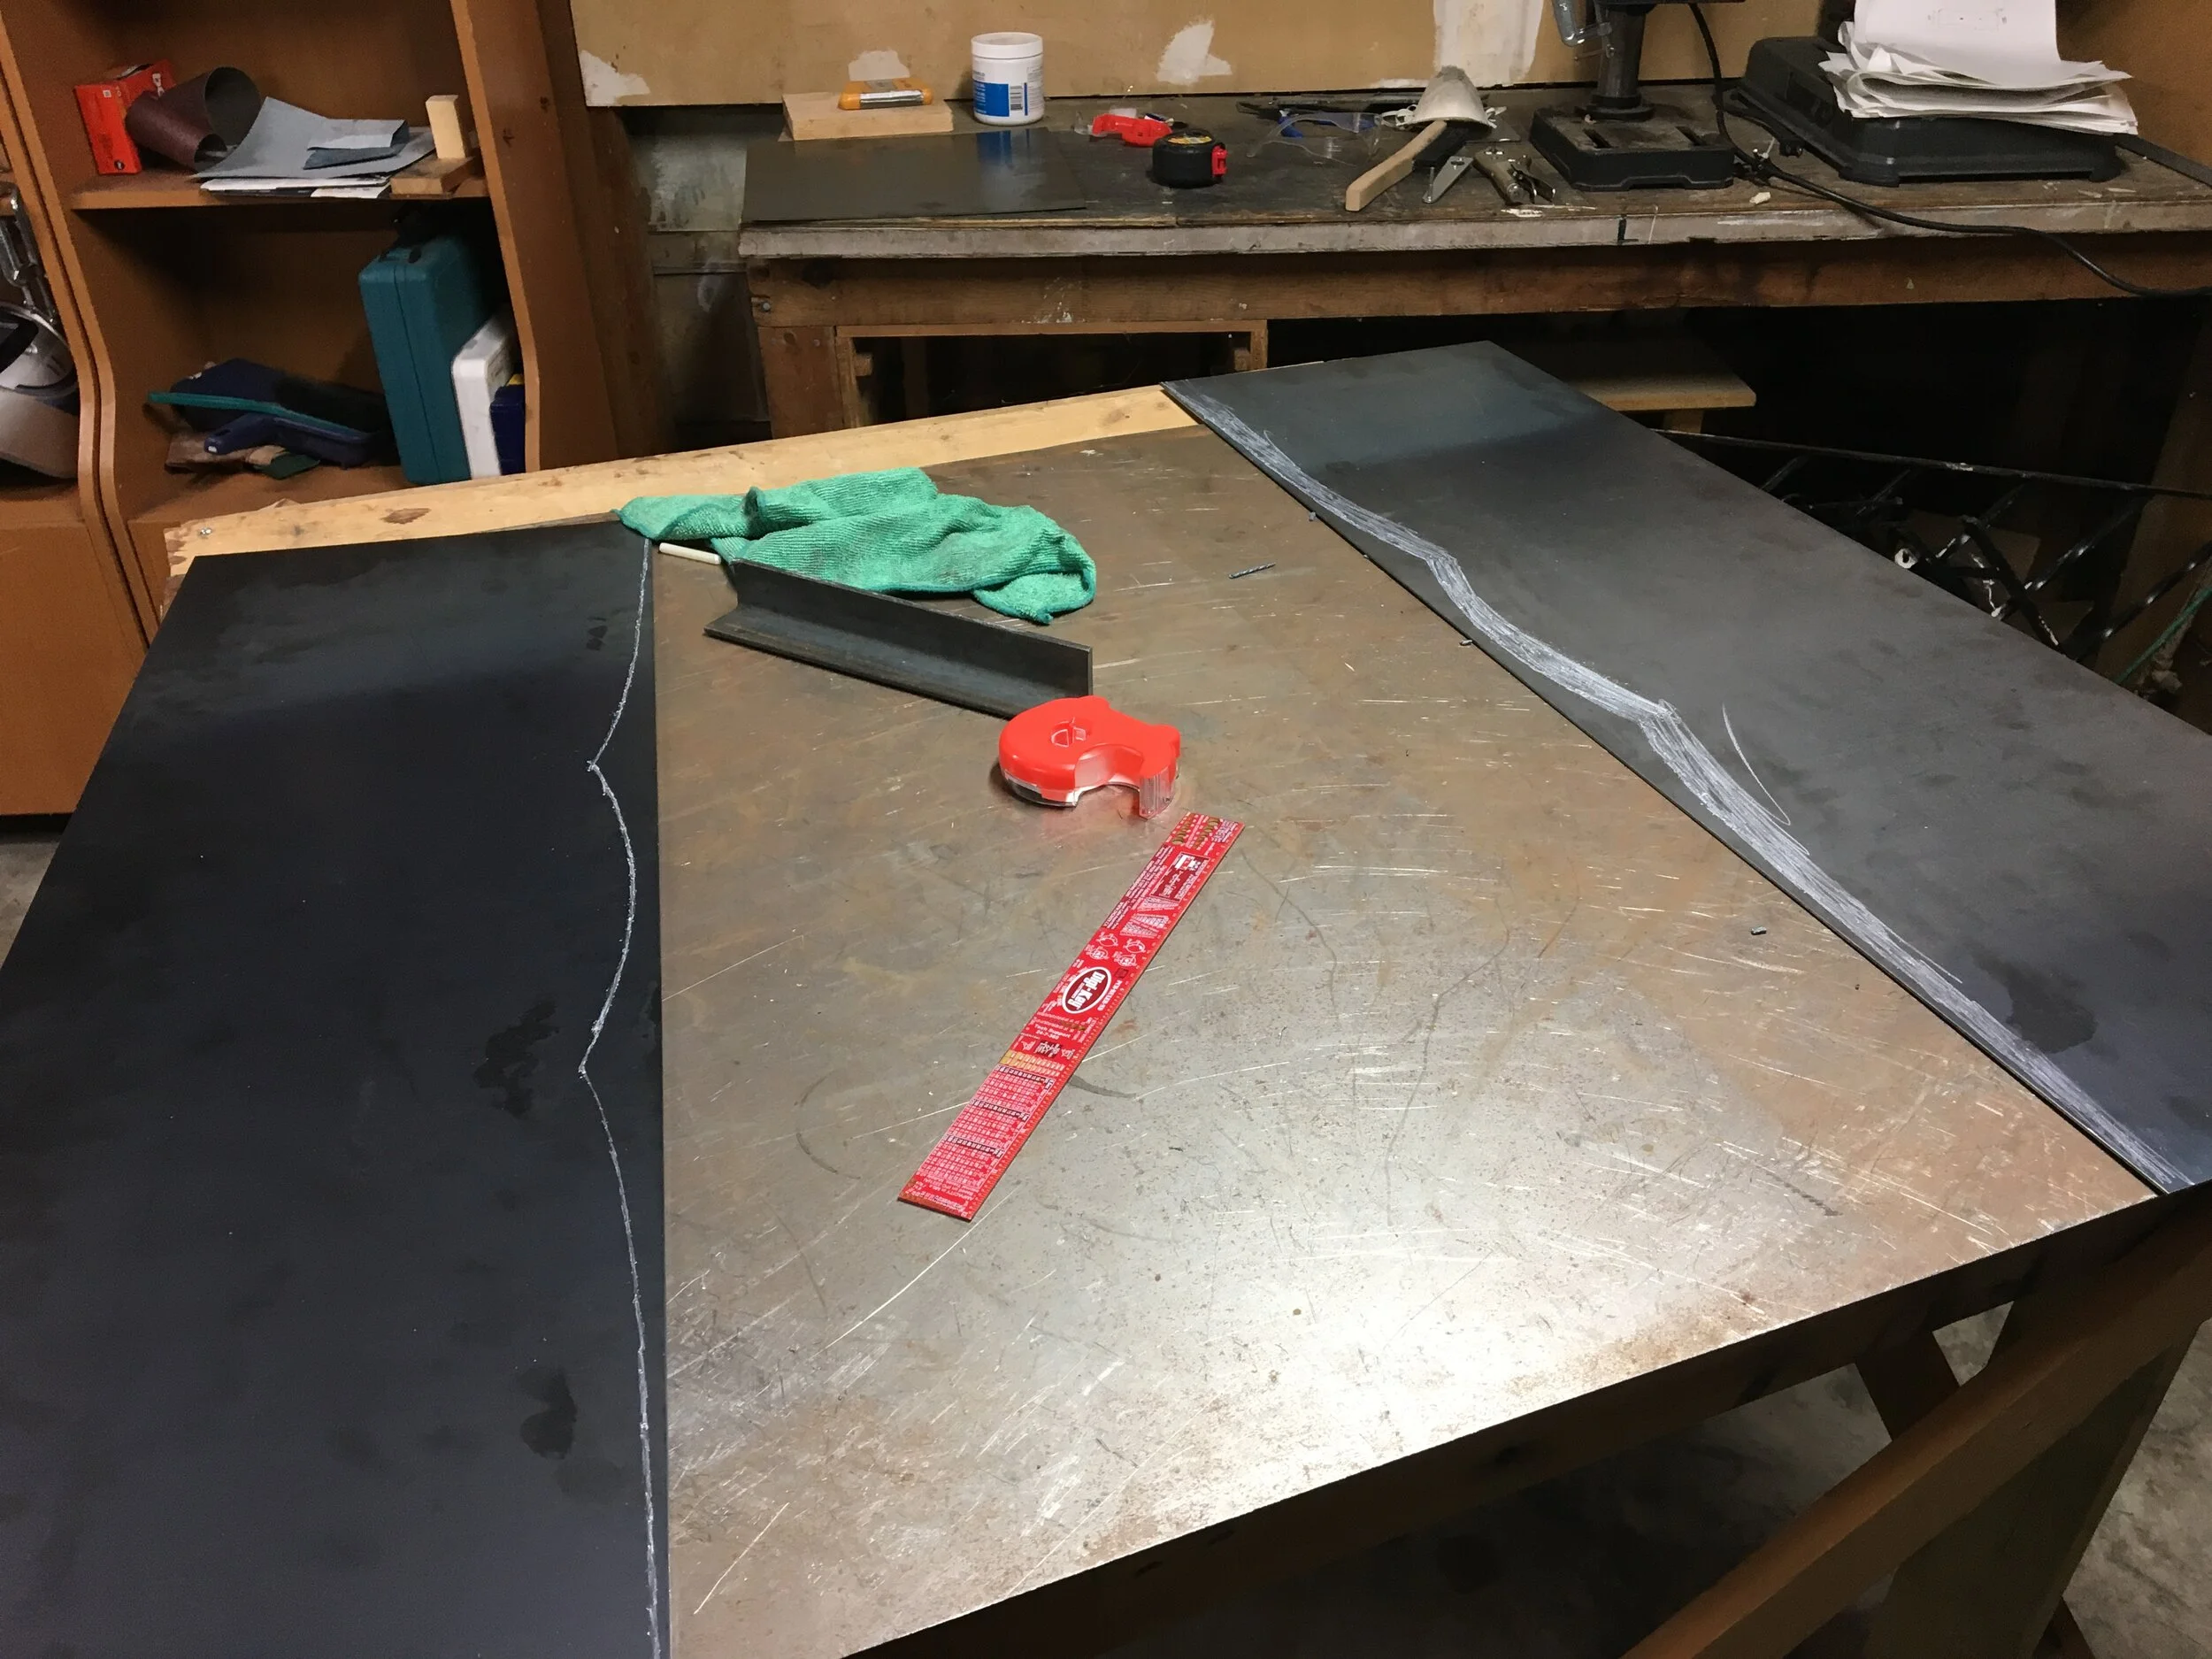
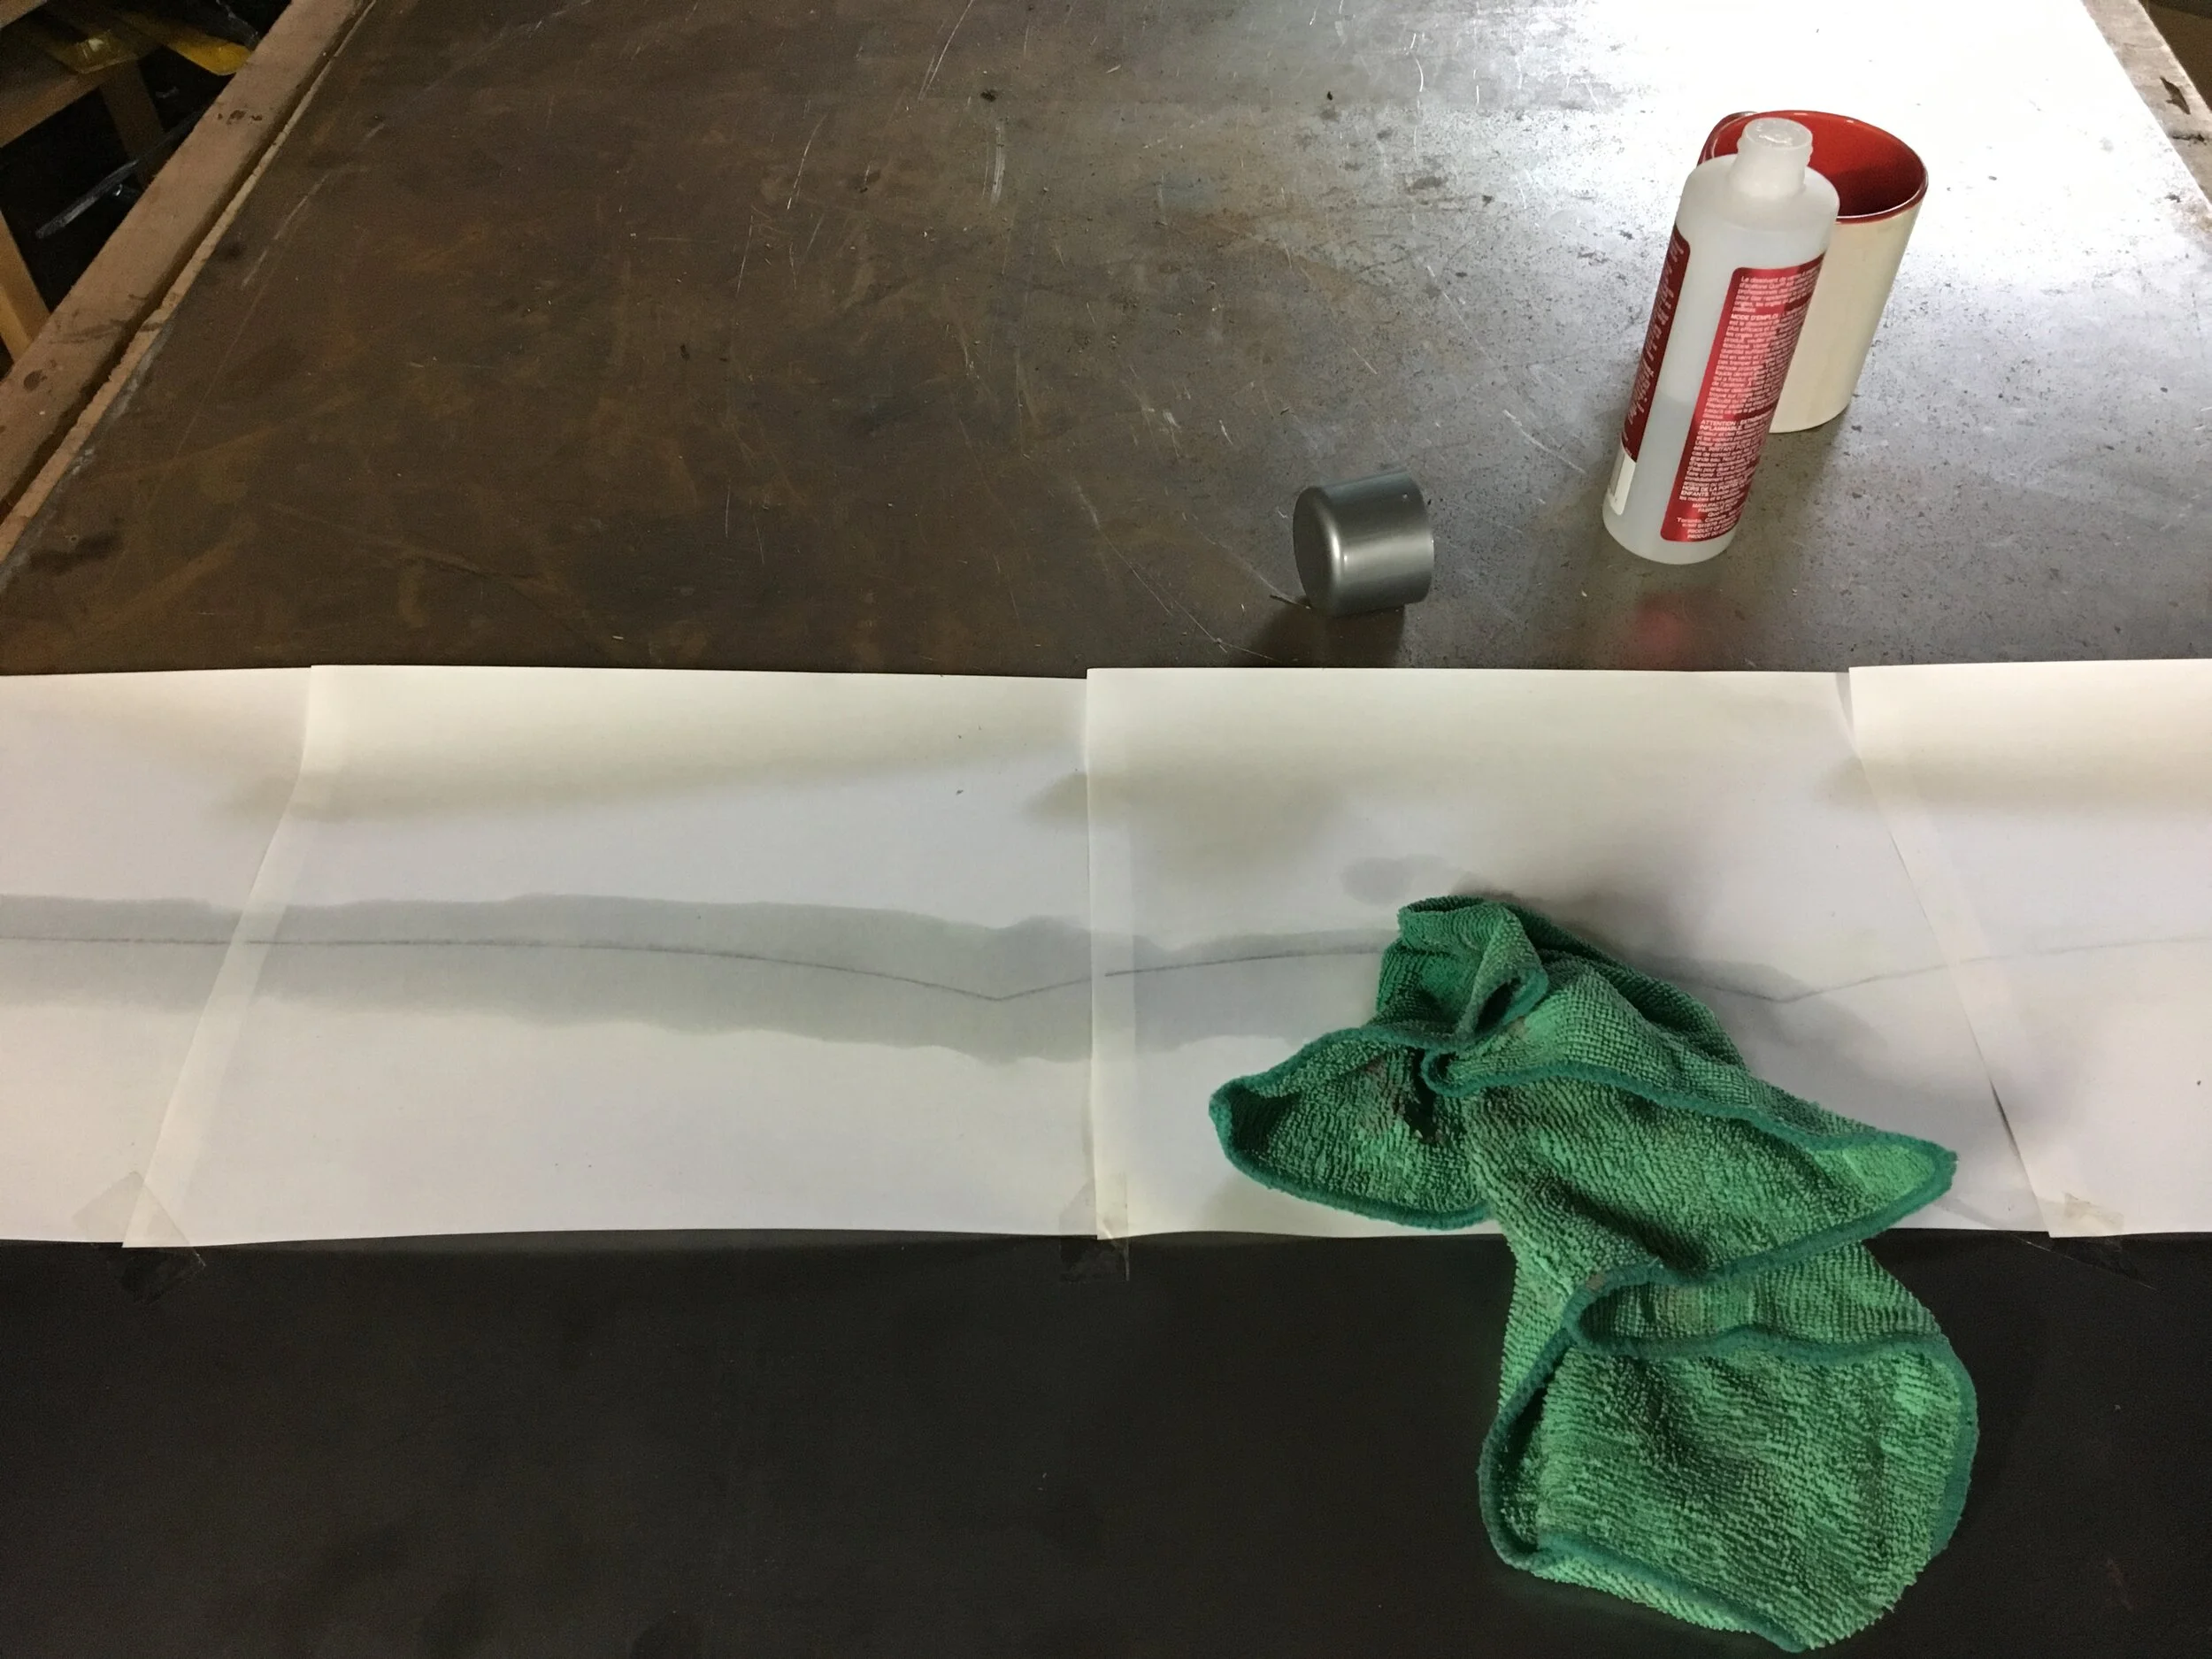
I printed the flat pattern onto multiple sheets of paper and stitched them together with masking tape. The pattern can be transferred to steel by rubbing acetone (or nail polish remover, if you are attempting this after all the hardware stores are closed and only Lawtons is open). I then traced out the pattern with soap stone to make it more visible before plasma cutting. Lesson #7 - Get the #5 shade for plasma cutting. Do not rely on welding masks which are way too dark.
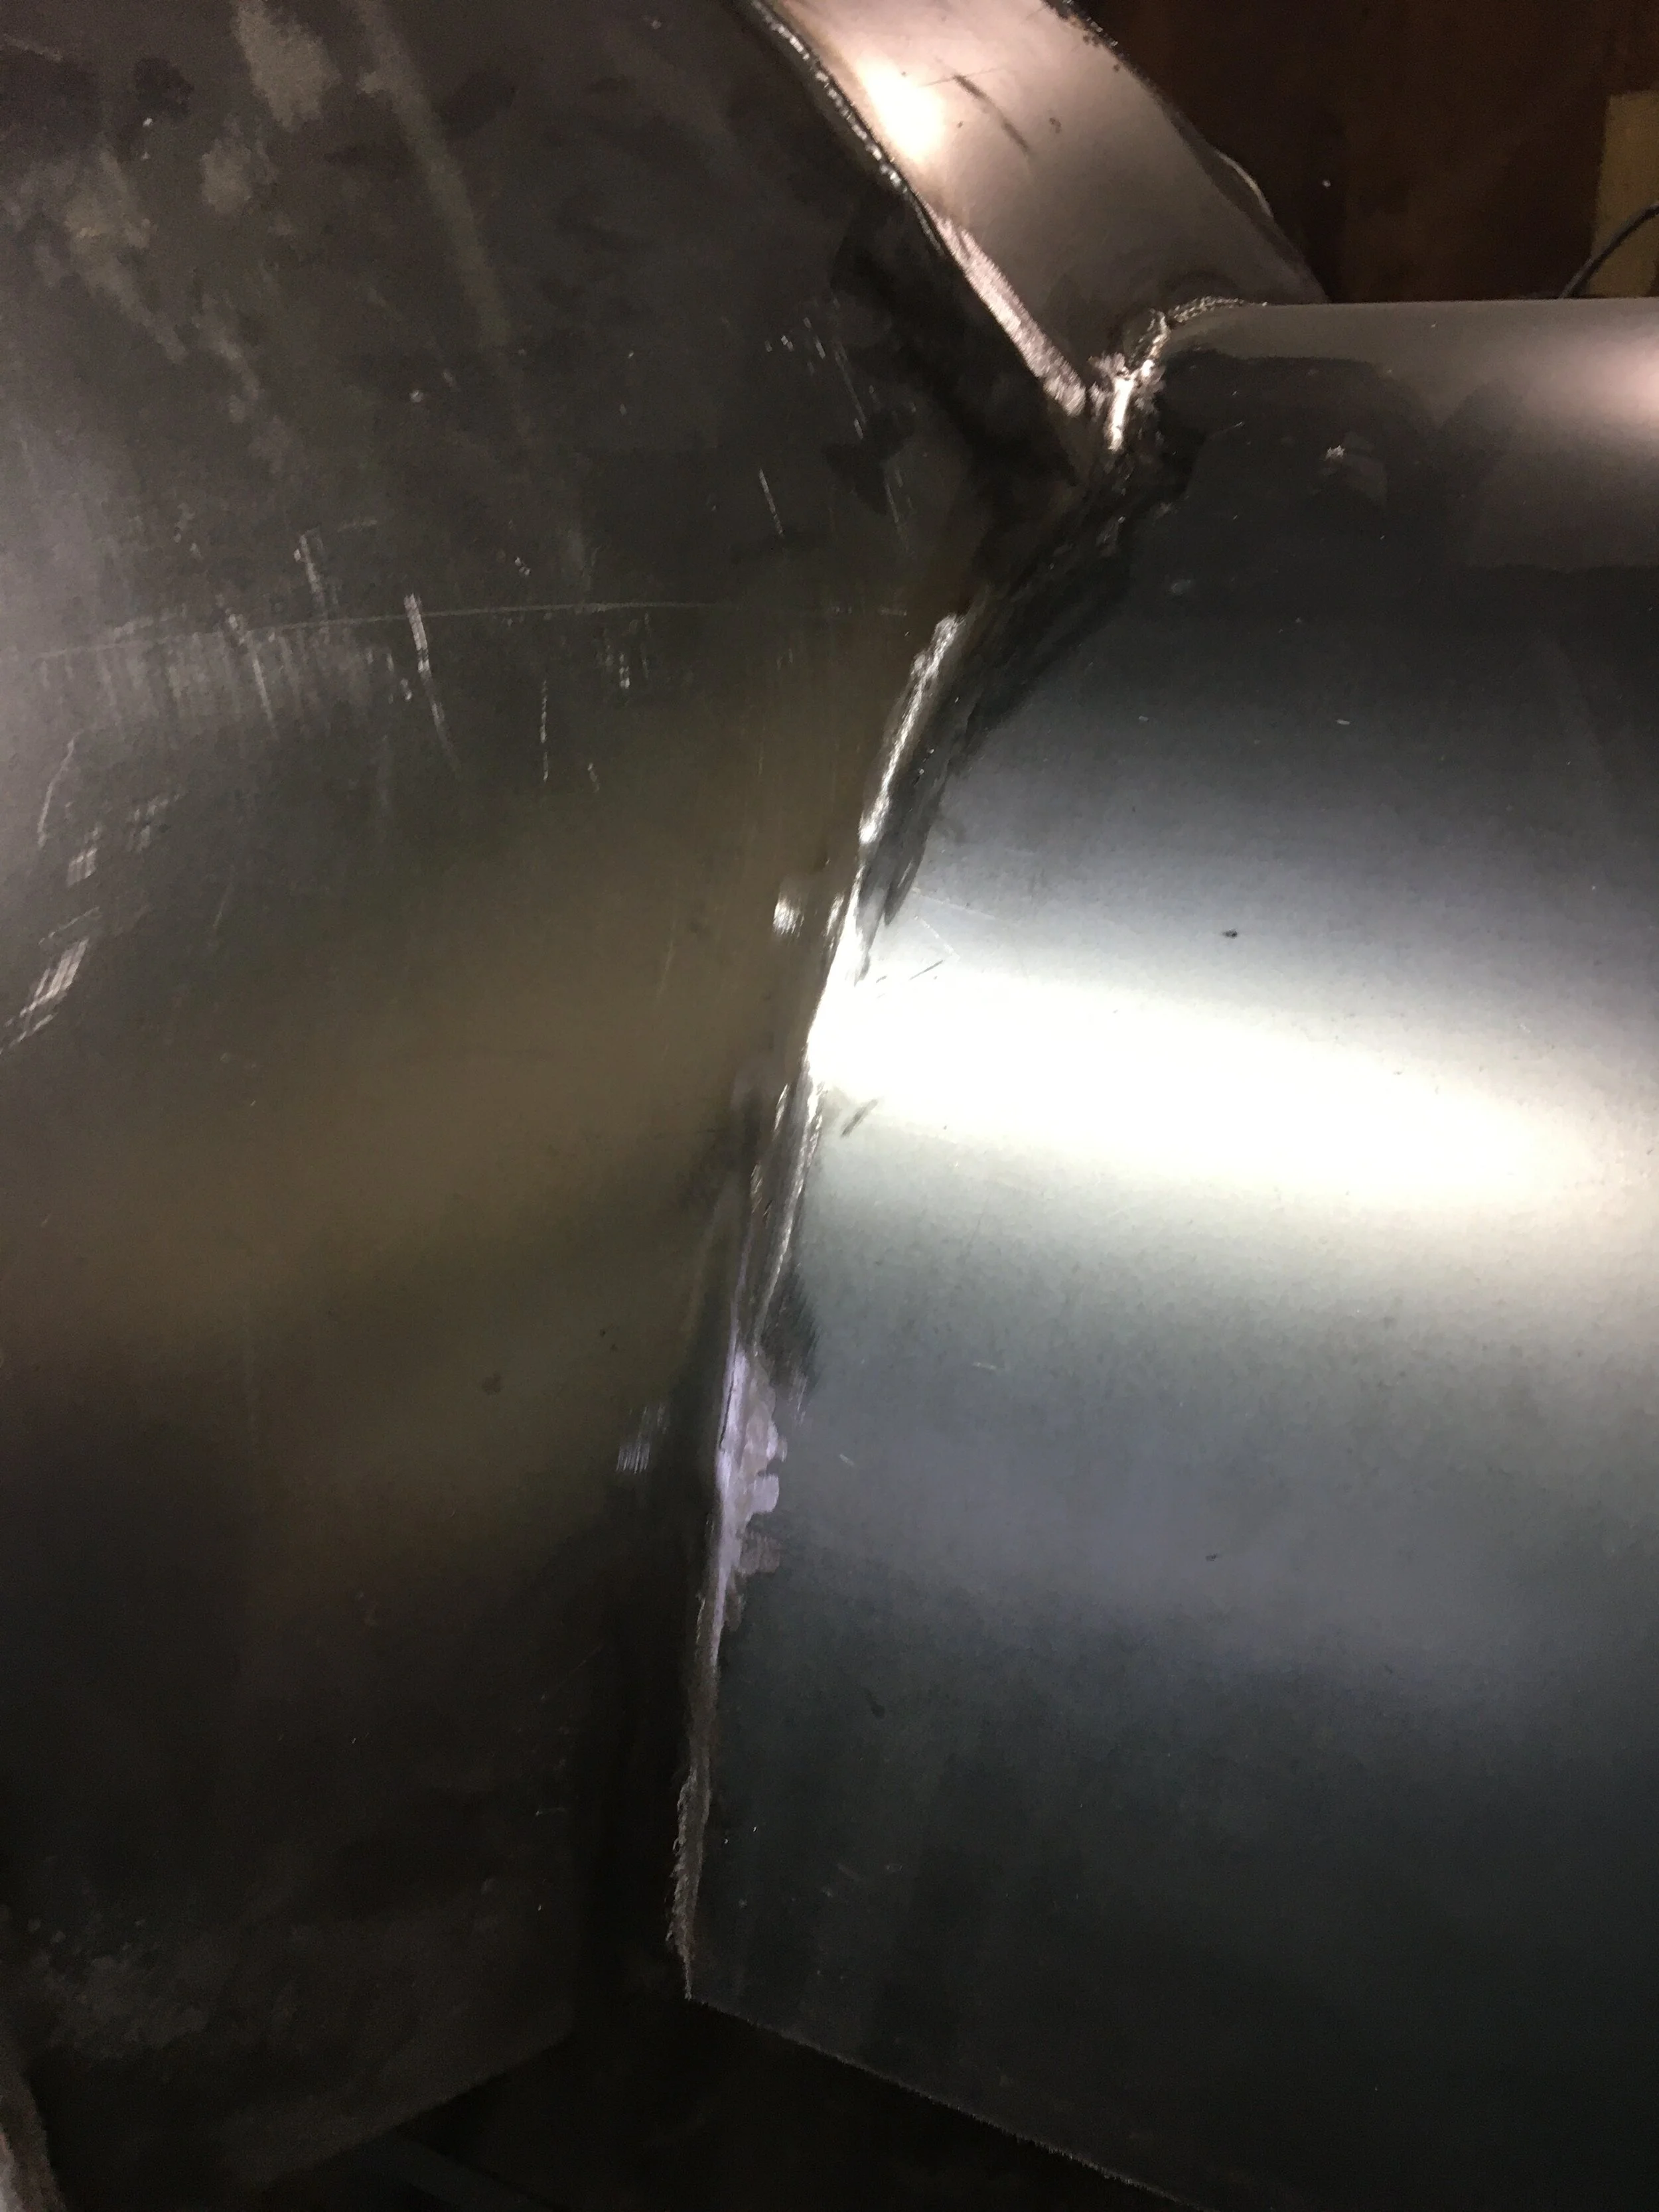
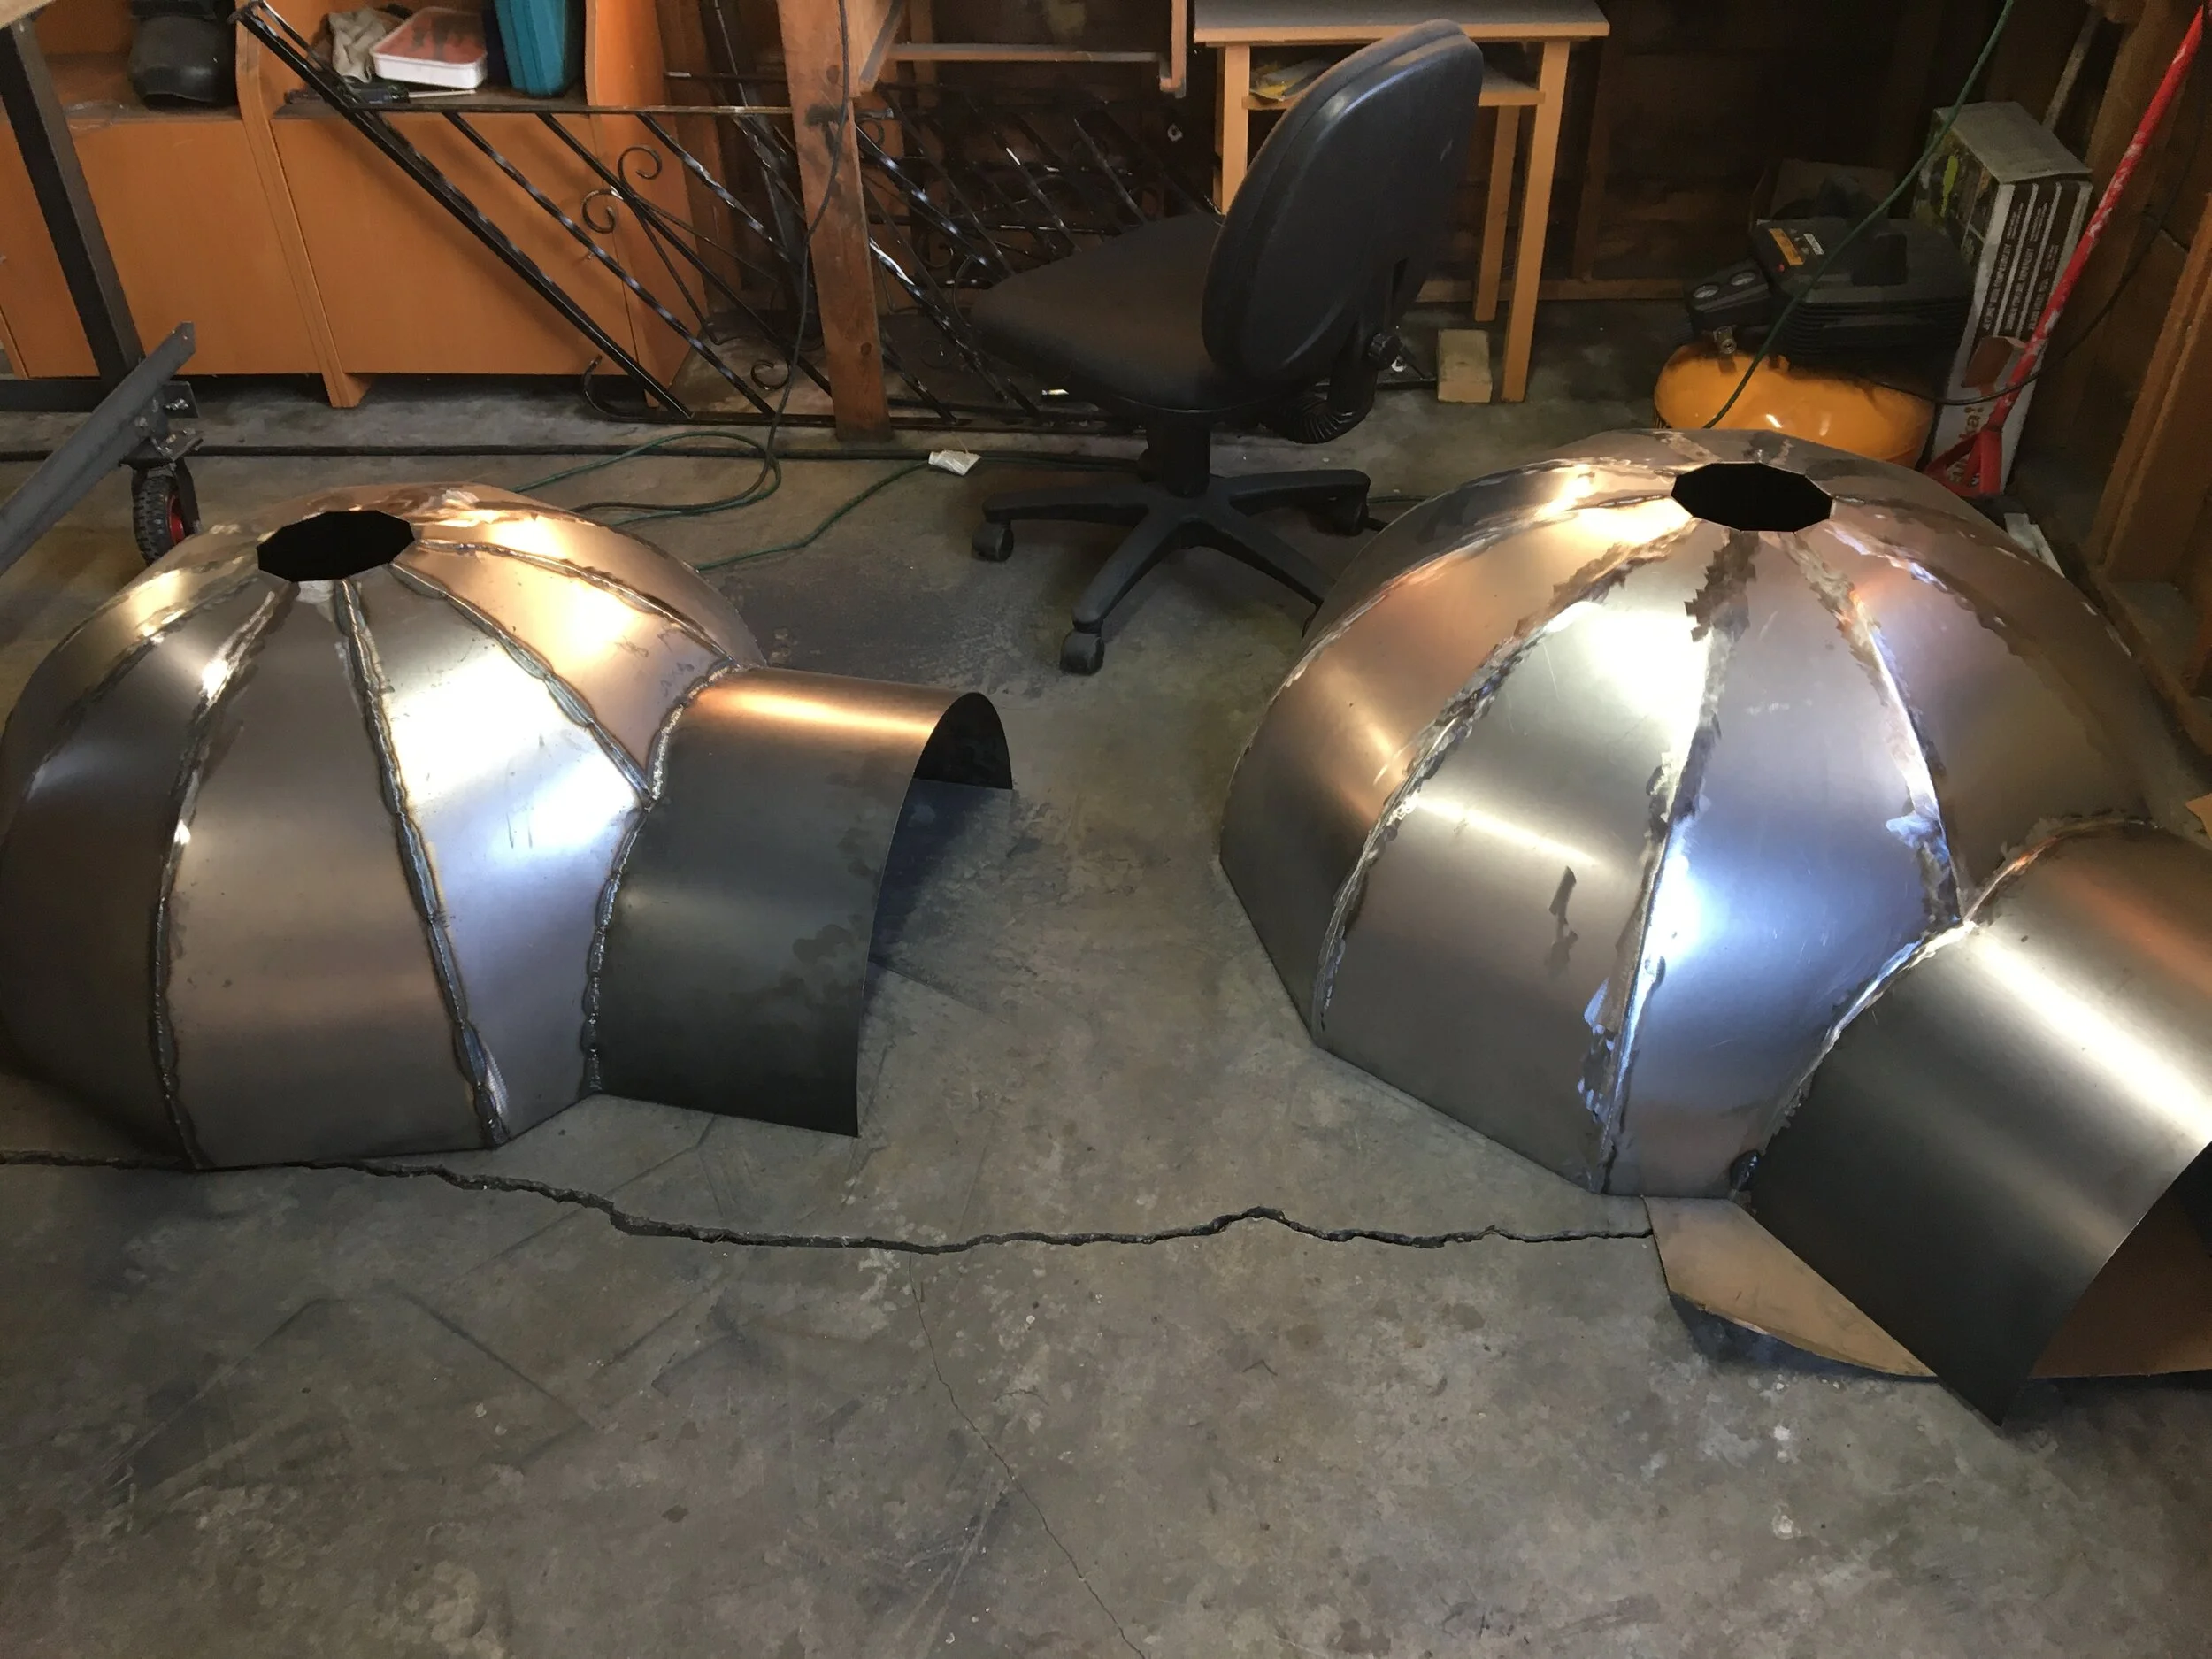
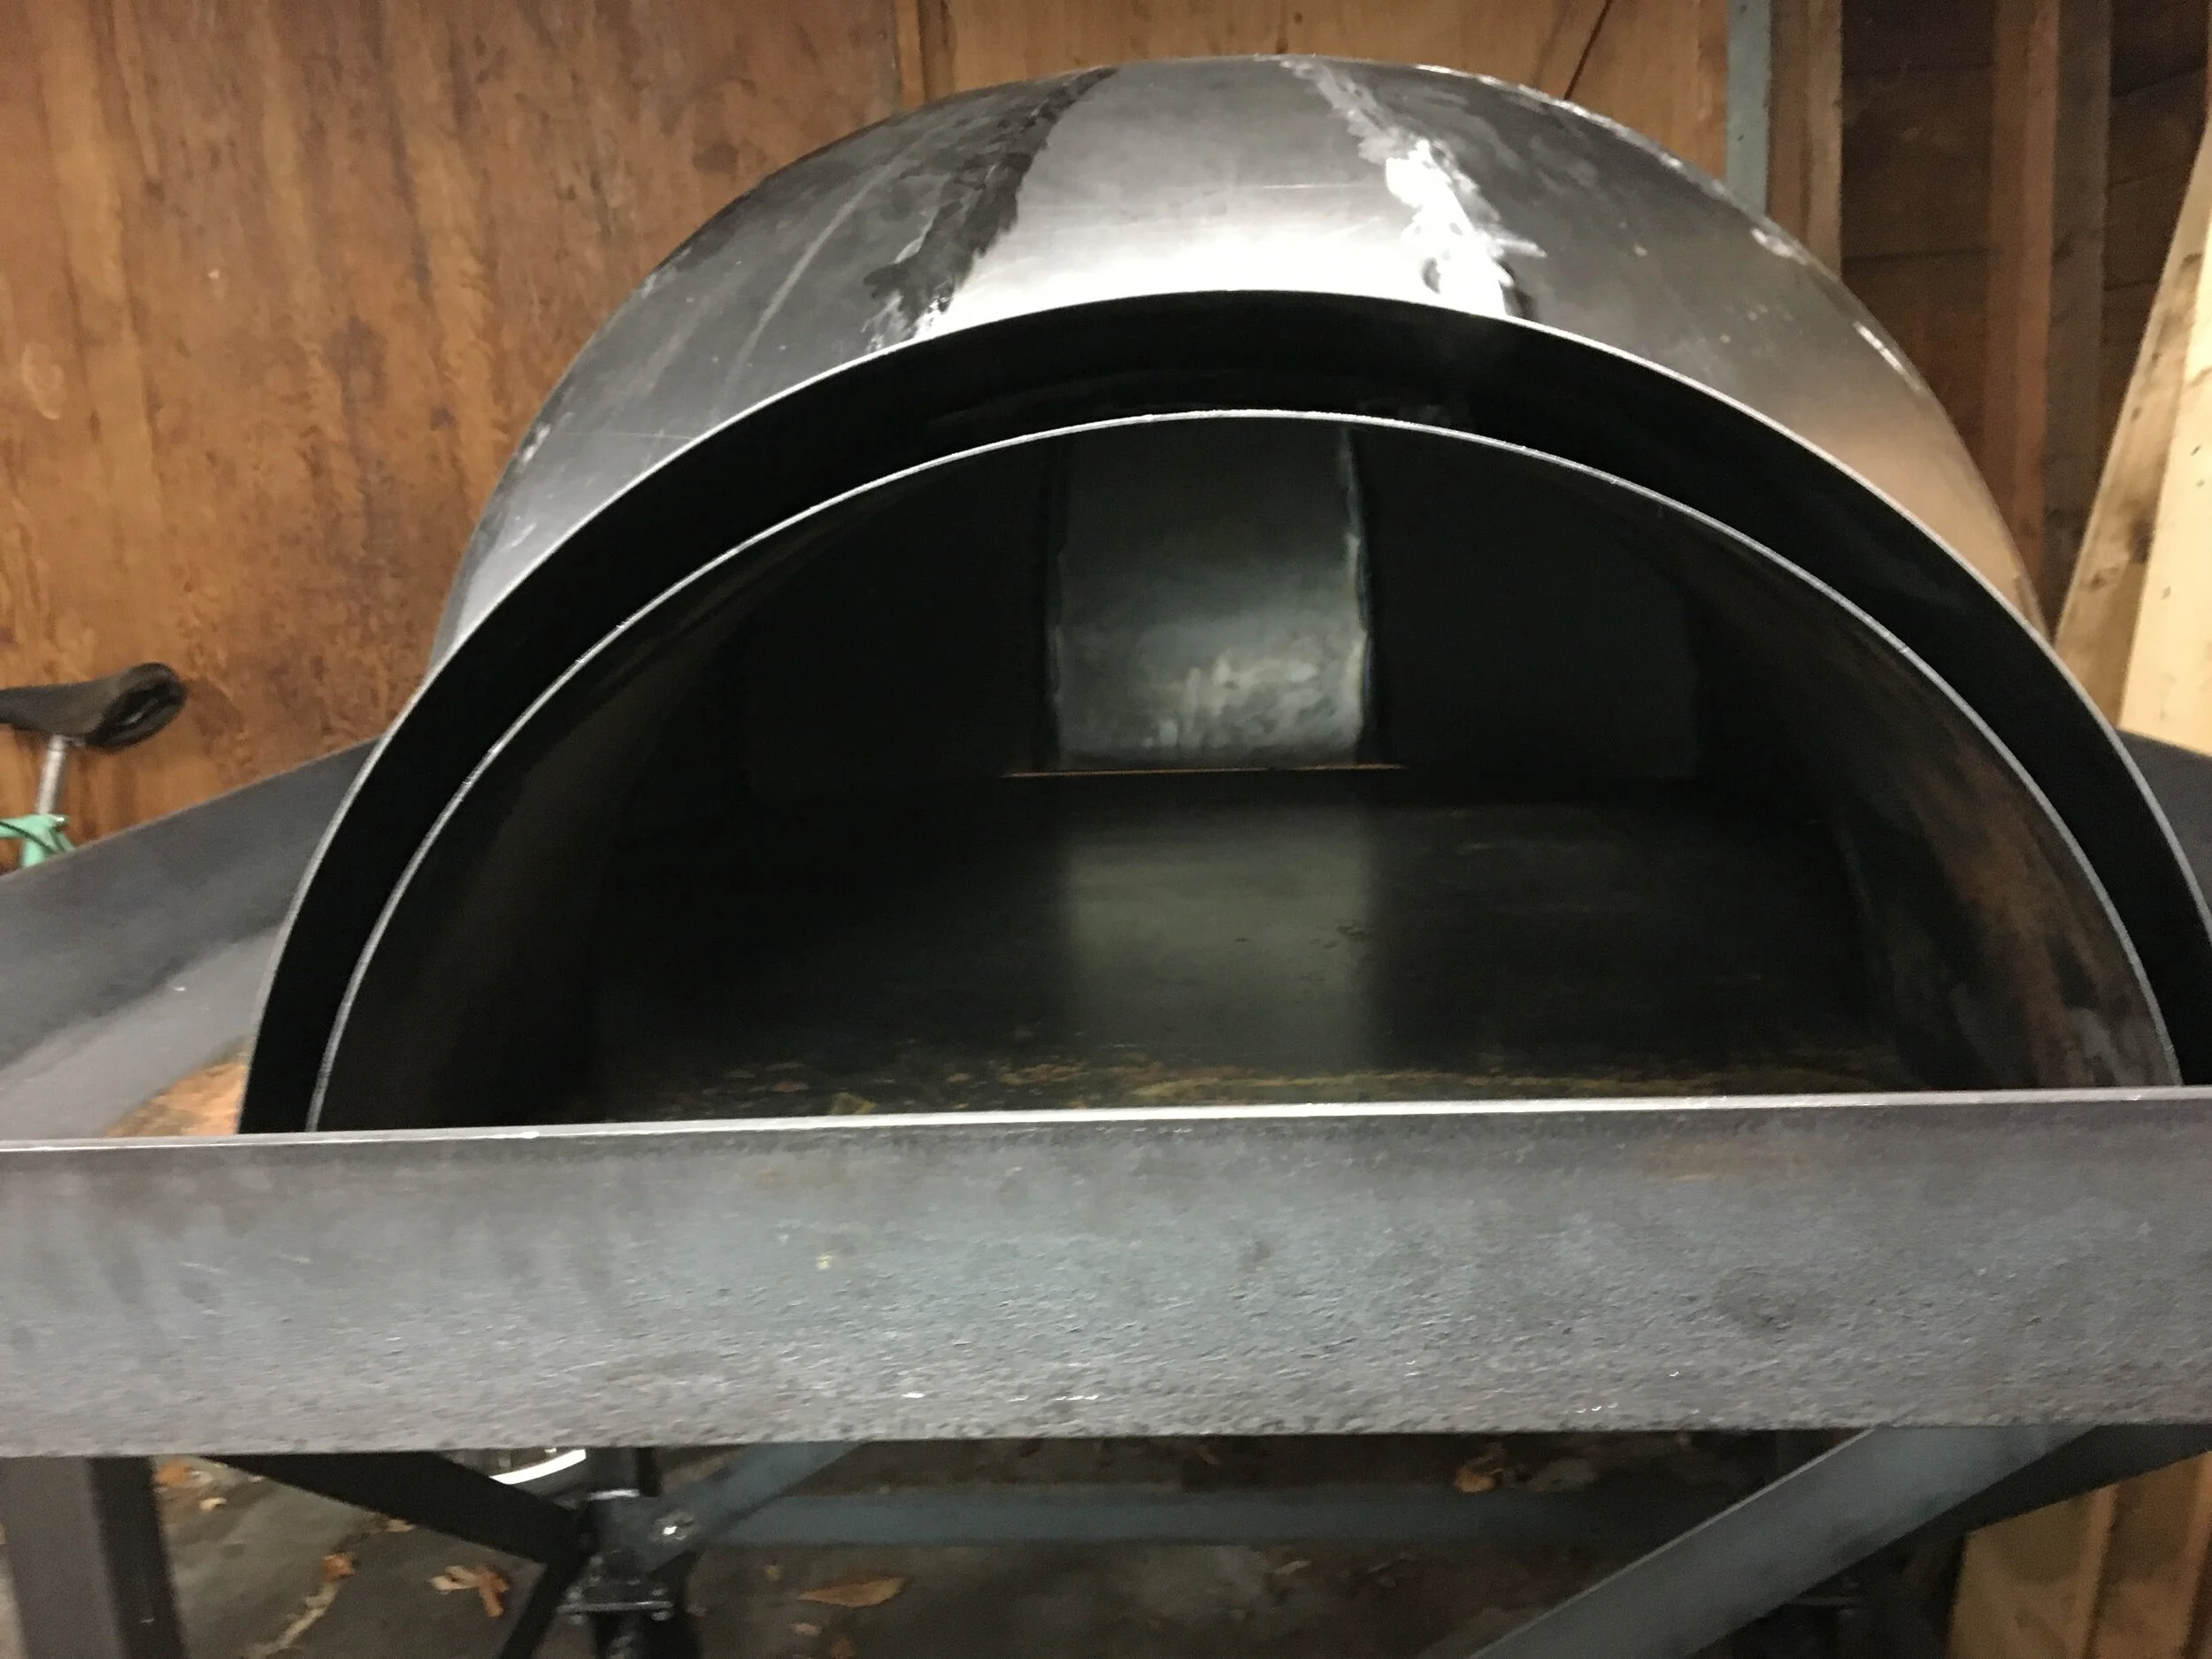
At the end of the cutting, I took the panels out to get rolled, and was thrilled that the small dome barrel fit perfectly. The large barrel was way off though. I am still not sure what went wrong, but I had to manually grind it down to fit, which took a ton of time and left me with some pretty gnarly gaps to weld. Luckily, I have been welding for a couple weeks now, so pretty much an expert.
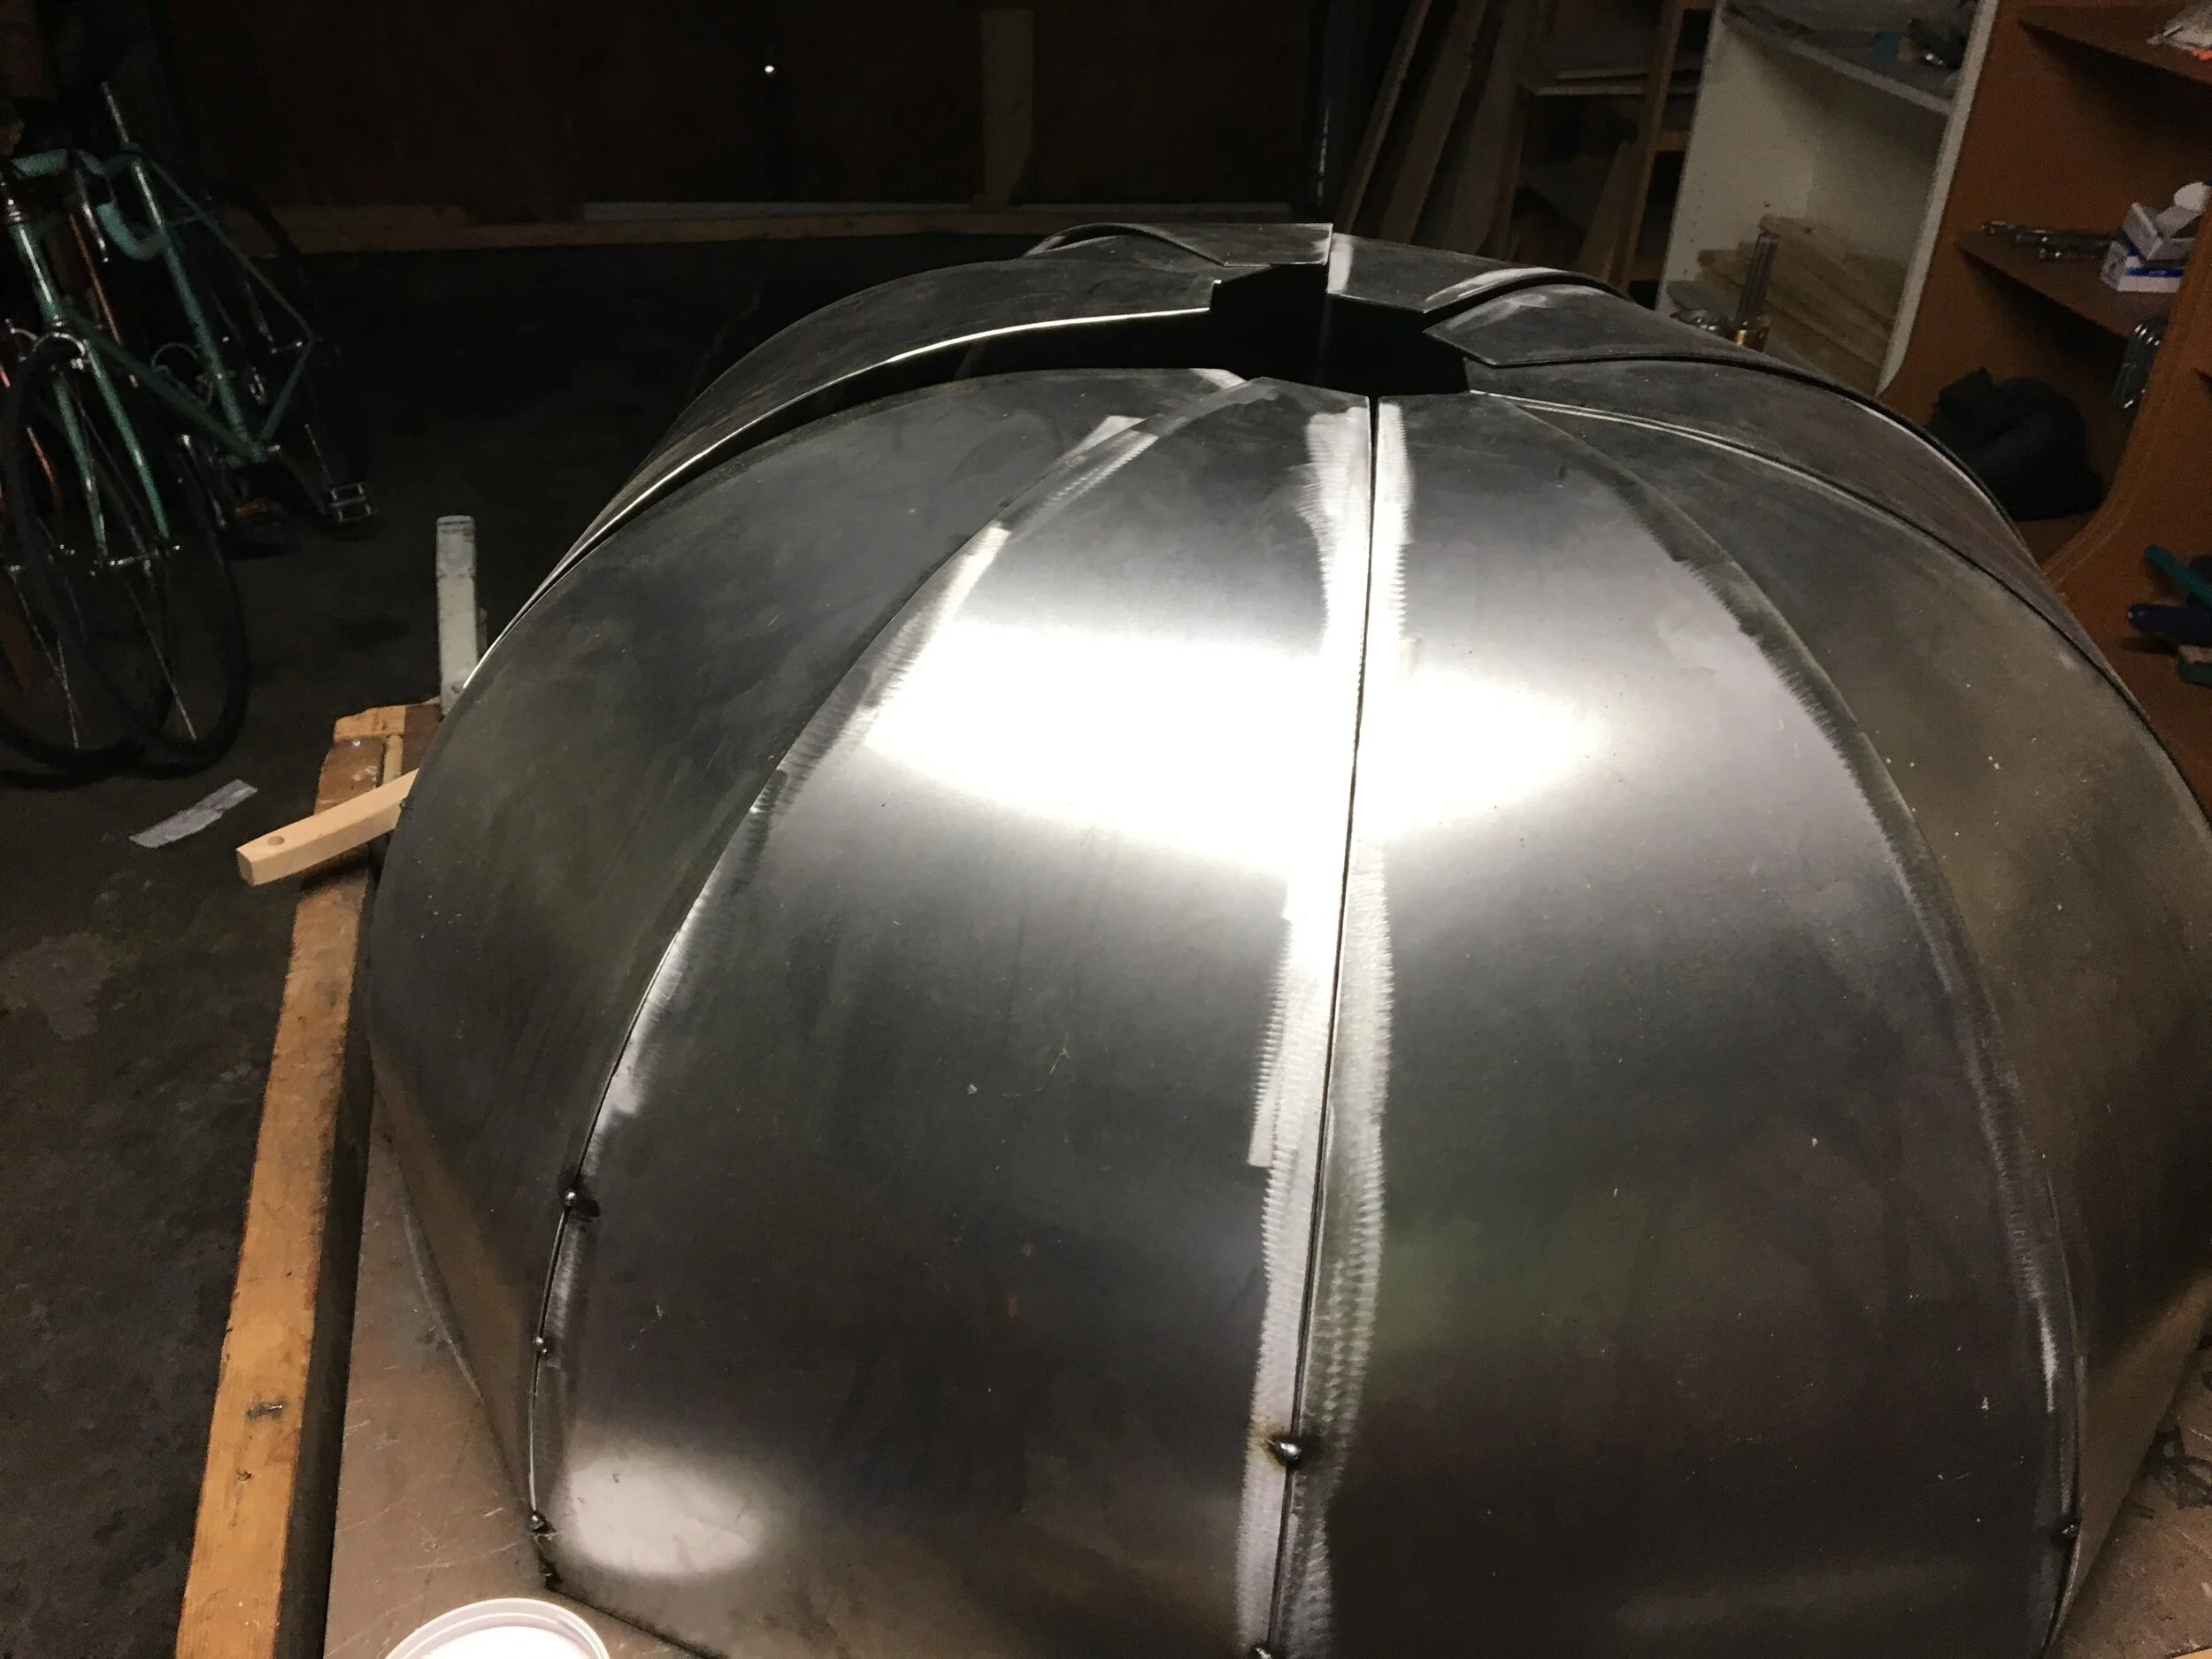
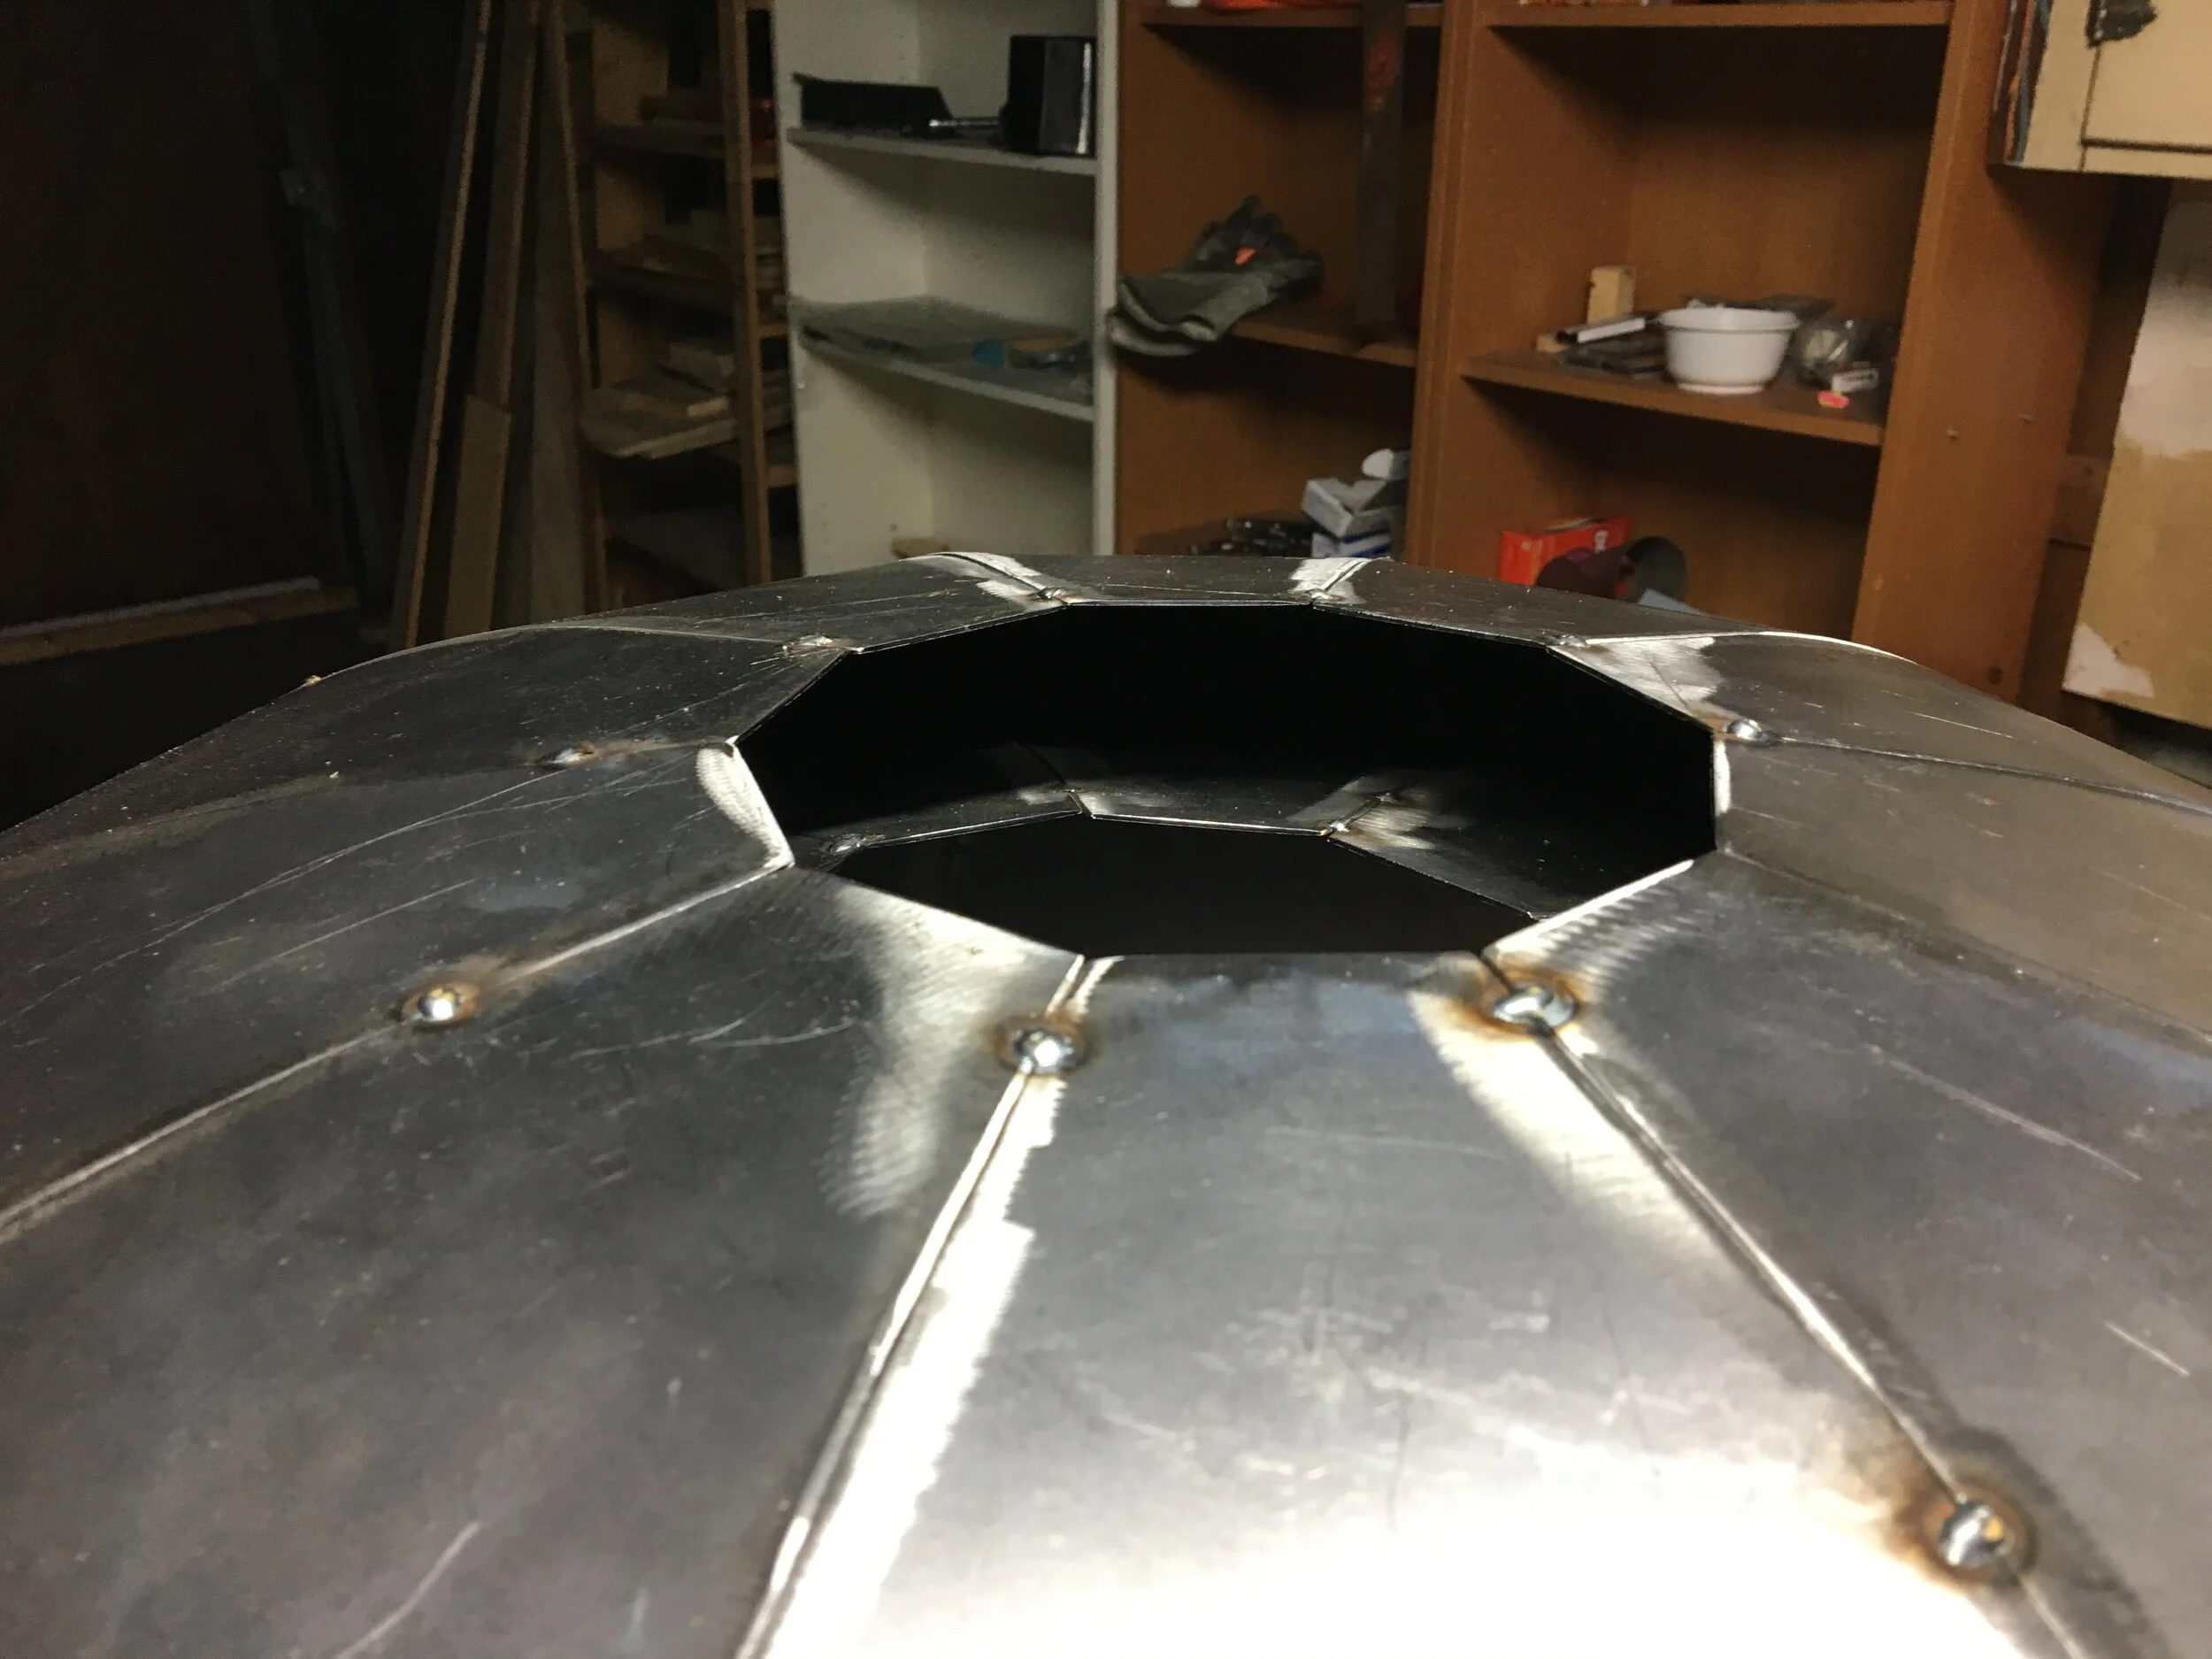
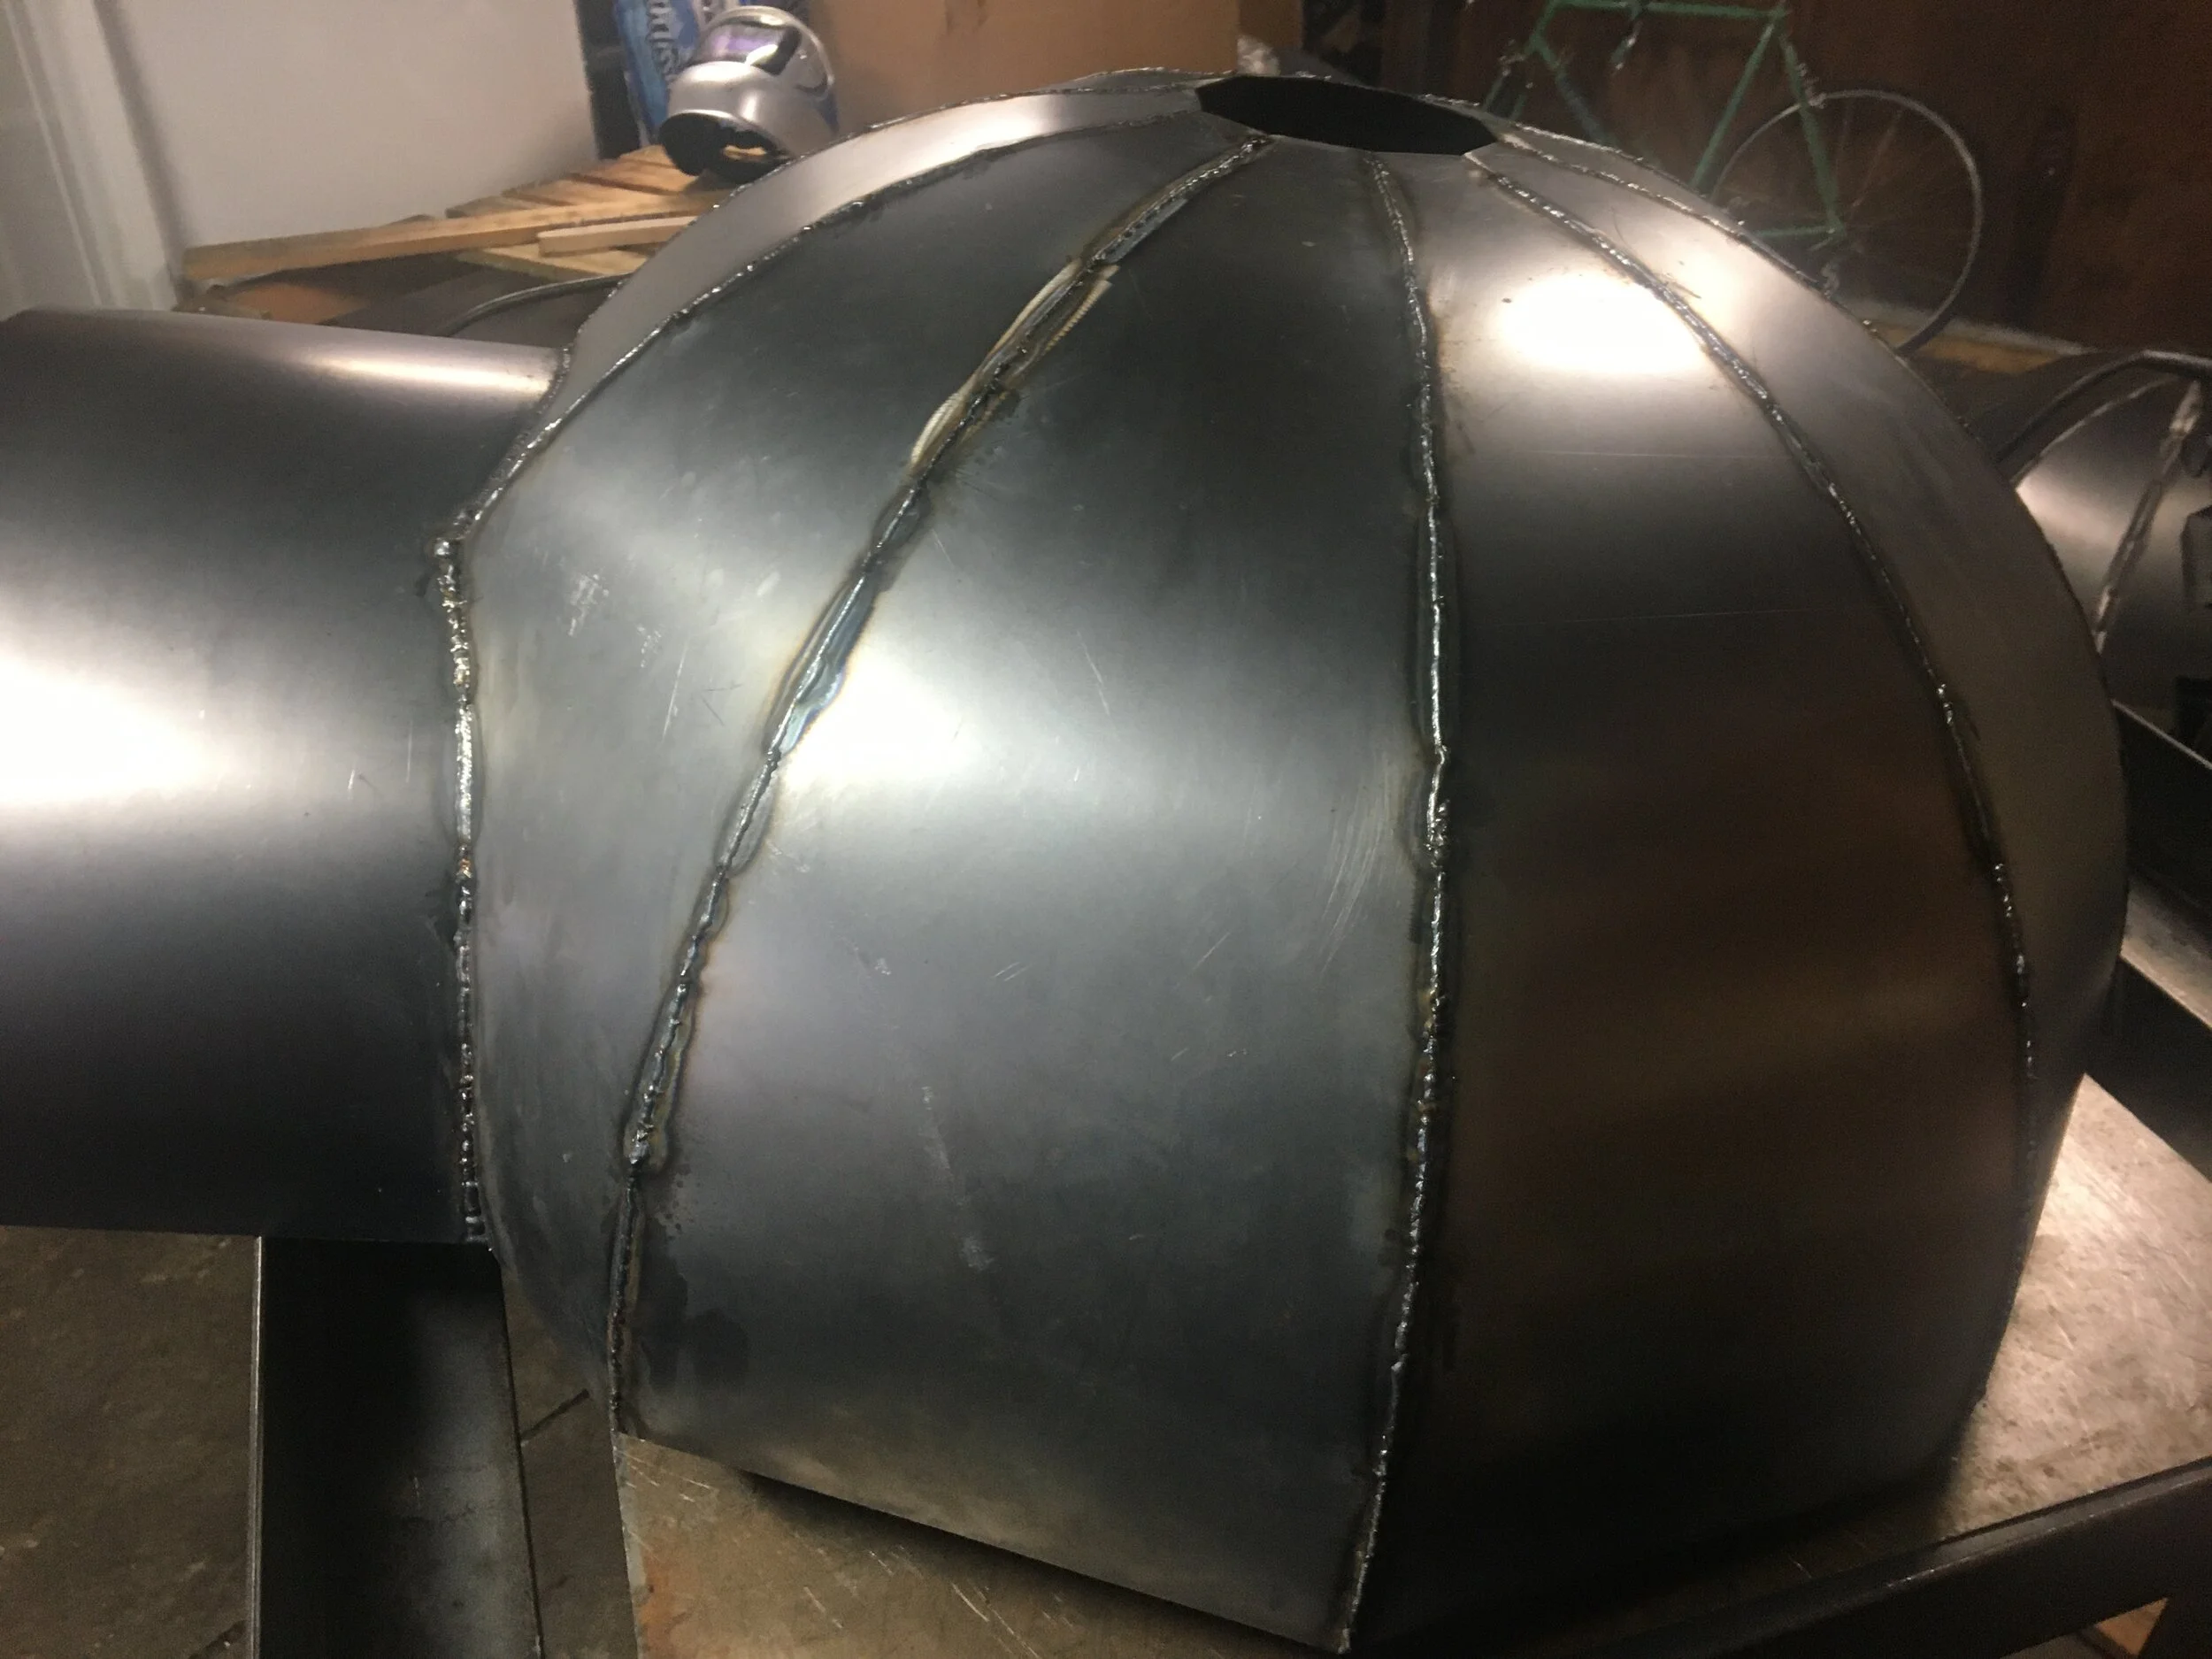
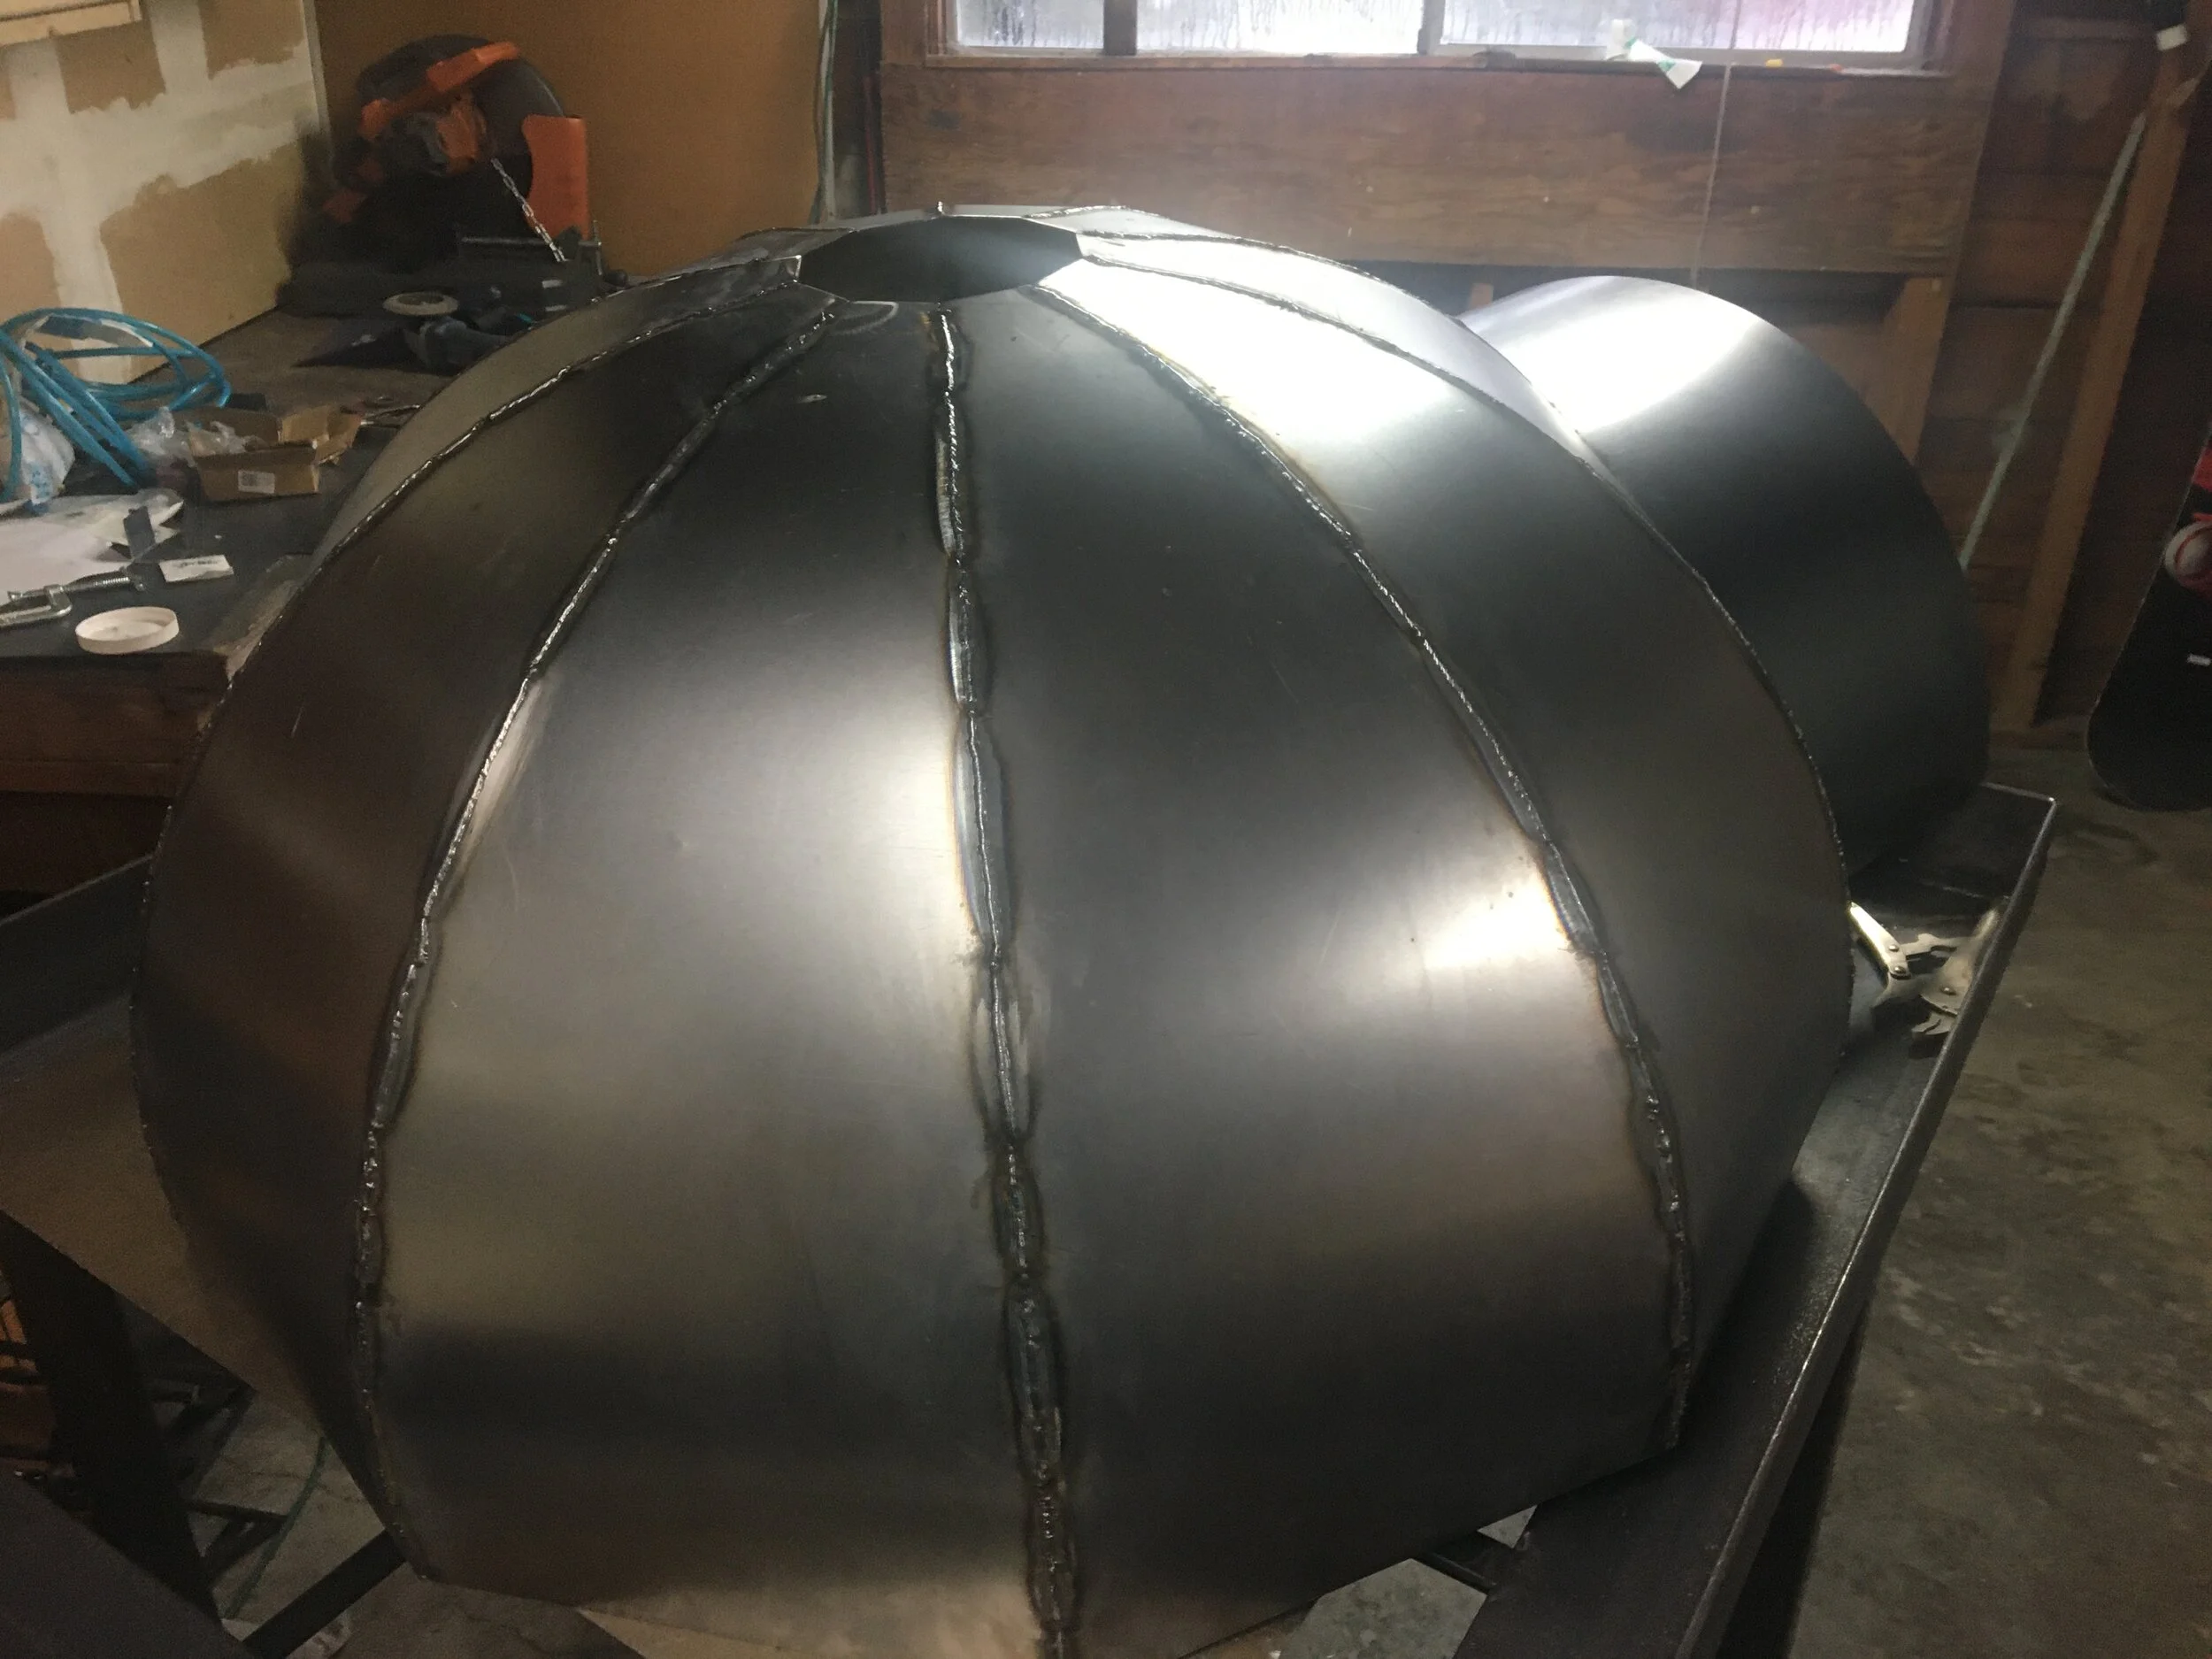
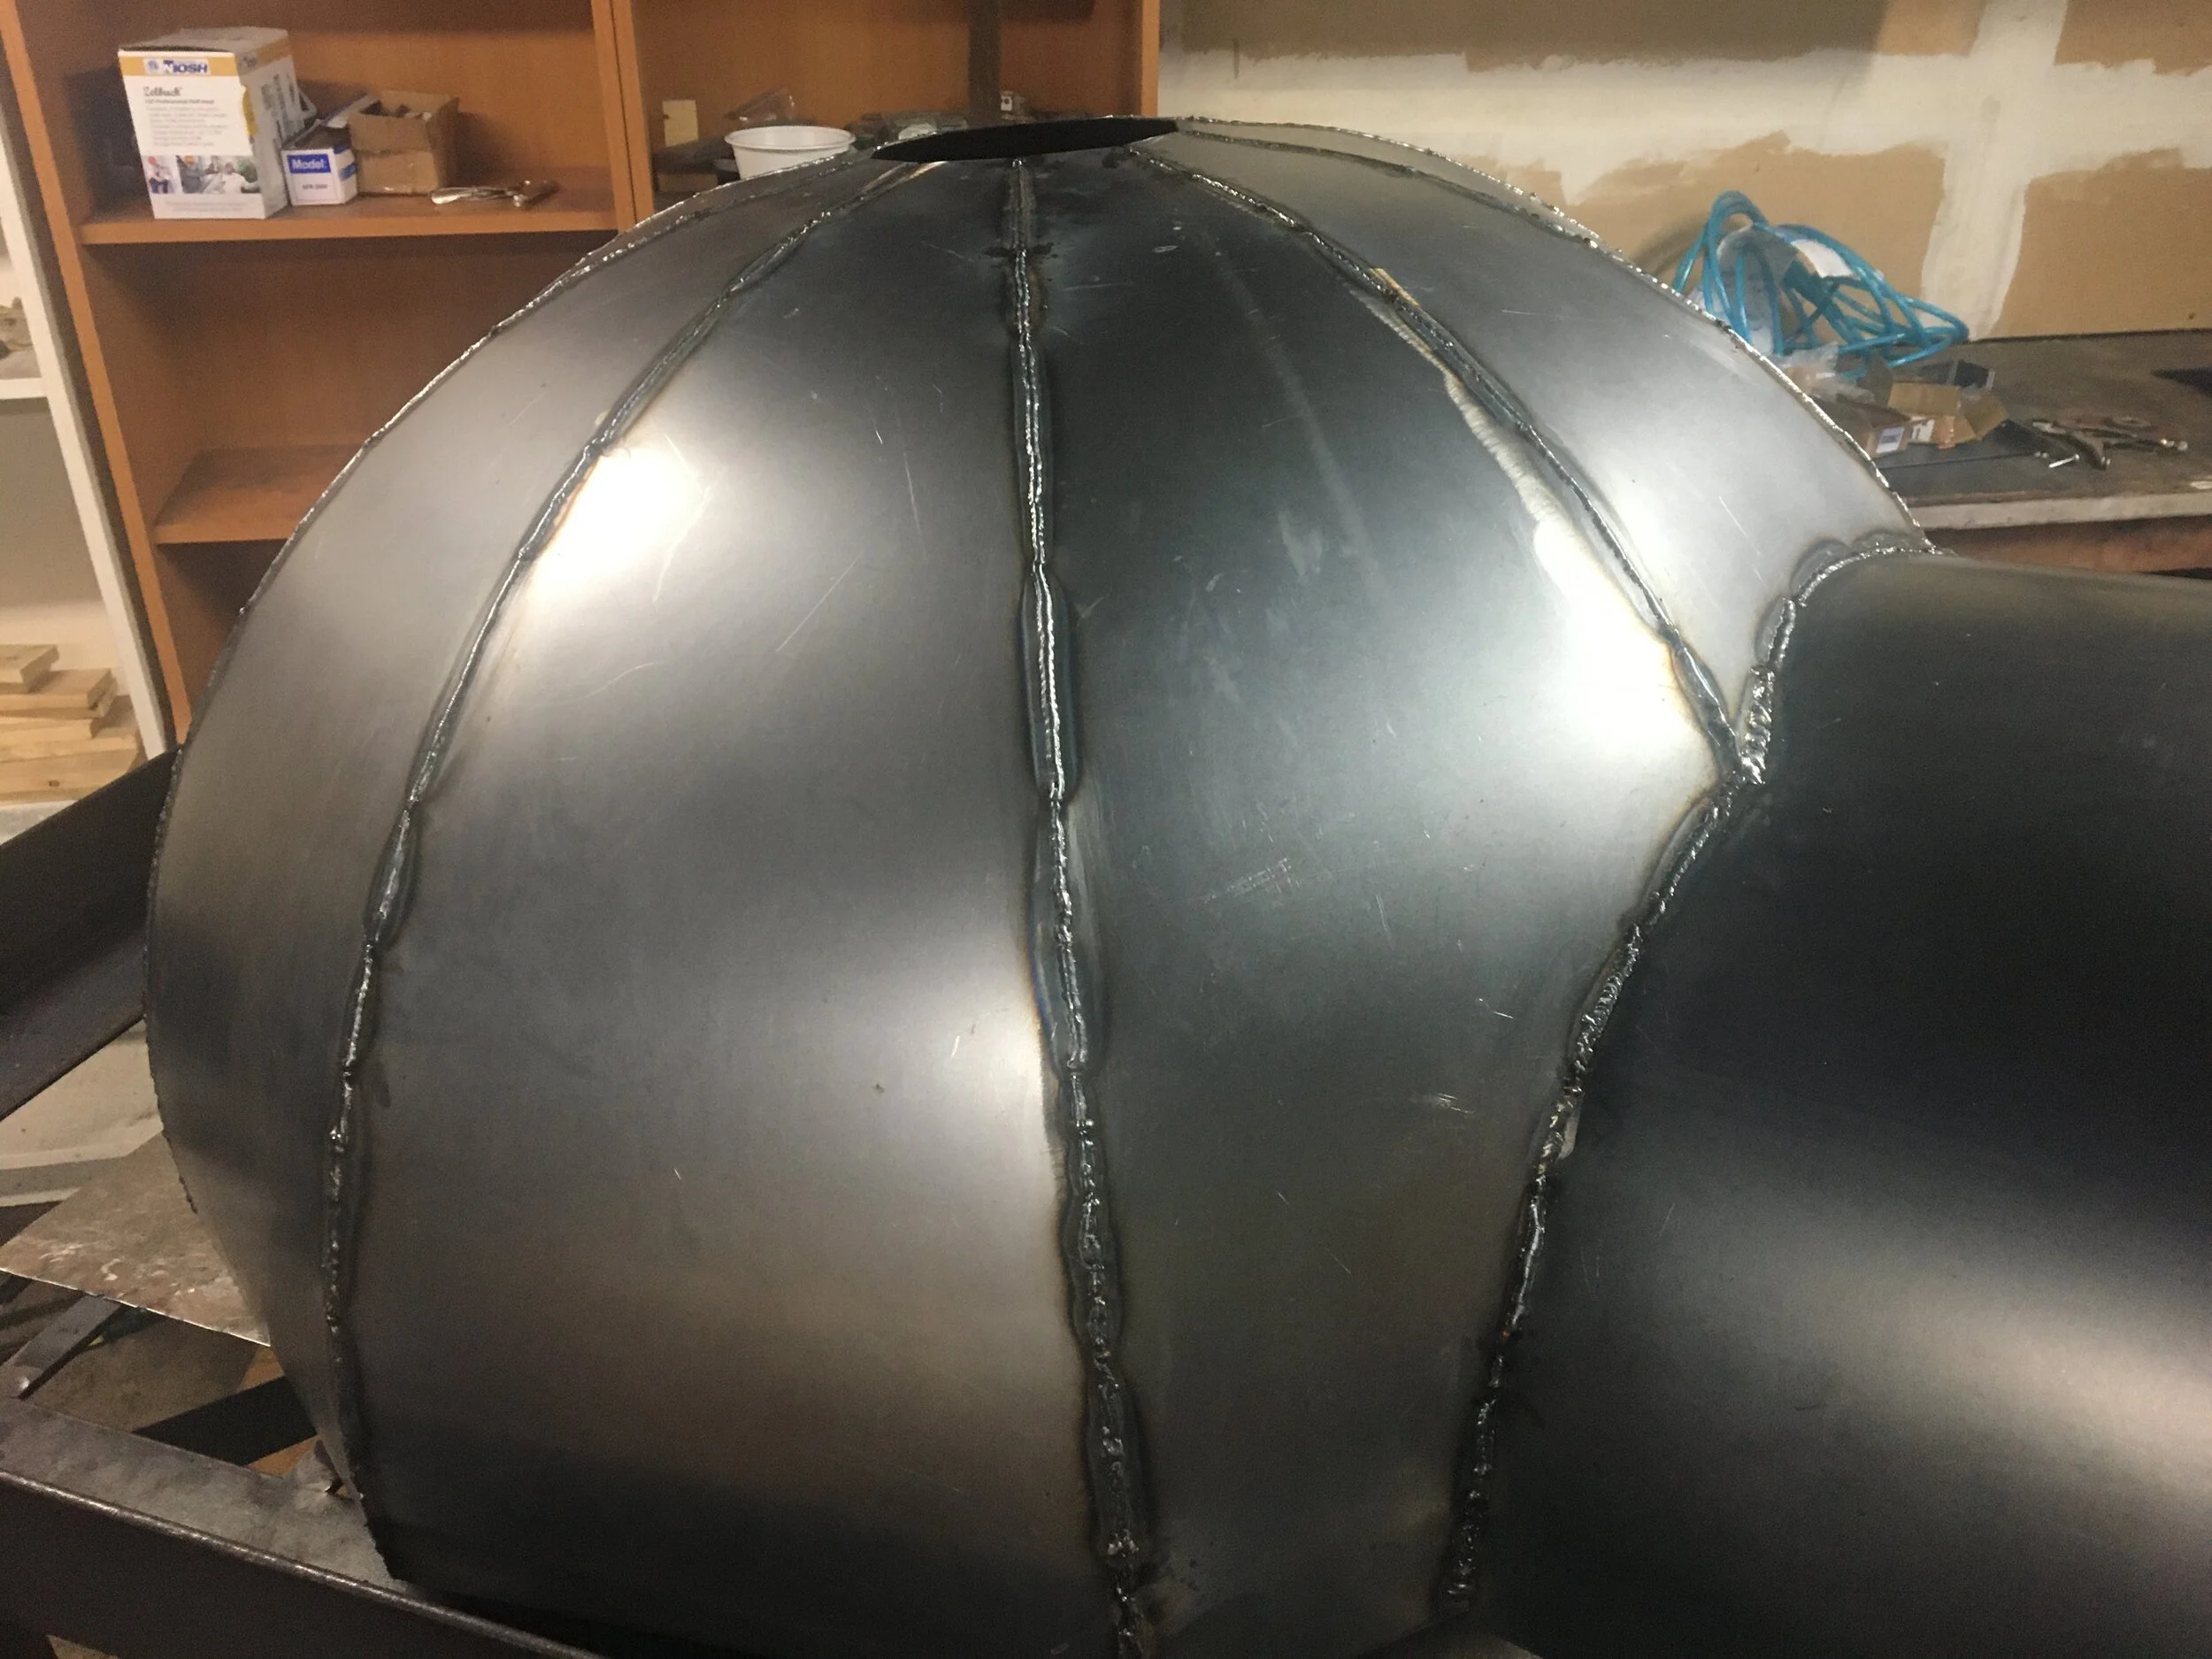
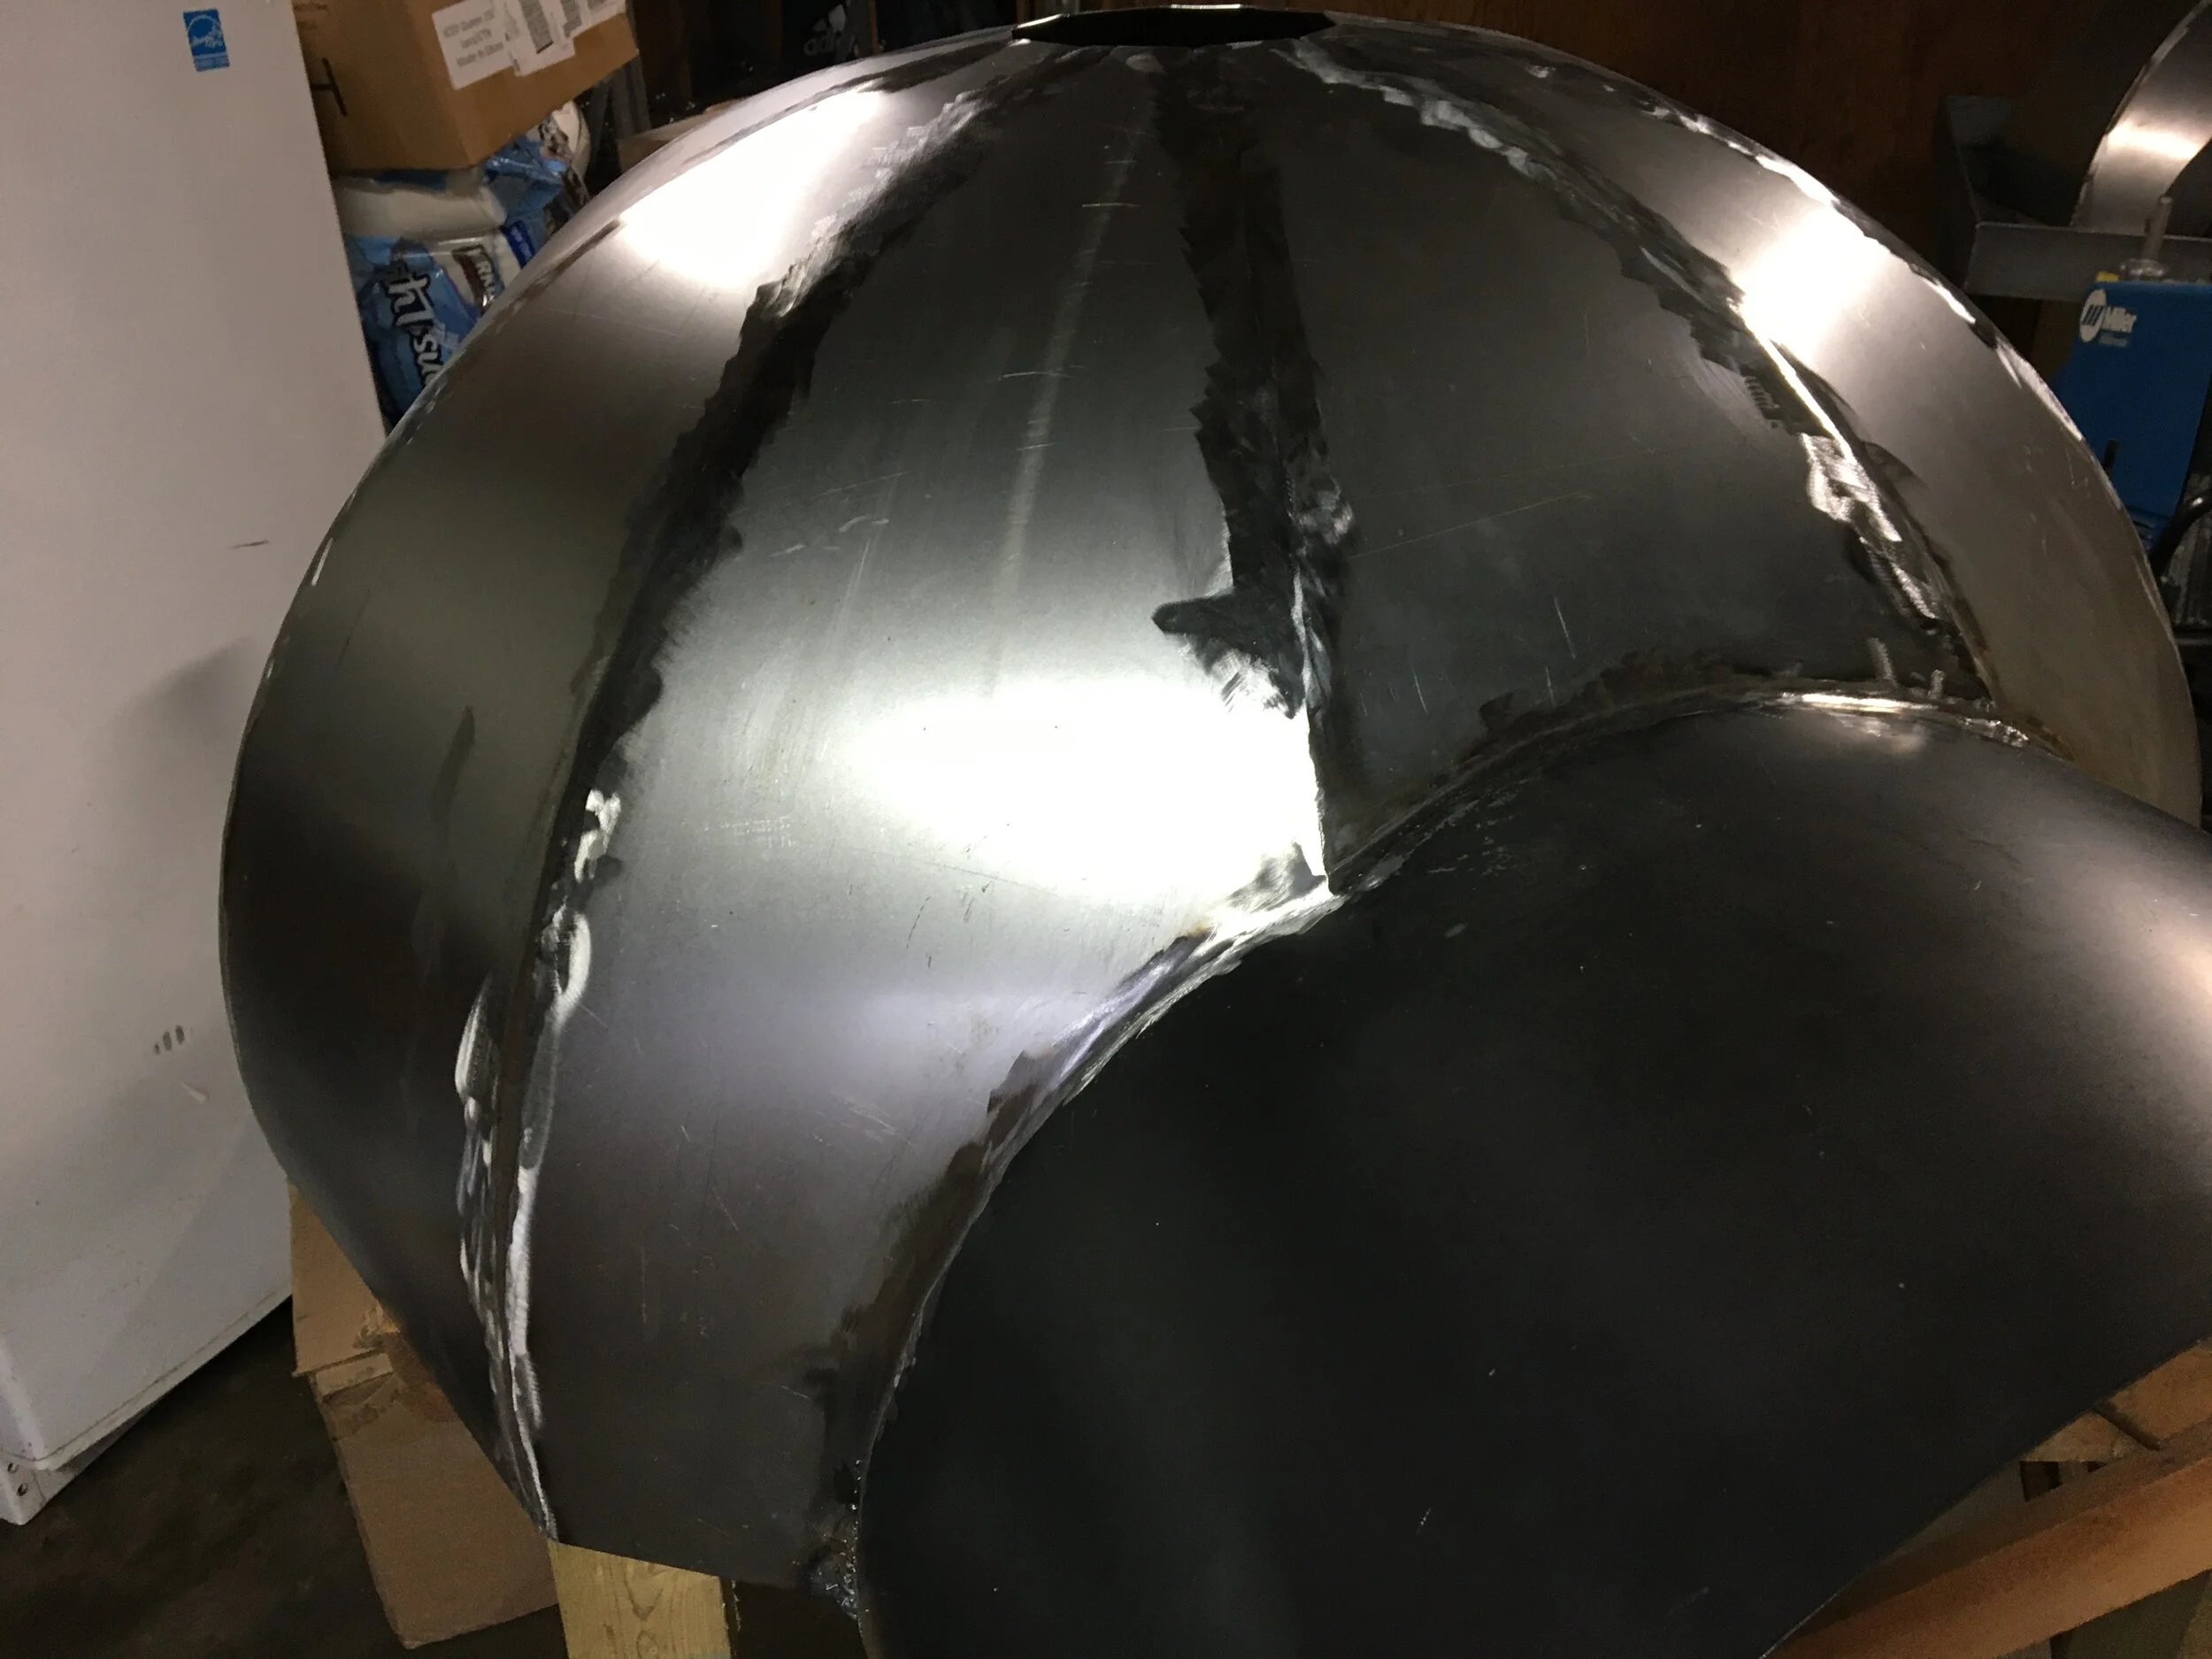
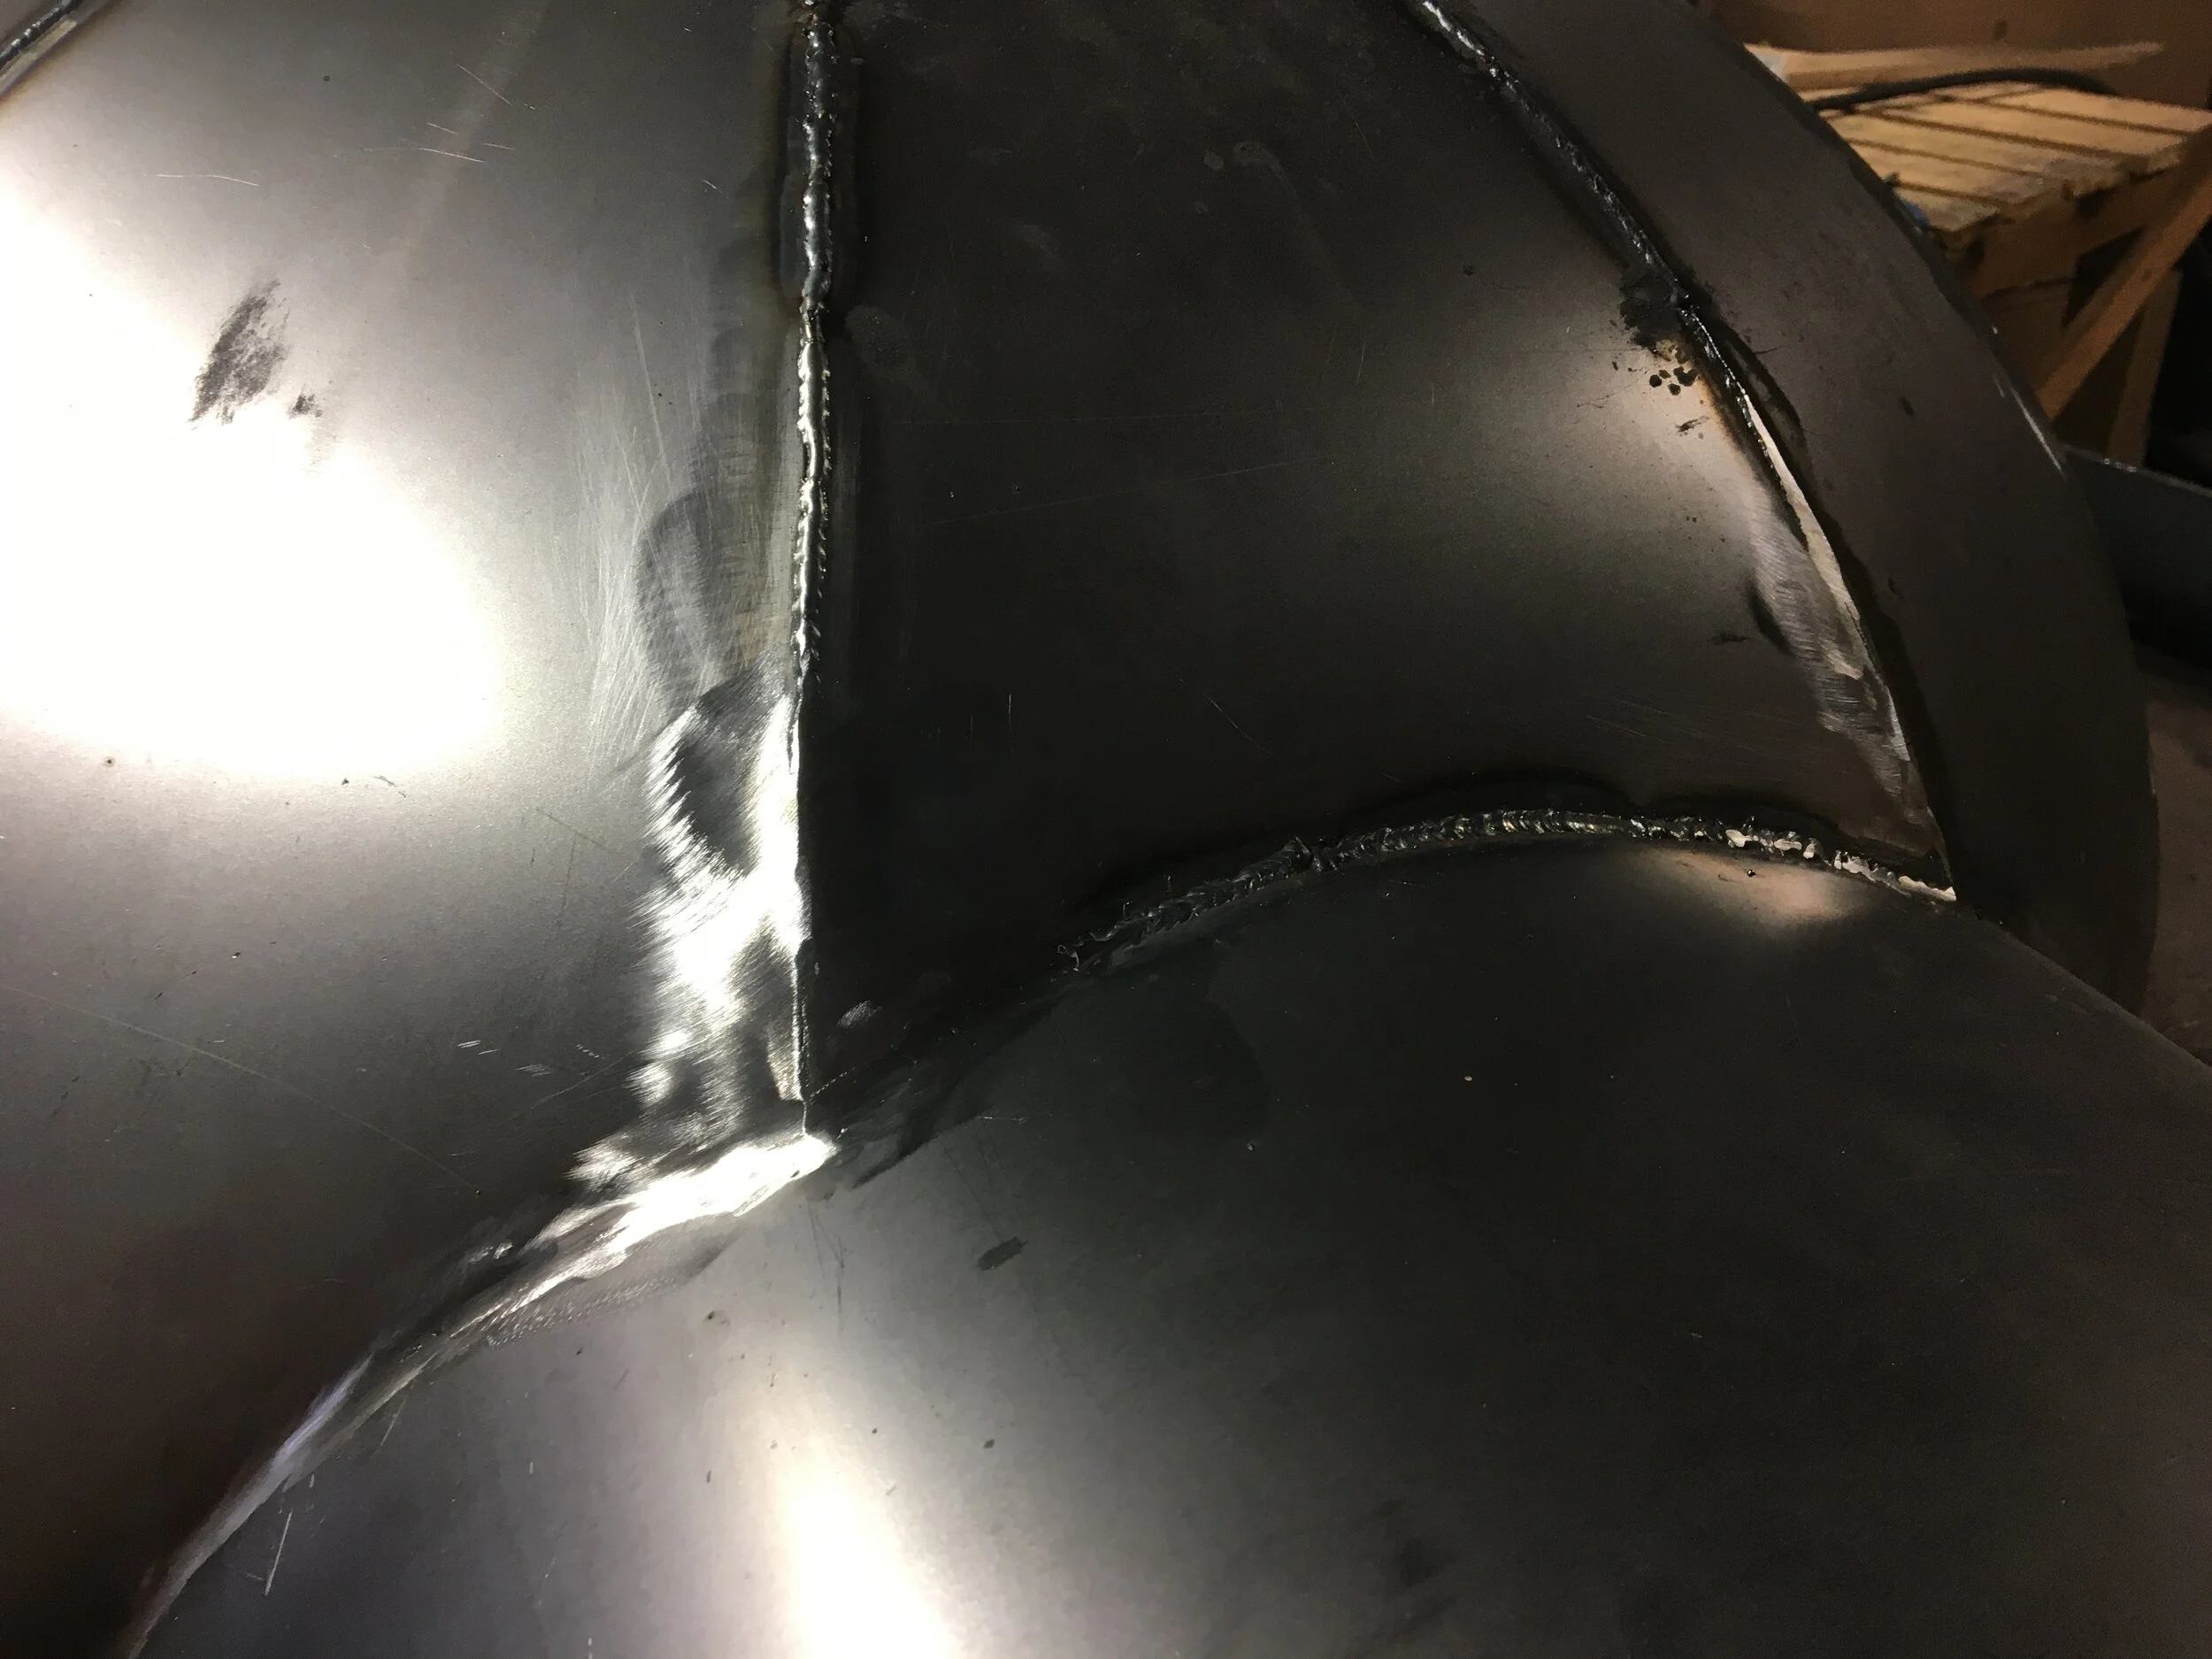
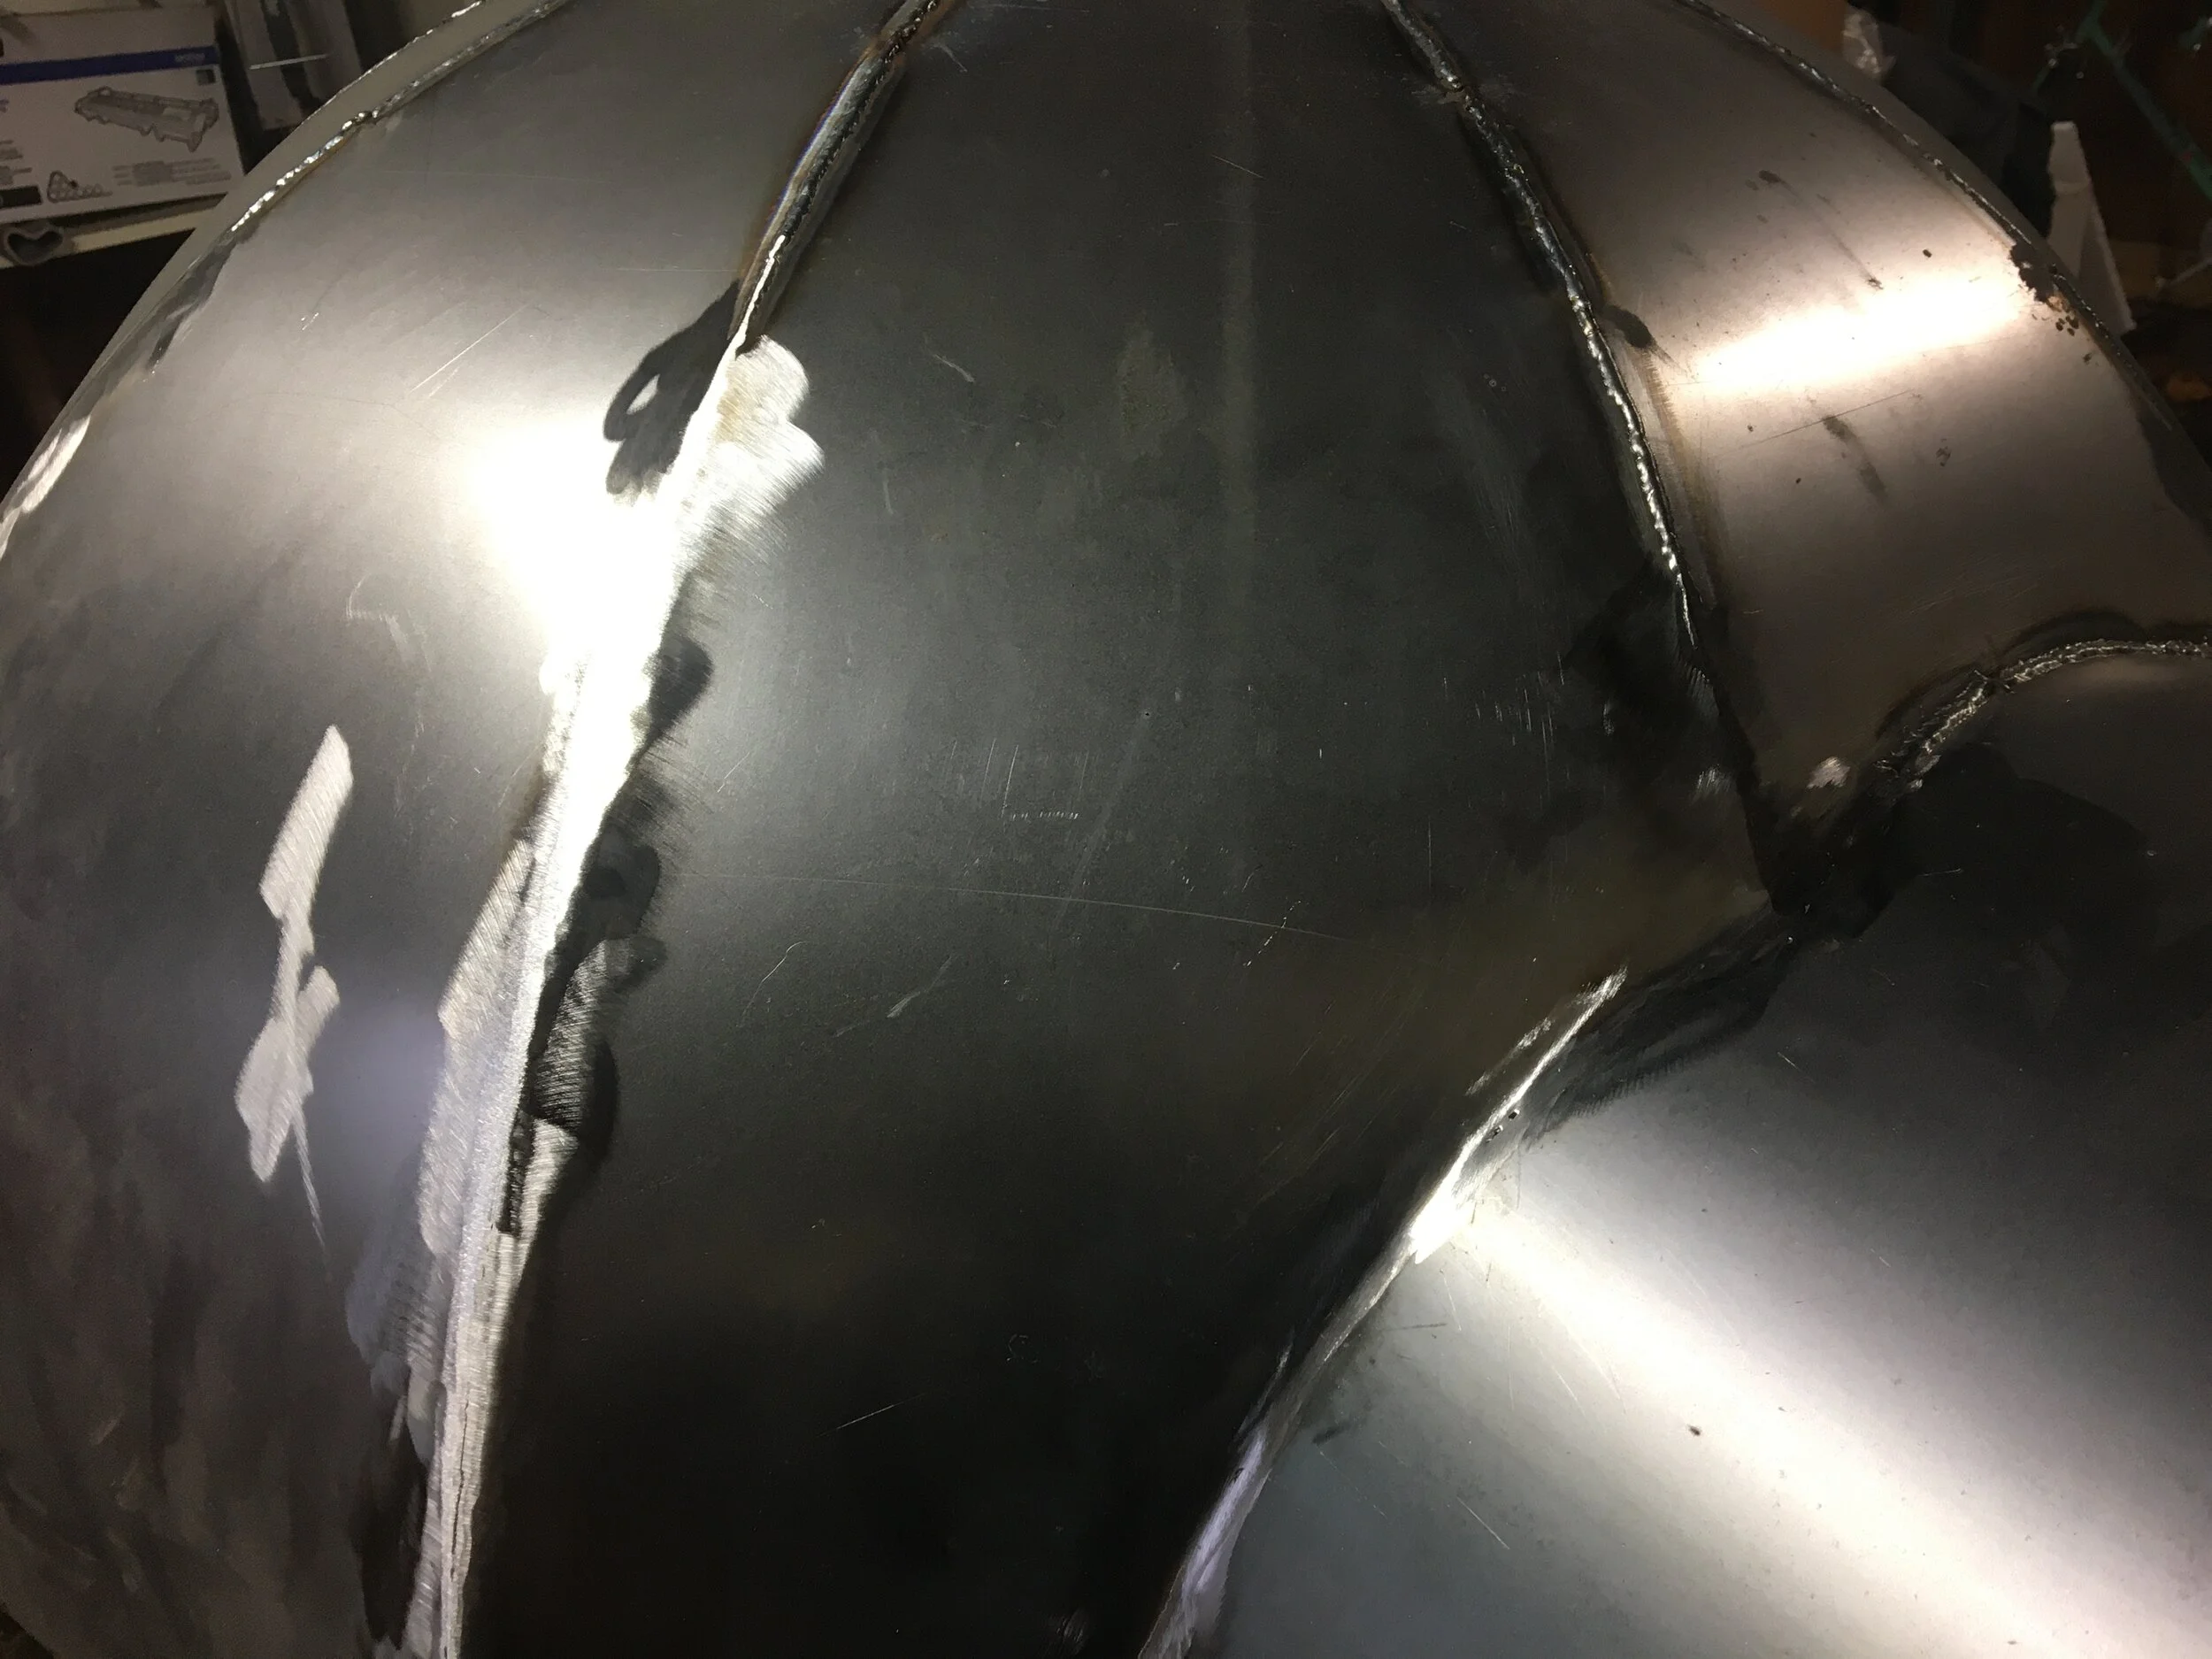
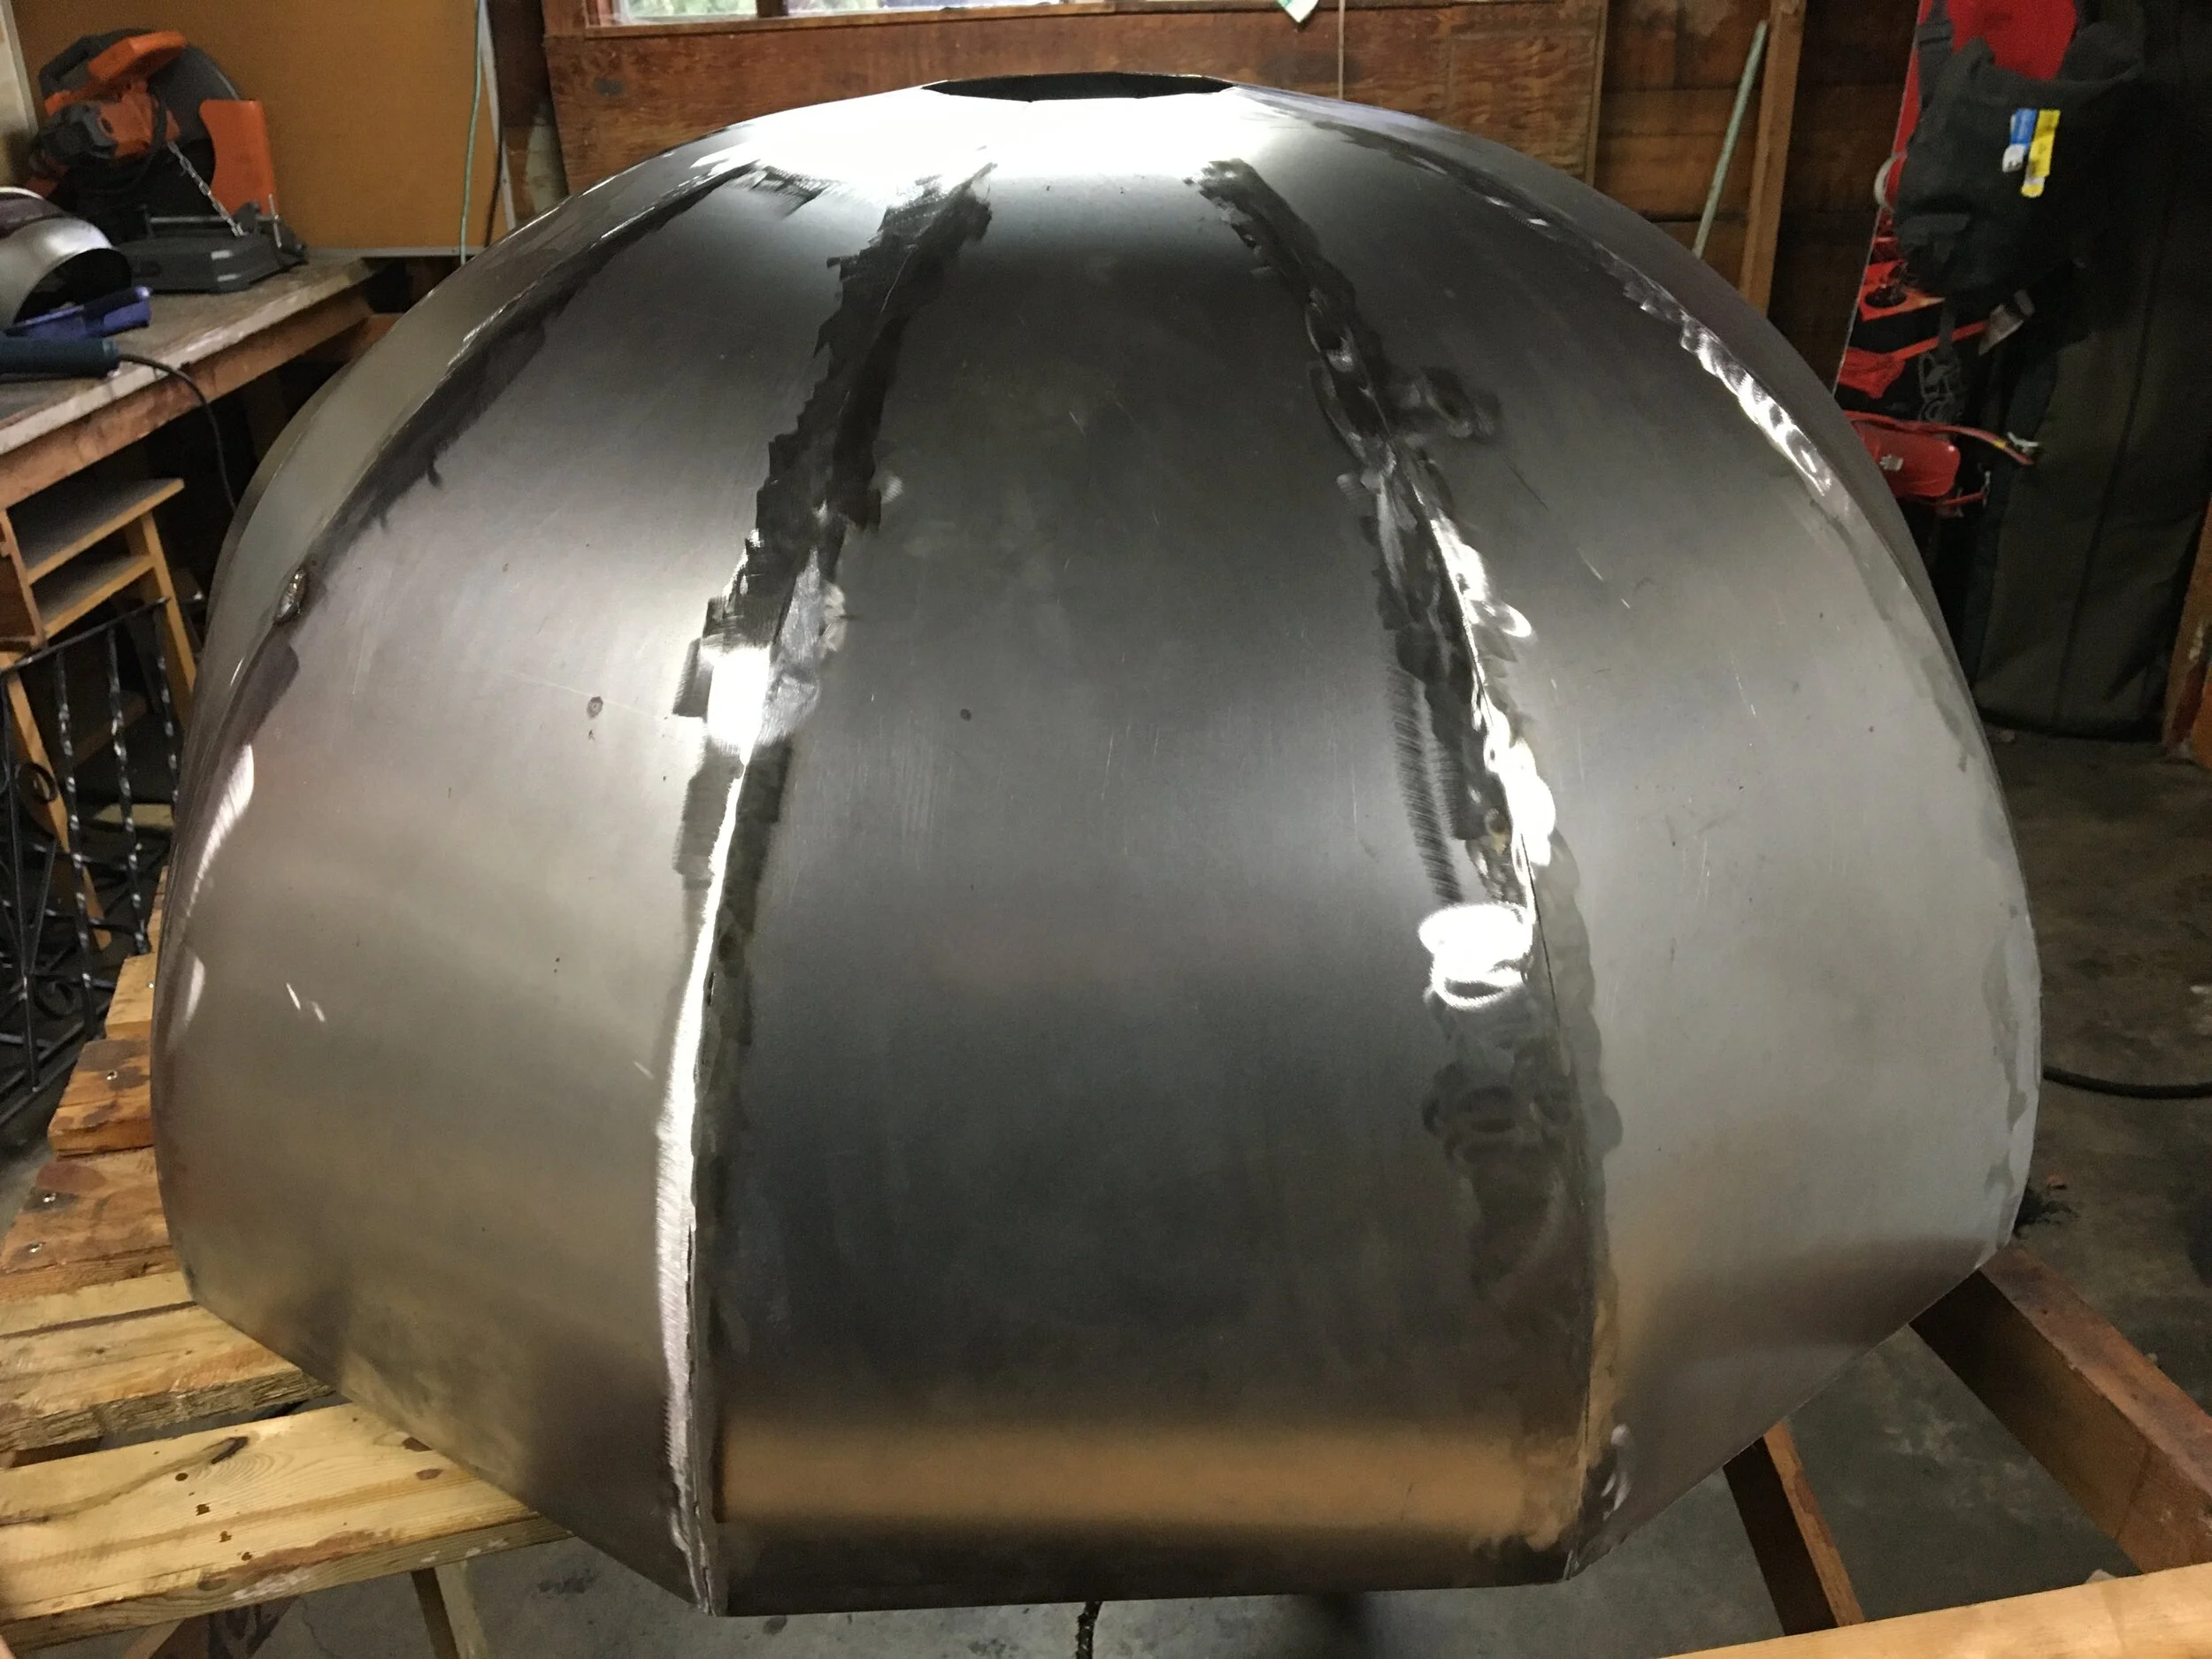
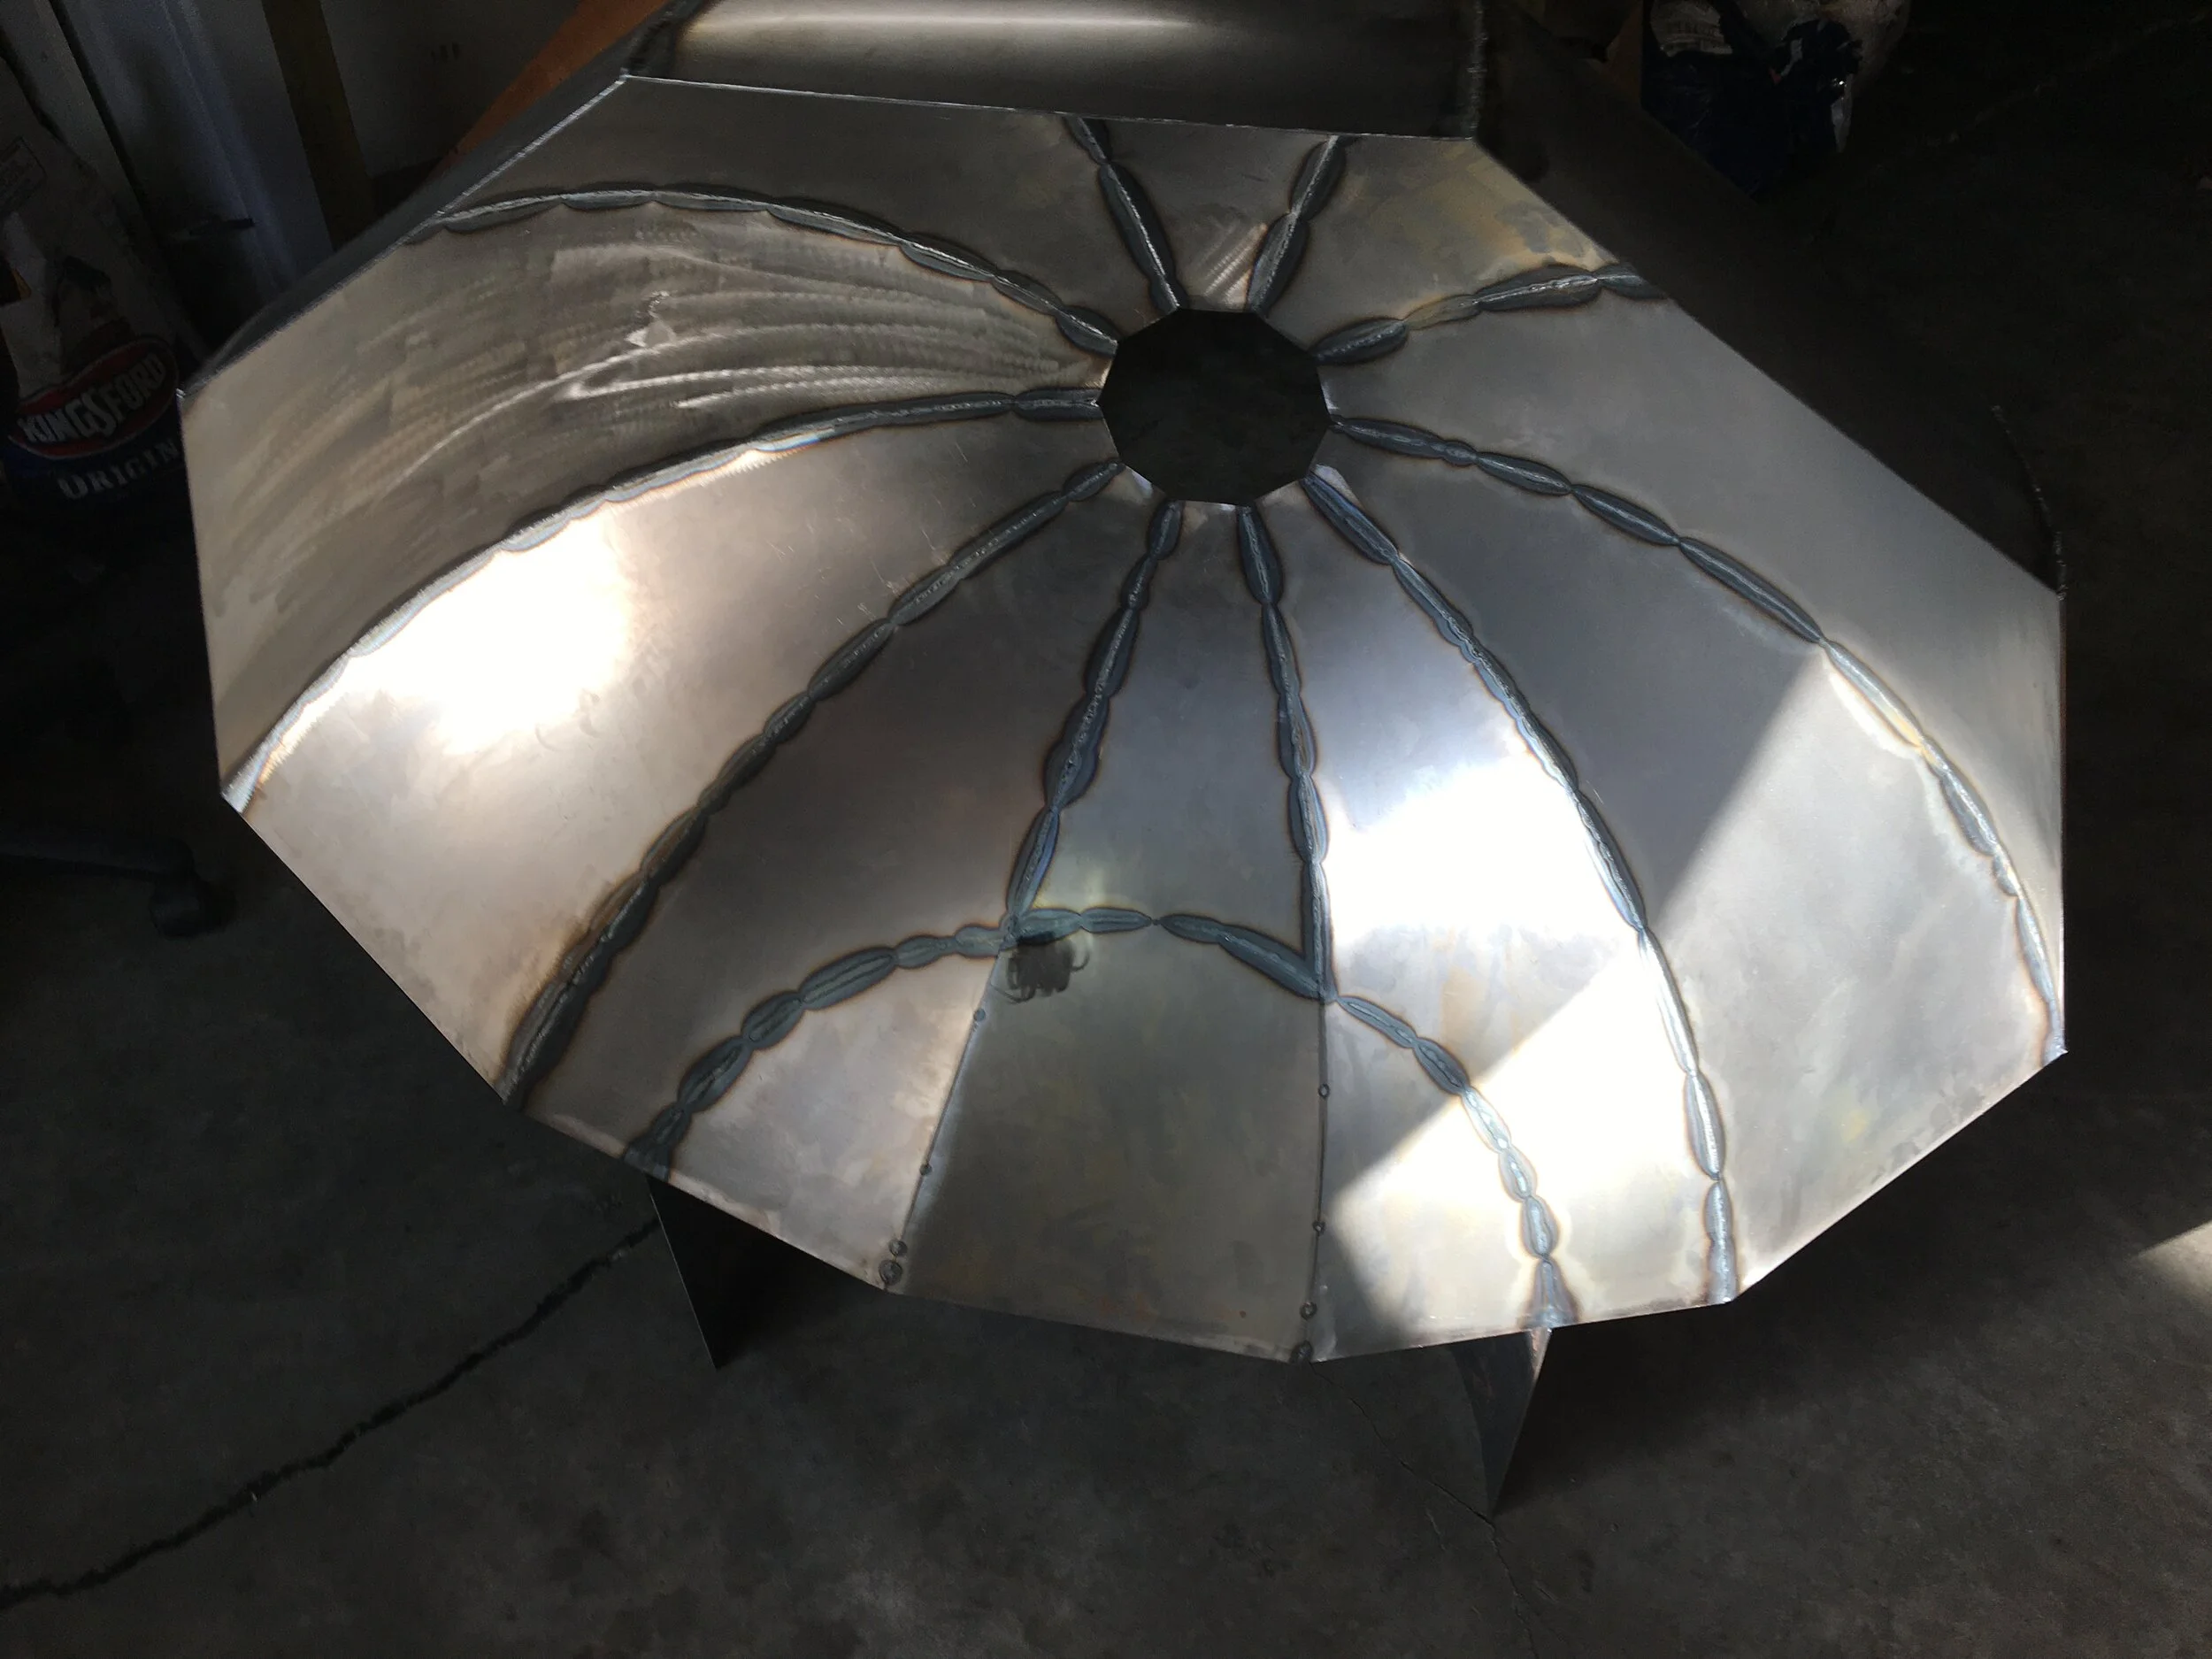
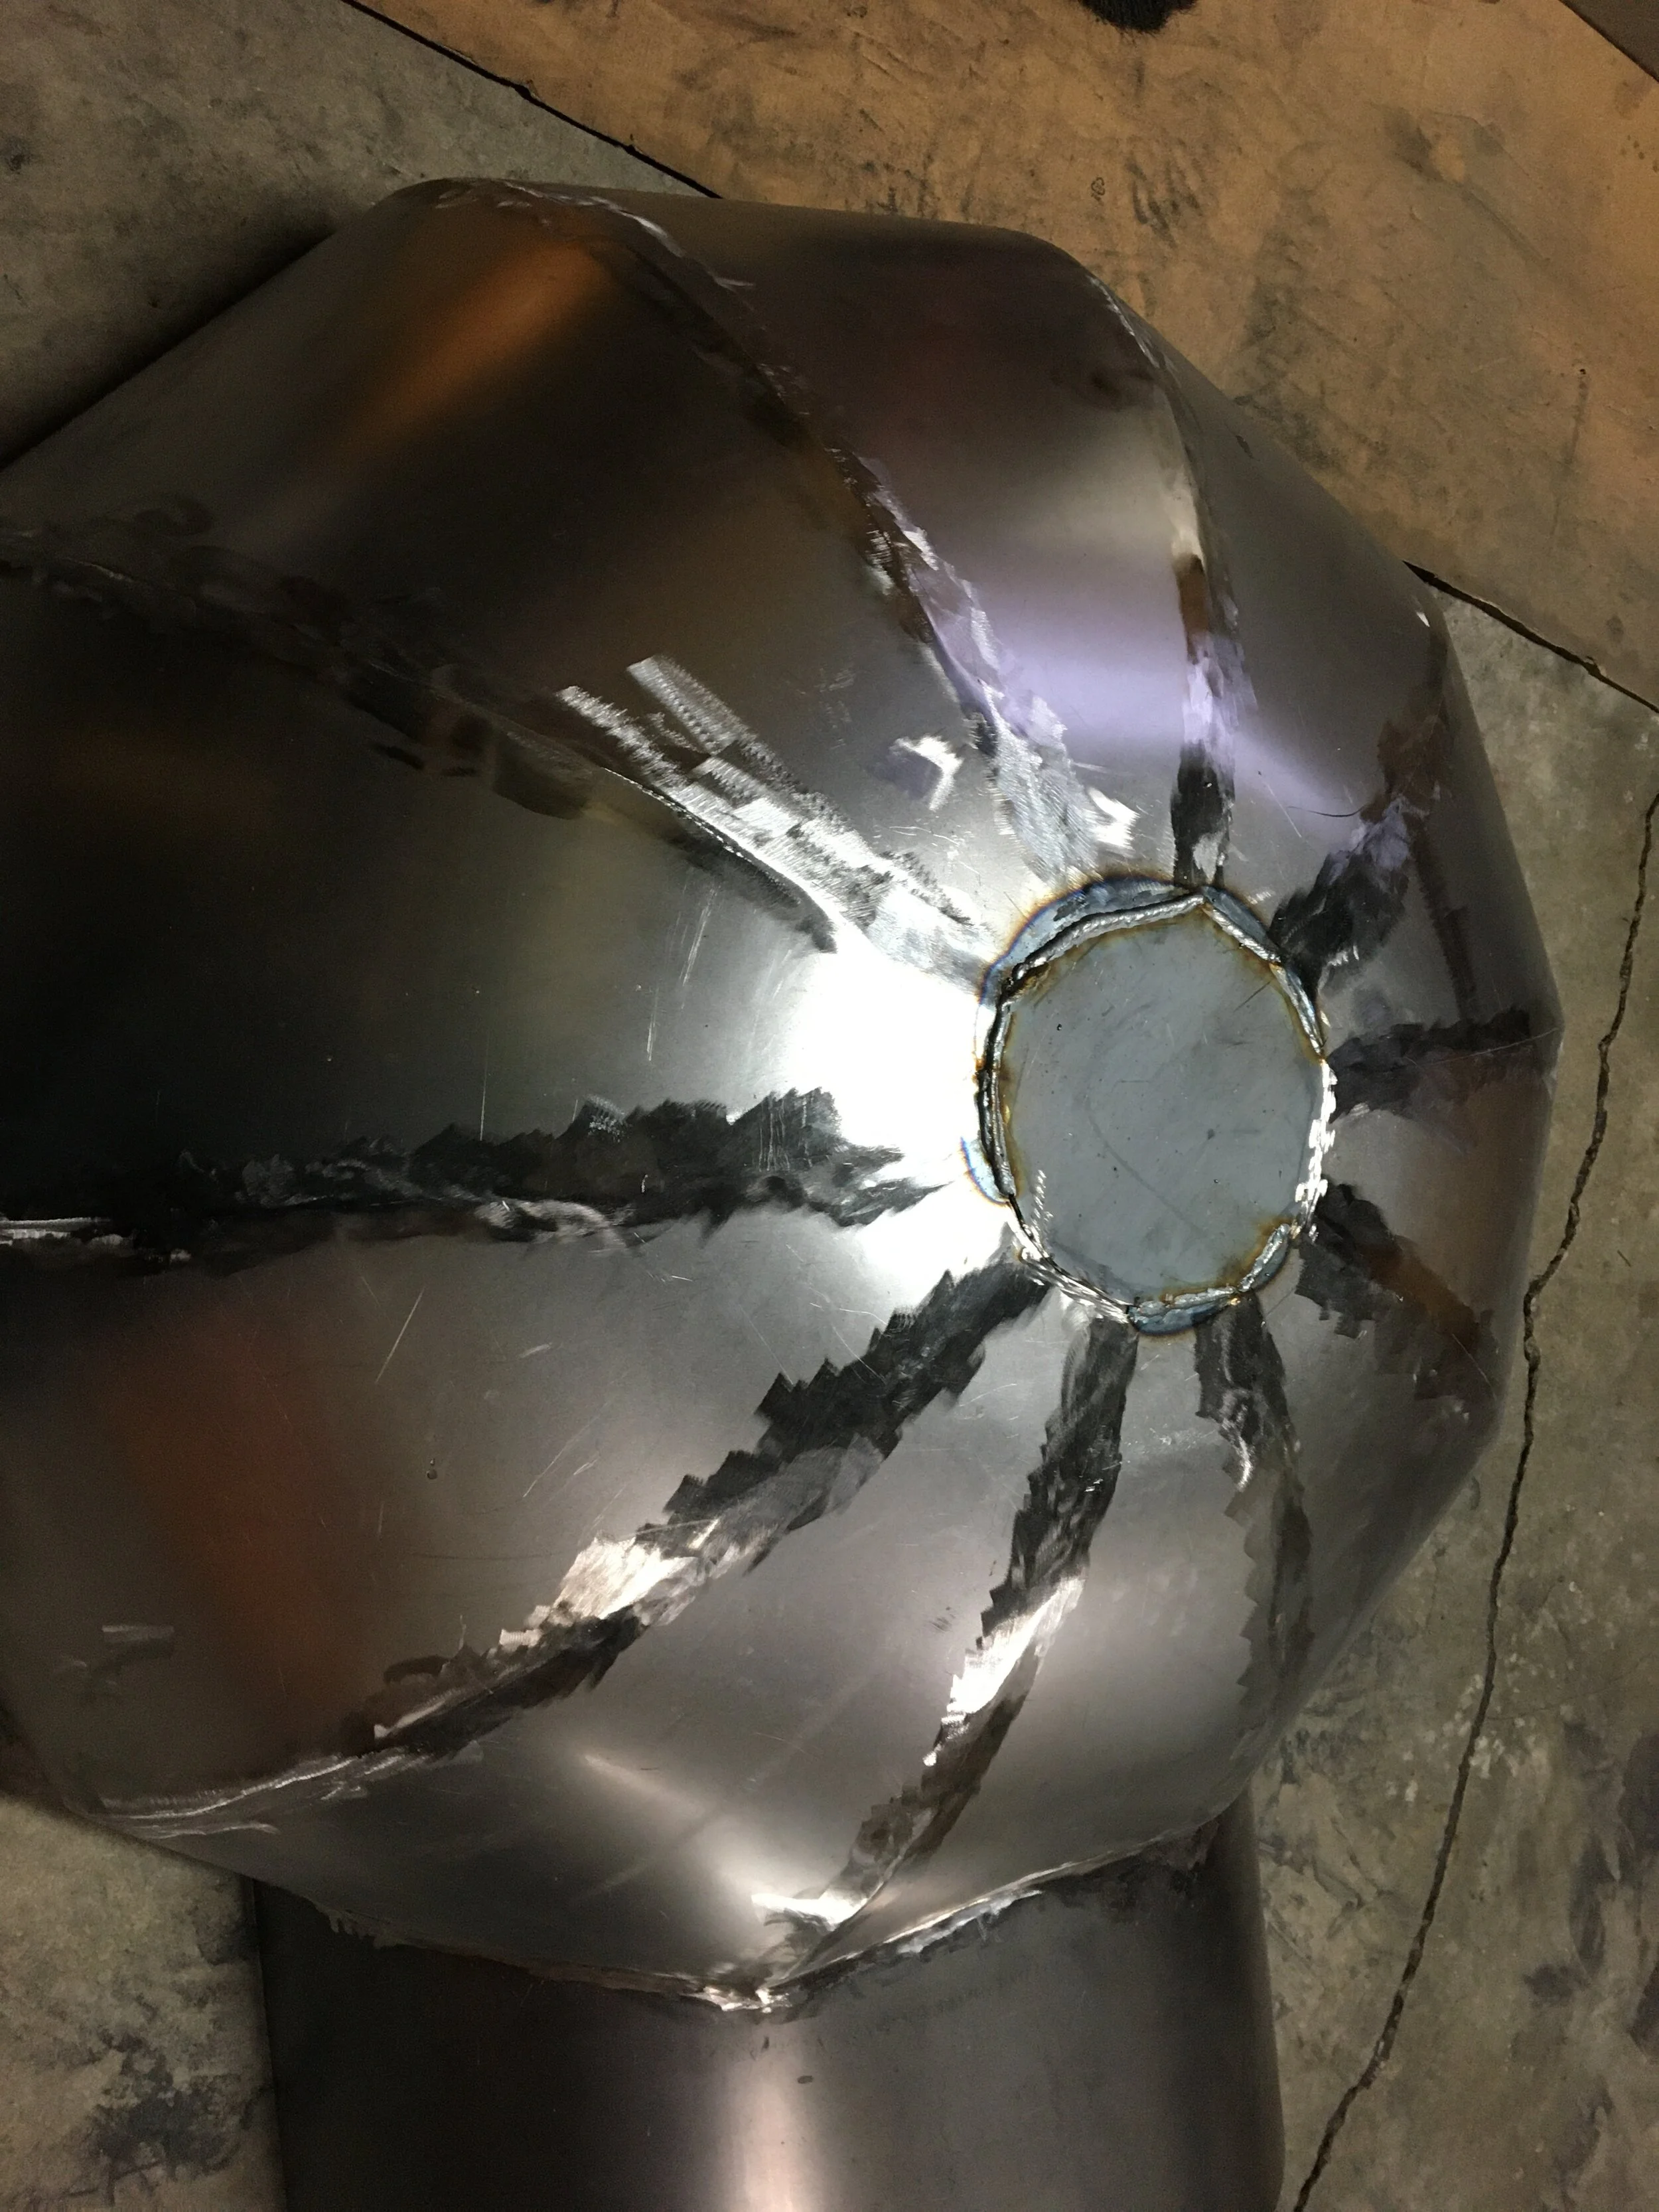
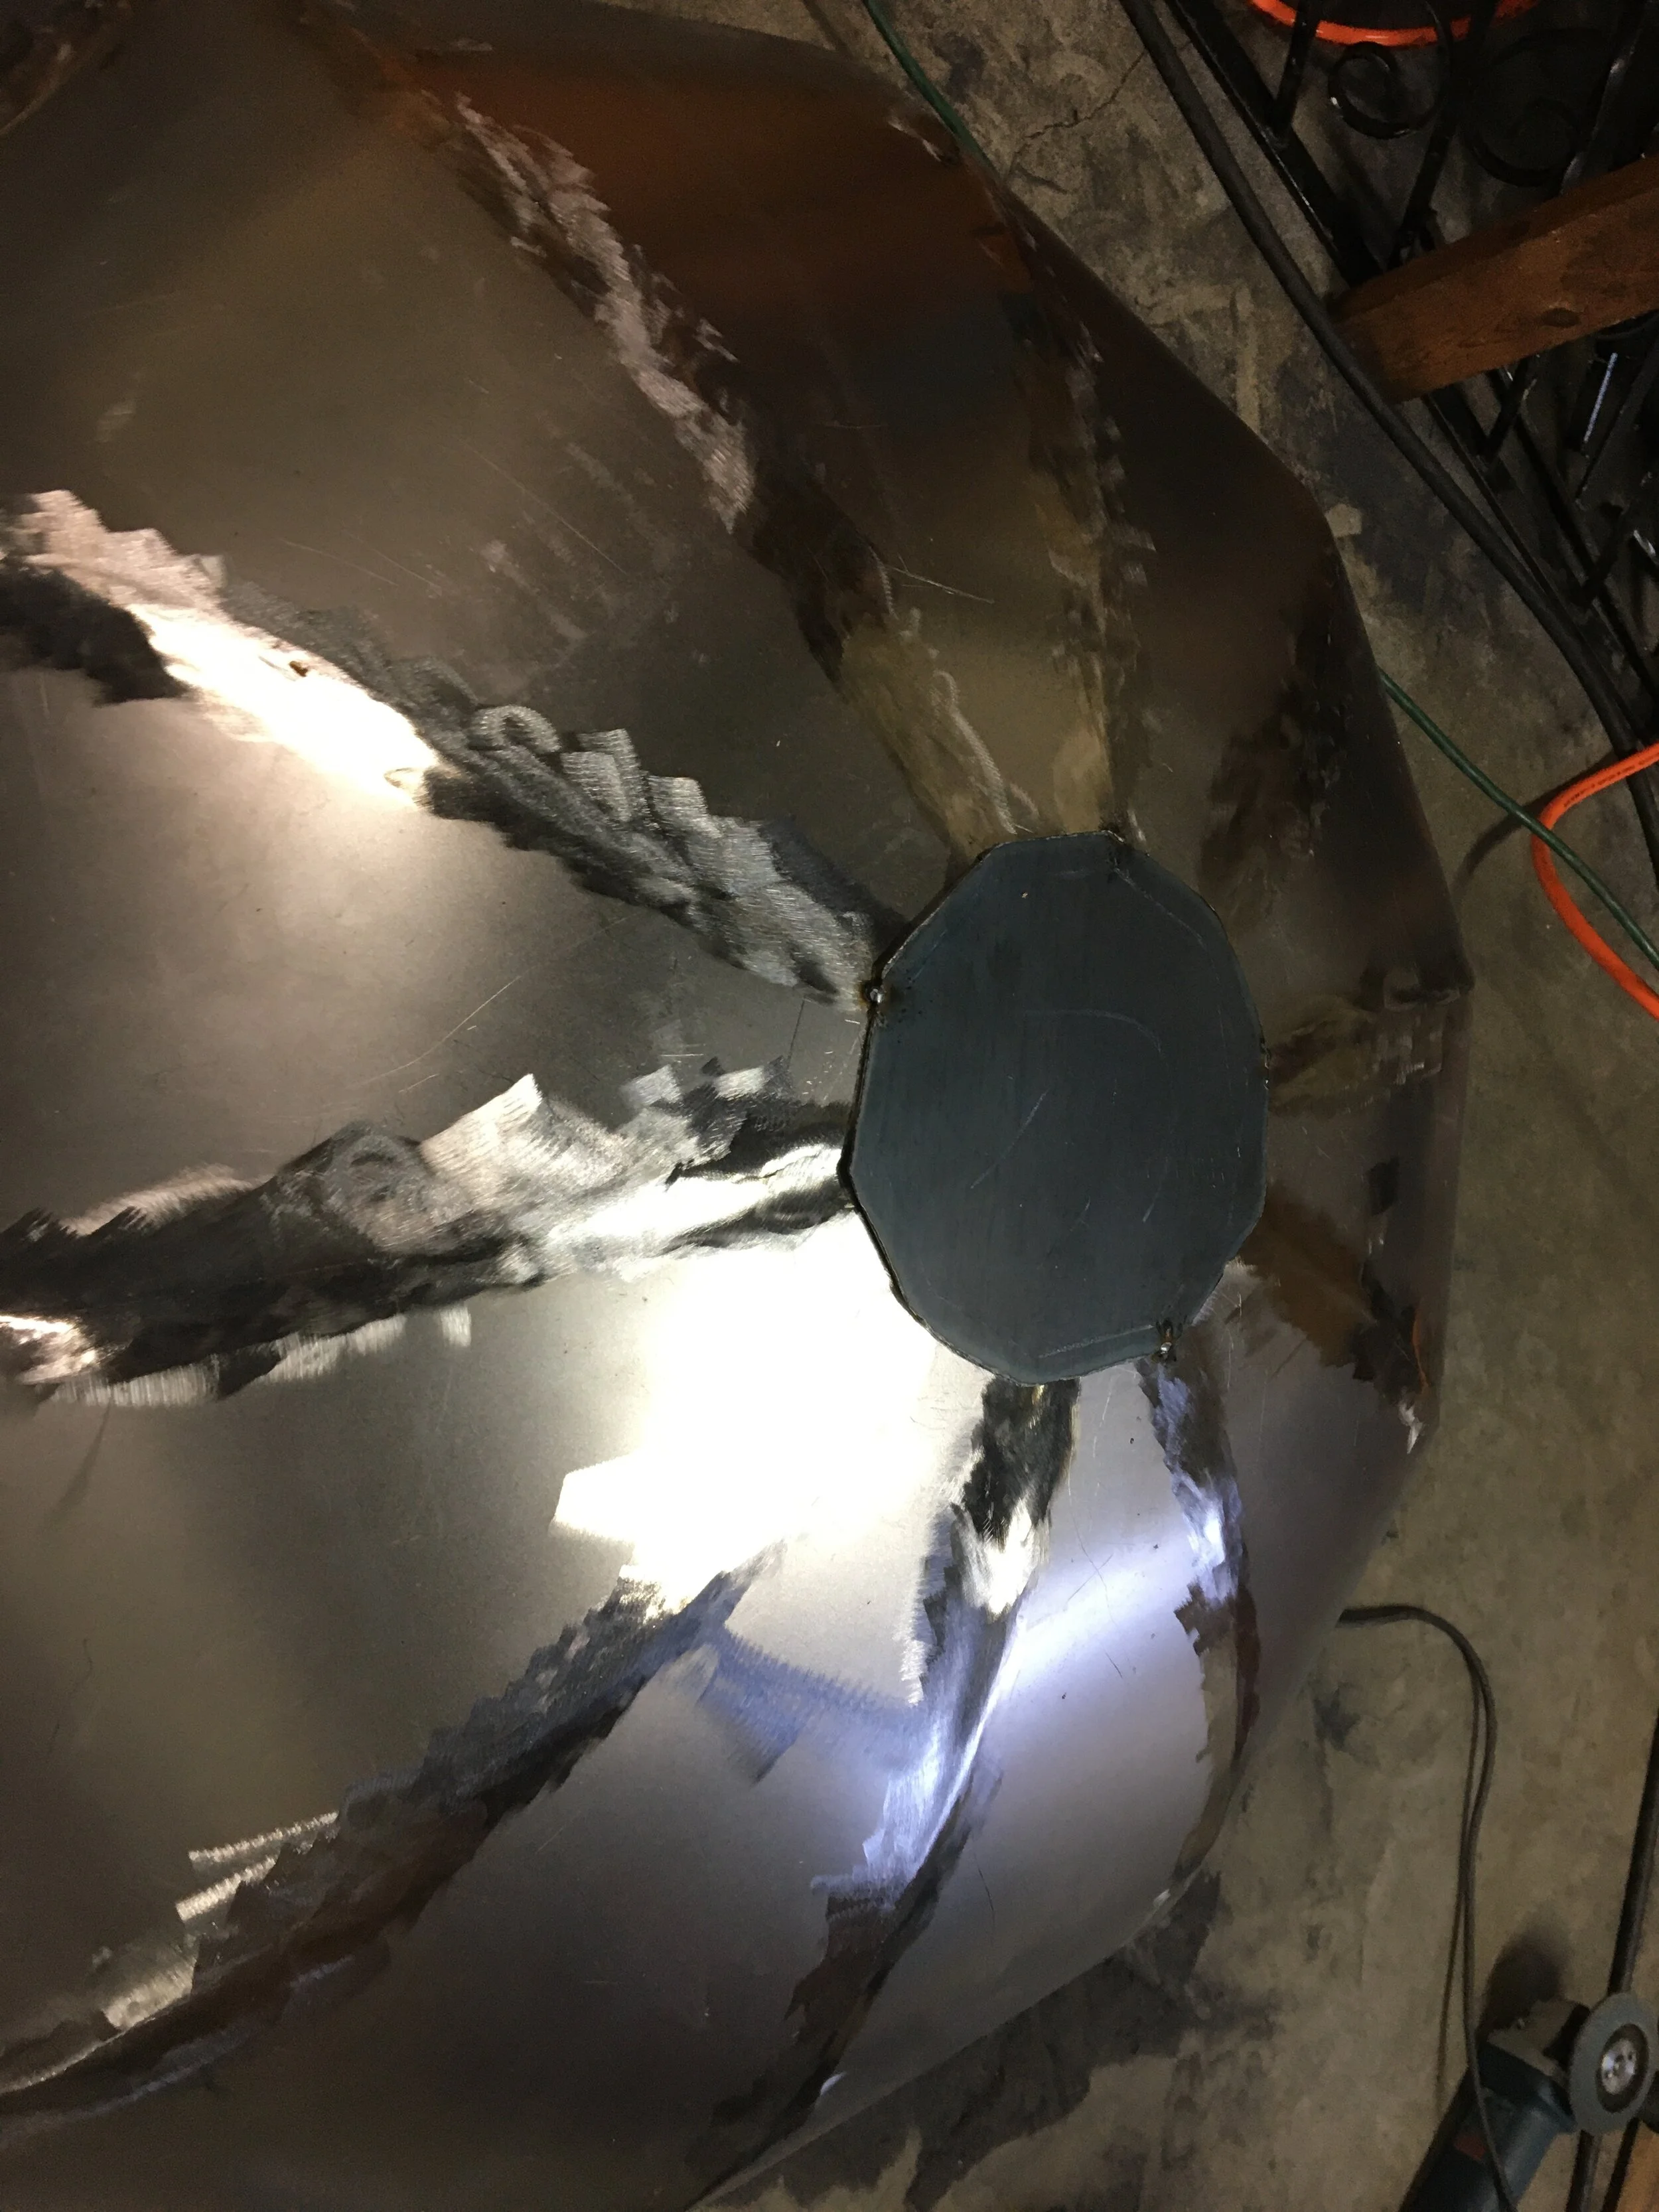
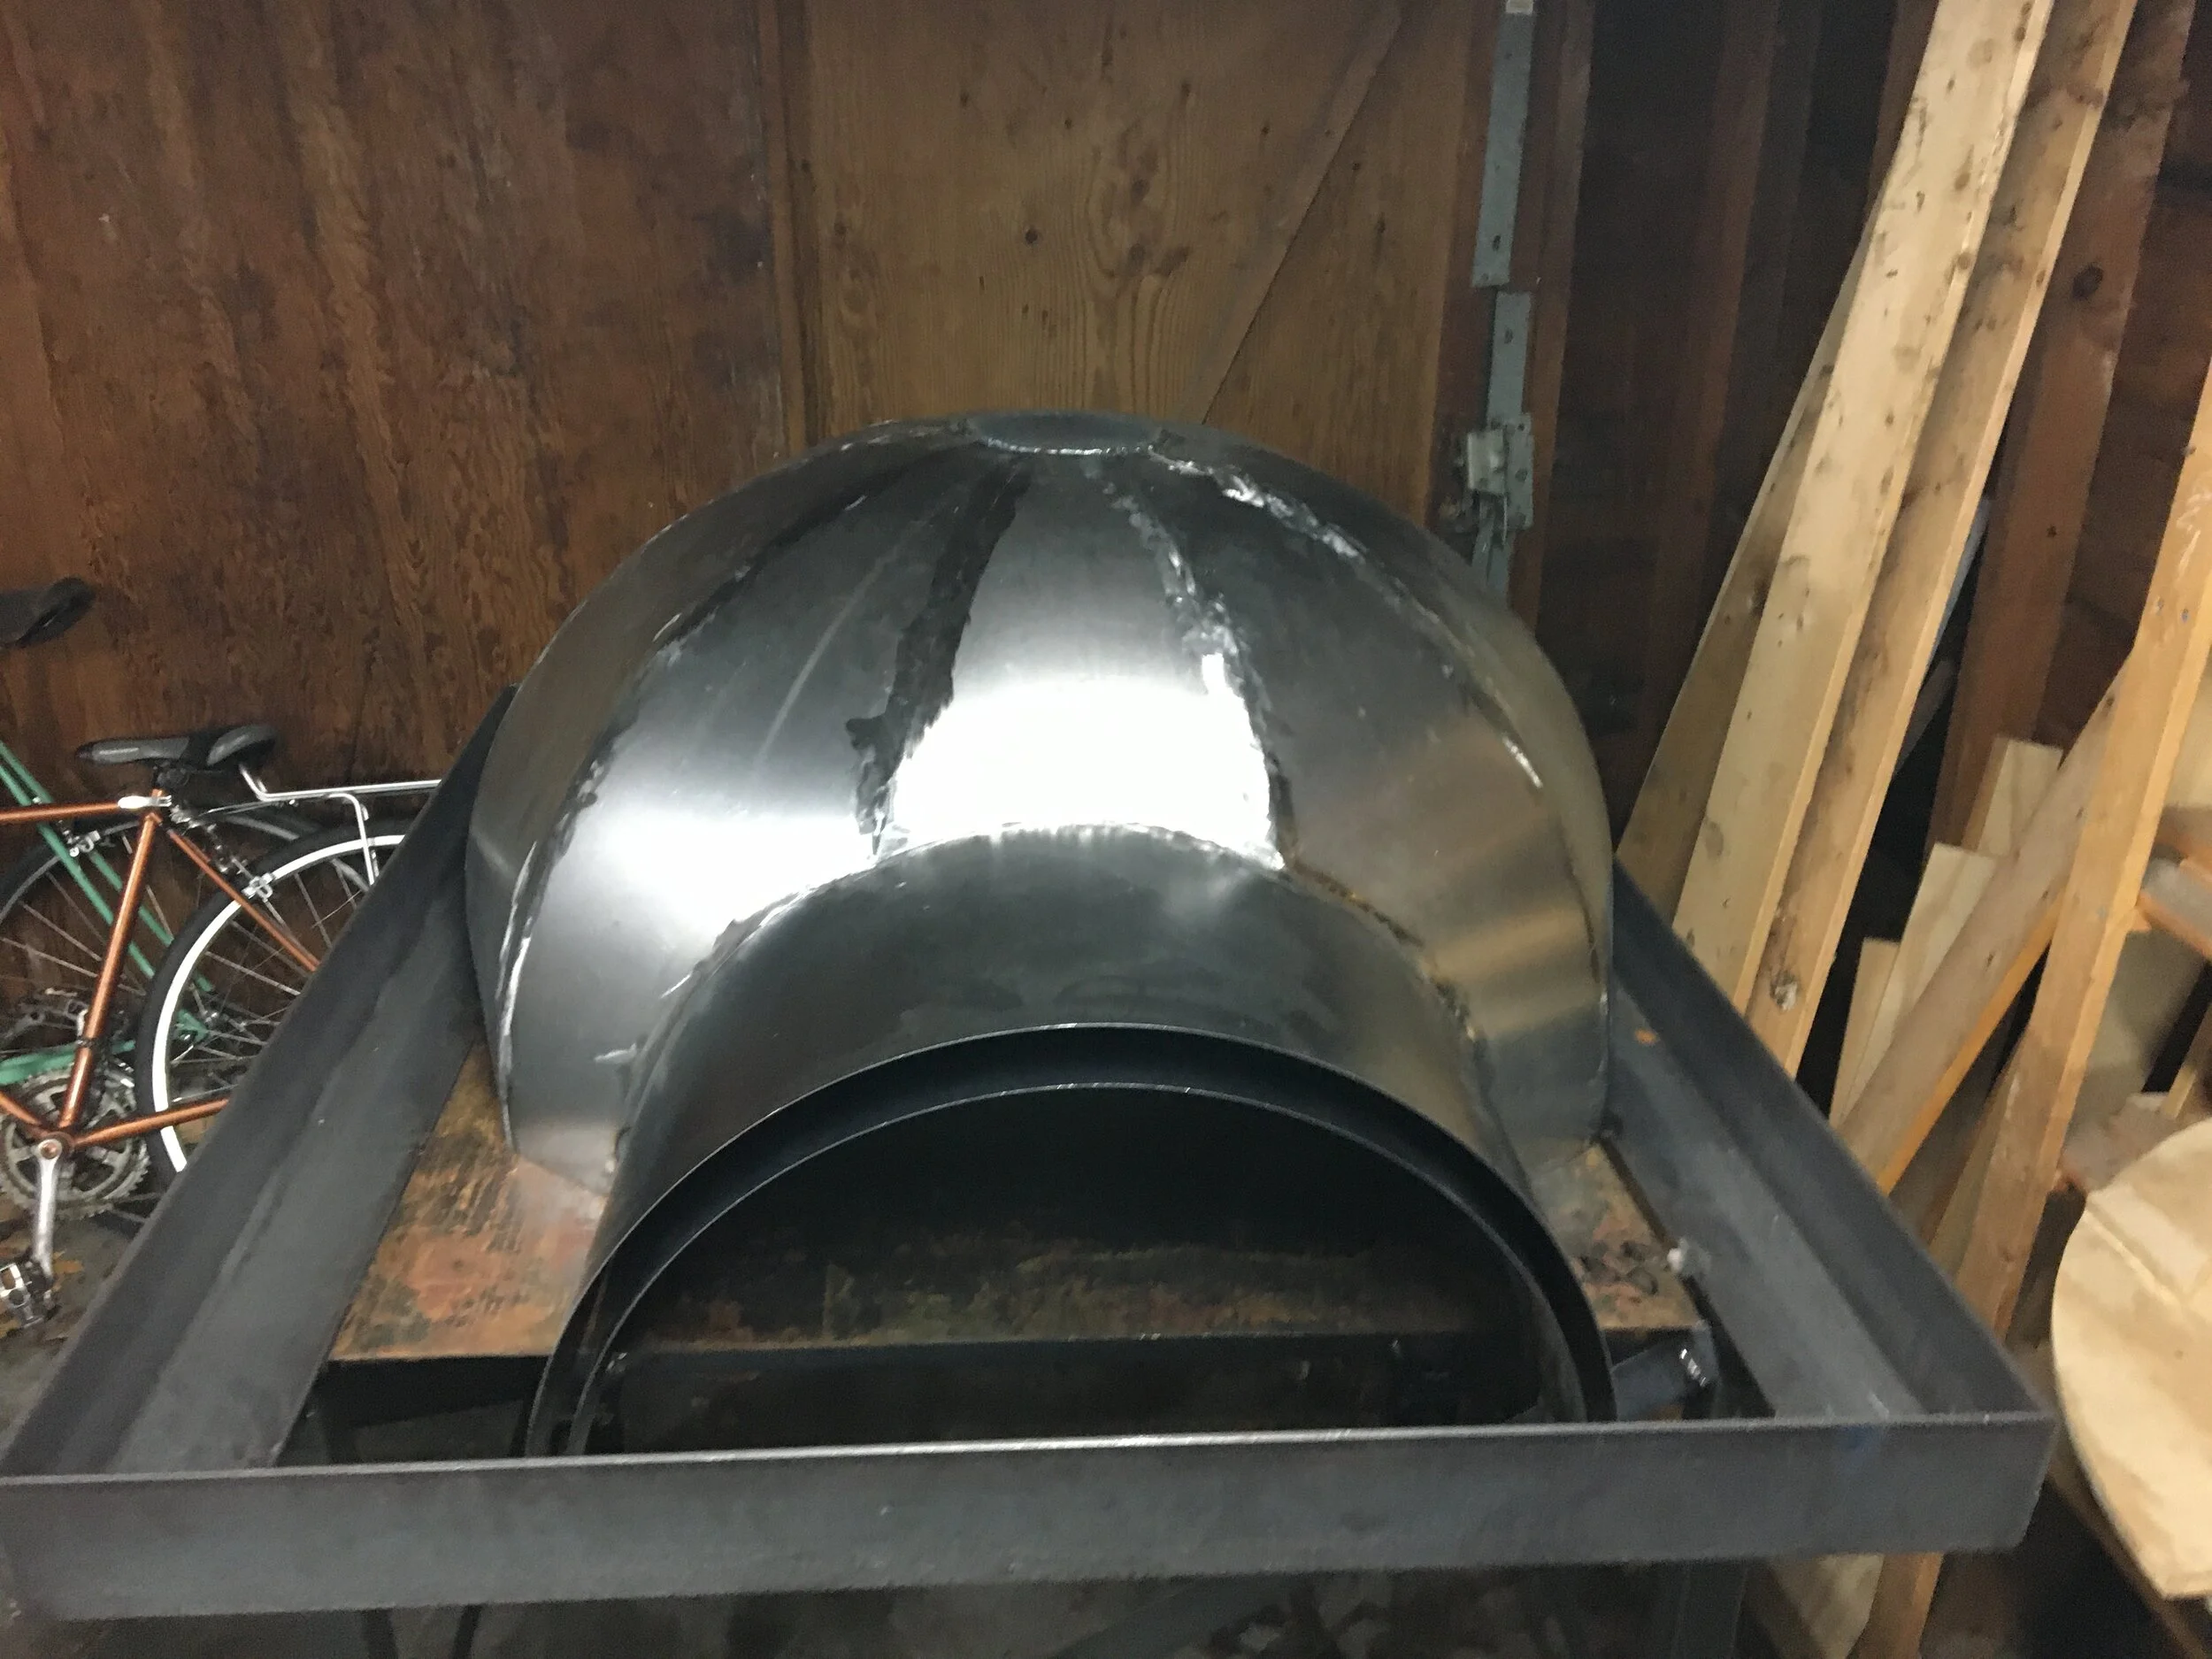
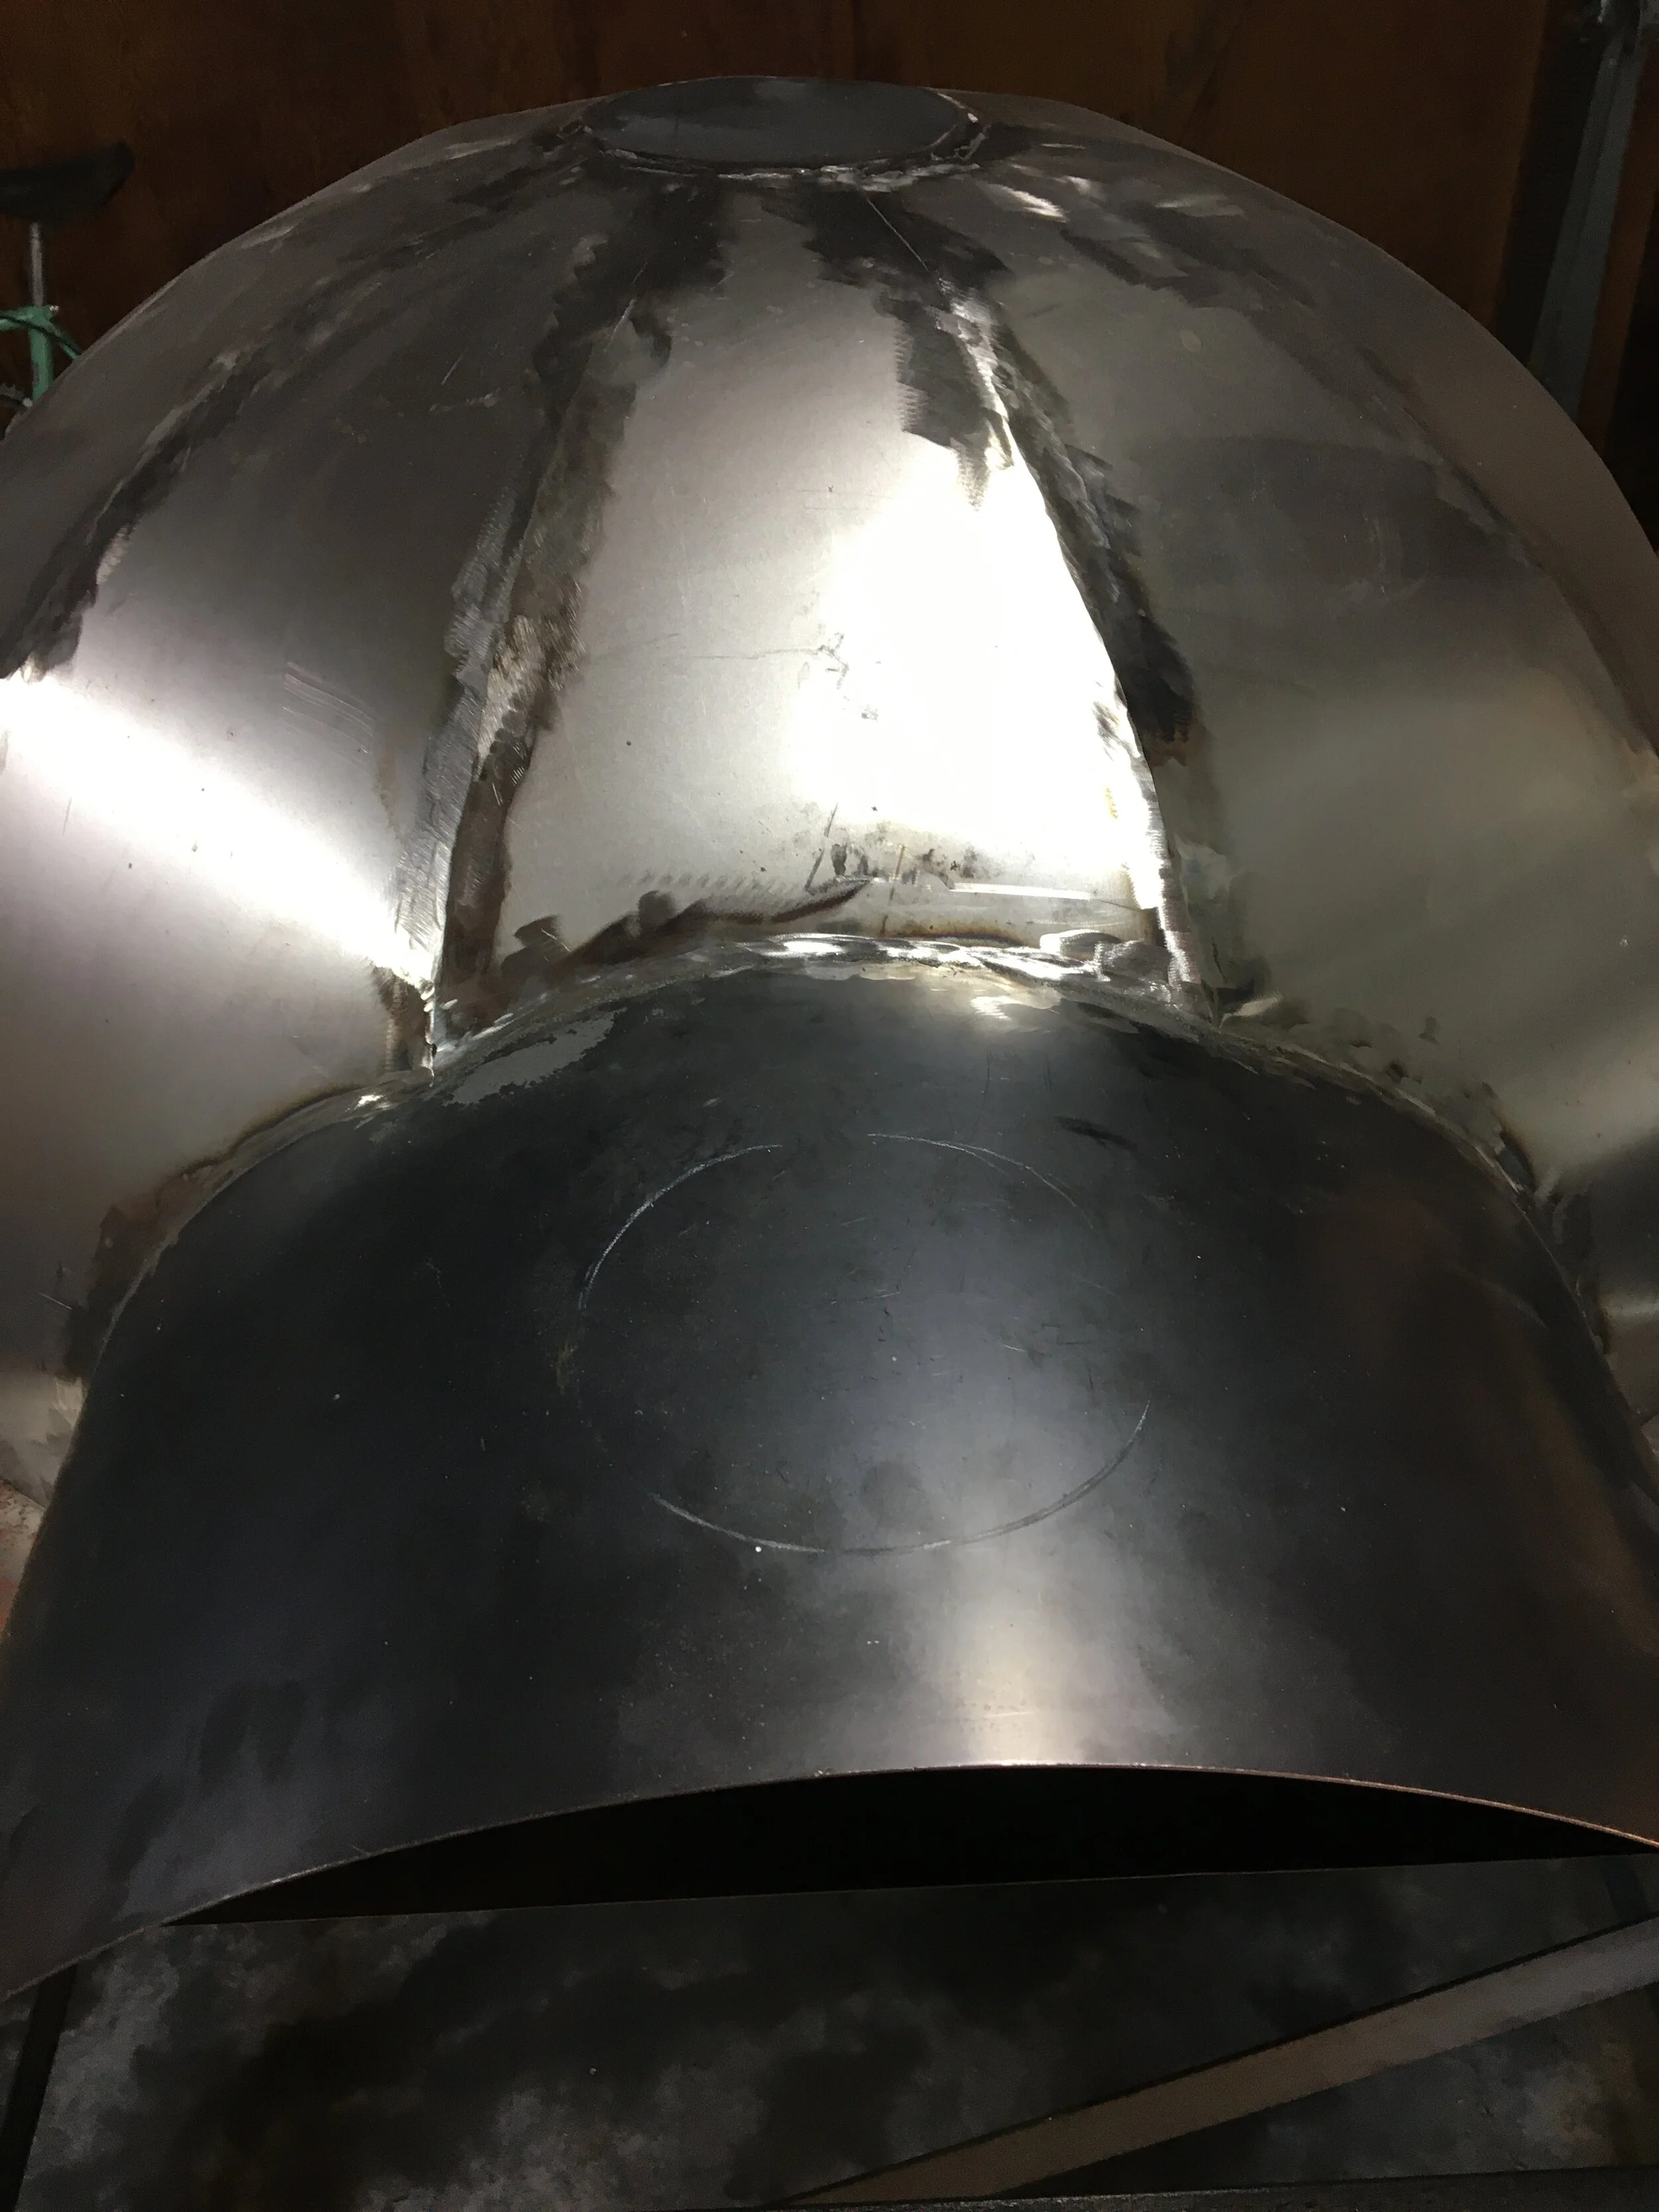
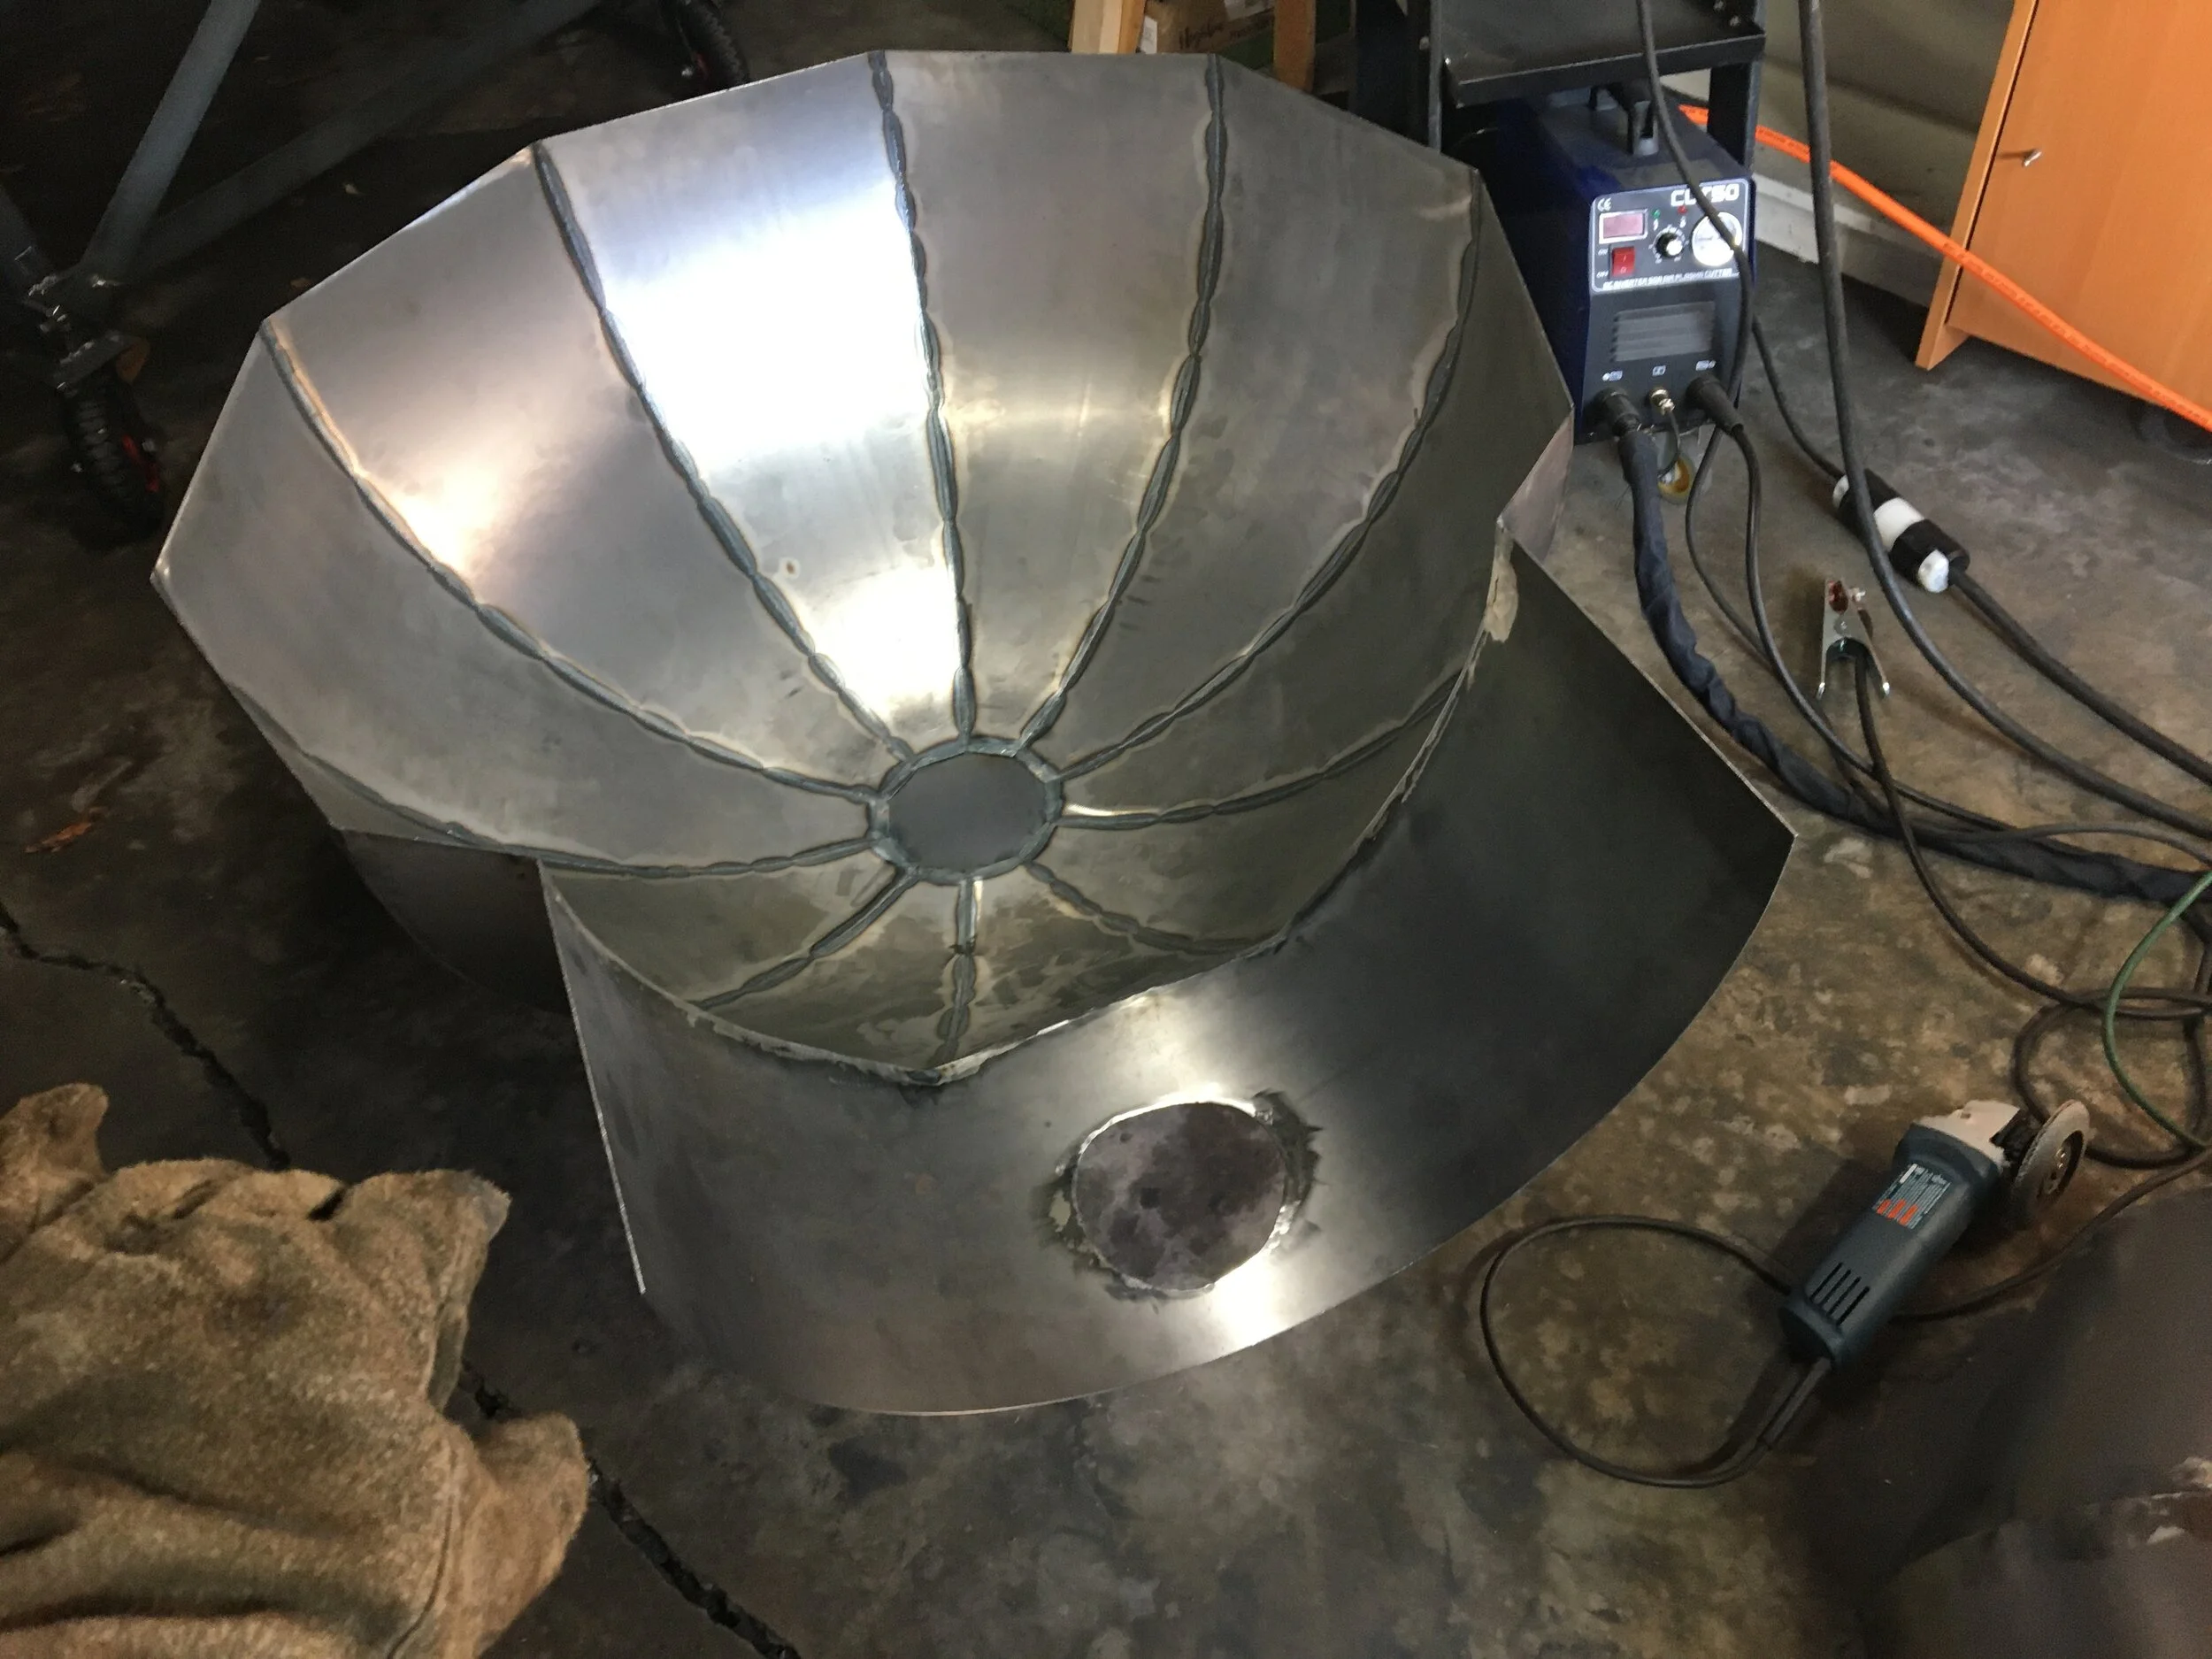
The following photos show the process of sealing up the domes. Now that everything was starting to look like it would work, I was confident I could finalize the welds and start grinding them to look pretty. I sealed up both domes, the barrels, finished the legs and supports. I then ground down all the welds that I could. Finally, I had to cut open dome where the barrel connected, which again required grinding to clean up the connection.
Chimney
I spent a lot of time thinking about whether to include a chimney or not. I do not personally like the aesthetics on a chimney, and my entire model was of a traditional cobb oven, which usually does not have a chimney. Also it was a lot of extra work, so why bother if it isn’t necessary? In the end, I decided it was worth including for three reasons:
I really didn’t want more smoke in my face than necessary
I could include a damper which would give me some sort of heat control
I stumbled across black stove pipe at the hardware store, which was pretty affordable compared to what I had in mind, so why not…
At this point, I was coming up against some deadlines. I had to move back to Nova Scotia soon, and I owed a lot of people pizza, if anything, for putting up with me yabbering about it non-stop. I also owed it to myself a little bit. I ramped up the pace a bit, which came at the cost of aesthetics, however I was at a position where I could get it functional, and then continue to make improvements as time passed.
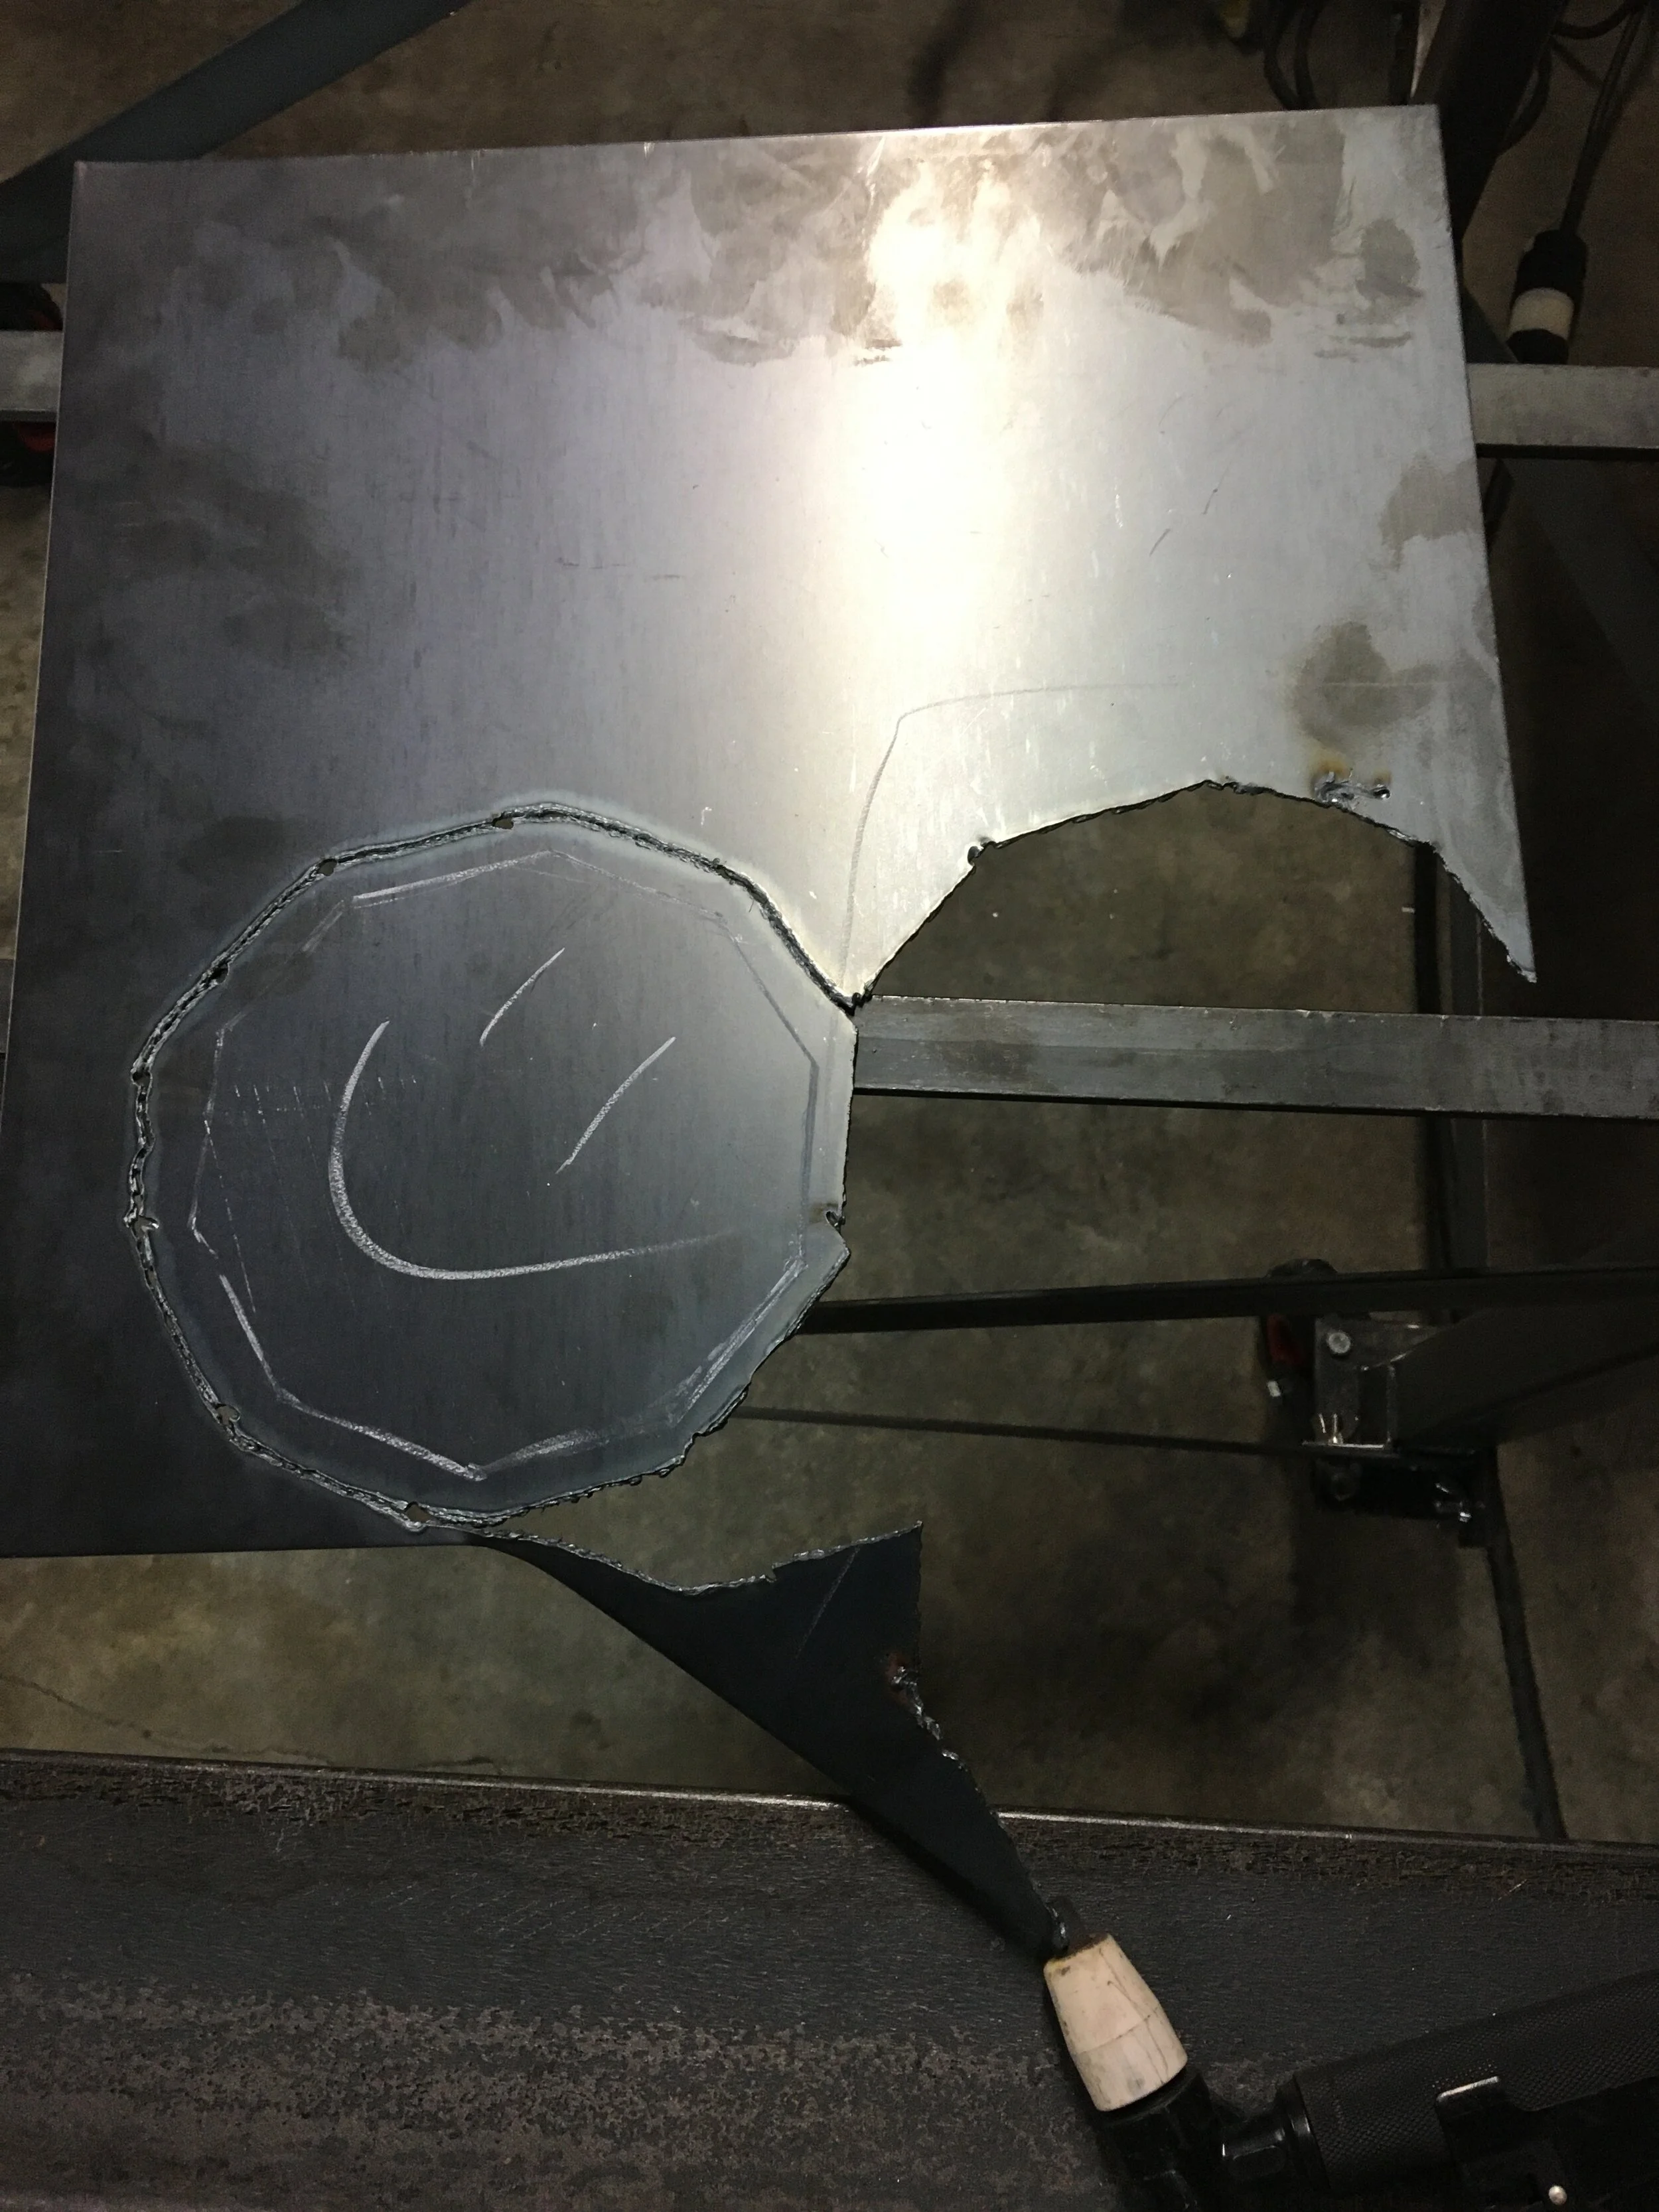
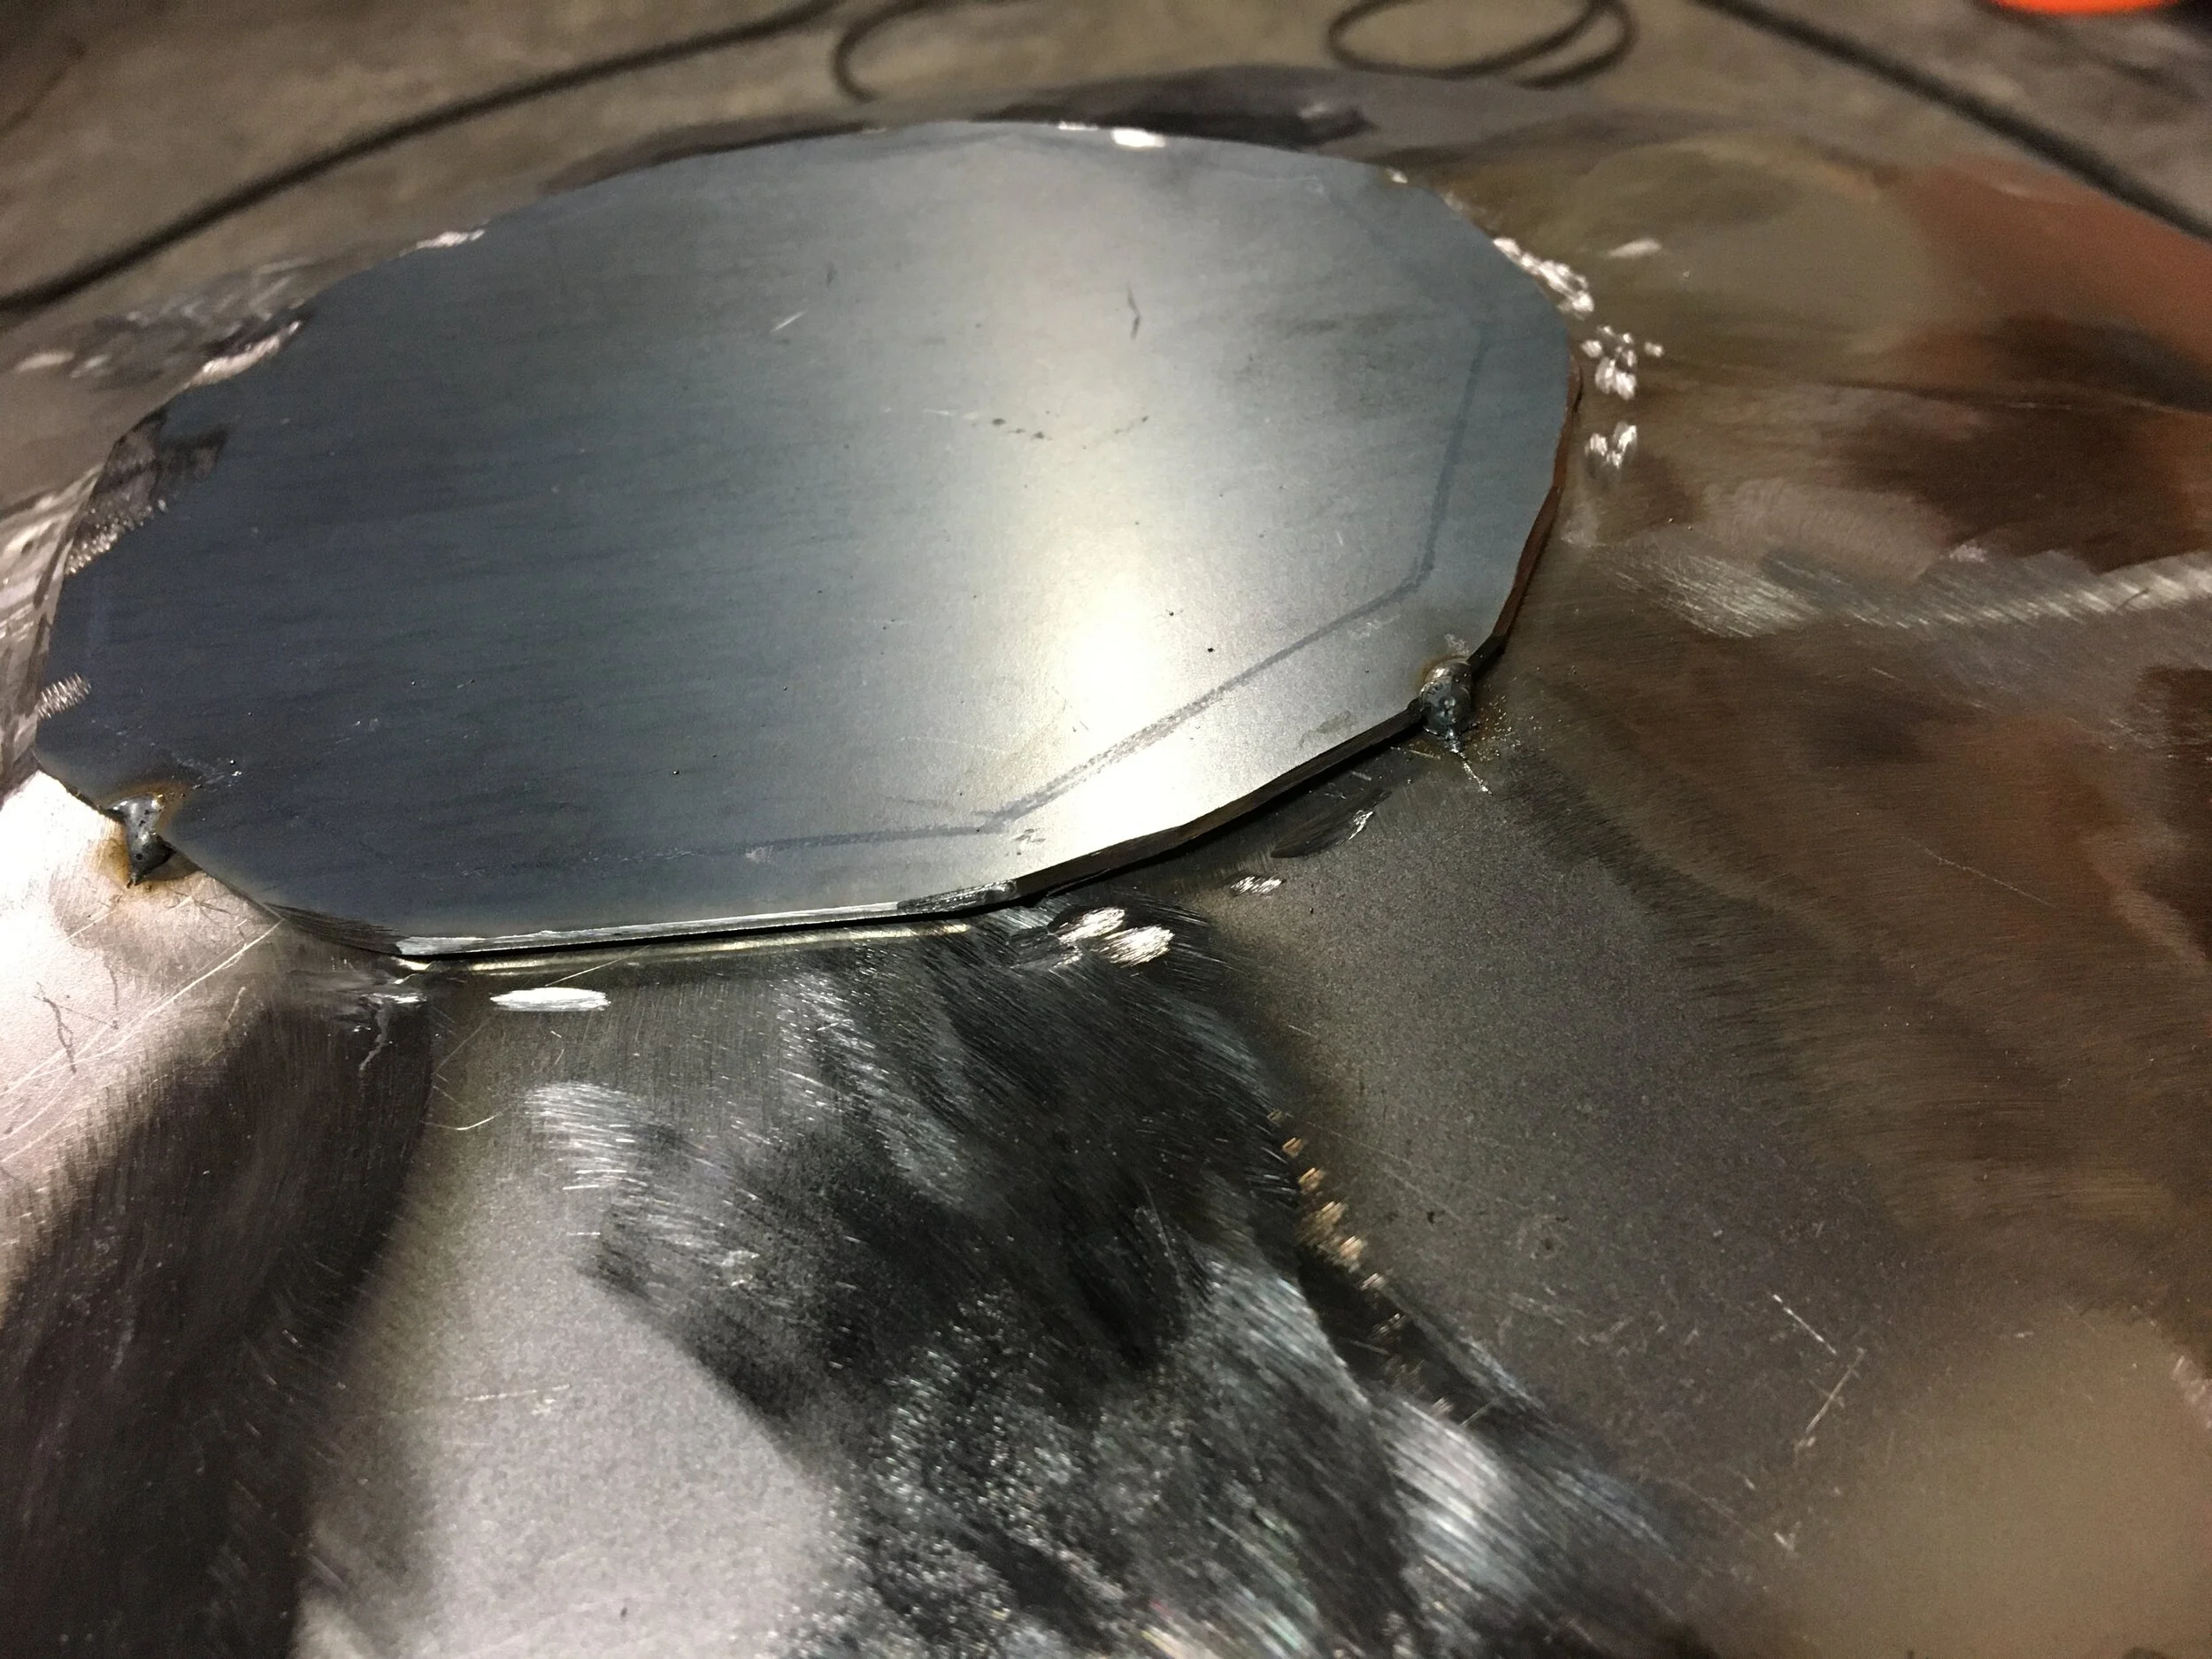
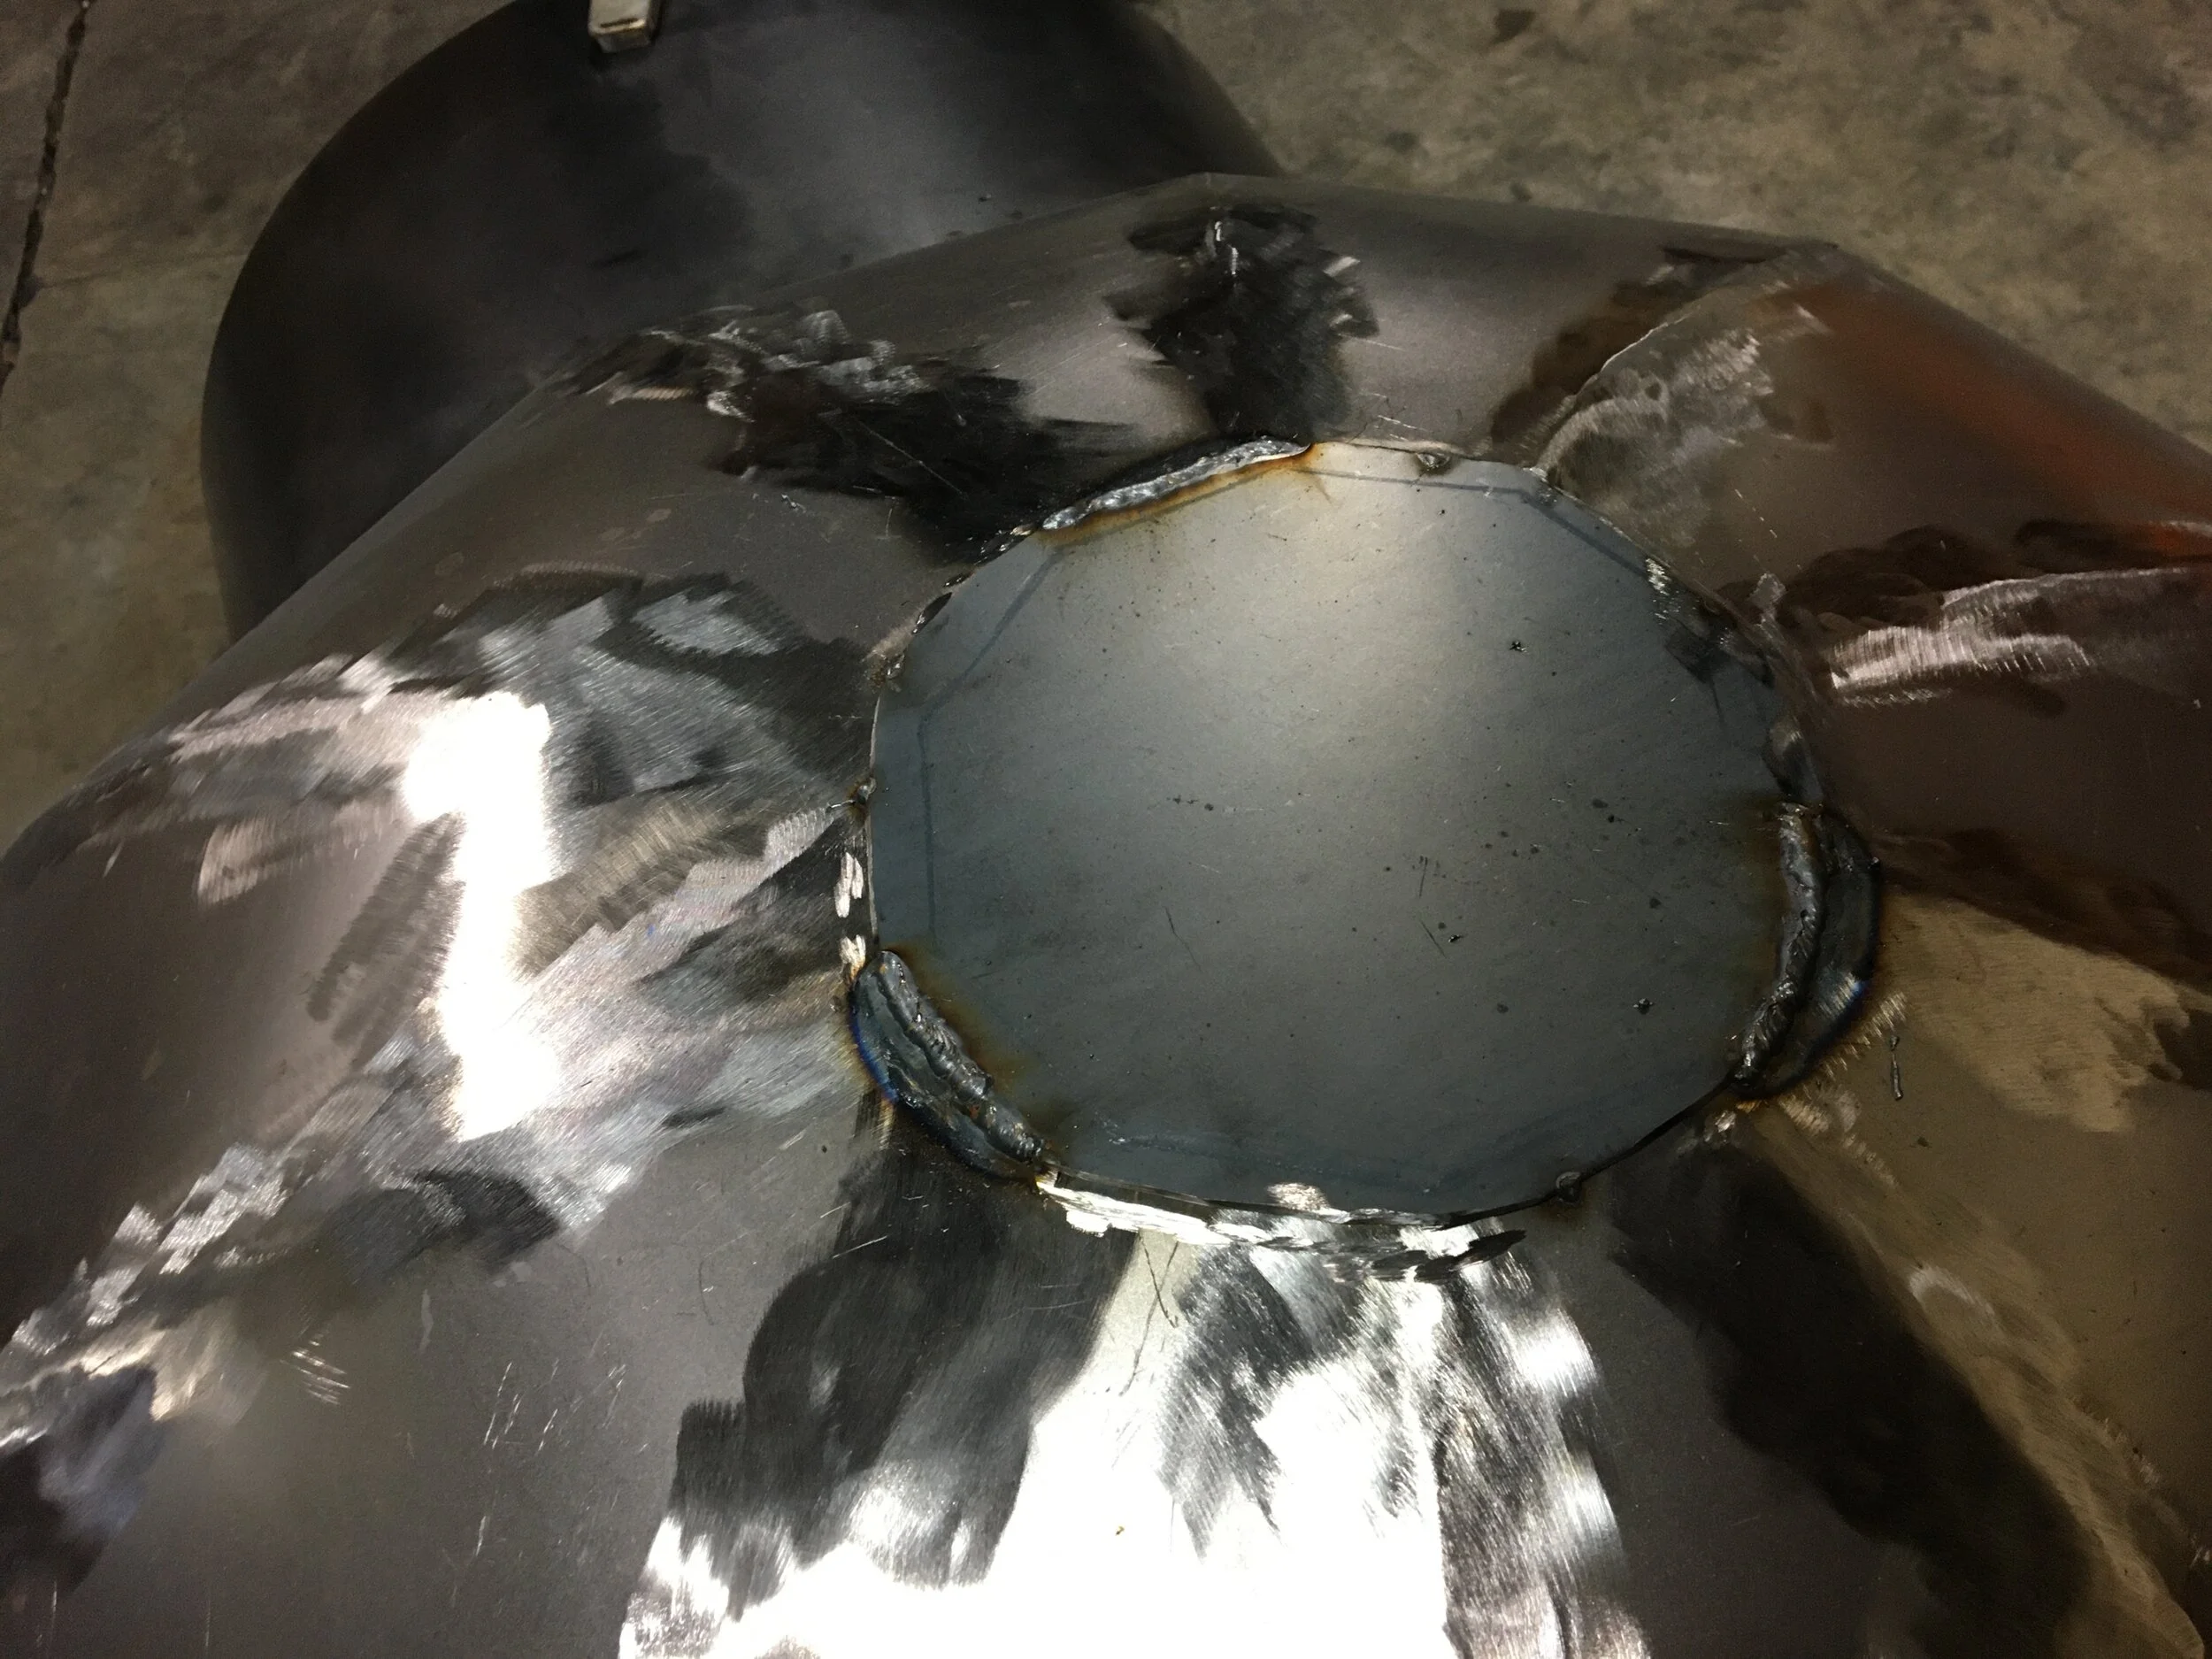
First, I capped the domes by tracing the opening and cutting out some circley shapes. I welded them on and ground them down so they were pretty flush.
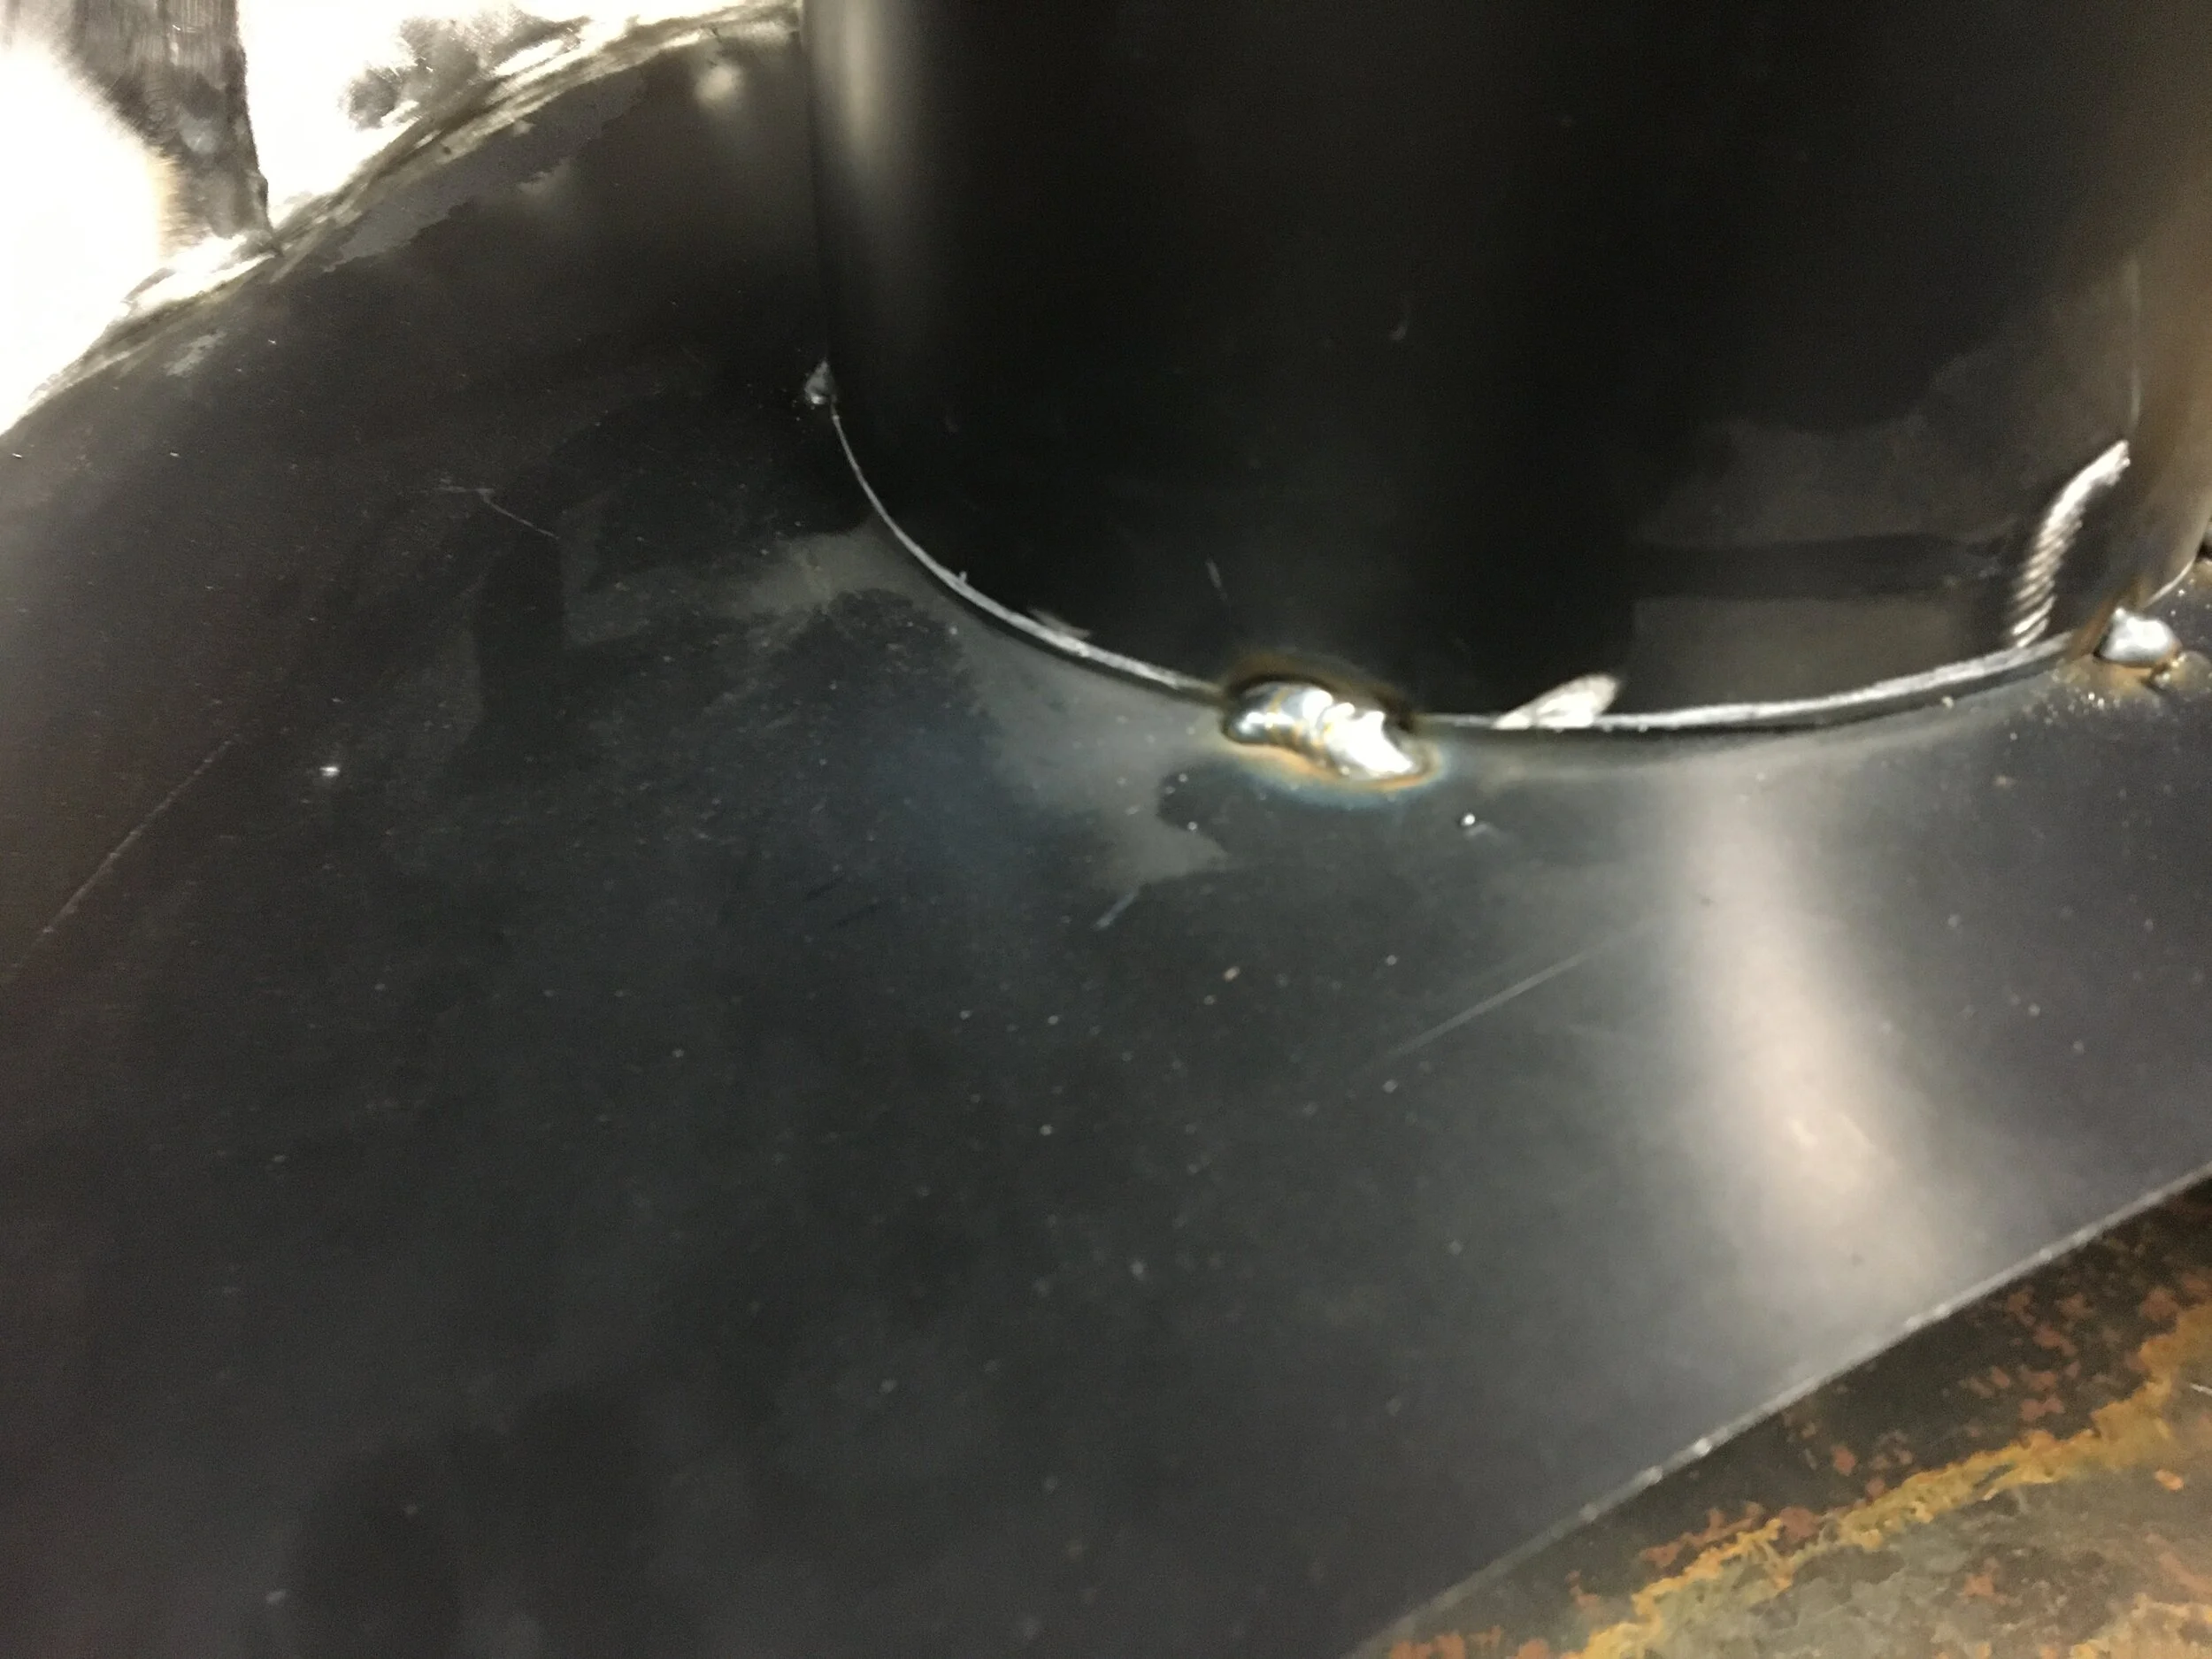
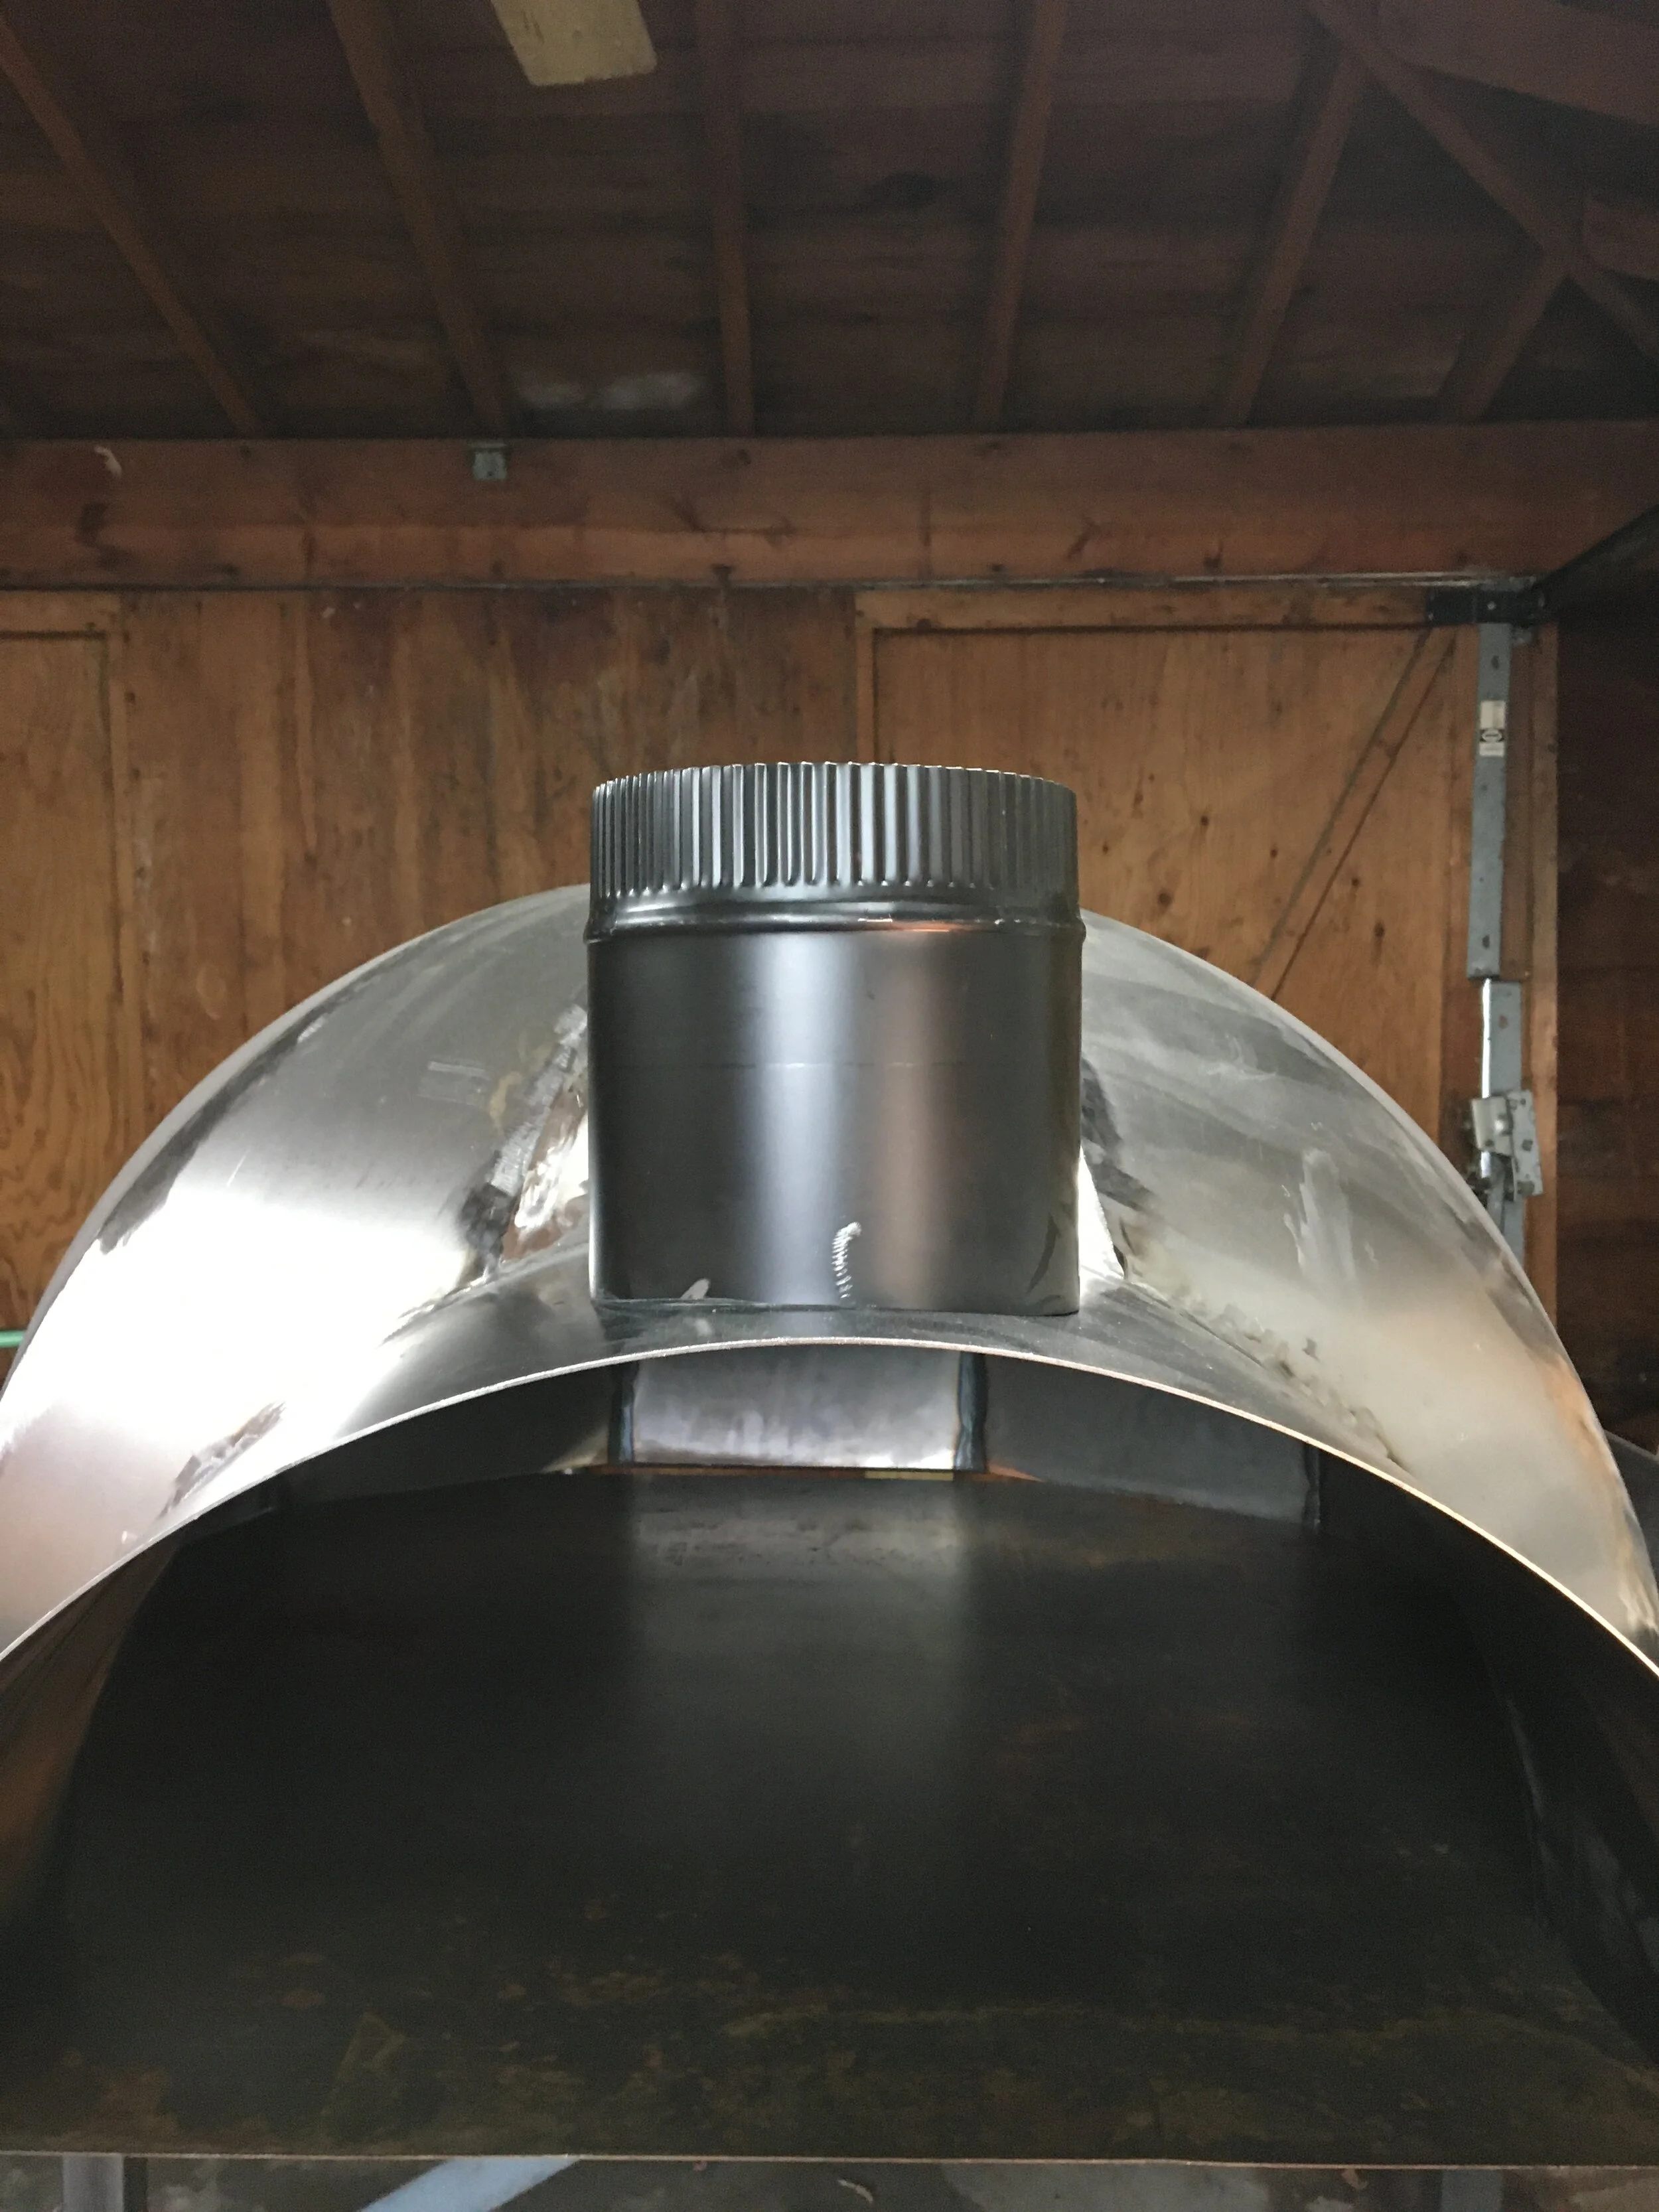
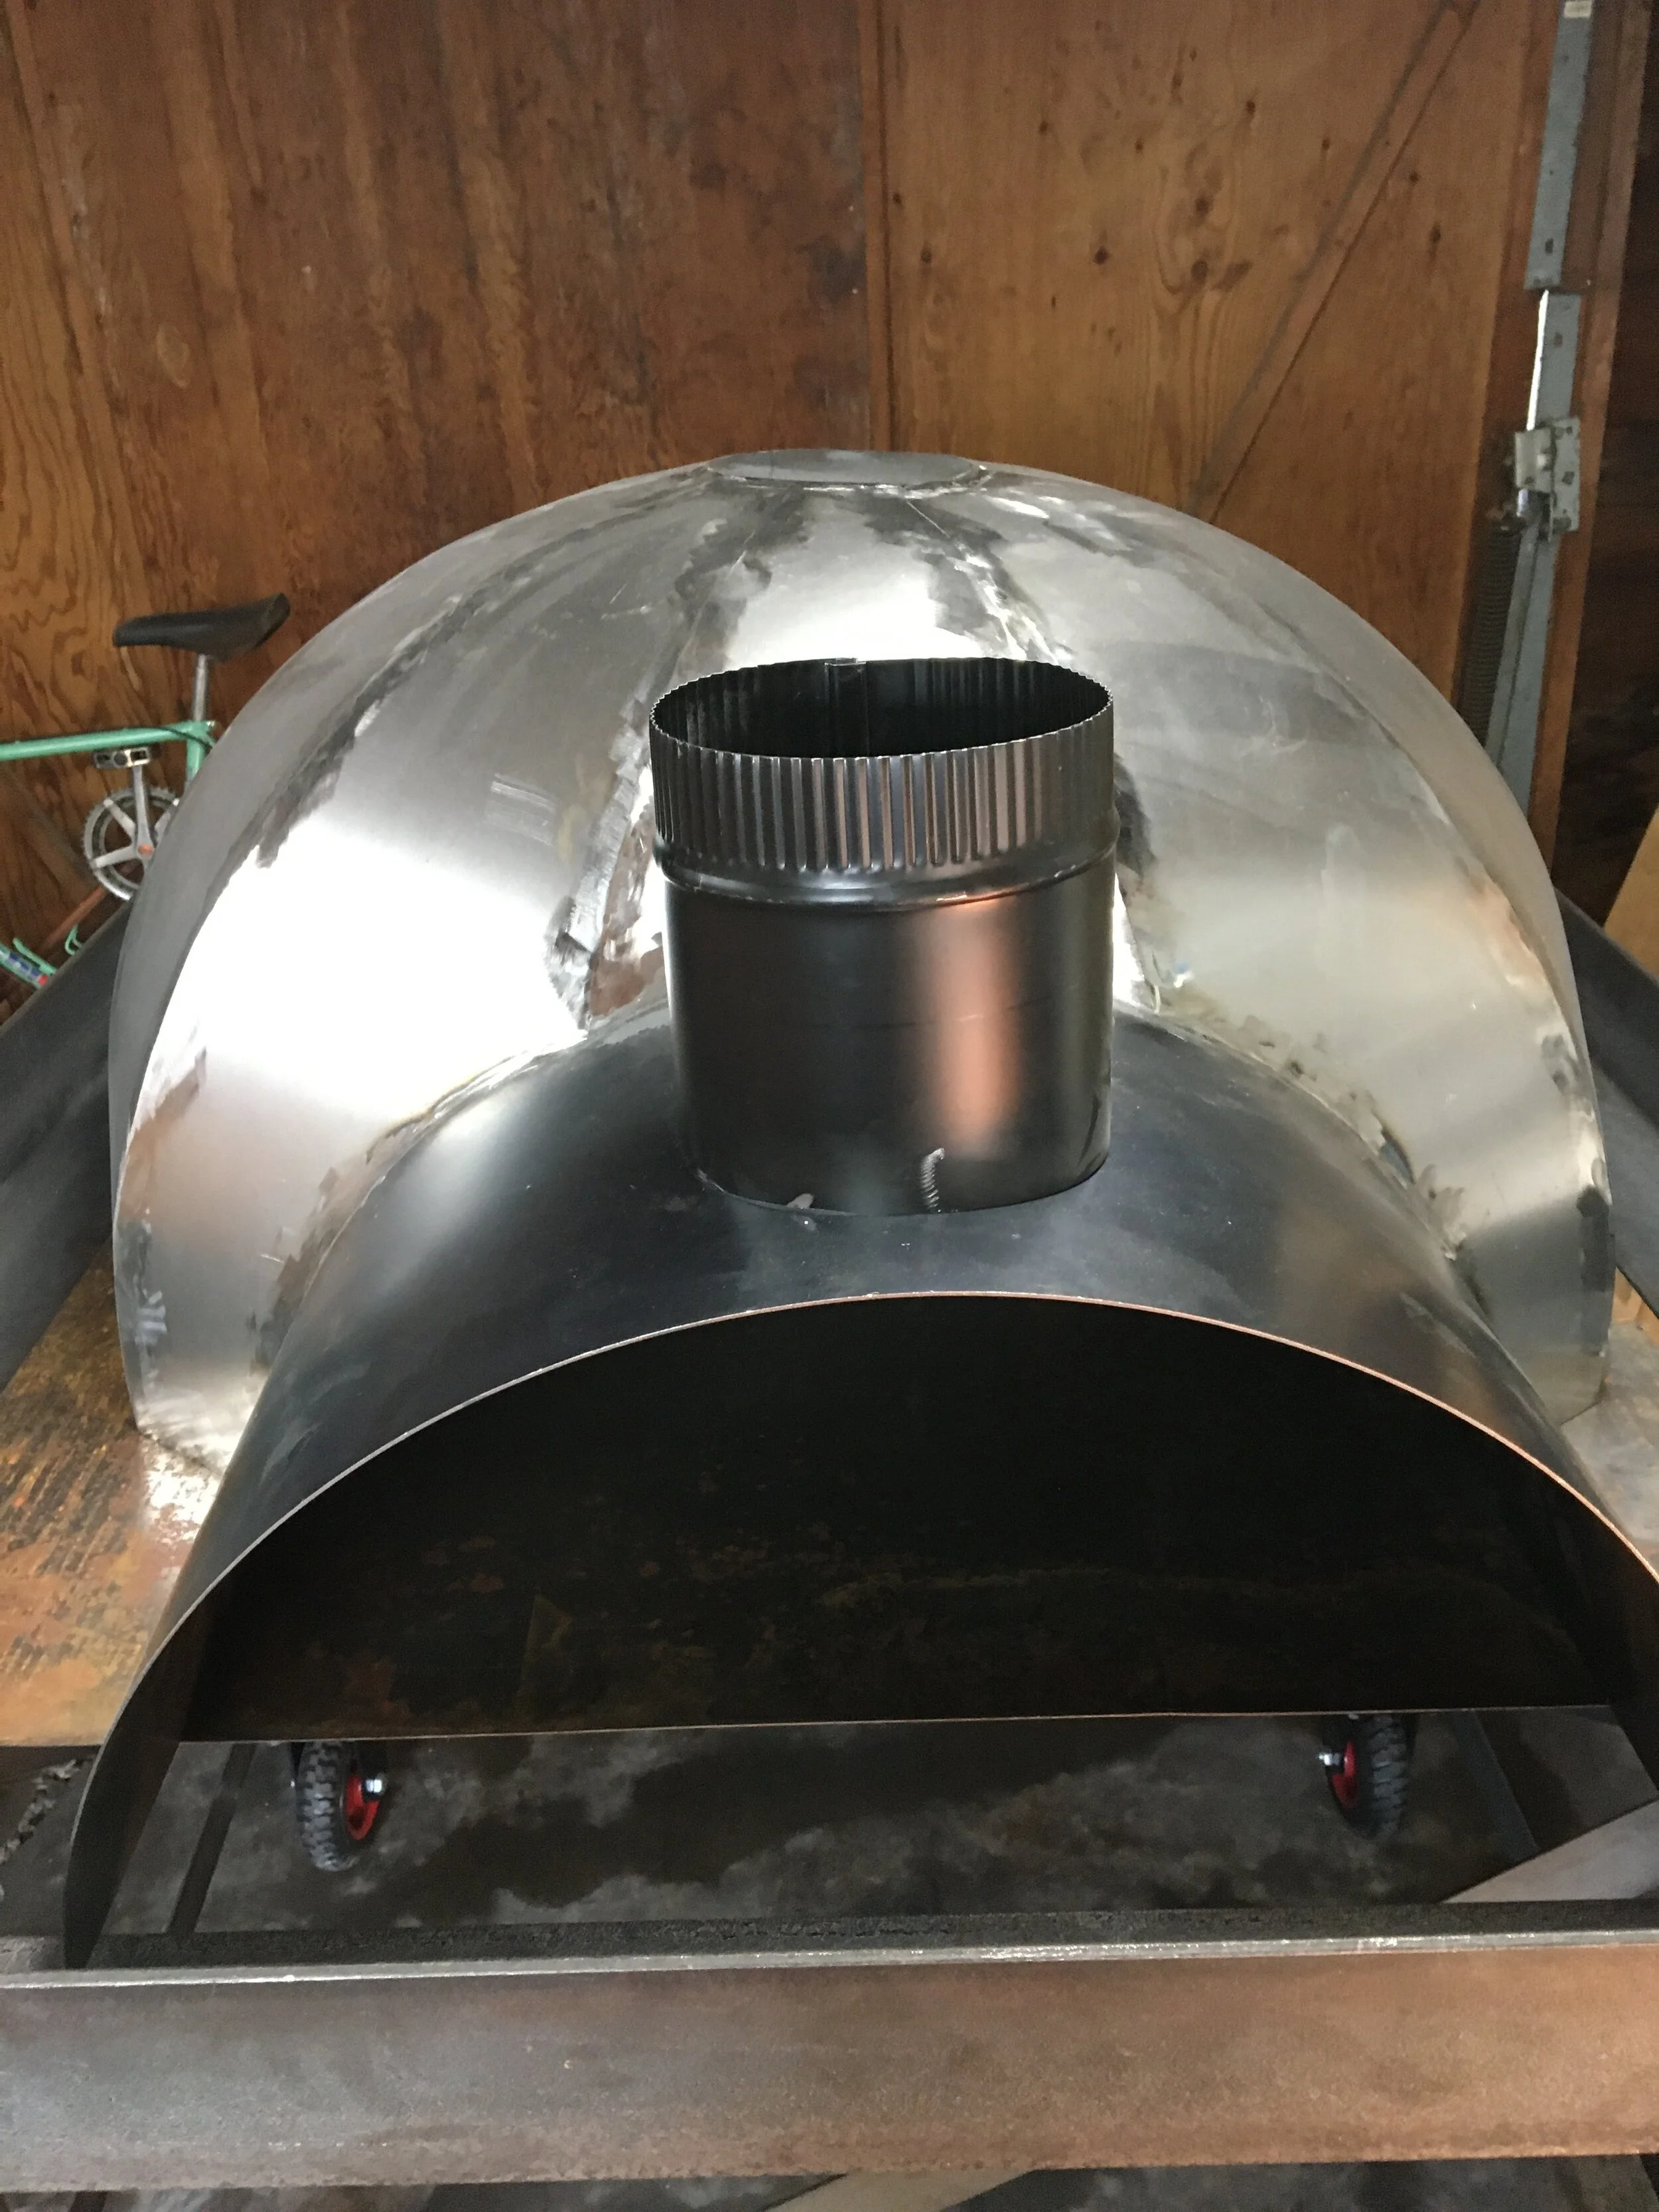
For the chimney, I cut a hole in the smaller dome, then plasma cut the chimney to be a rough, inverted hyperboloid. I then ground it down to be as flush with the barrel as posible before welding it in place. This was a challenging weld because the barrel is 16 ga. steel and the chimney would have been much less. I did get it to blend.
When testing, I ran into a bit of a challenge. The outer dome would not sit on the inner dome with the chimney in place. This is where I wish I had drawn everything up in CAD. Lesson #7 - Get good at adapting, because the chances of doing the design fully up in CAD is slim.
I ended up cutting a big ugly hole in the upper barrel so that the dome could slide forward. My priorities at this time were getting it functional. I could always put a chamfer or something around it. Nothing a bit of welding and grinding can’t solve!
Bricks and Assembly
At this point, things were just flying along. I had all the materials ordered in house, and a lot of the tough design and assembly stages complete. The remaining steps were cutting the insulation board to shape, cutting the bricks to shape, and lining the domes with insulation.
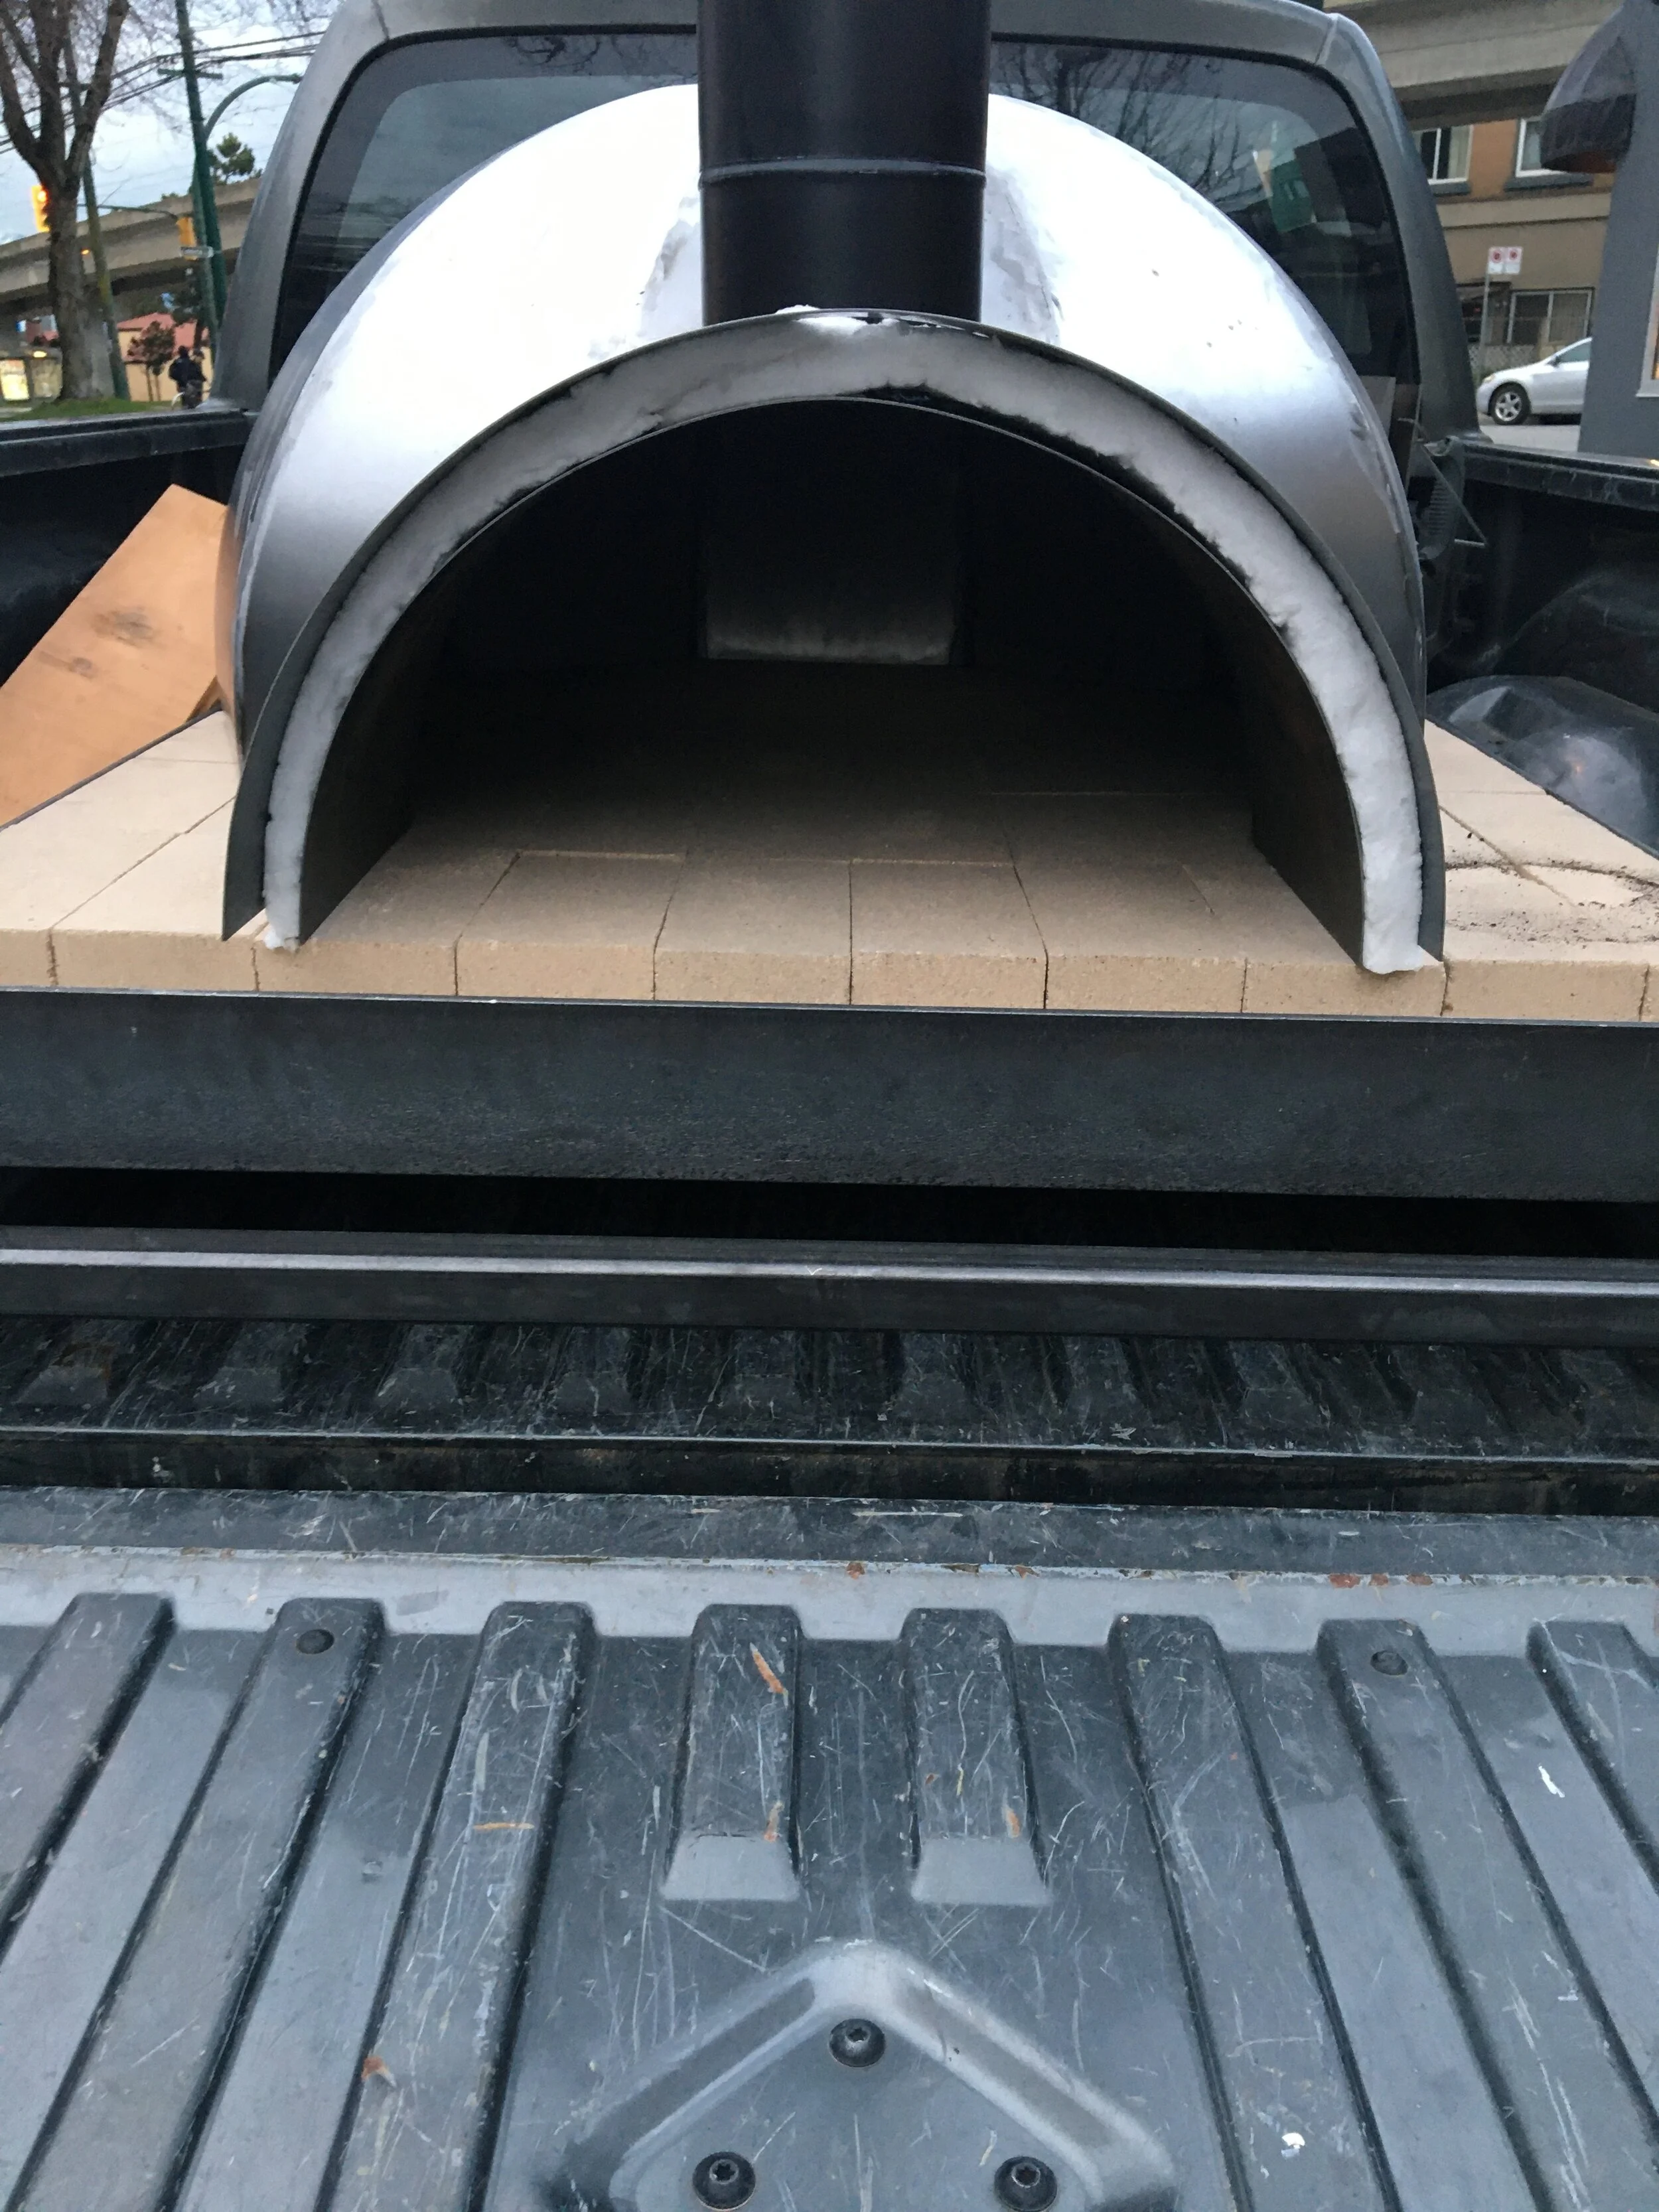
The insulation board took a while to find from the best vendor, and I am still not sure how well it will stand up to time and weather being this exposed. Its intended to go behind fireplaces and stuff within walls. Regardless, it is light as a feather and rated to 1900F or something. It was pretty fragile, but I was able to cut it up easily and cover the floor.
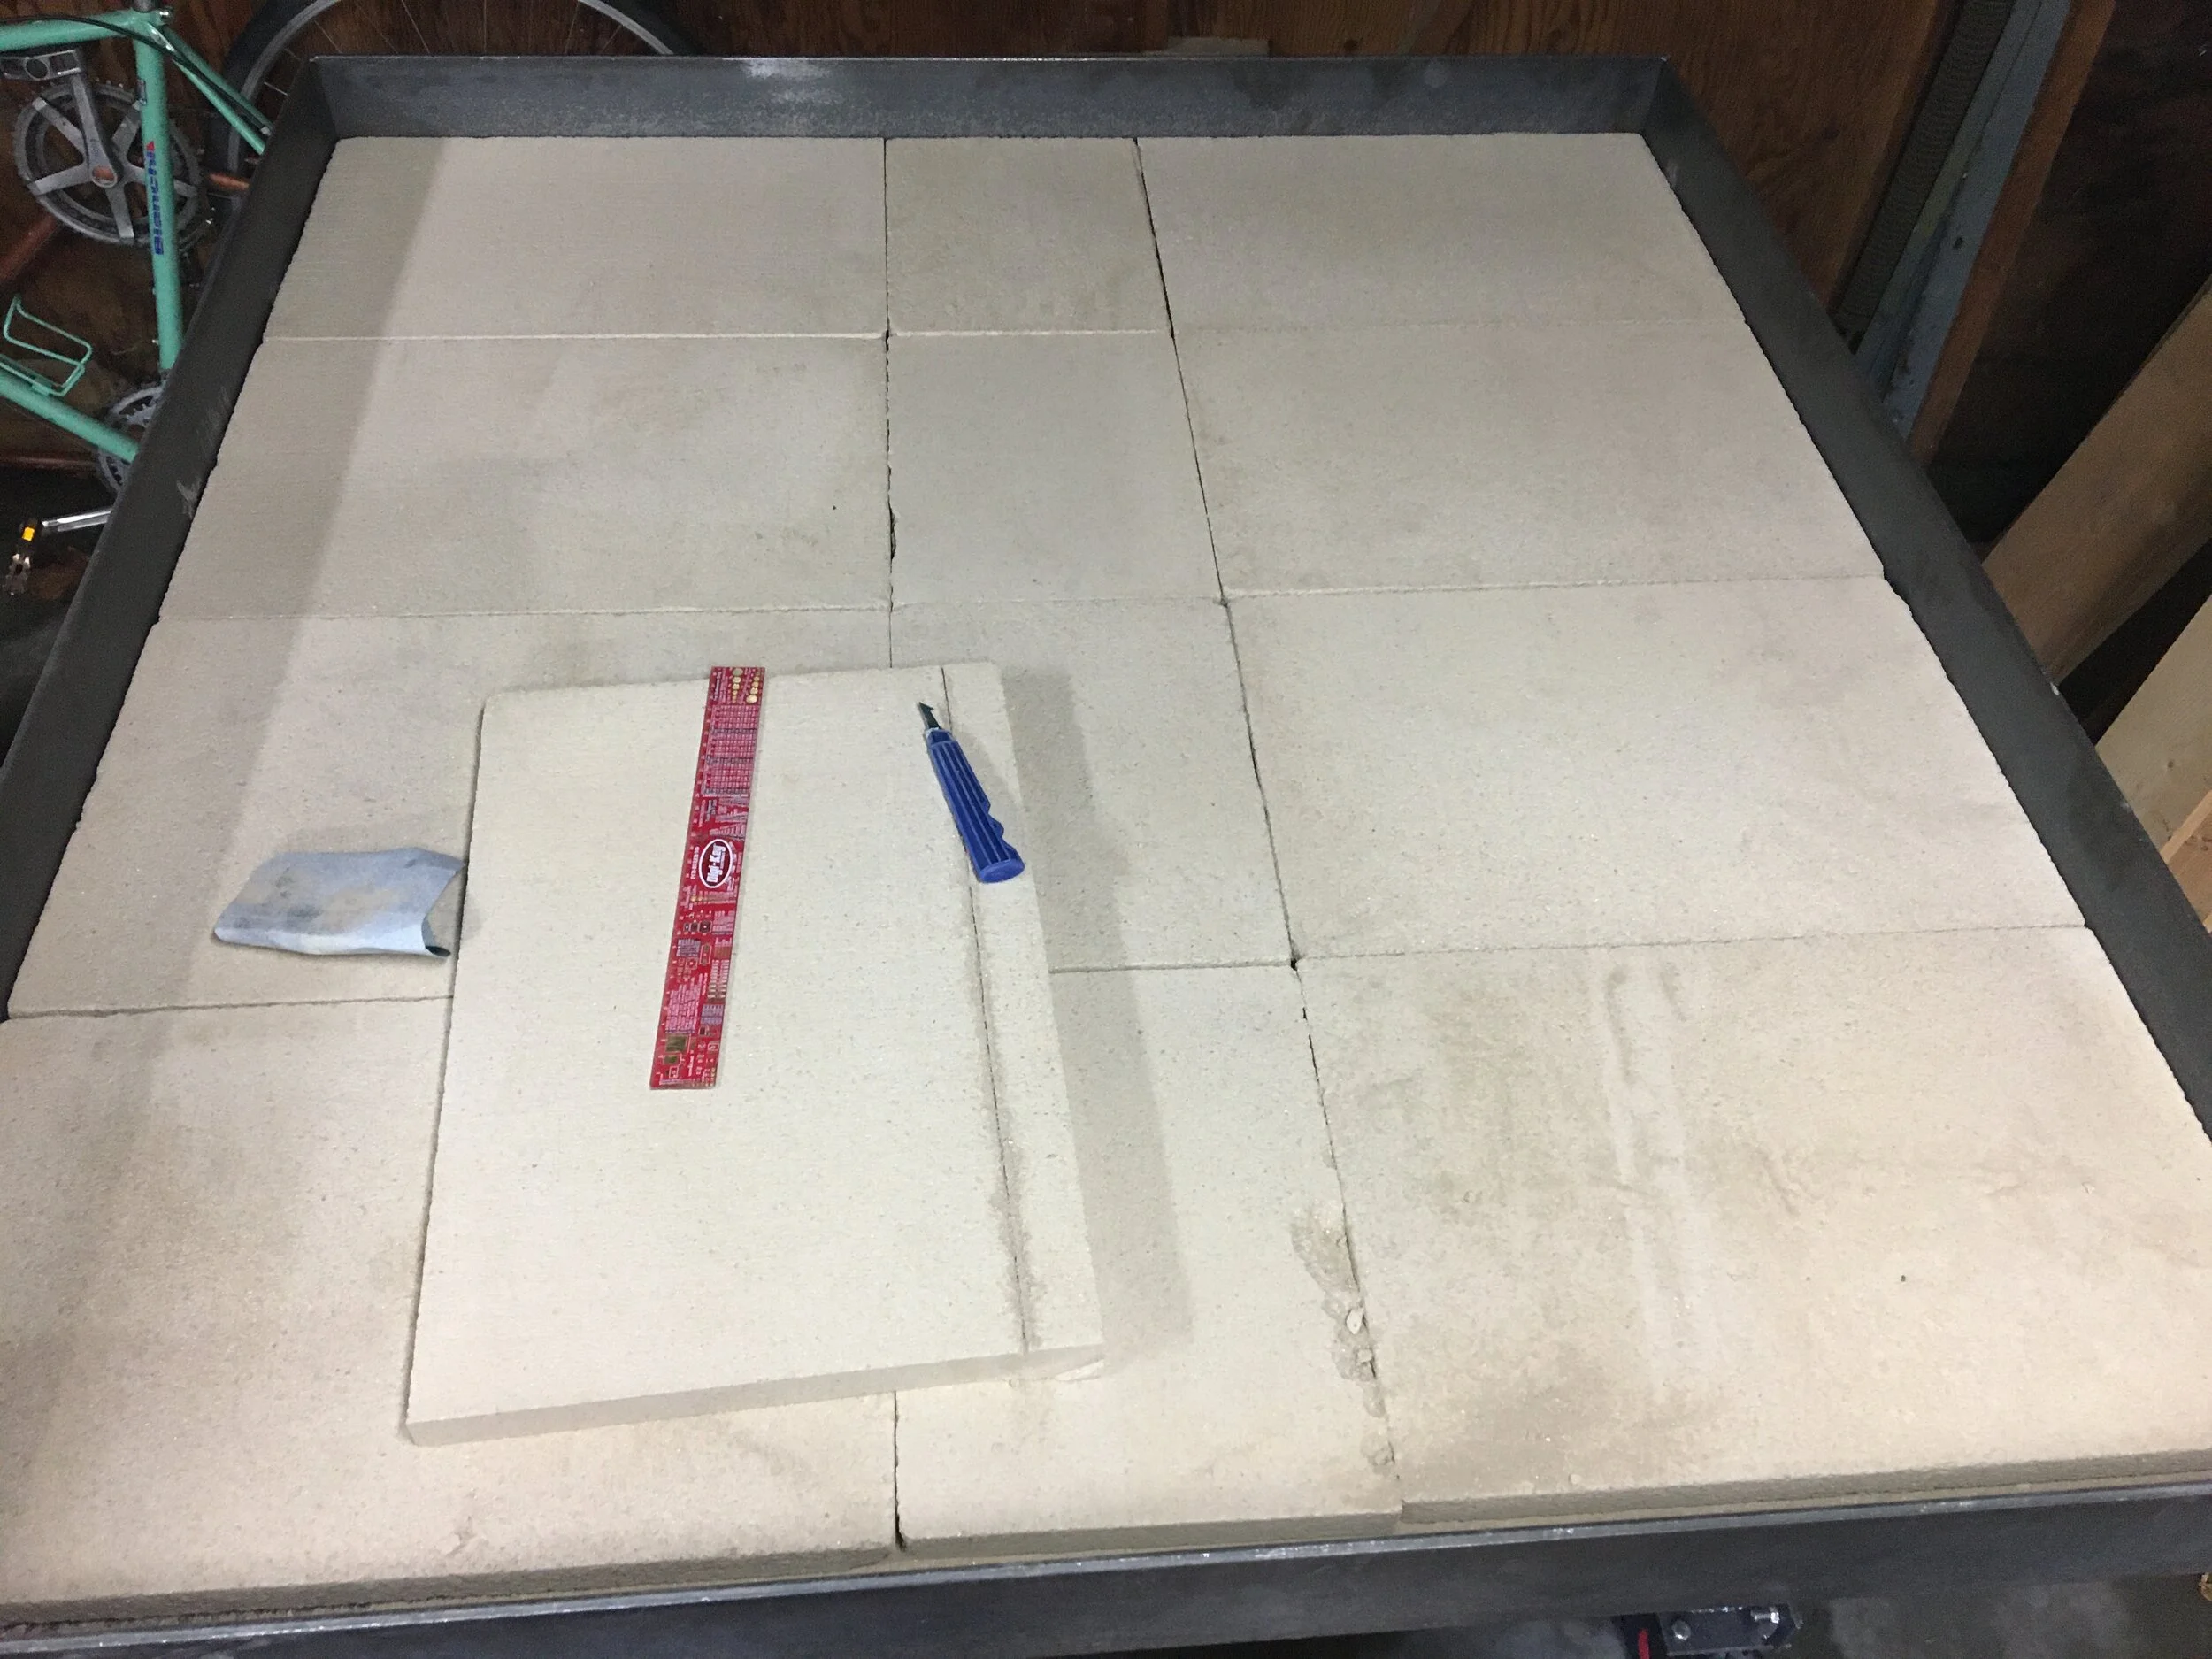
Next came the bricks. They slotted in nicely, except I needed to cut a few for the border.I got a tile blade for the angle grinder and ripped through them like how I go through butter (I am taking over butter related expressions). I fit them in very tight, and had to pound them in. They are also quite fragile, so I am worried that excessive travel will cause them to crumble. We’ll see I guess.
Before I put the lining on, I did a test run on the back of the truck, just because I was so anxious. After struggling for about an hour to get it half way on the truck, I realized I would never get it off again if I got it on. This was mostly because the legs were about 4 inches higher than I had planned, and I needed to use a jack to get enough pressure off them to remove them. When the first two legs were off, the whole thing was angled too much to get the back two off. So I spent another hour and a half wrestling off again.
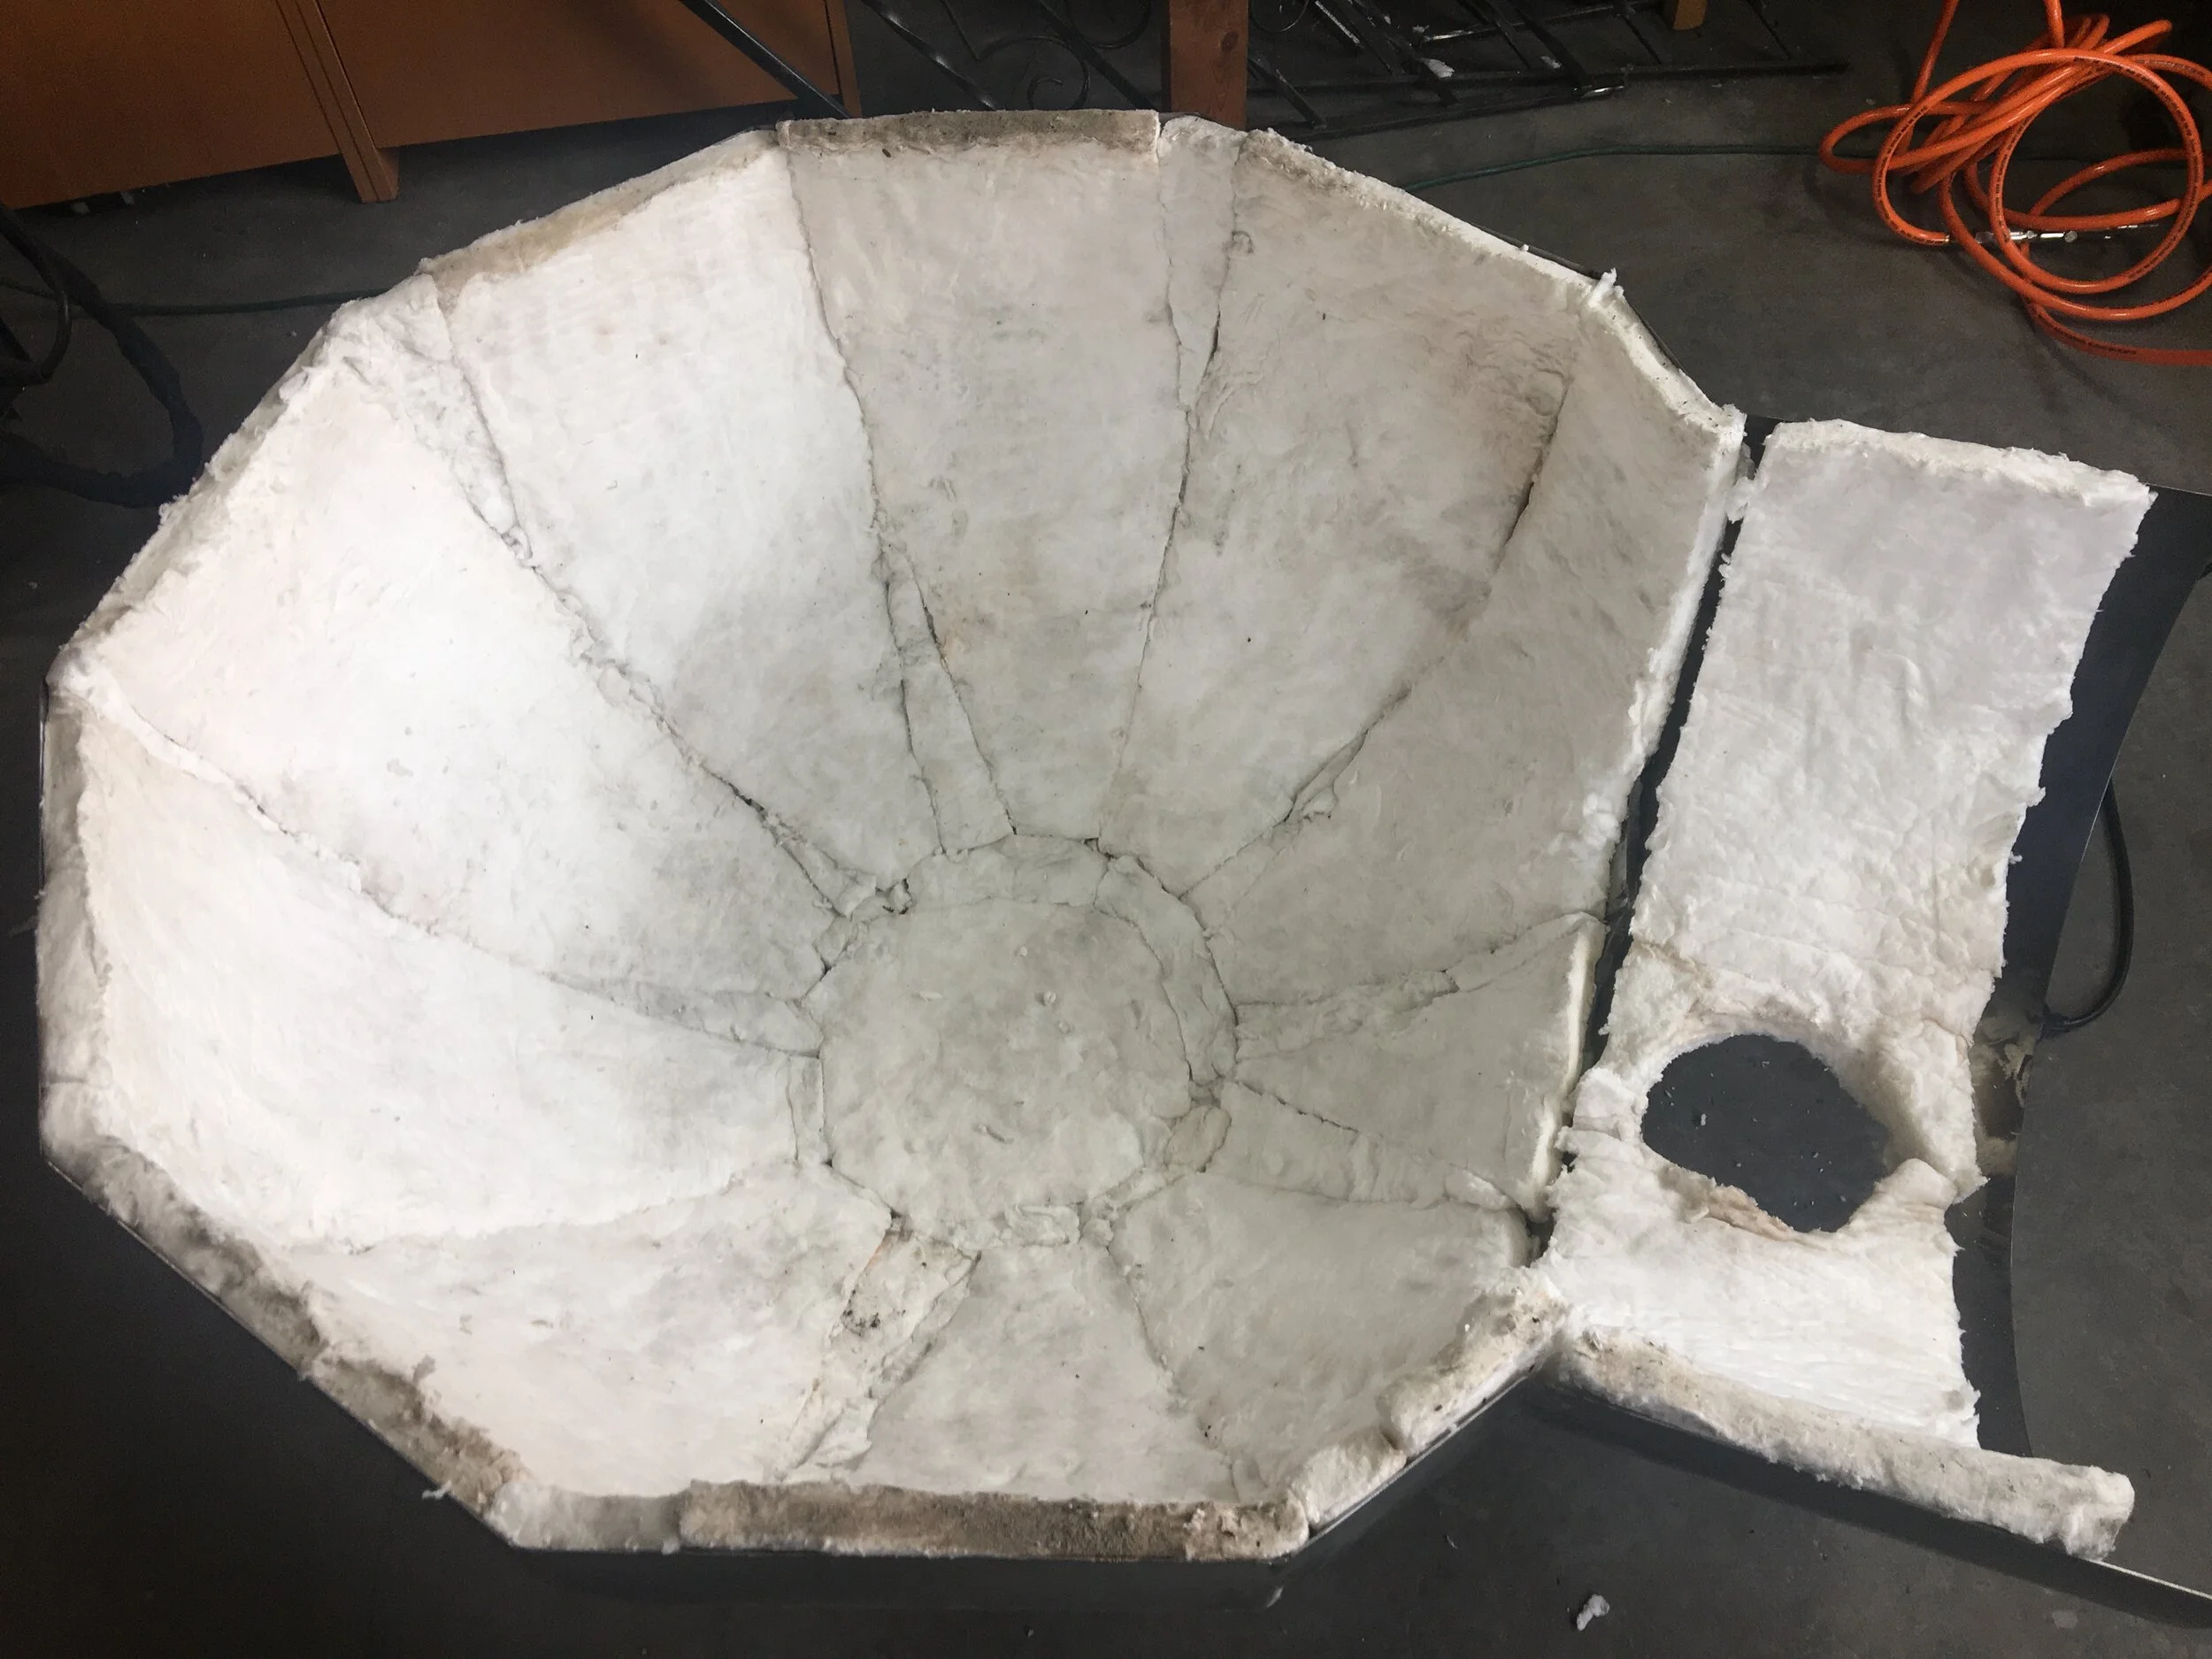
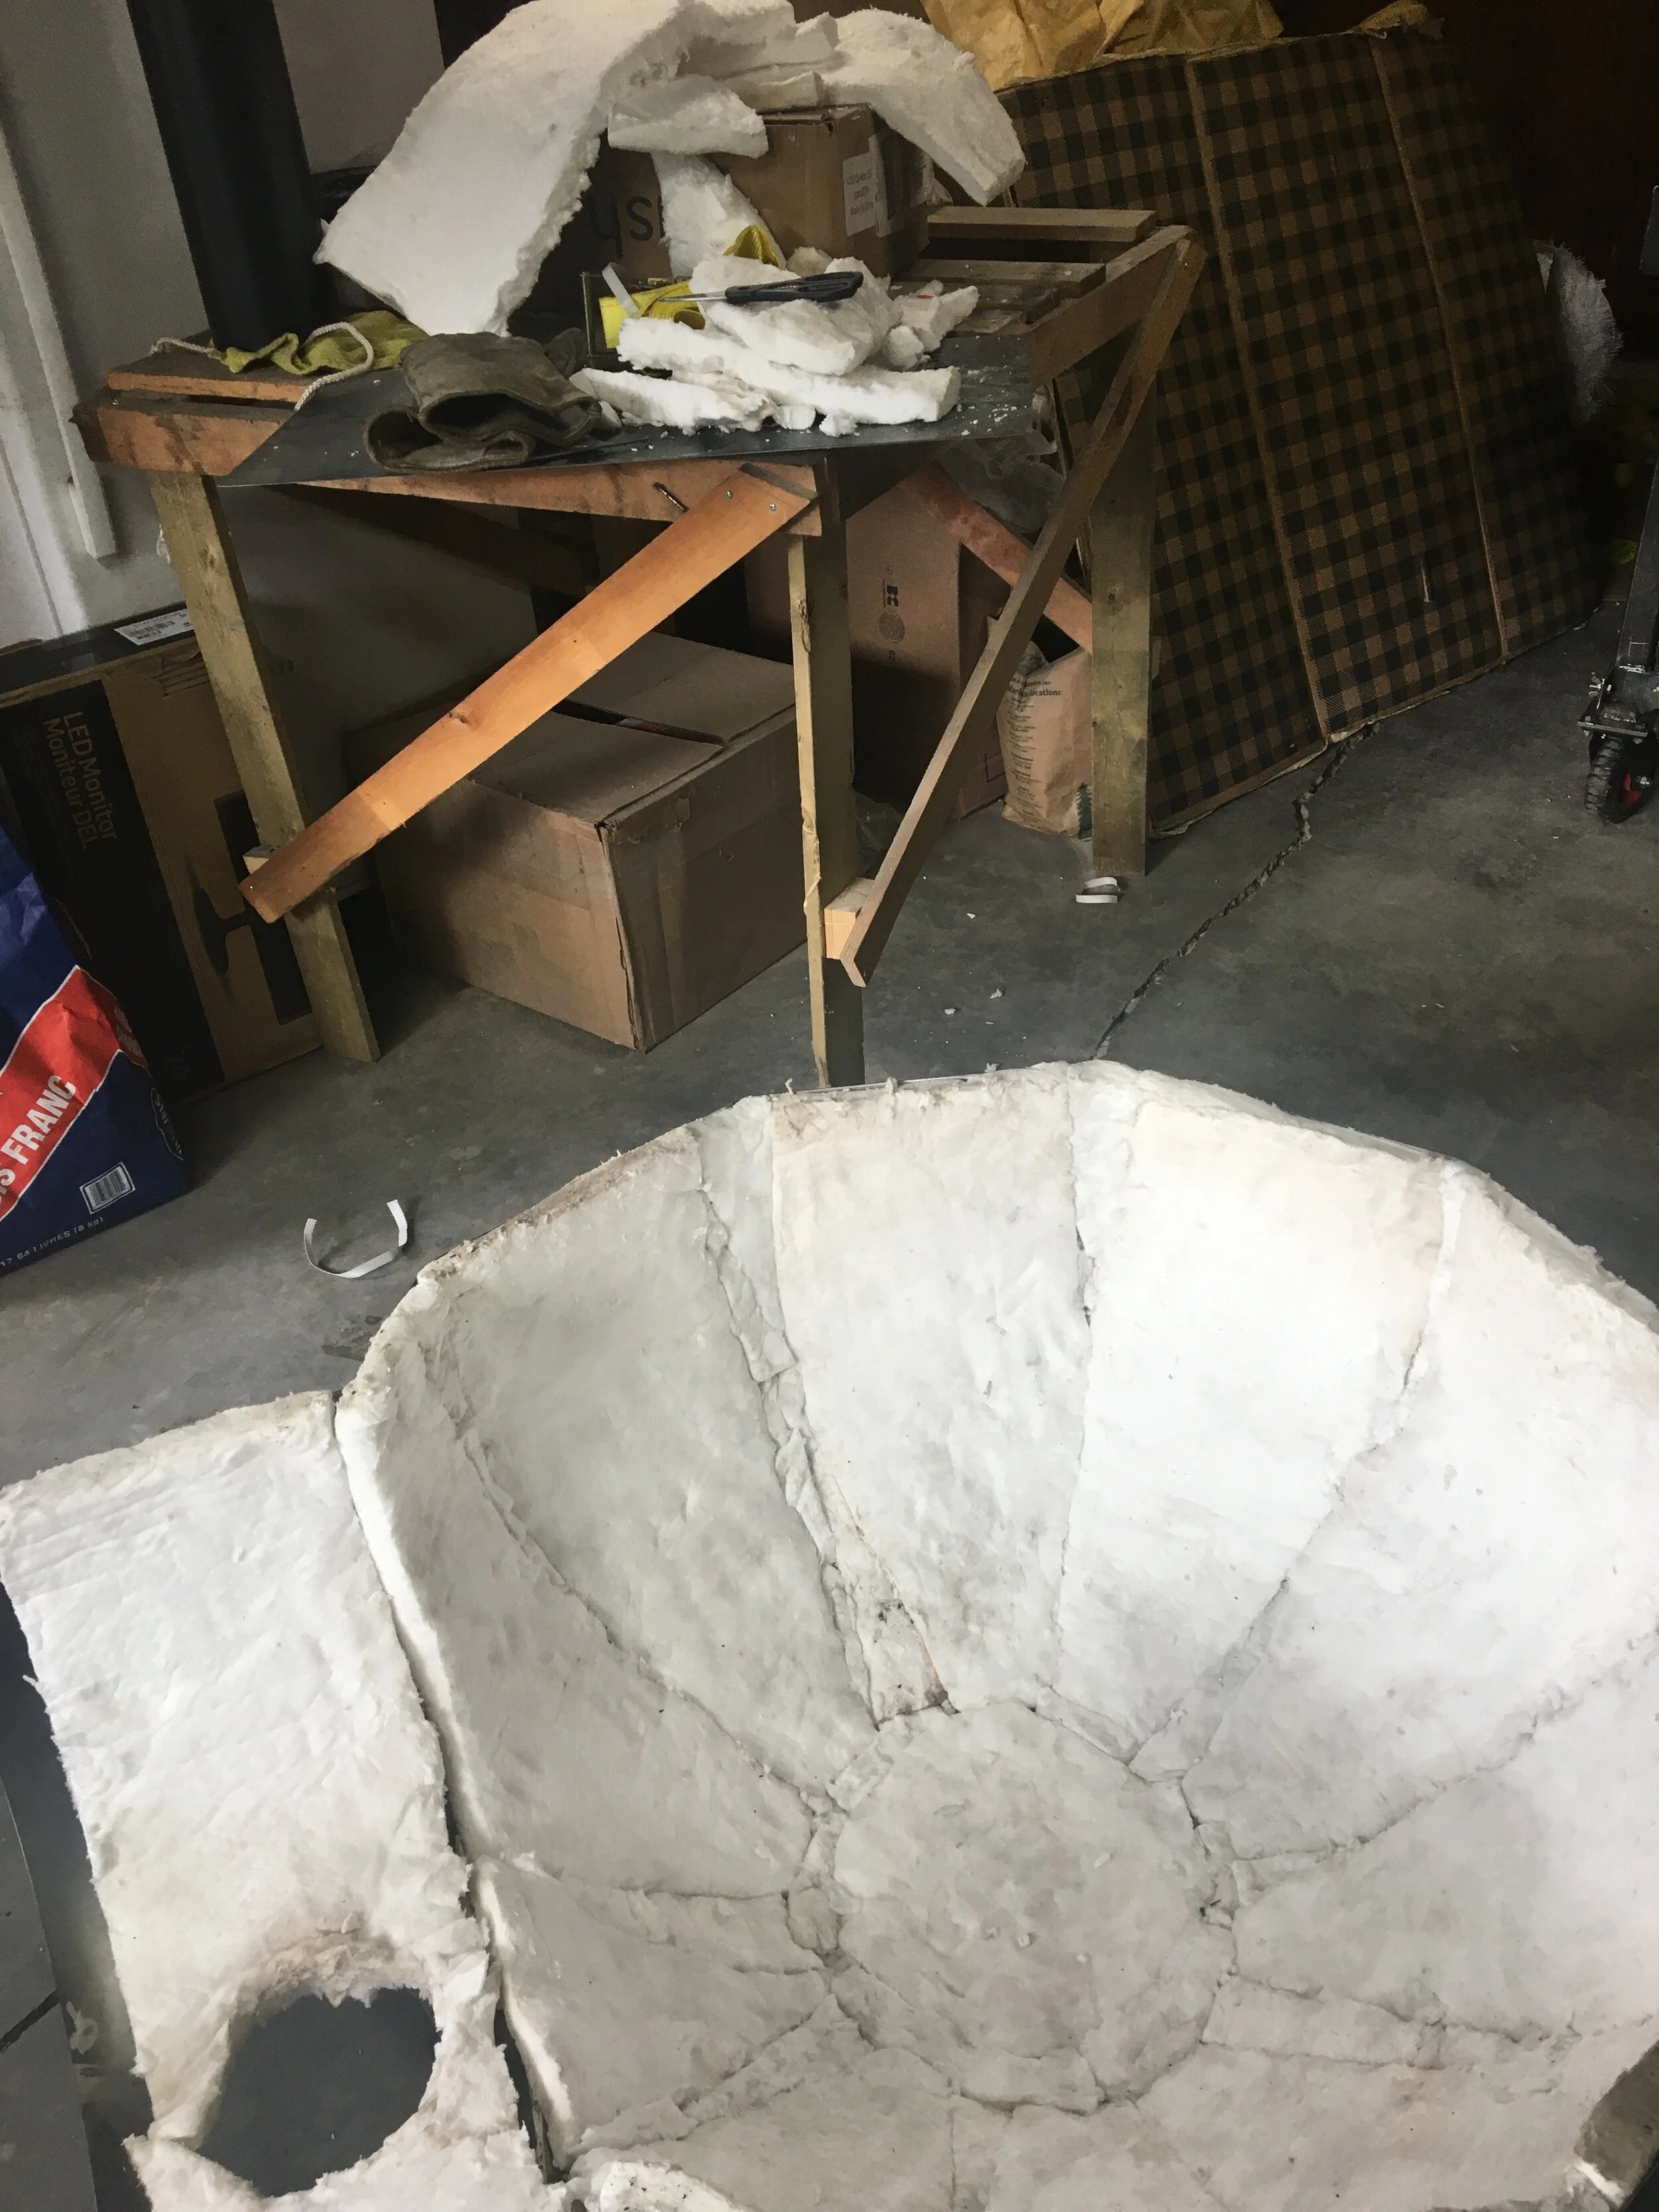
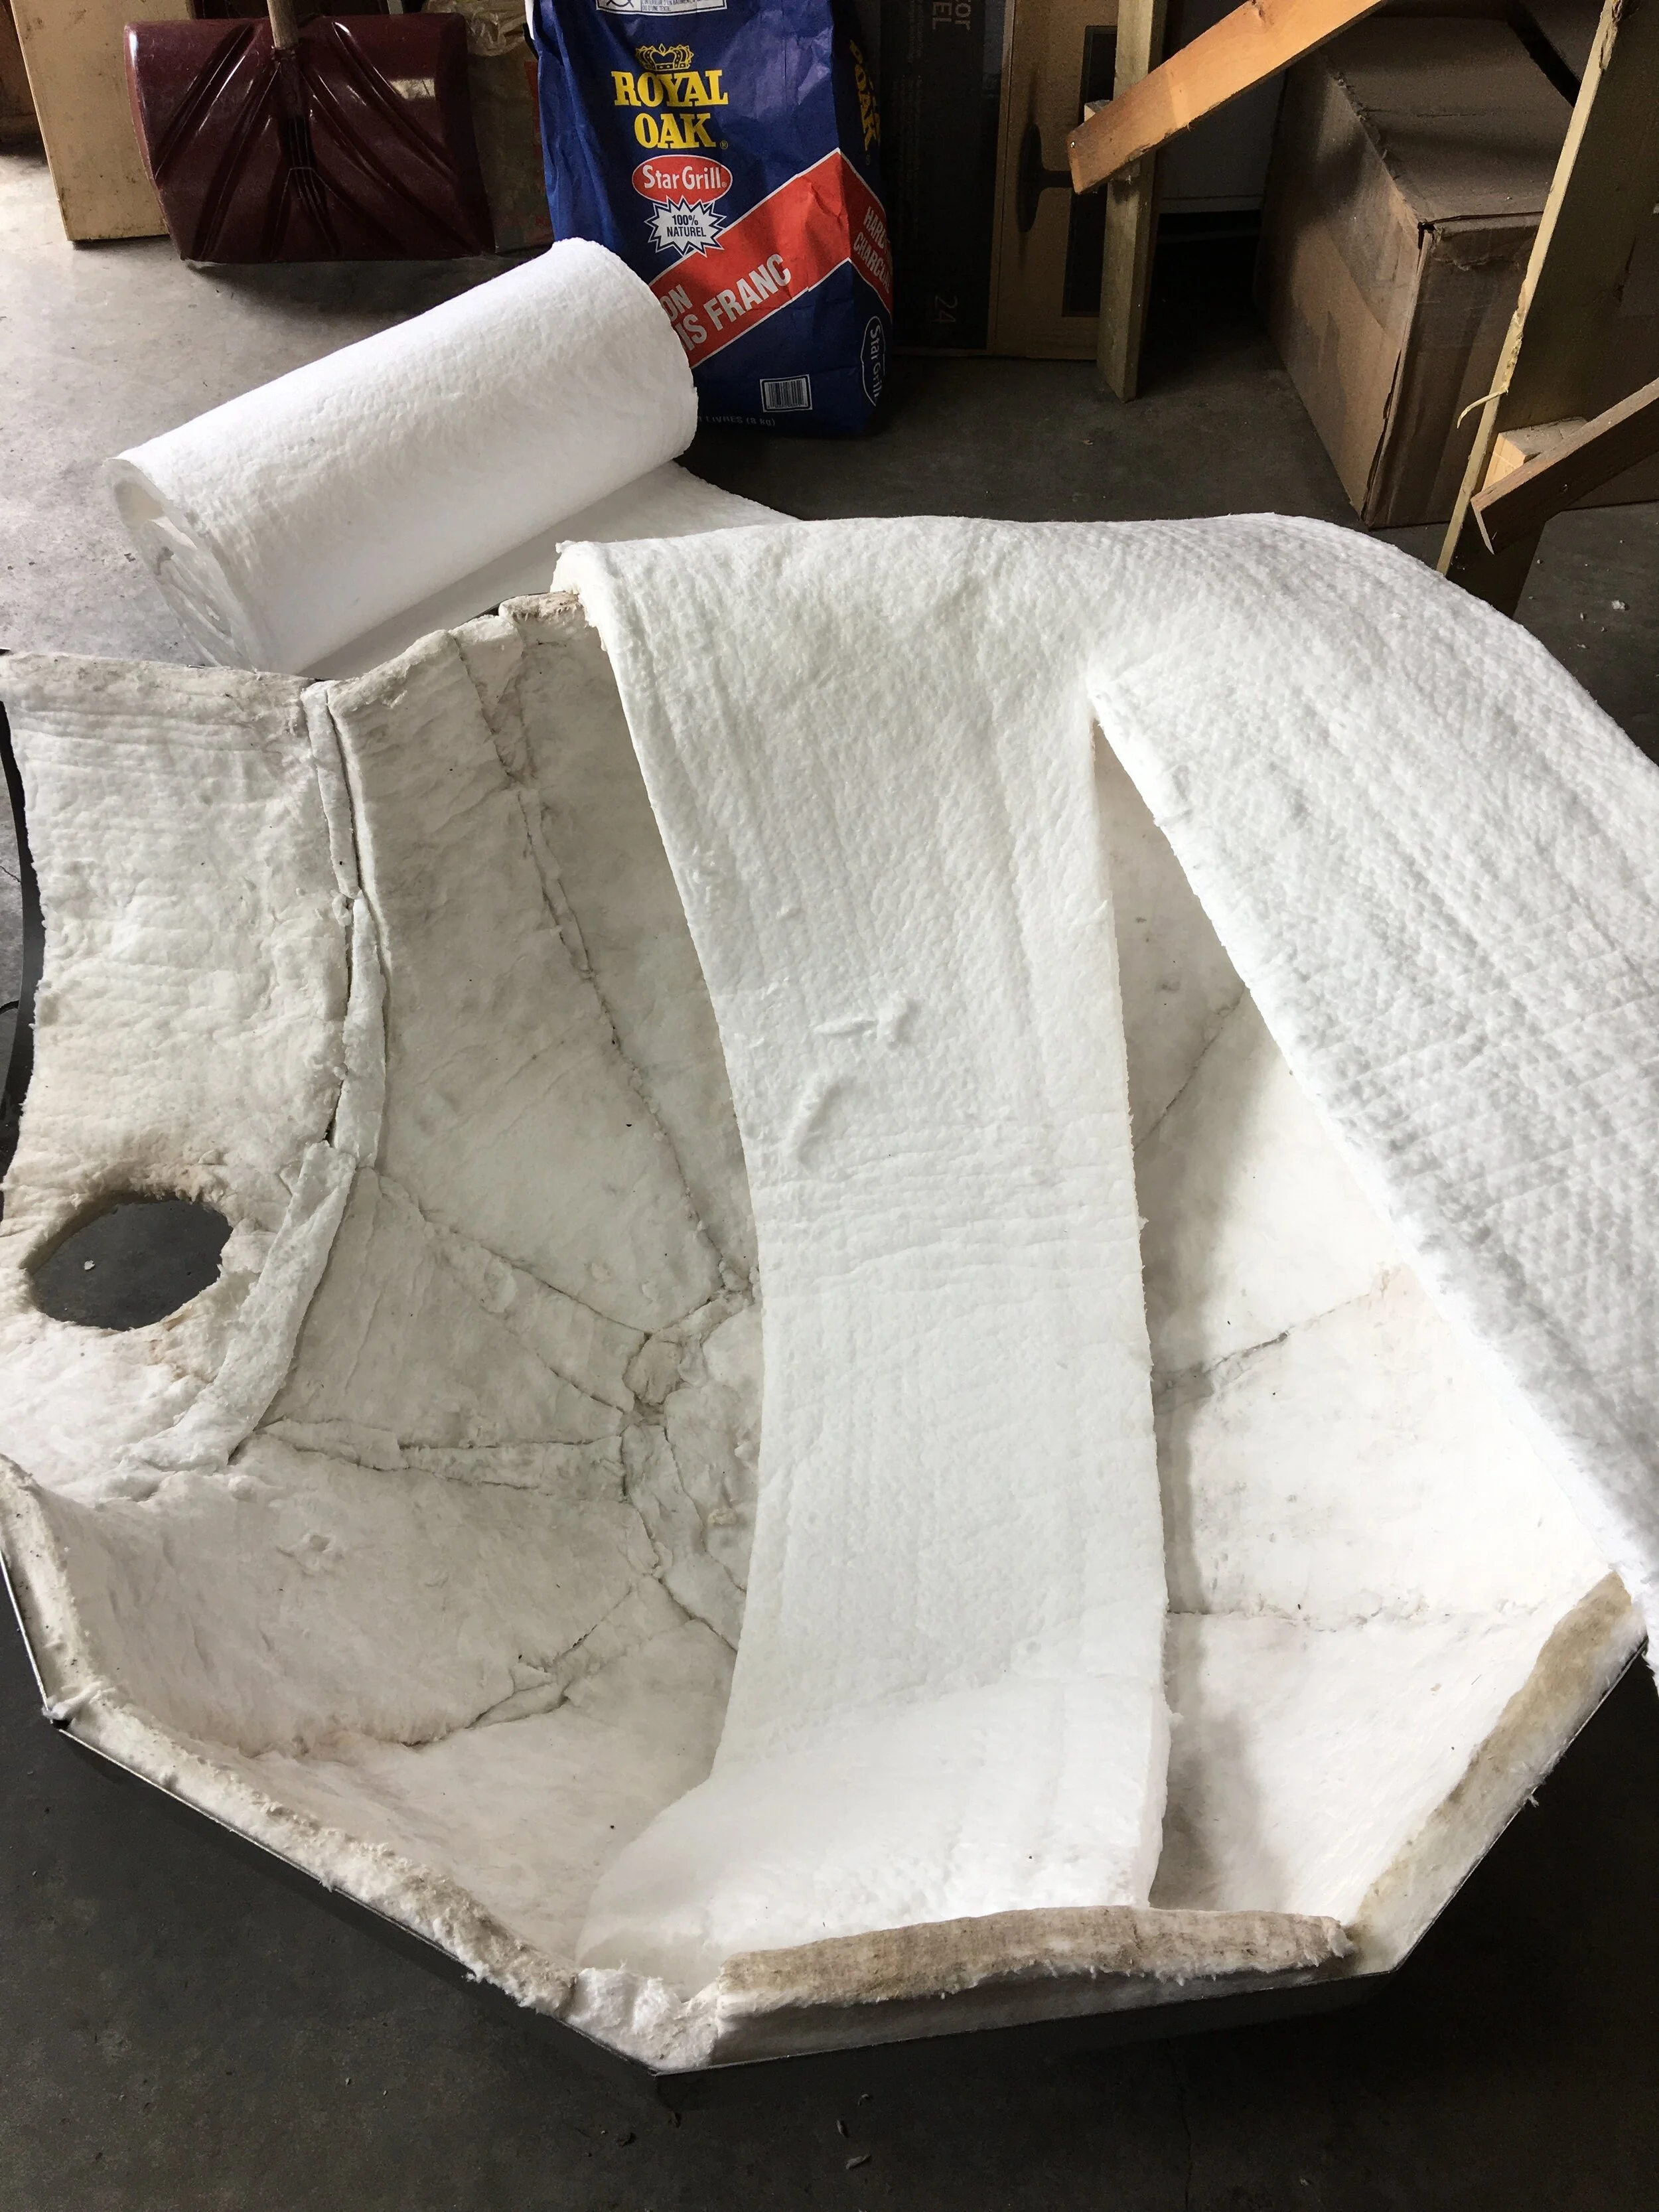
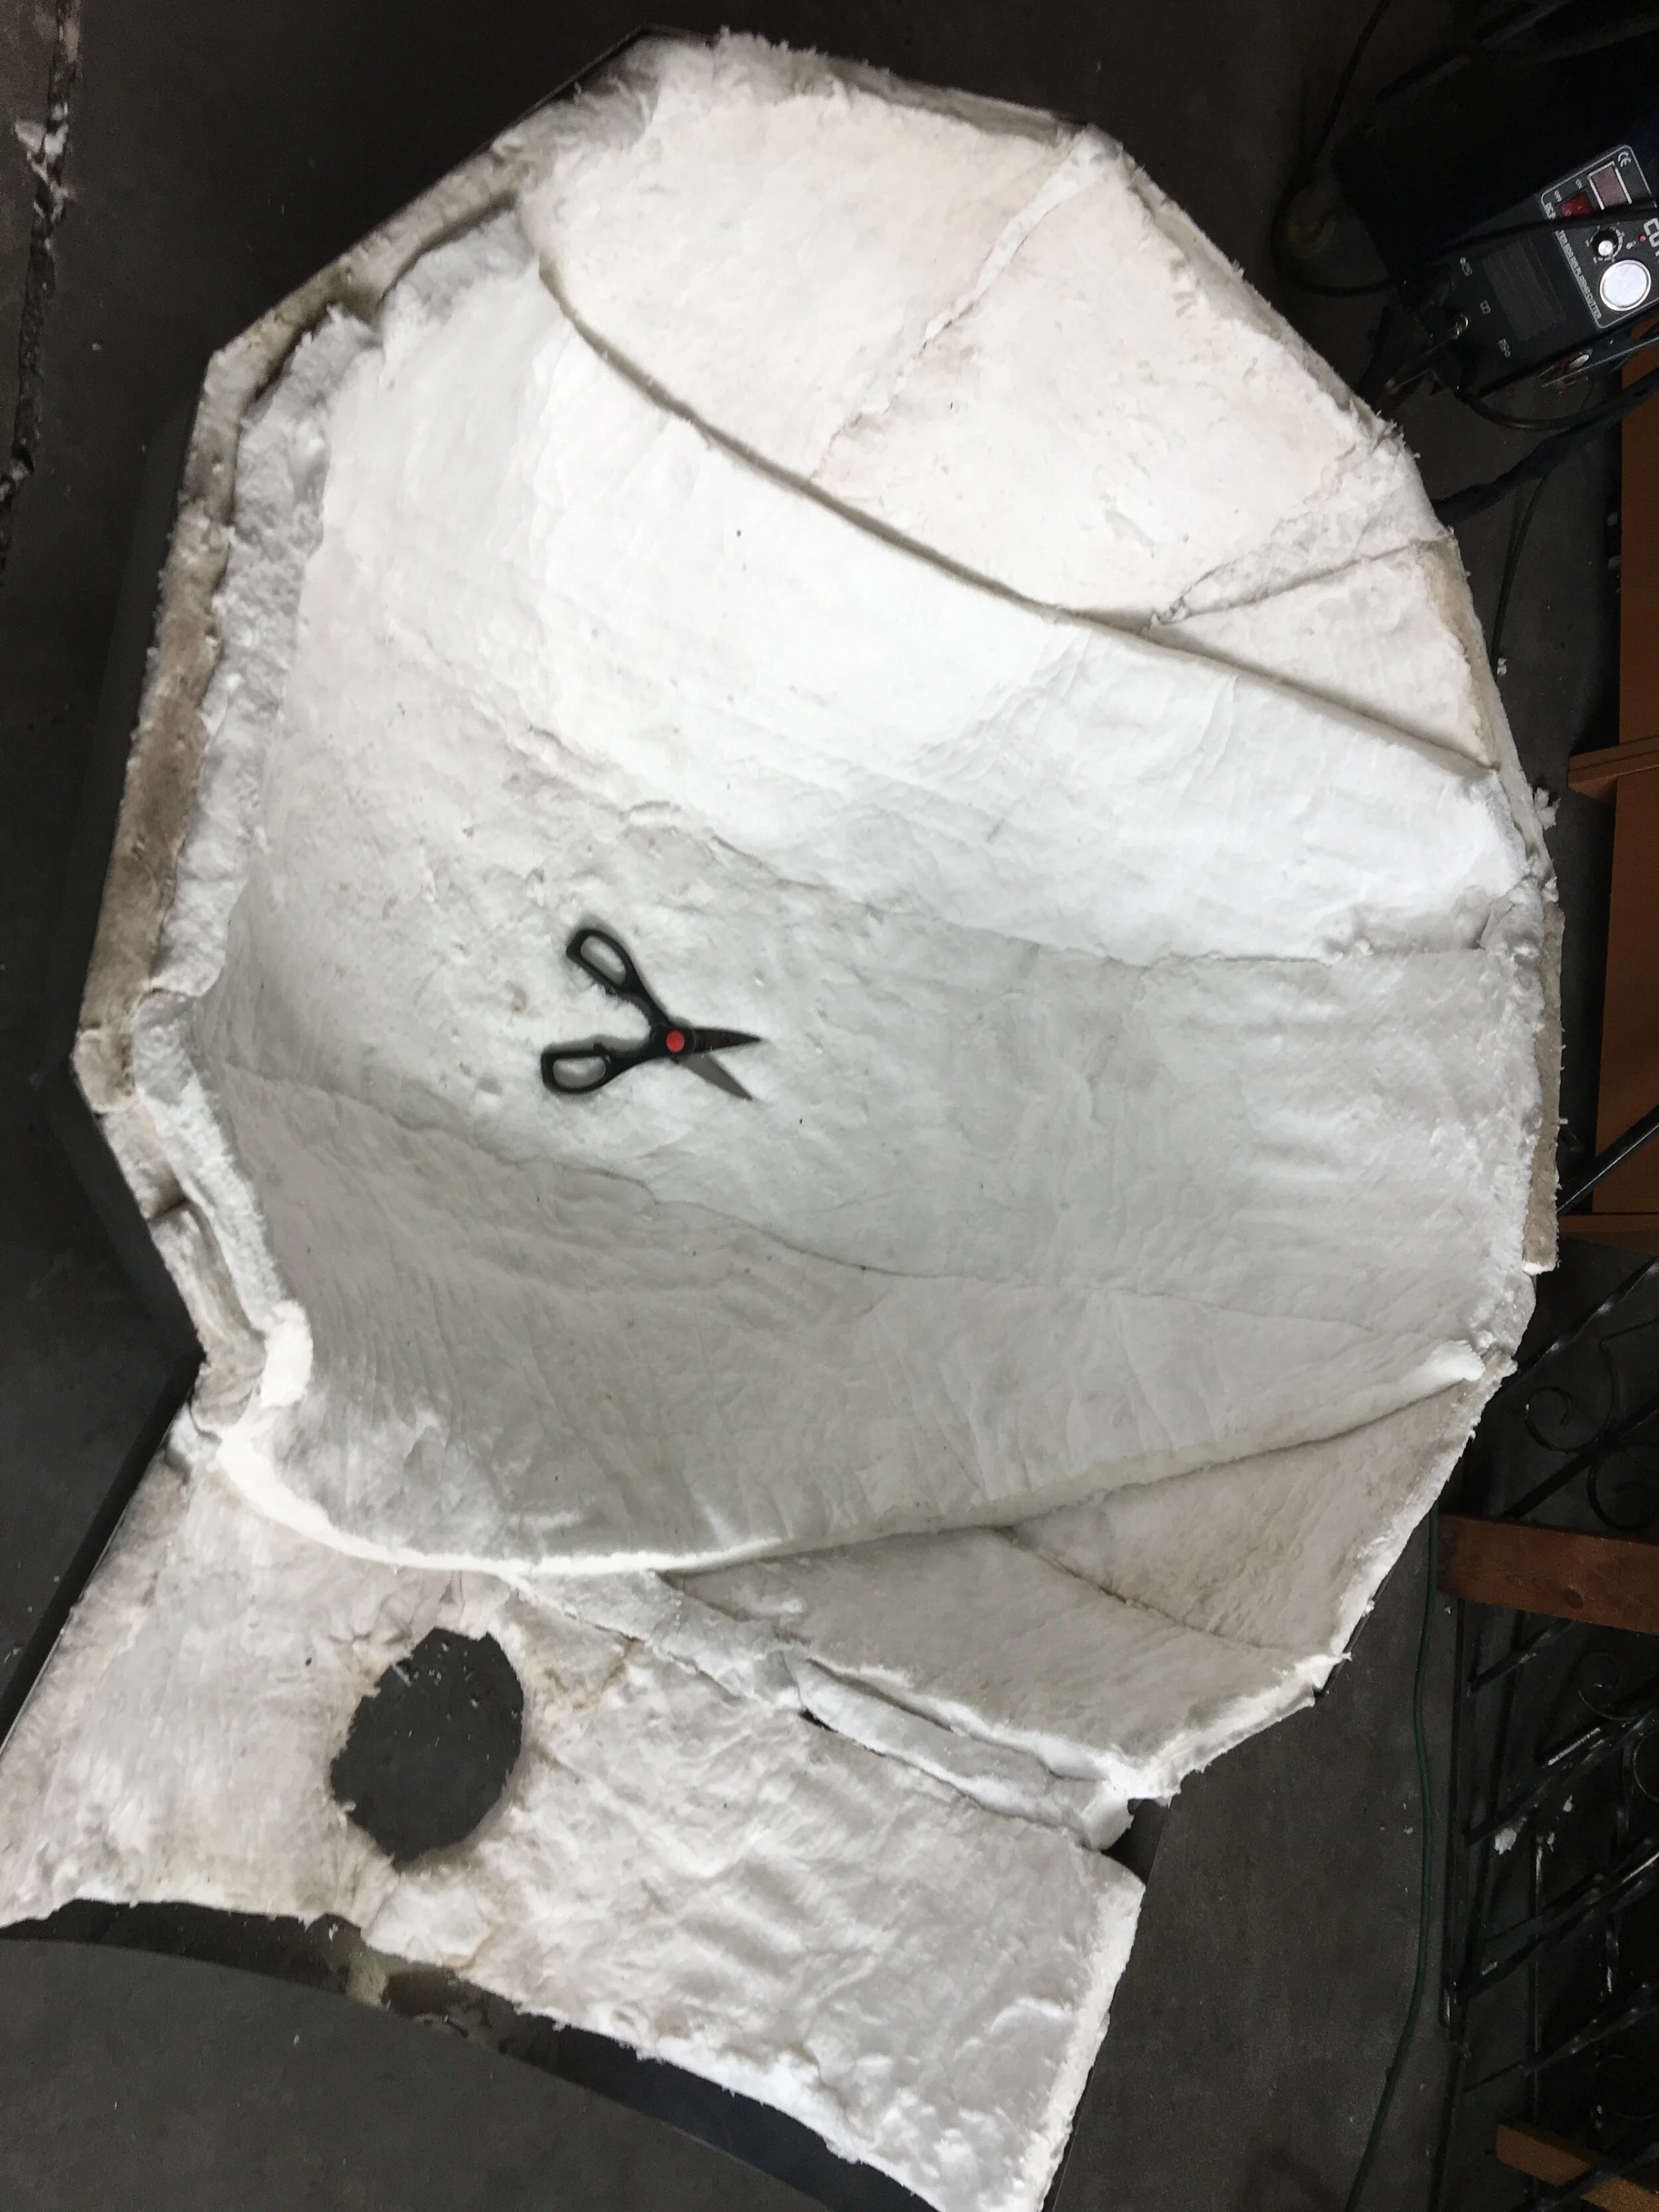
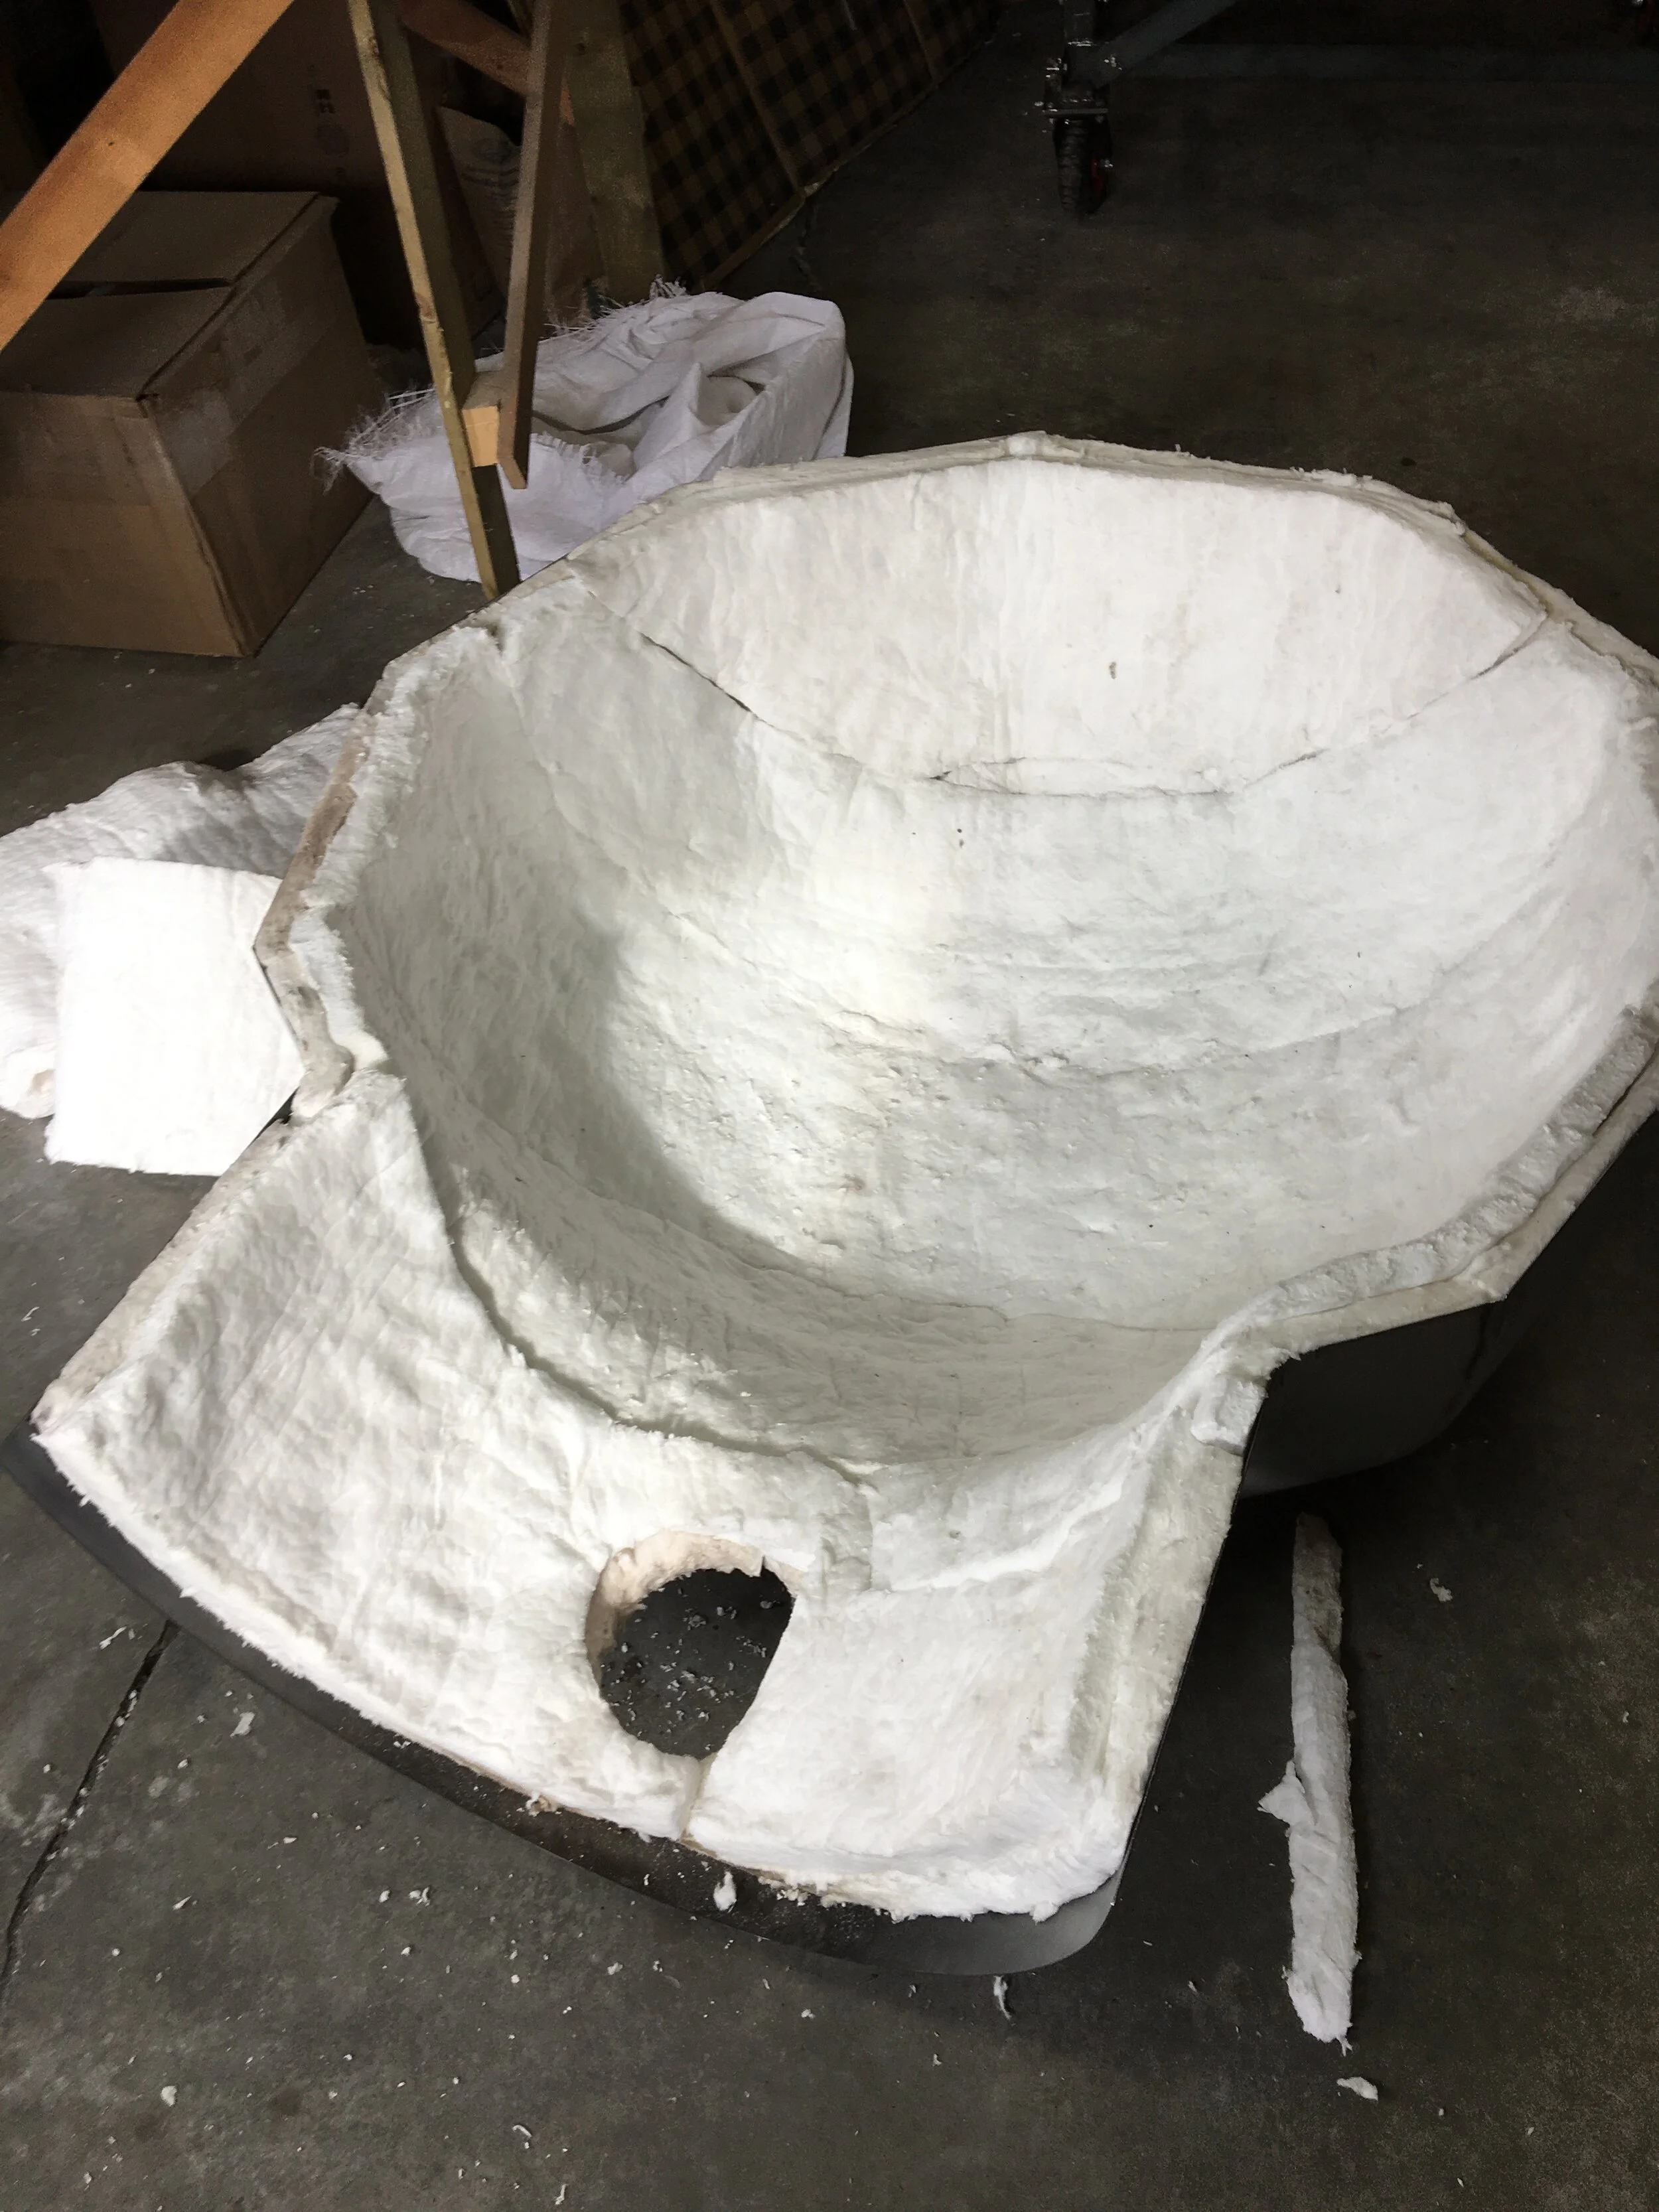
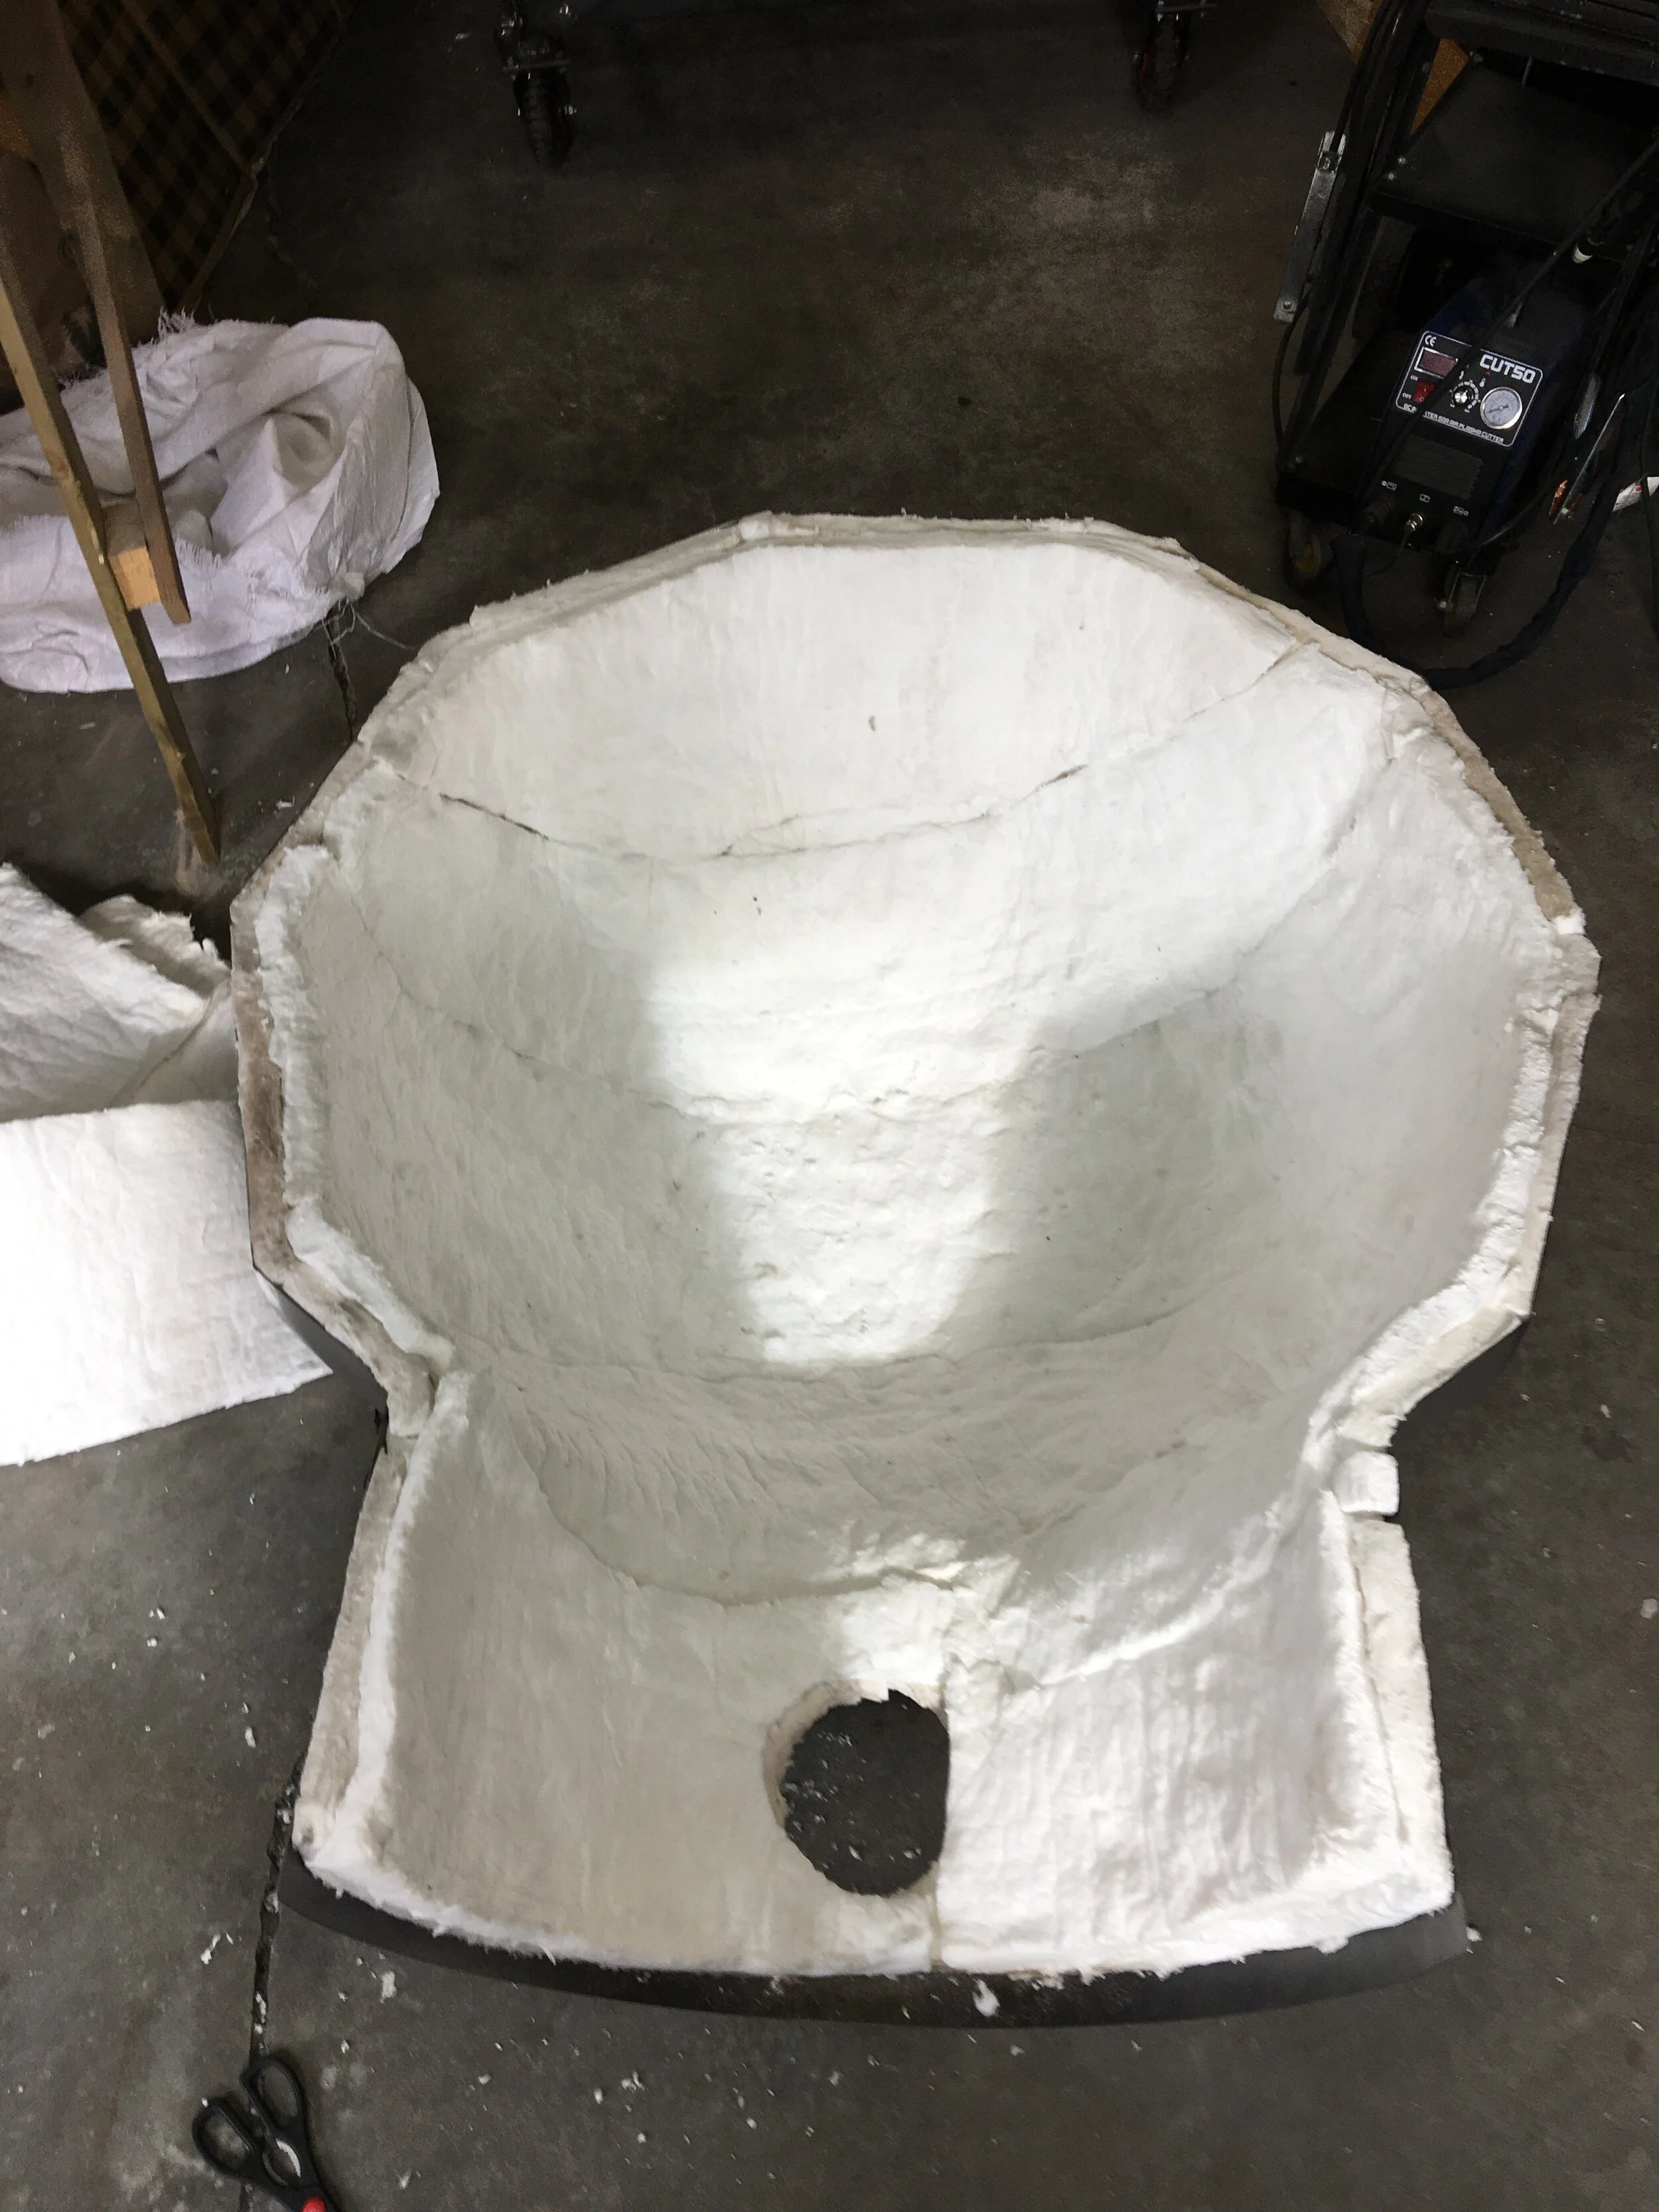
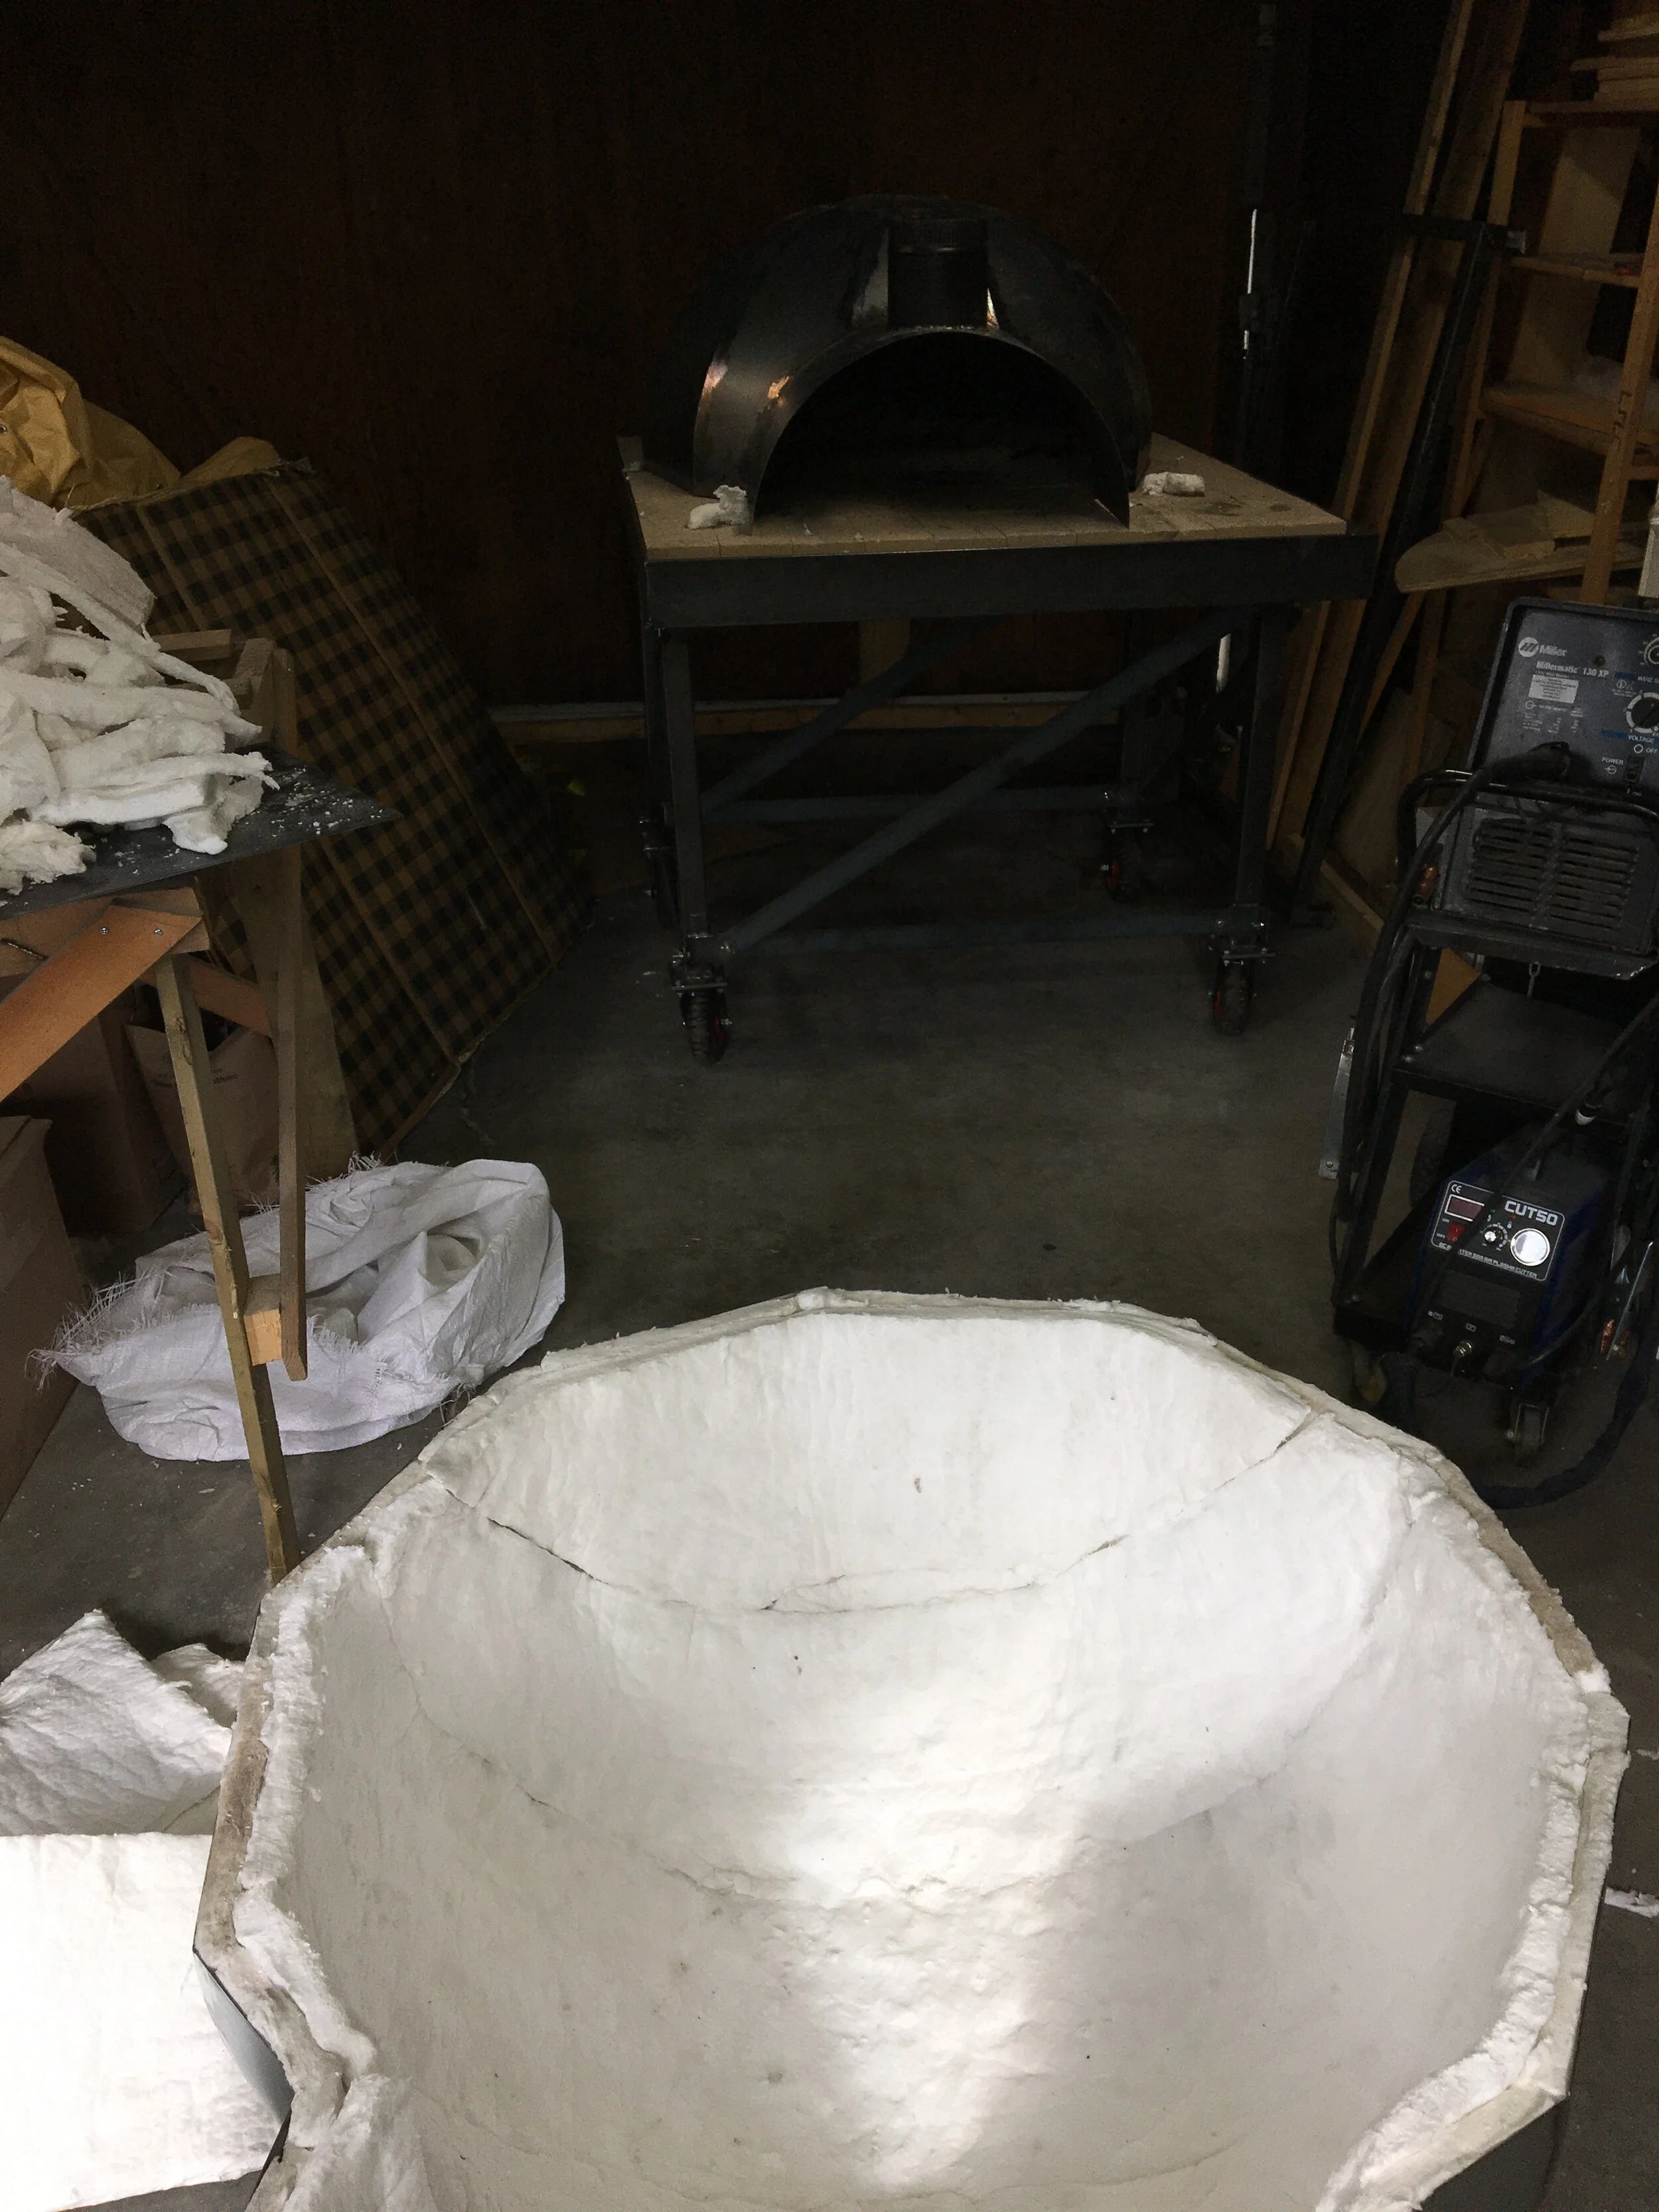
I was planning on firing it up in two days, and had a lot to do before then, so I got to work on the lining while figuring out a plan for on loading/off loading. The lining was a total pain. I felt like I was handling asbestos, and even with my respirator I could feel my throat and skin getting very itchy. I had purchased Ceramic Fiber Blanket off ebay, which was also rated for something like 1900F or 2200F. After the incident with the chimney where I needed to cut a large whole to make the domes concentric, I was worried there wouldn’t be enough space for two layers (2”) of insulation, as I had originally planned. I was correct! One of the hardest parts was getting insulation to fit, and even after it looked like a perfectly sewn spinnaker, the inner dome wouldn’t sit flush. It was being propped forward by the insulation. I jumped on it, I made this funky wooden plank thing and tried to use ratchet straps to press them together, but it wouldn’t blend.
In the end, I ended up trimming away enough of the insulation to that the domes were almost flush. I welded small metal tabs around the inside of the inner dome so they would just stick out beyond the outer dome. I crawled into the dome and deadlifted it like I was some futuristic interpretation of a ninja turtle. Once it was on the bricks I ratcheted it down until I could weld the two domes together at the metal tabs. It certainly wasn’t elegant, or efficient. But it was functional and I could continue to improve the stuffing over time.
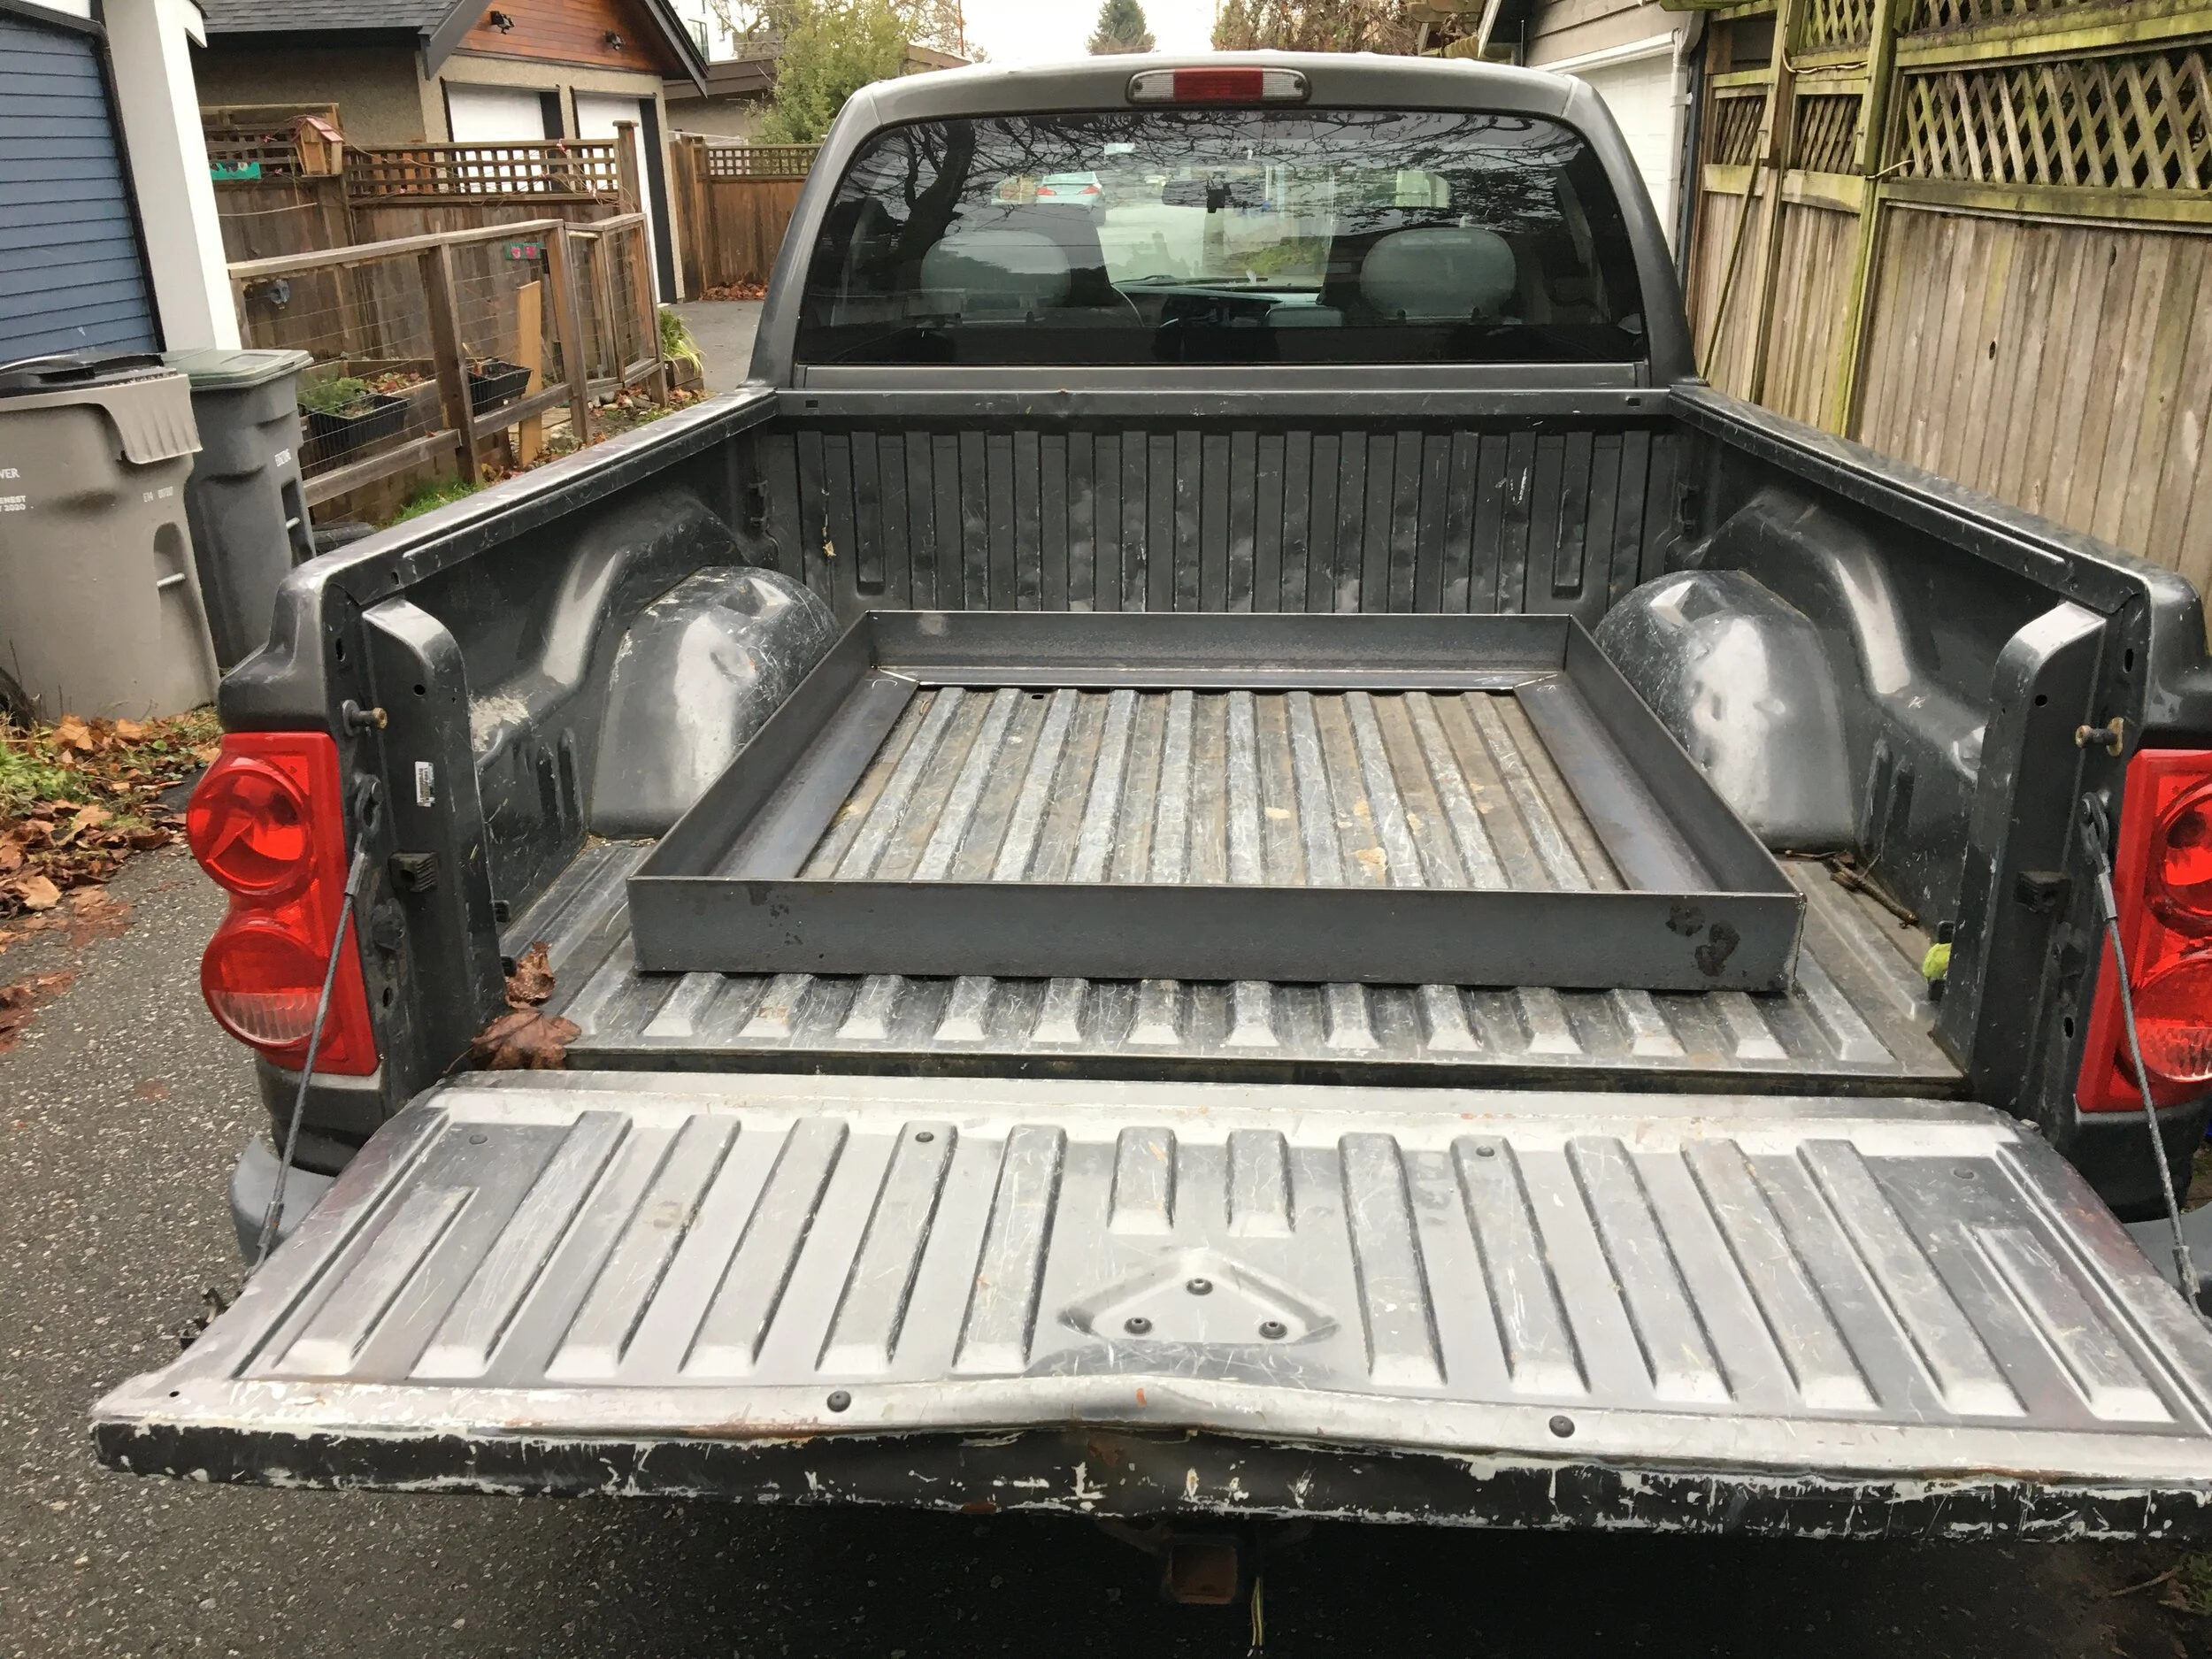
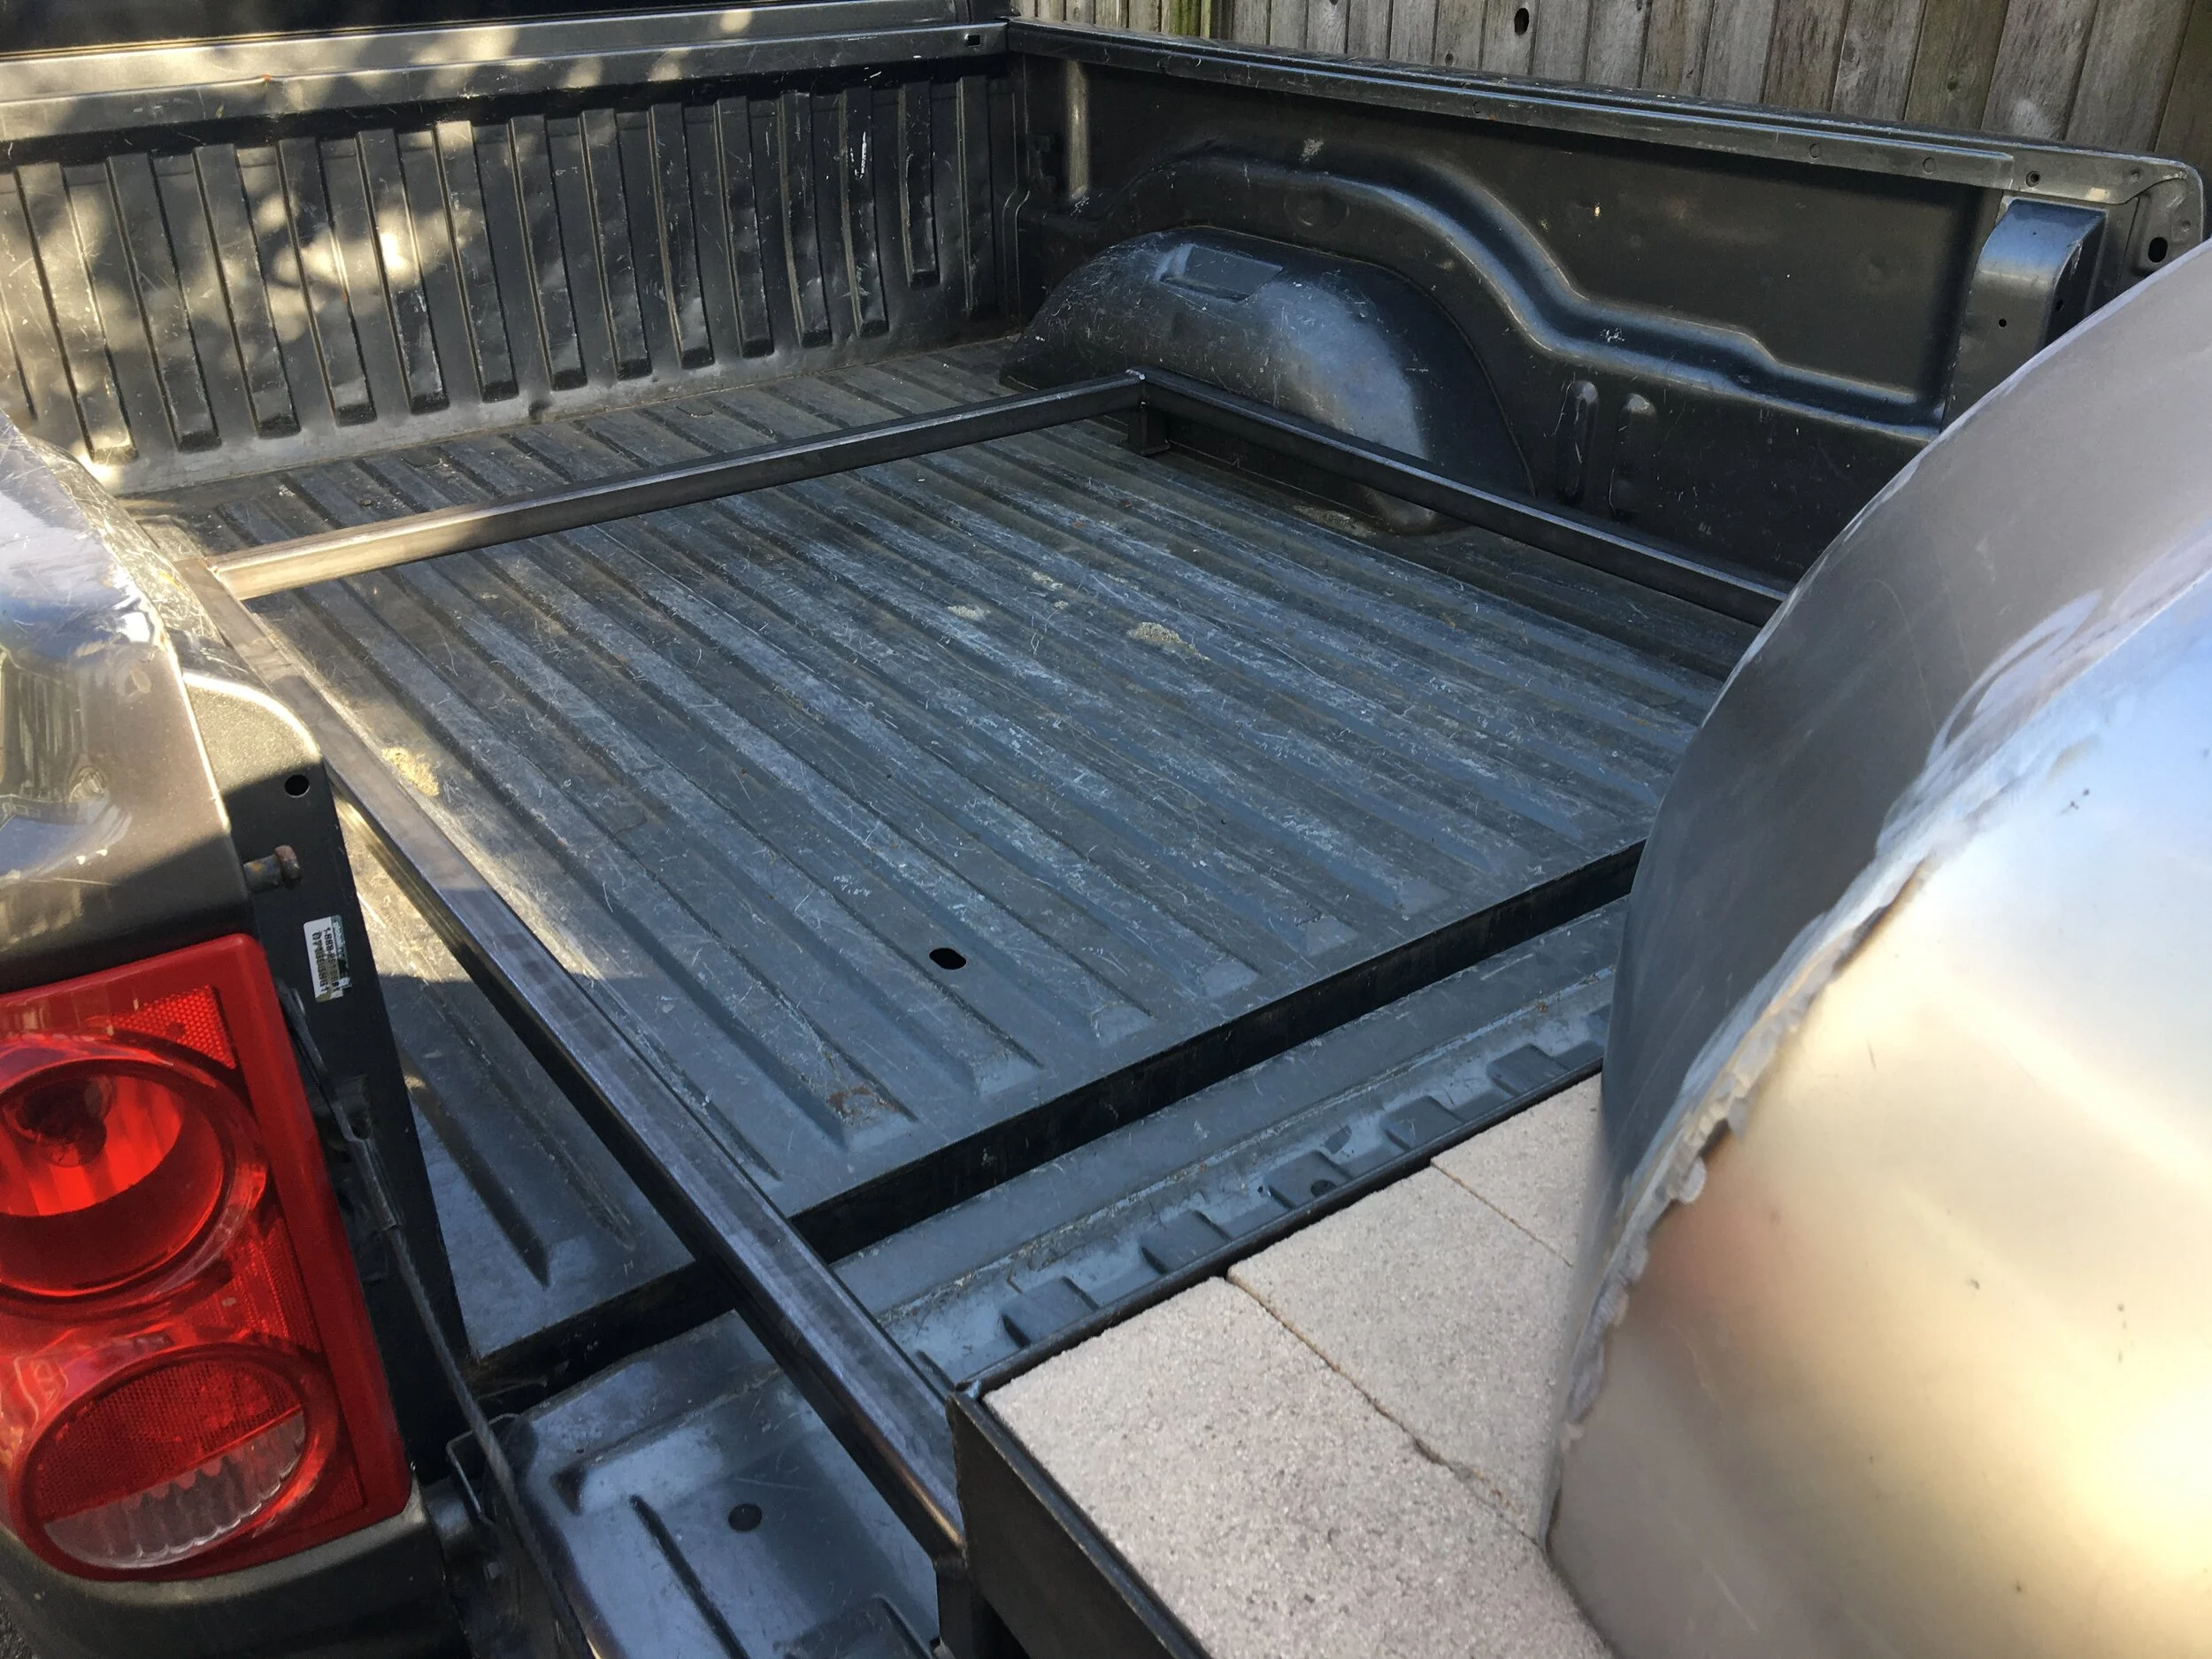
So, I had a functional dome. I think. I decided the best route for improving on and off loading was to build a little rack. I had that in mind earlier anyway, so I could provide more insulation to the truck, but also have a bit of storage space under the oven. I grabbed some 1.5” square tube and threw together a square frame, which was obviously 3” too wide, so I had to cut it apart, trim 3”, and put it back together again. Ouch.
With much less heaving and hawing, by using a scissor jack, some planks of wood, I got the oven on the truck. I ended up perching the oven on the tail gate, removing the first two legs, then putting the truck into reverse to slide the truck under the oven. I was kind of shocked I did not just break the whole thing there, but I was on a time crunch to get to my first test run, and didn’t even know how long it would take to heat up.
At this point - I was confident it would be functional. Maybe not the prettiest, and still lots of finishing touches. However, to the date of this blog post, those finishing touches are still a bit away from being complete. So I’ll end it off with a description and pictures from the first two runs.
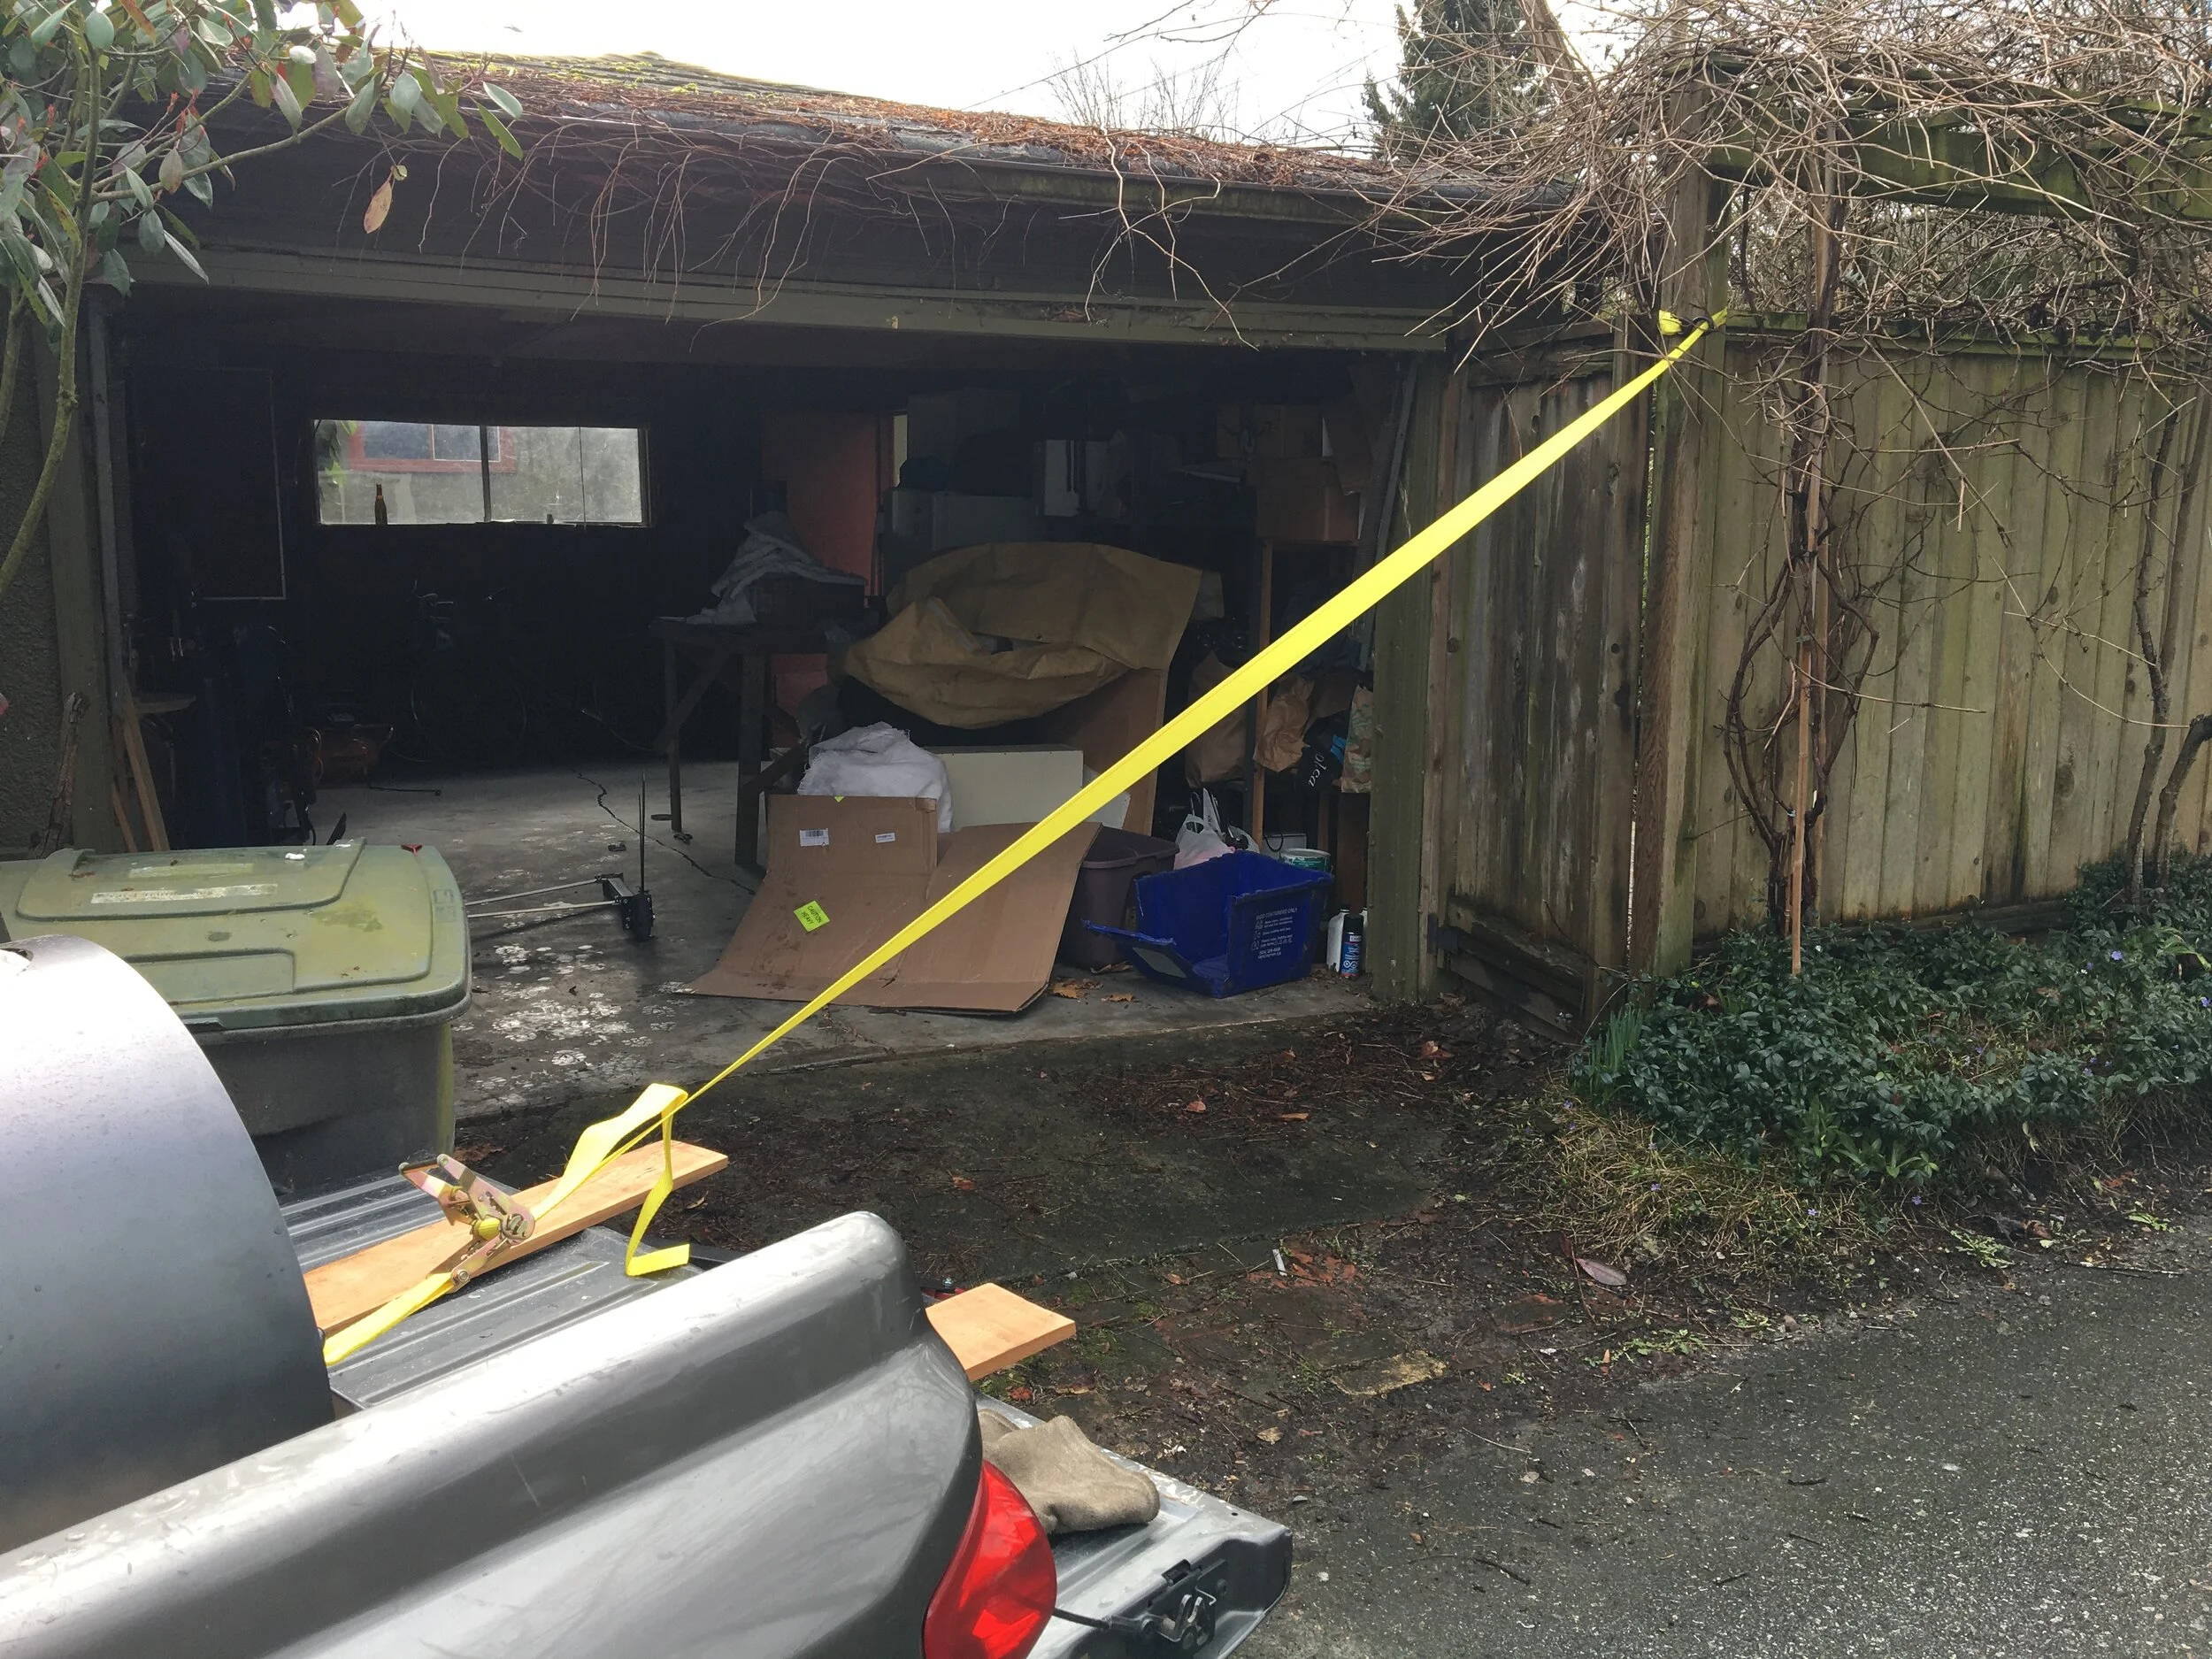
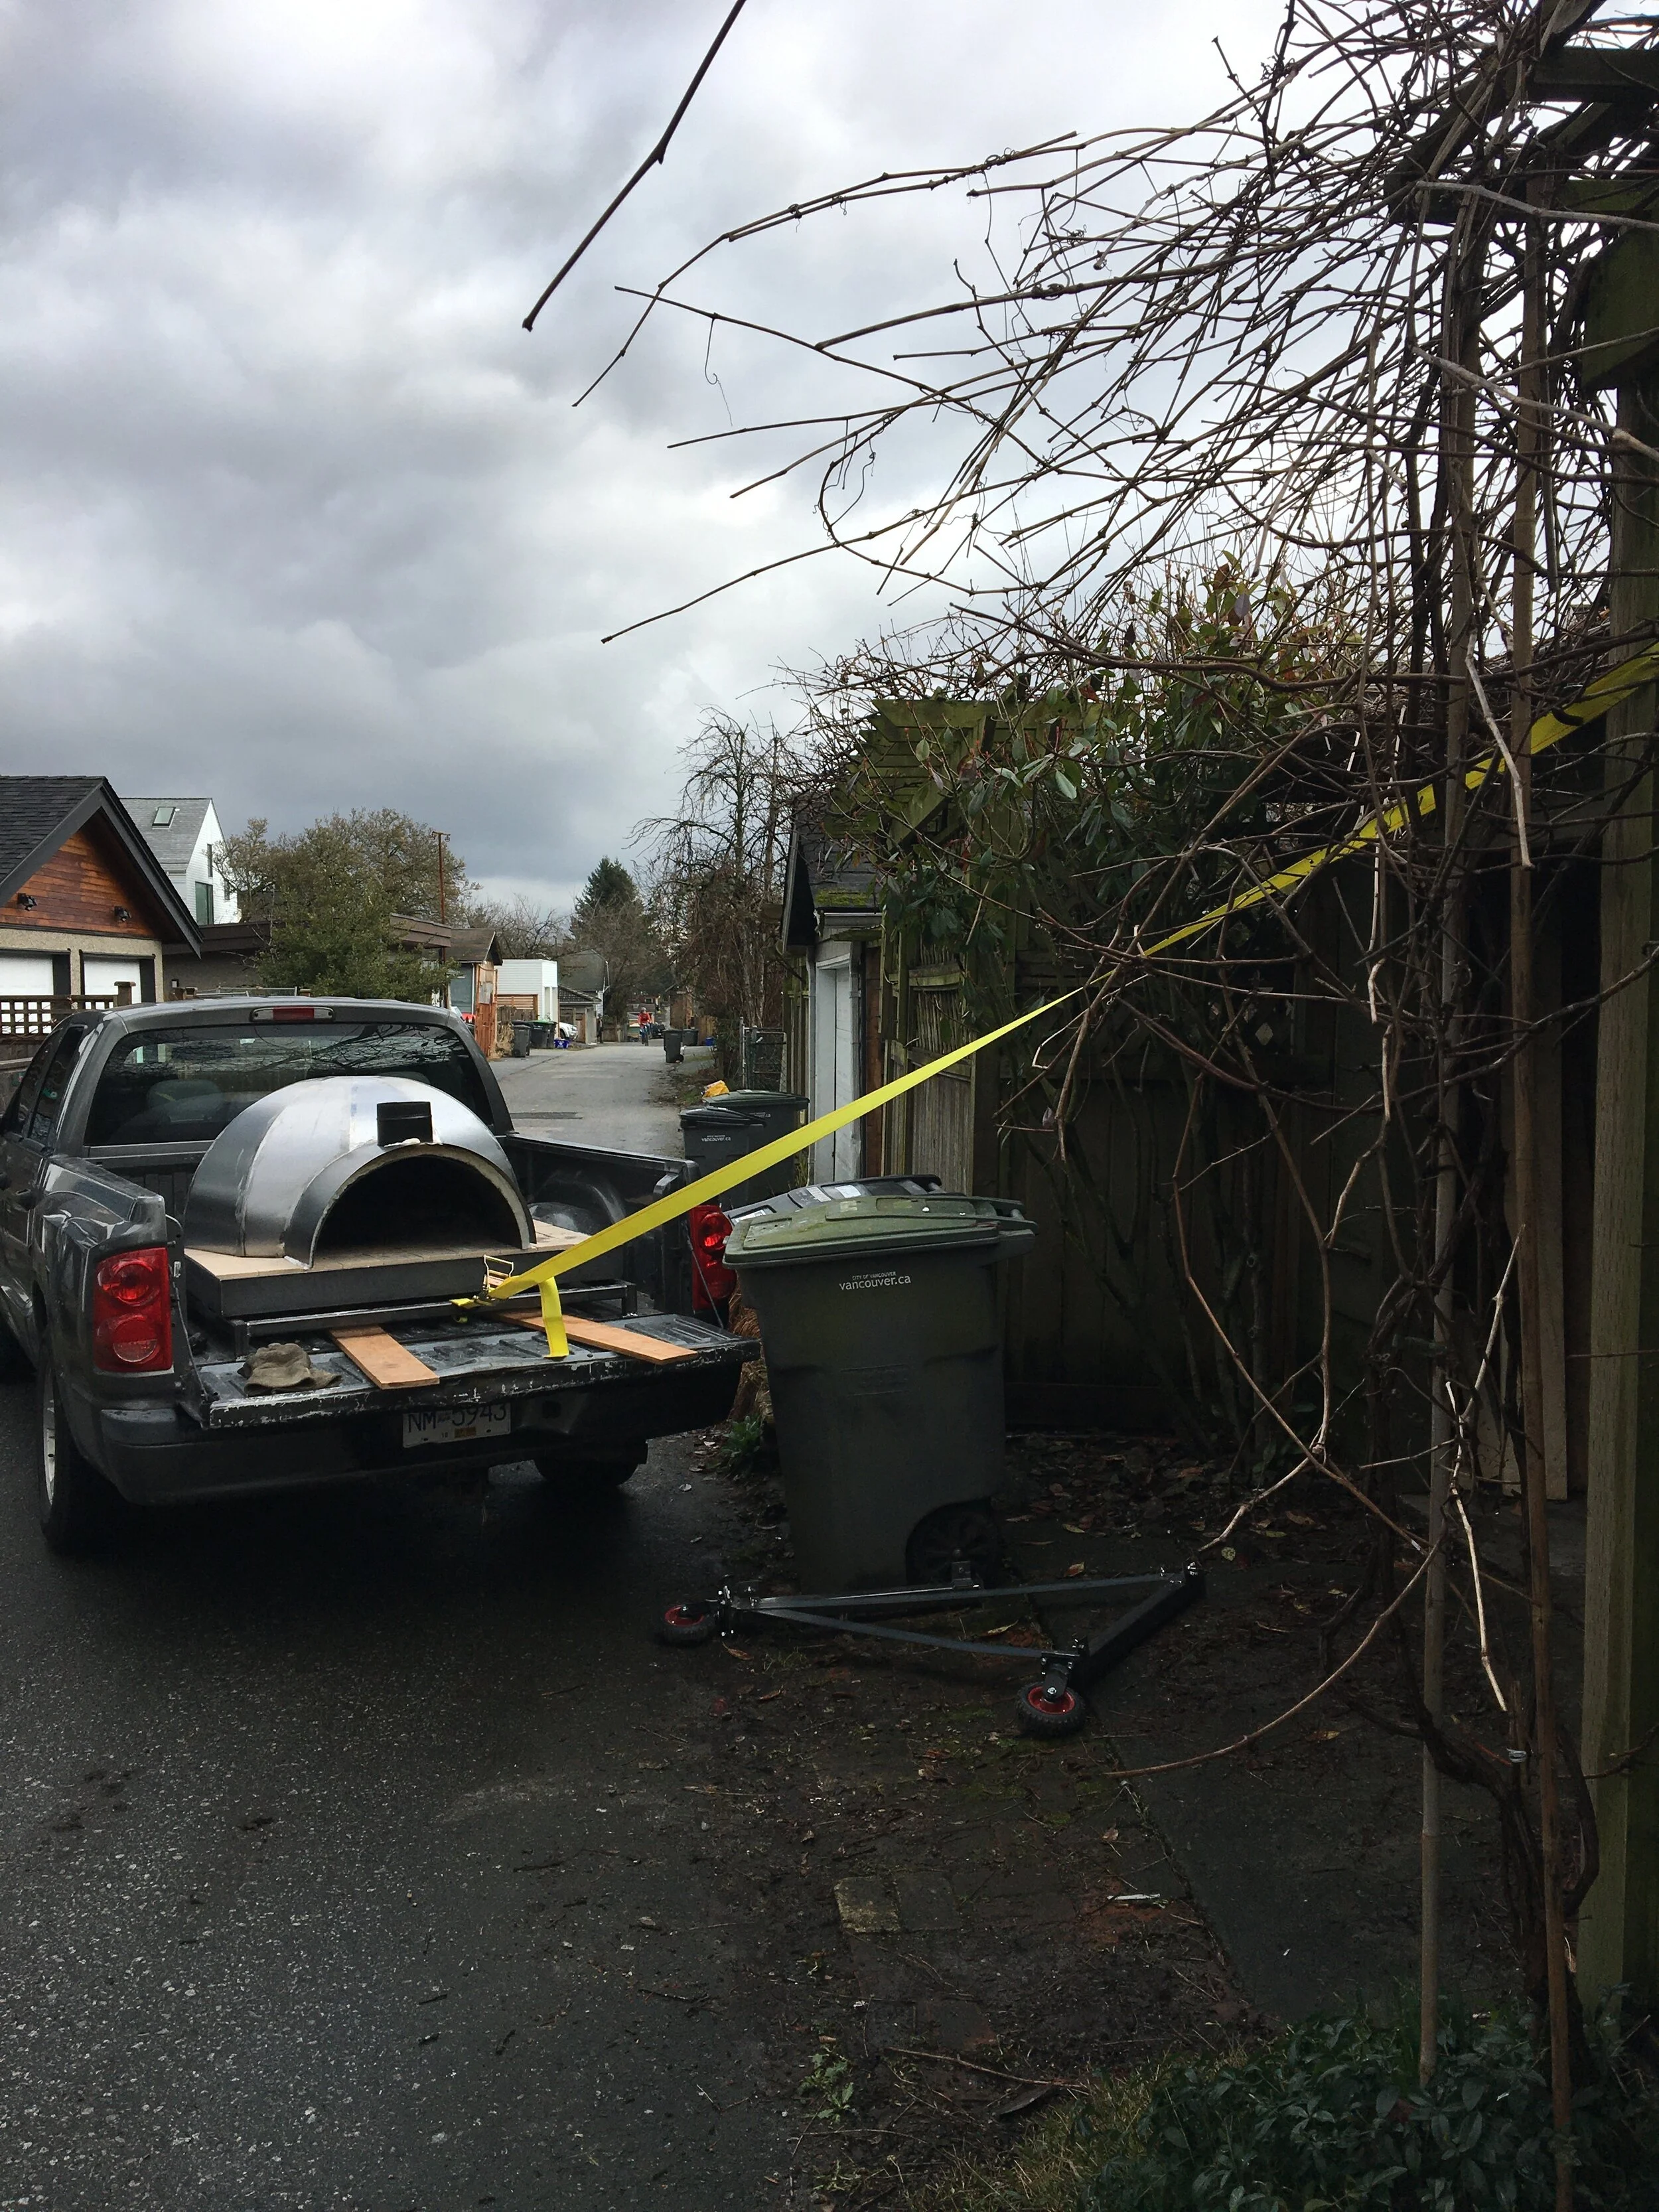
Note: Getting it off the truck was much more challenging. Again, there was a certain amount of tying it to a tree and then driving the truck forward…
This method did not work.
Cooking
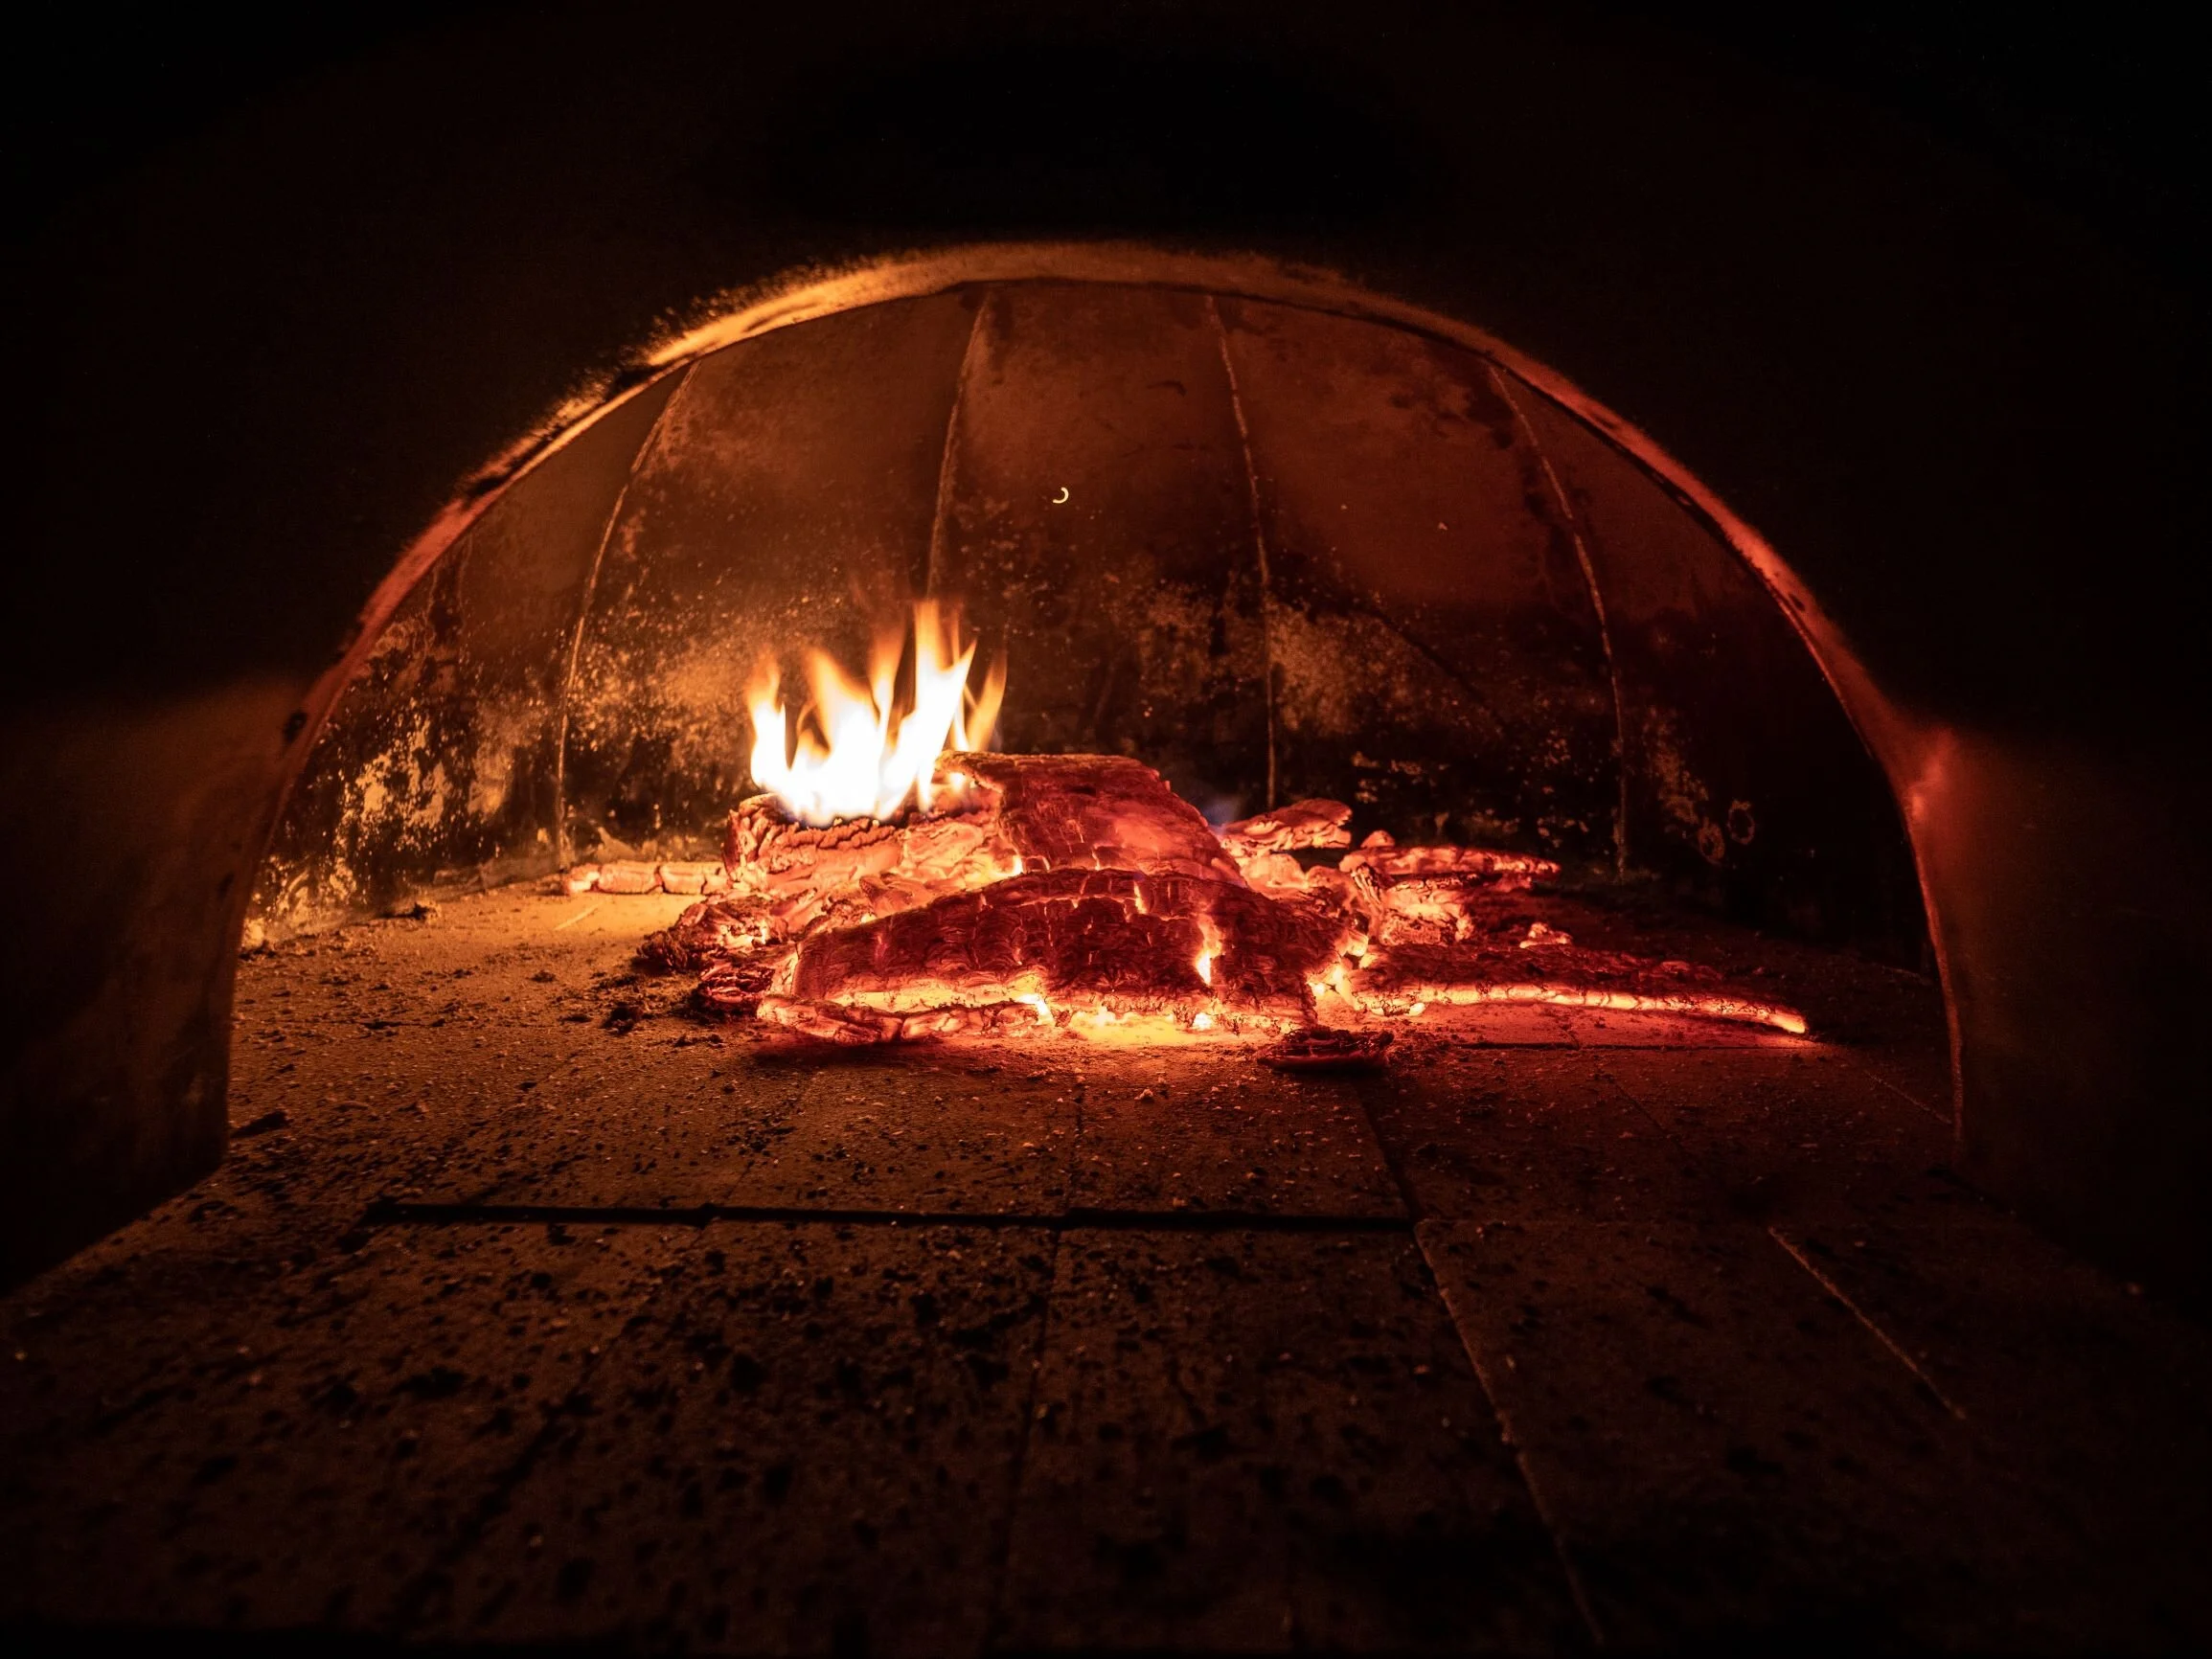
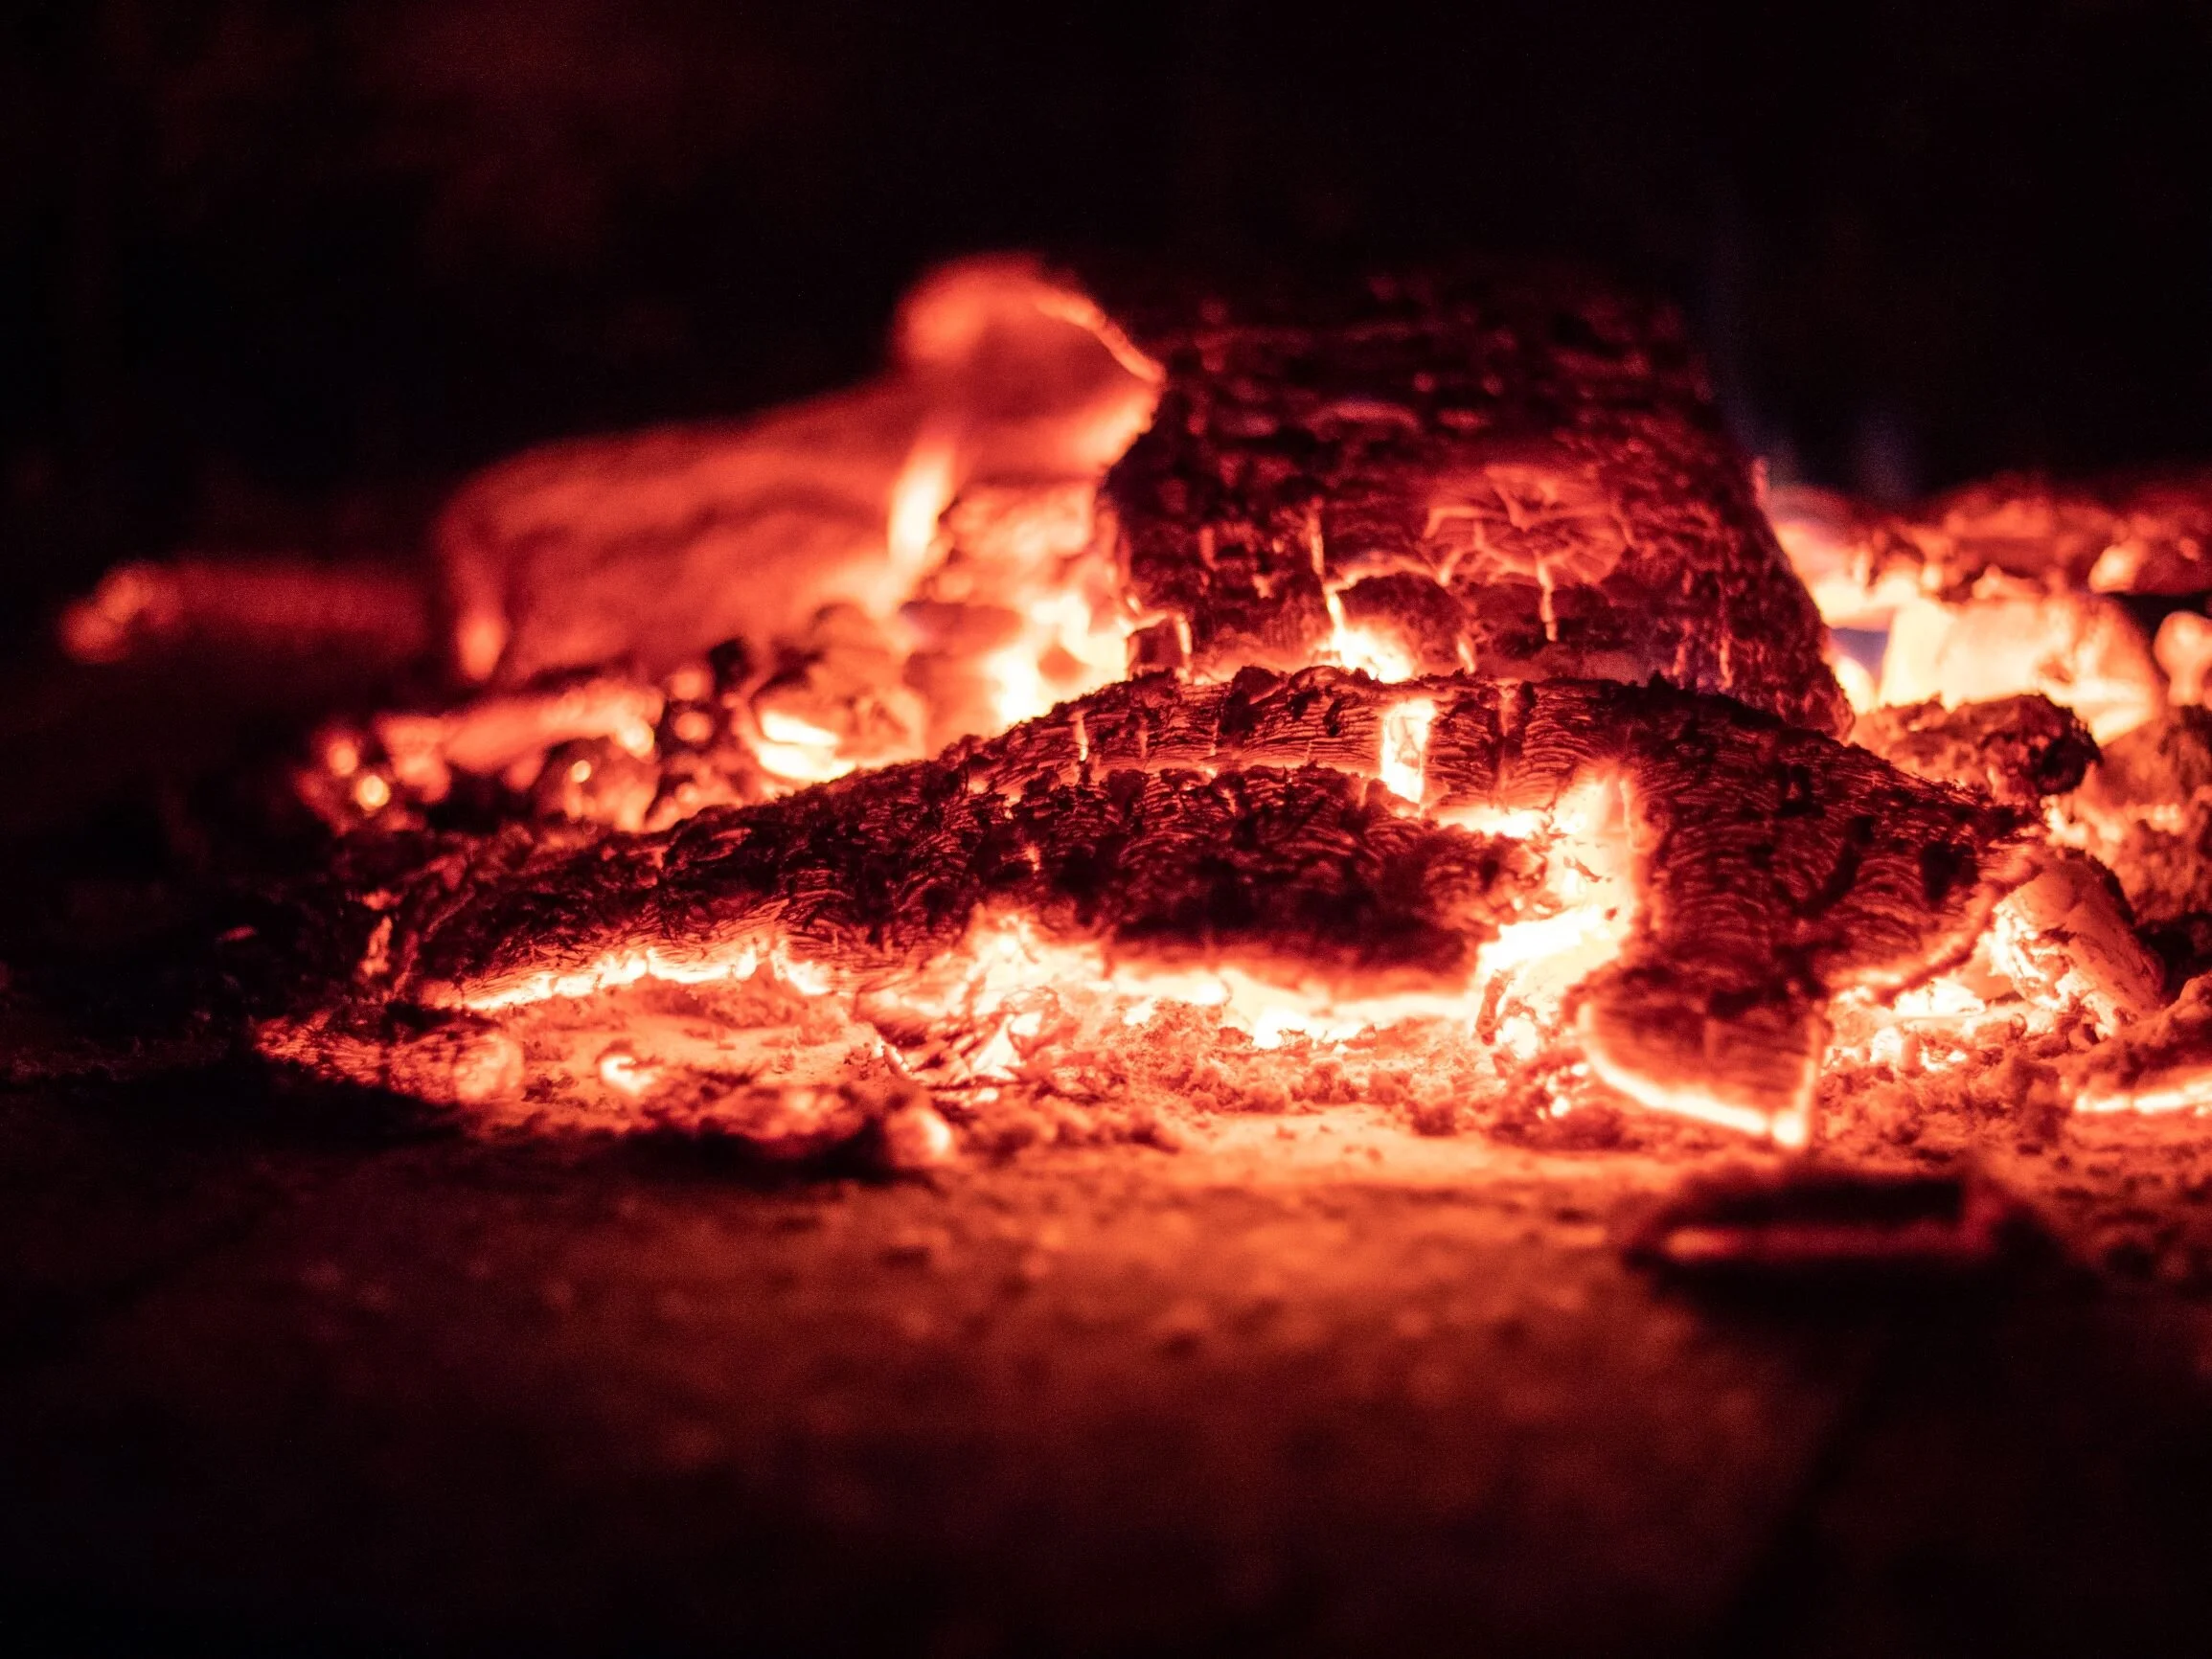
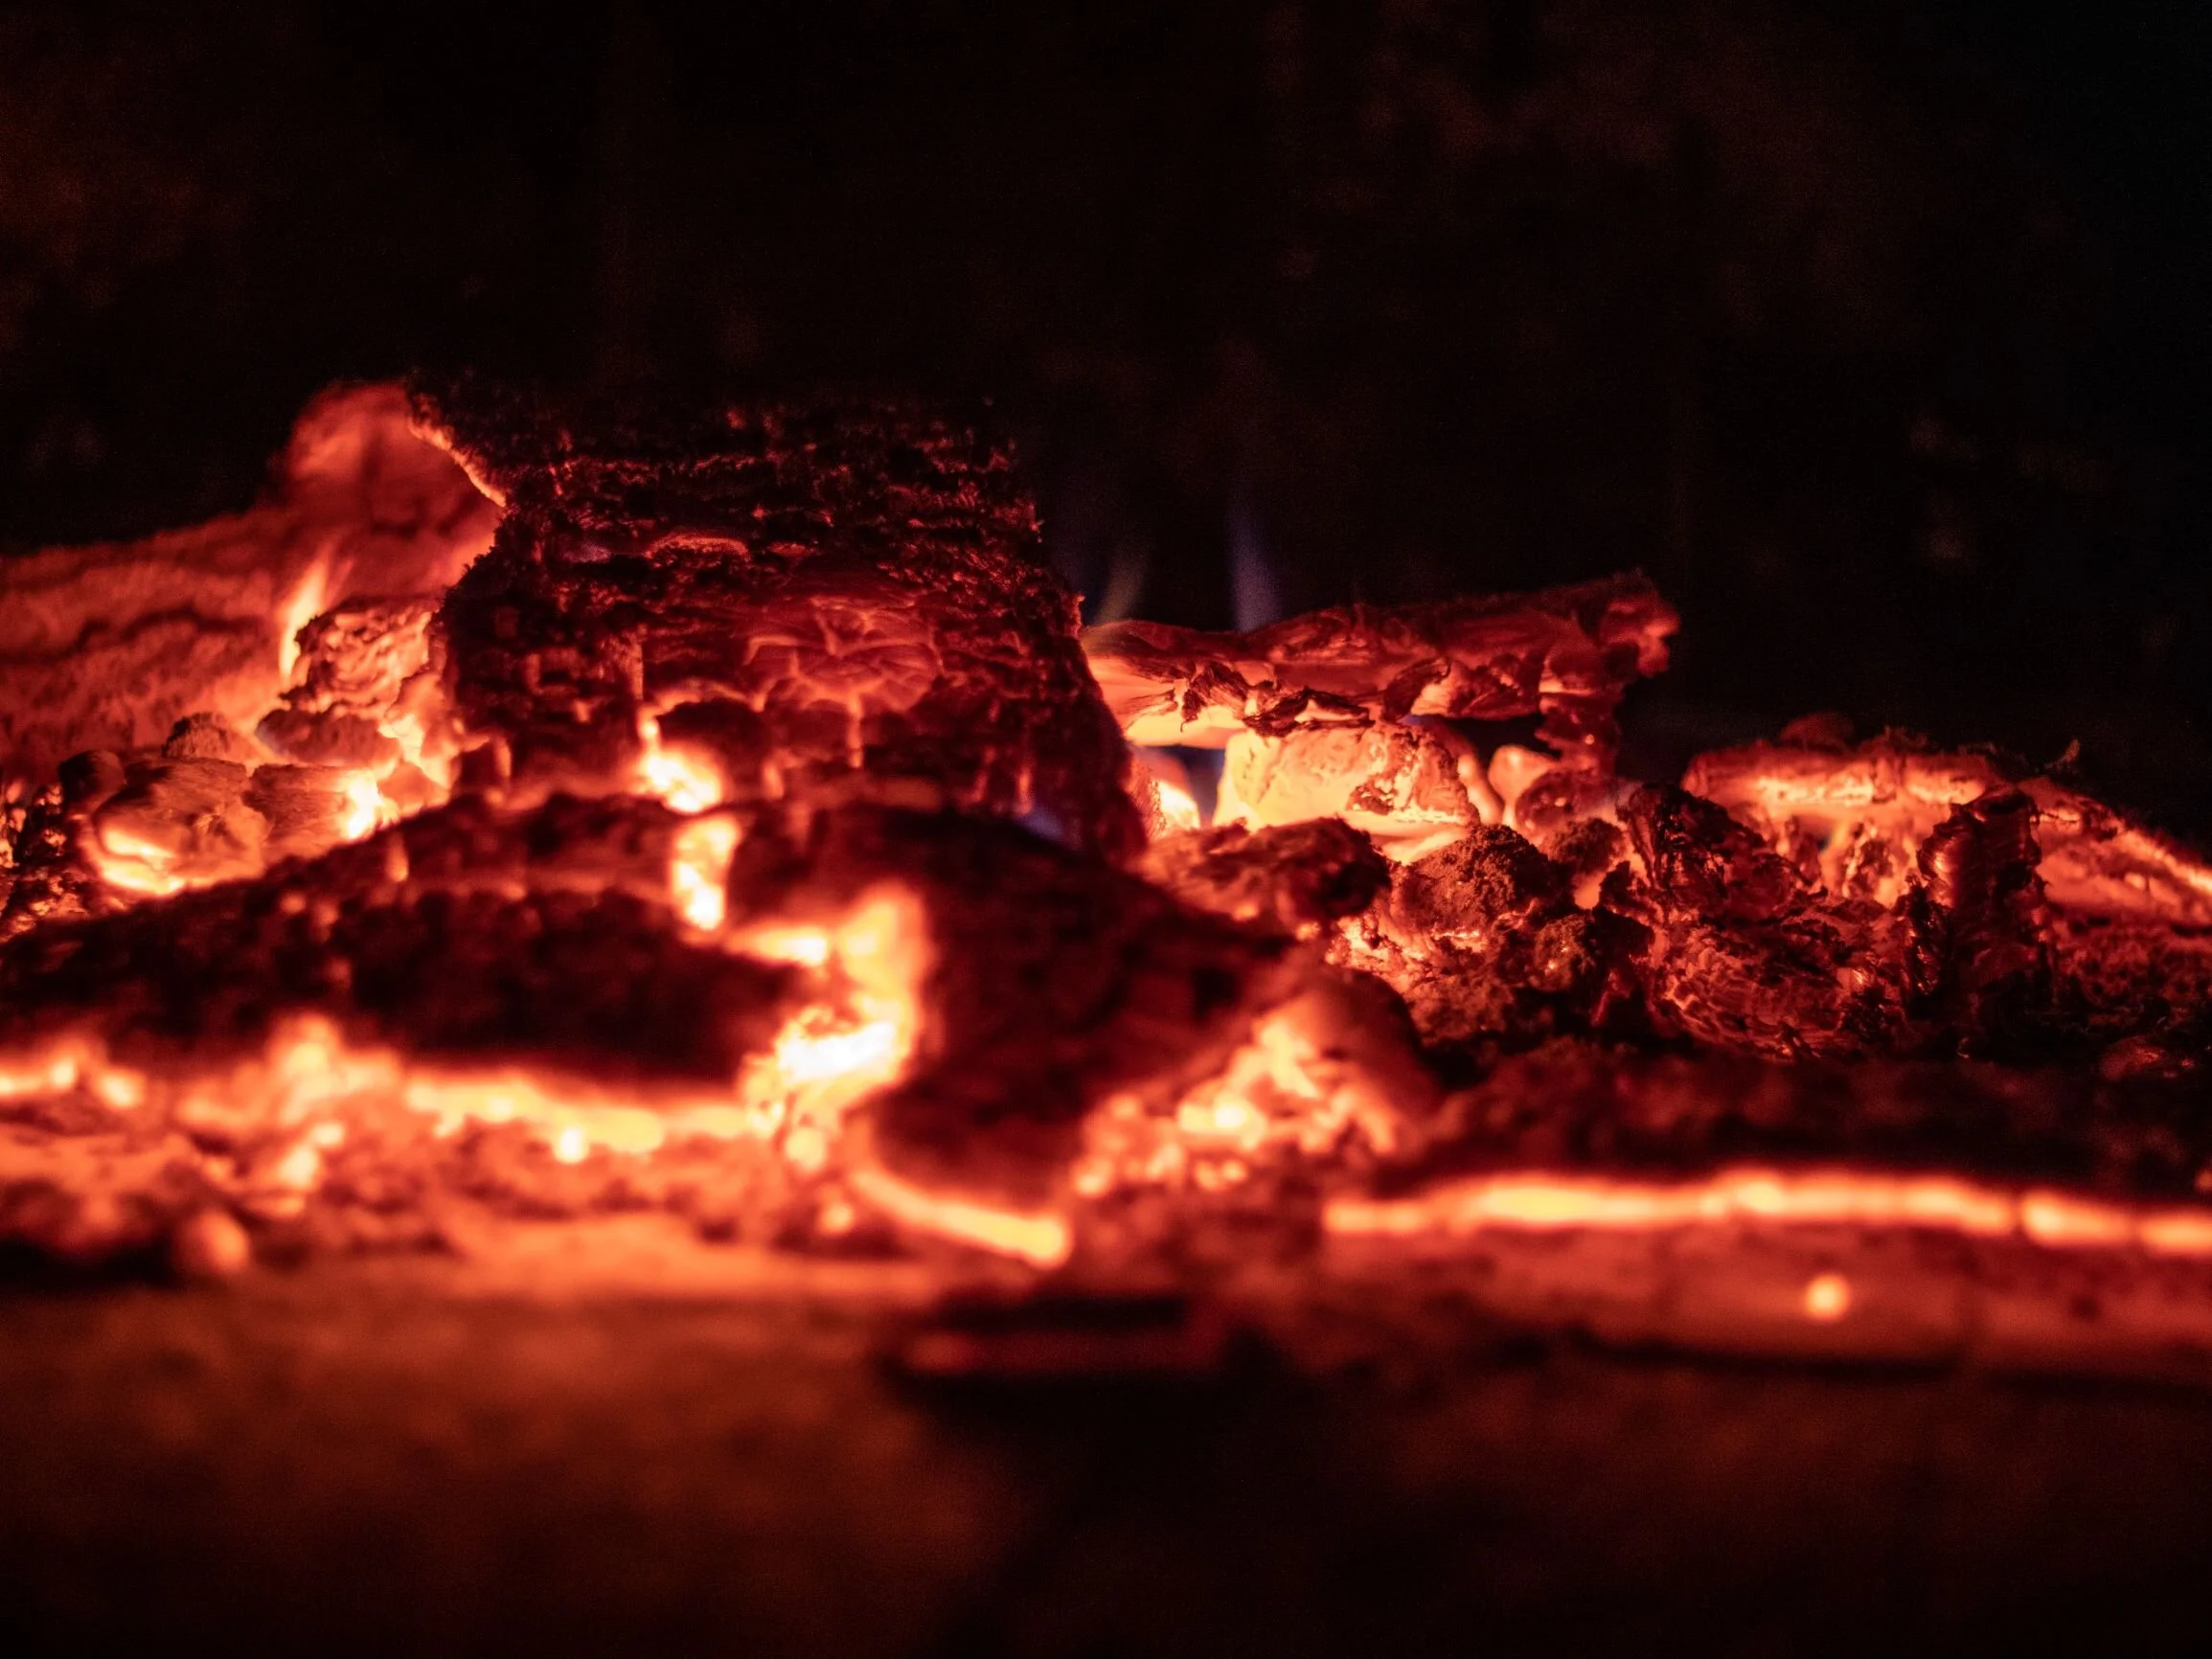
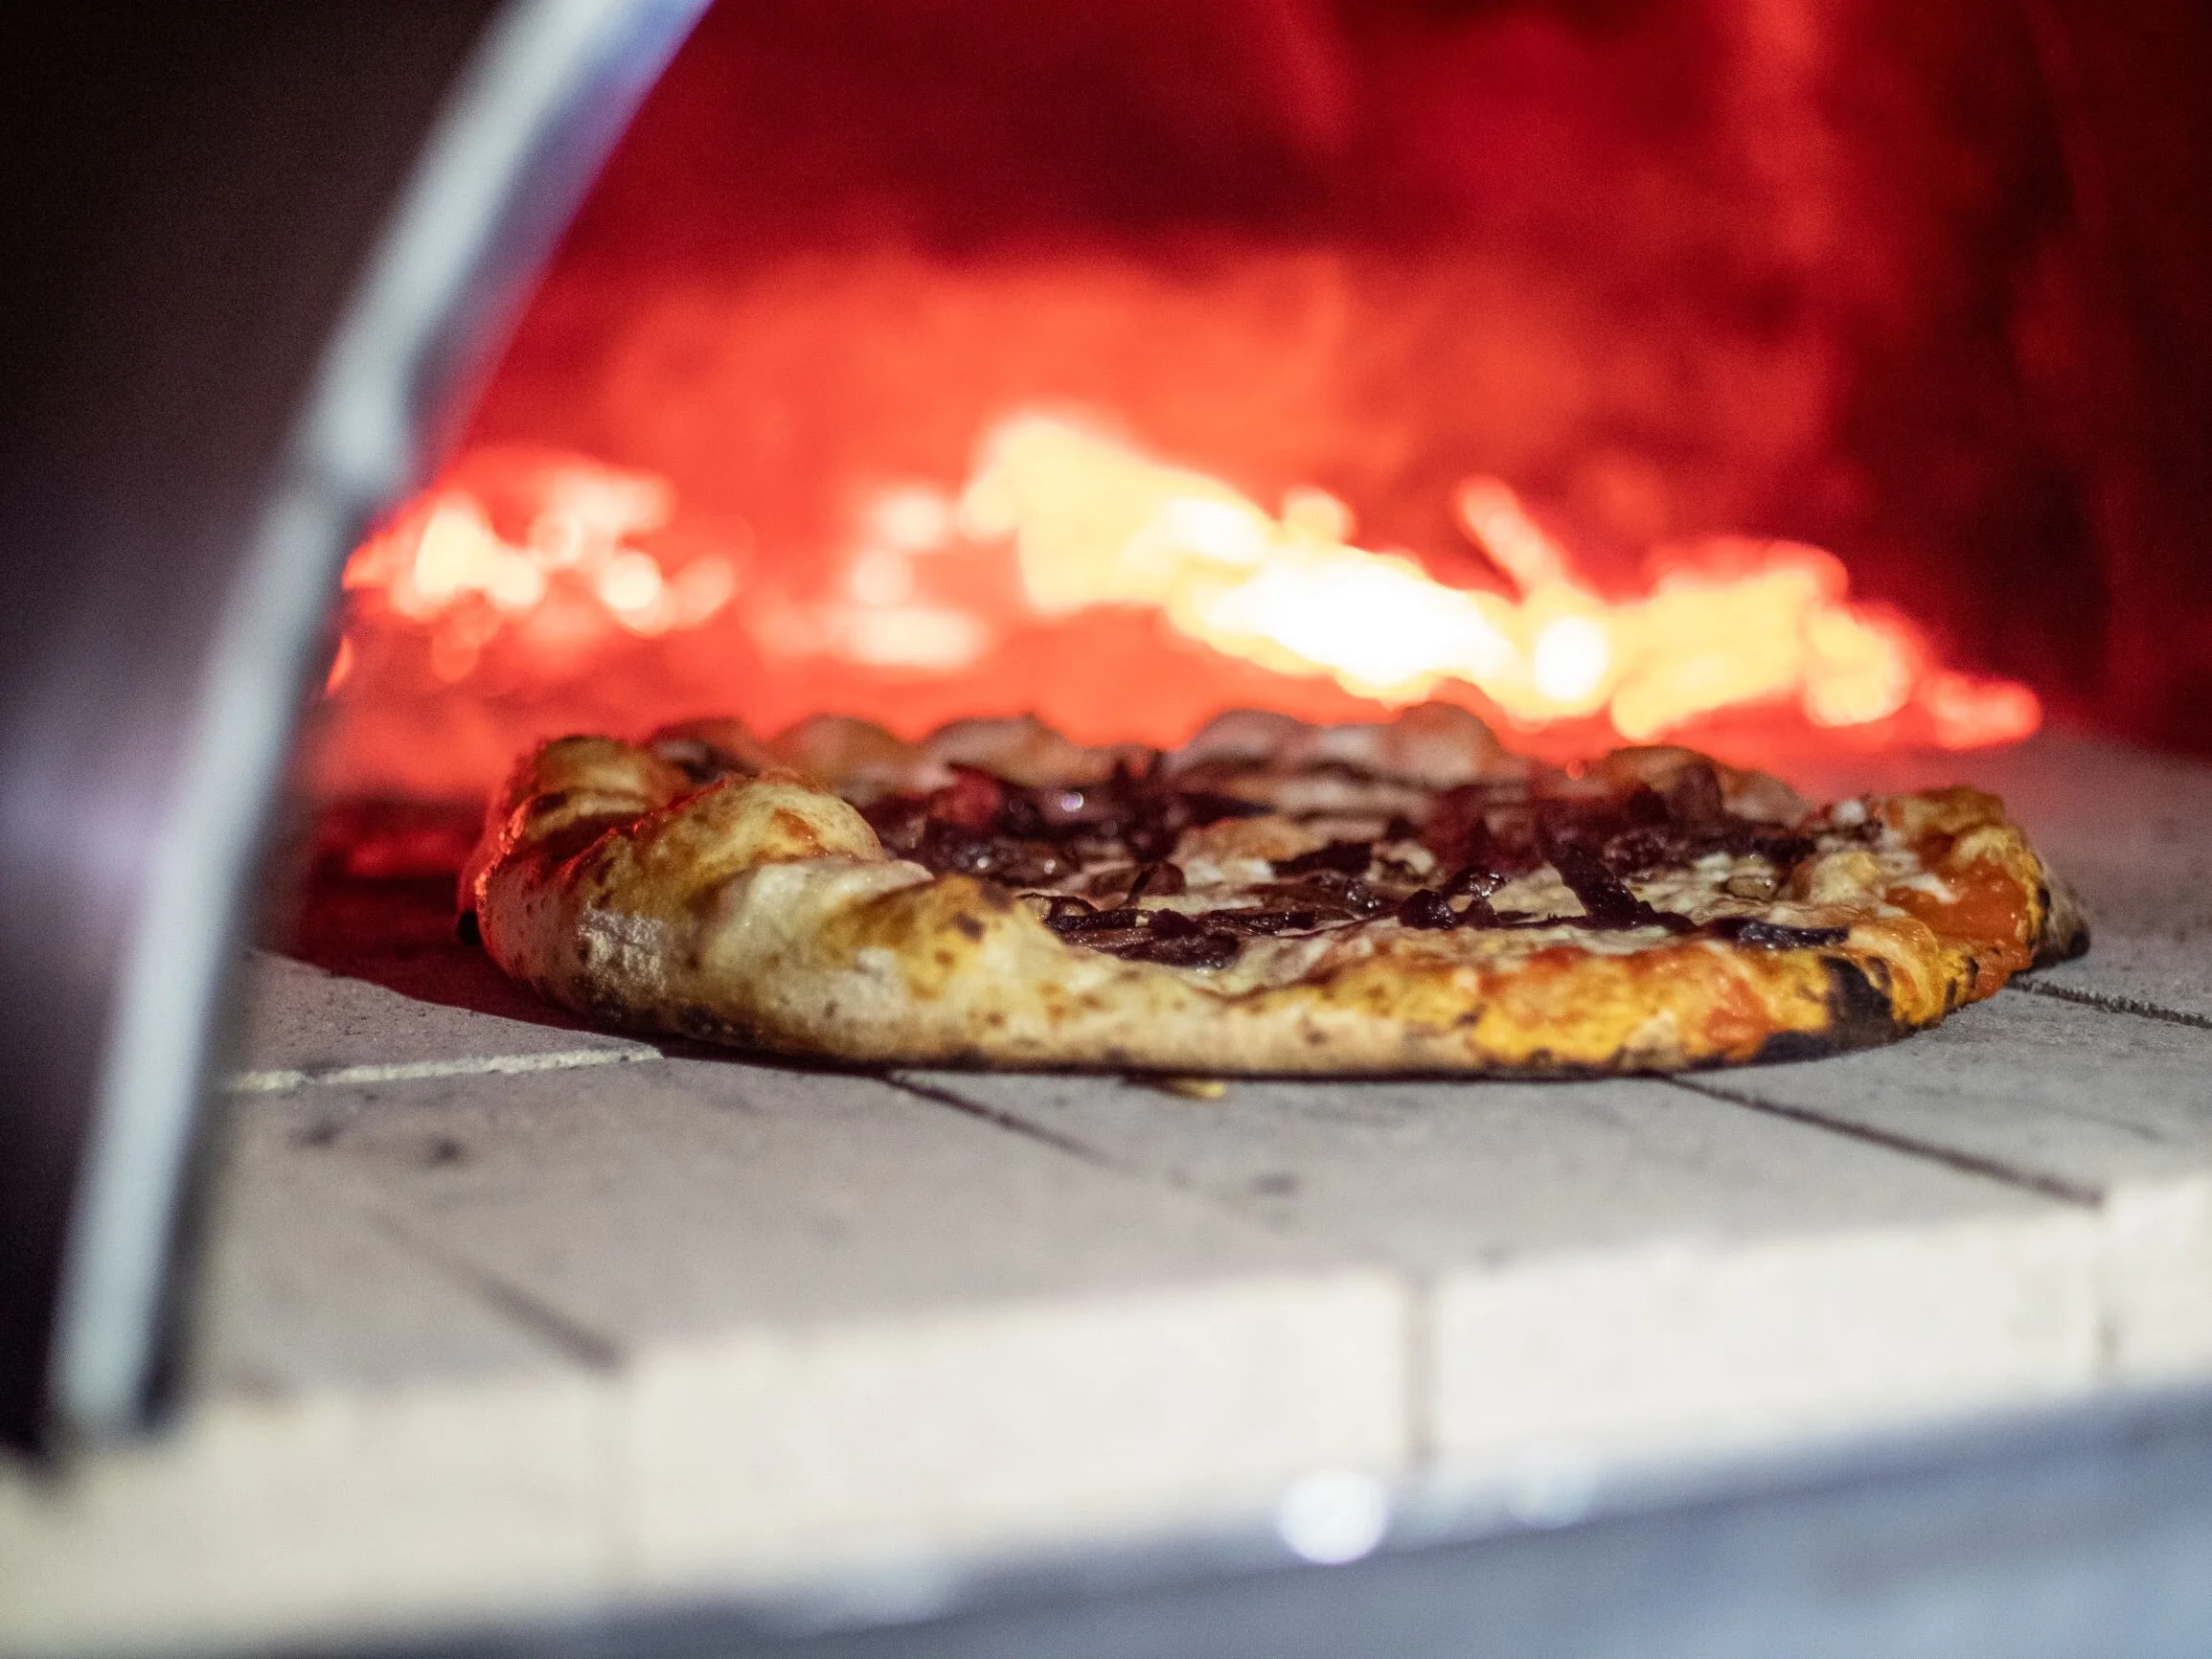
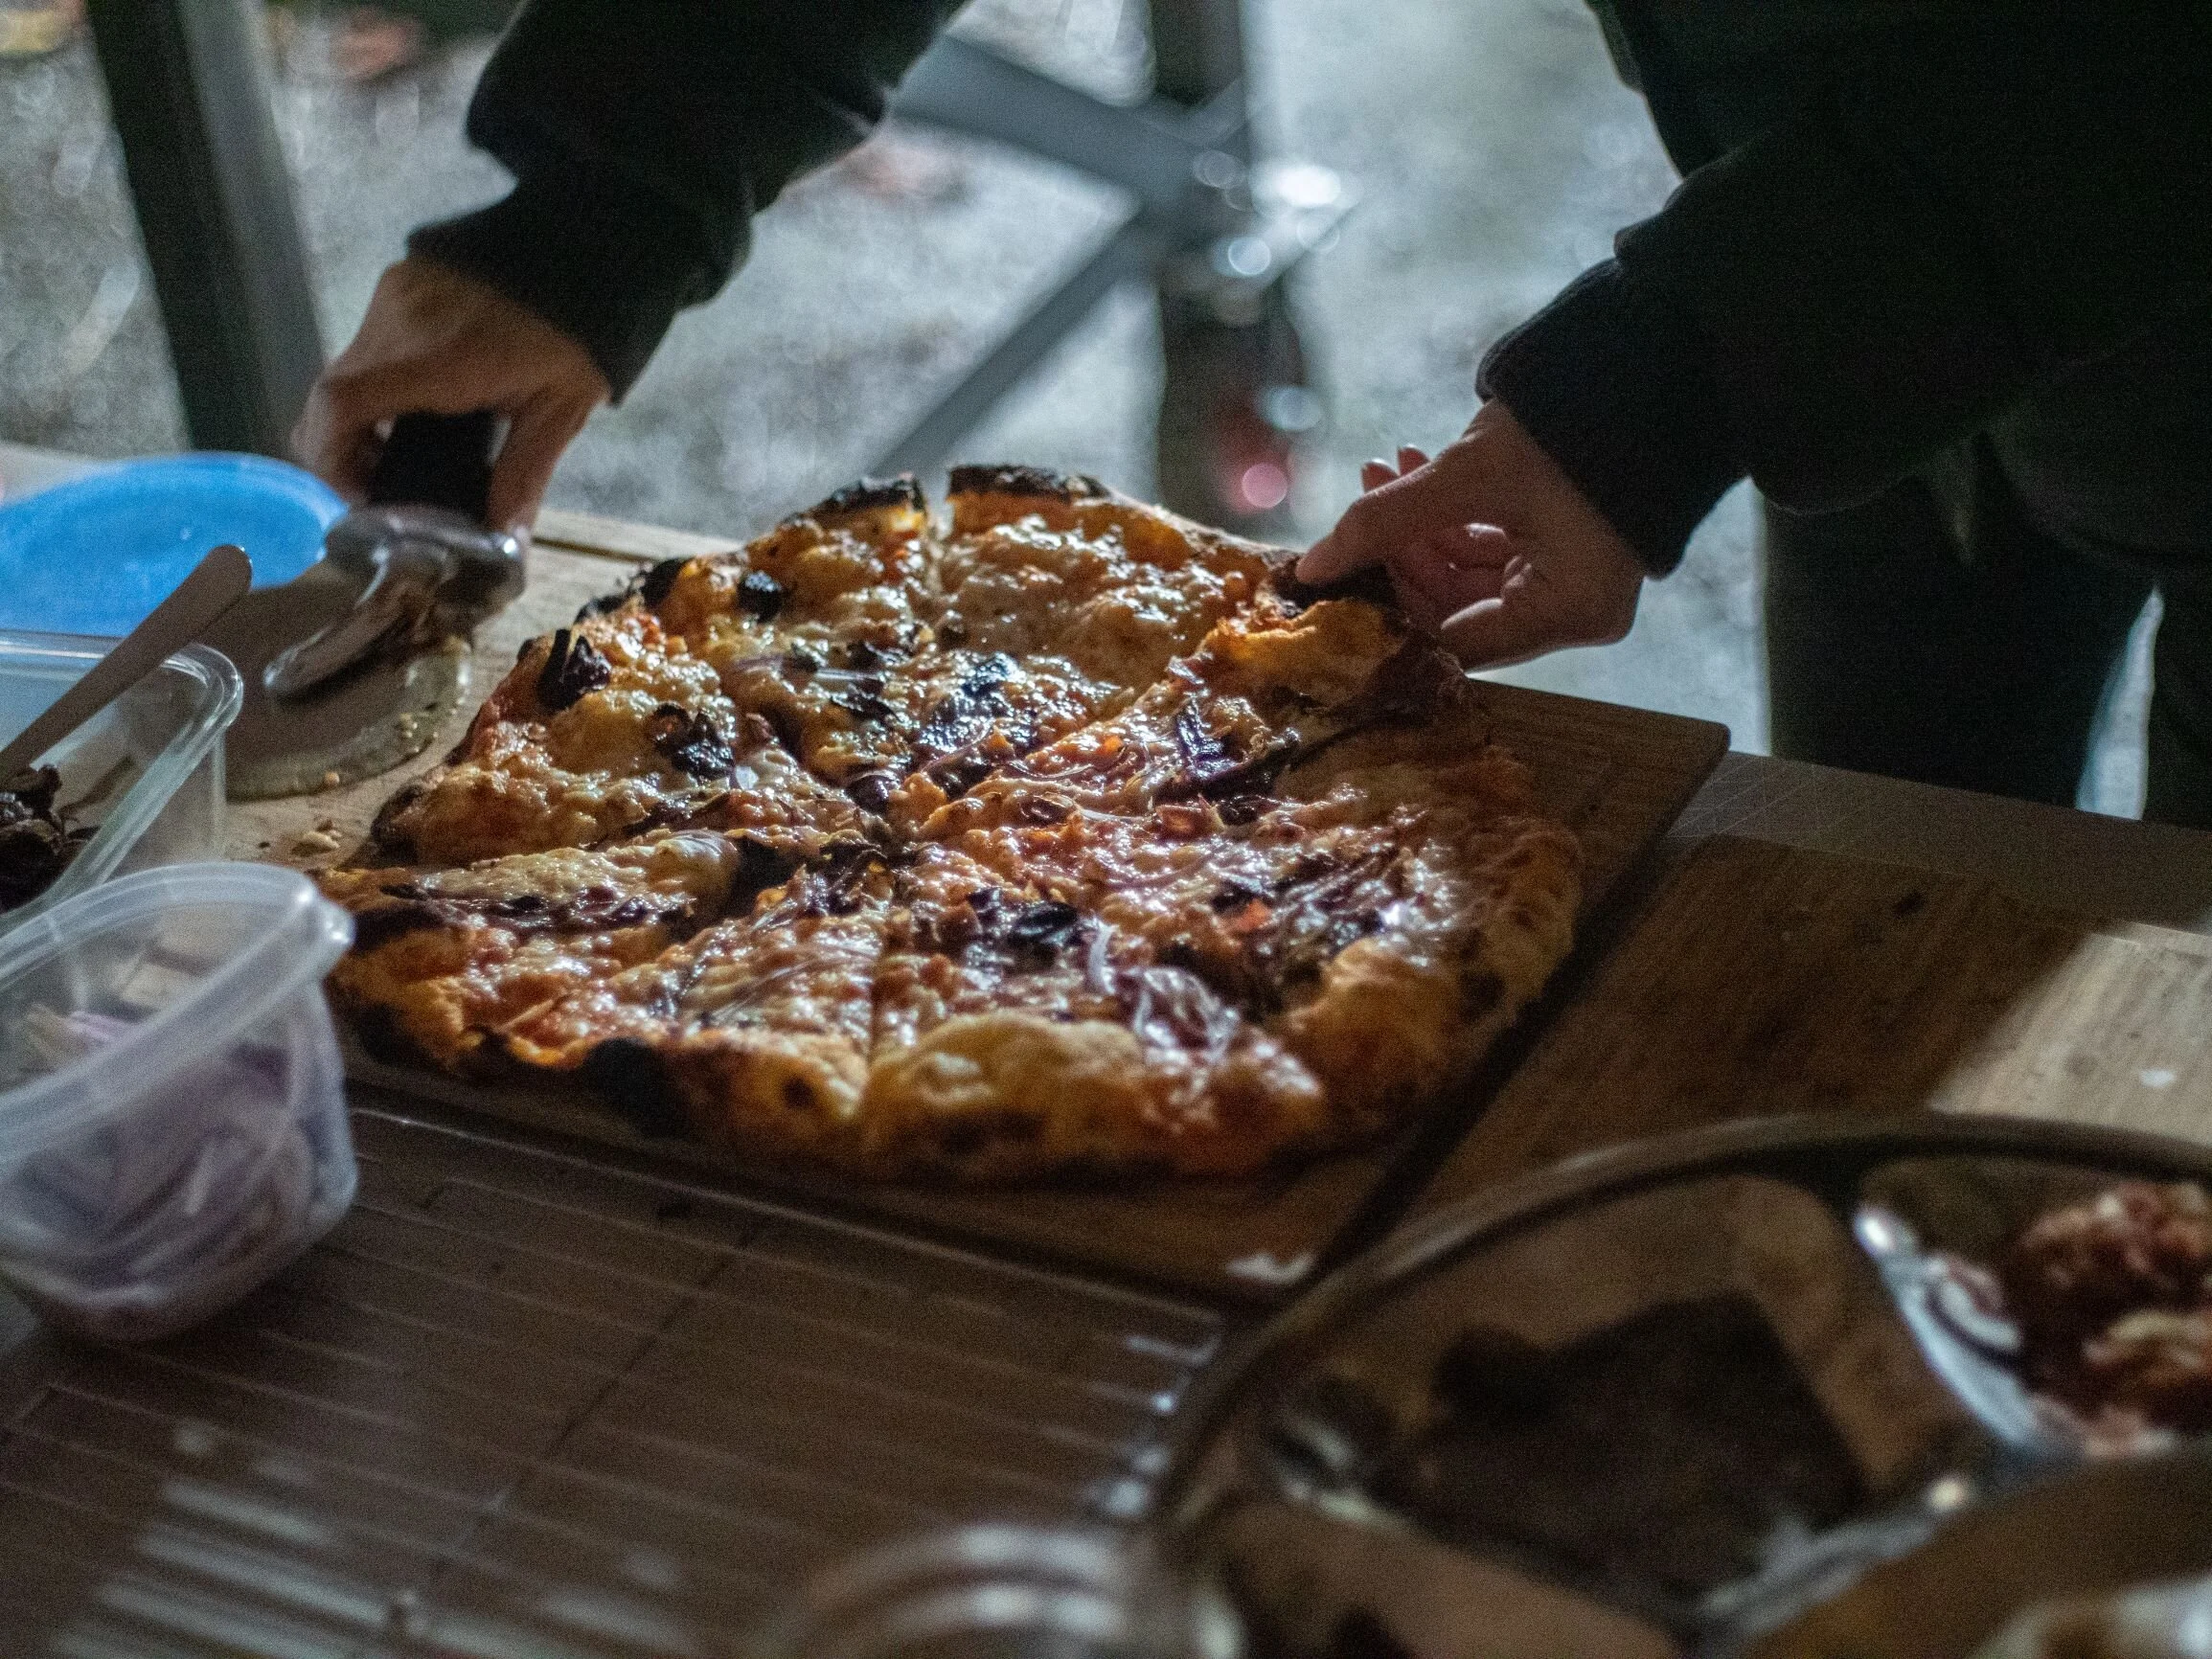
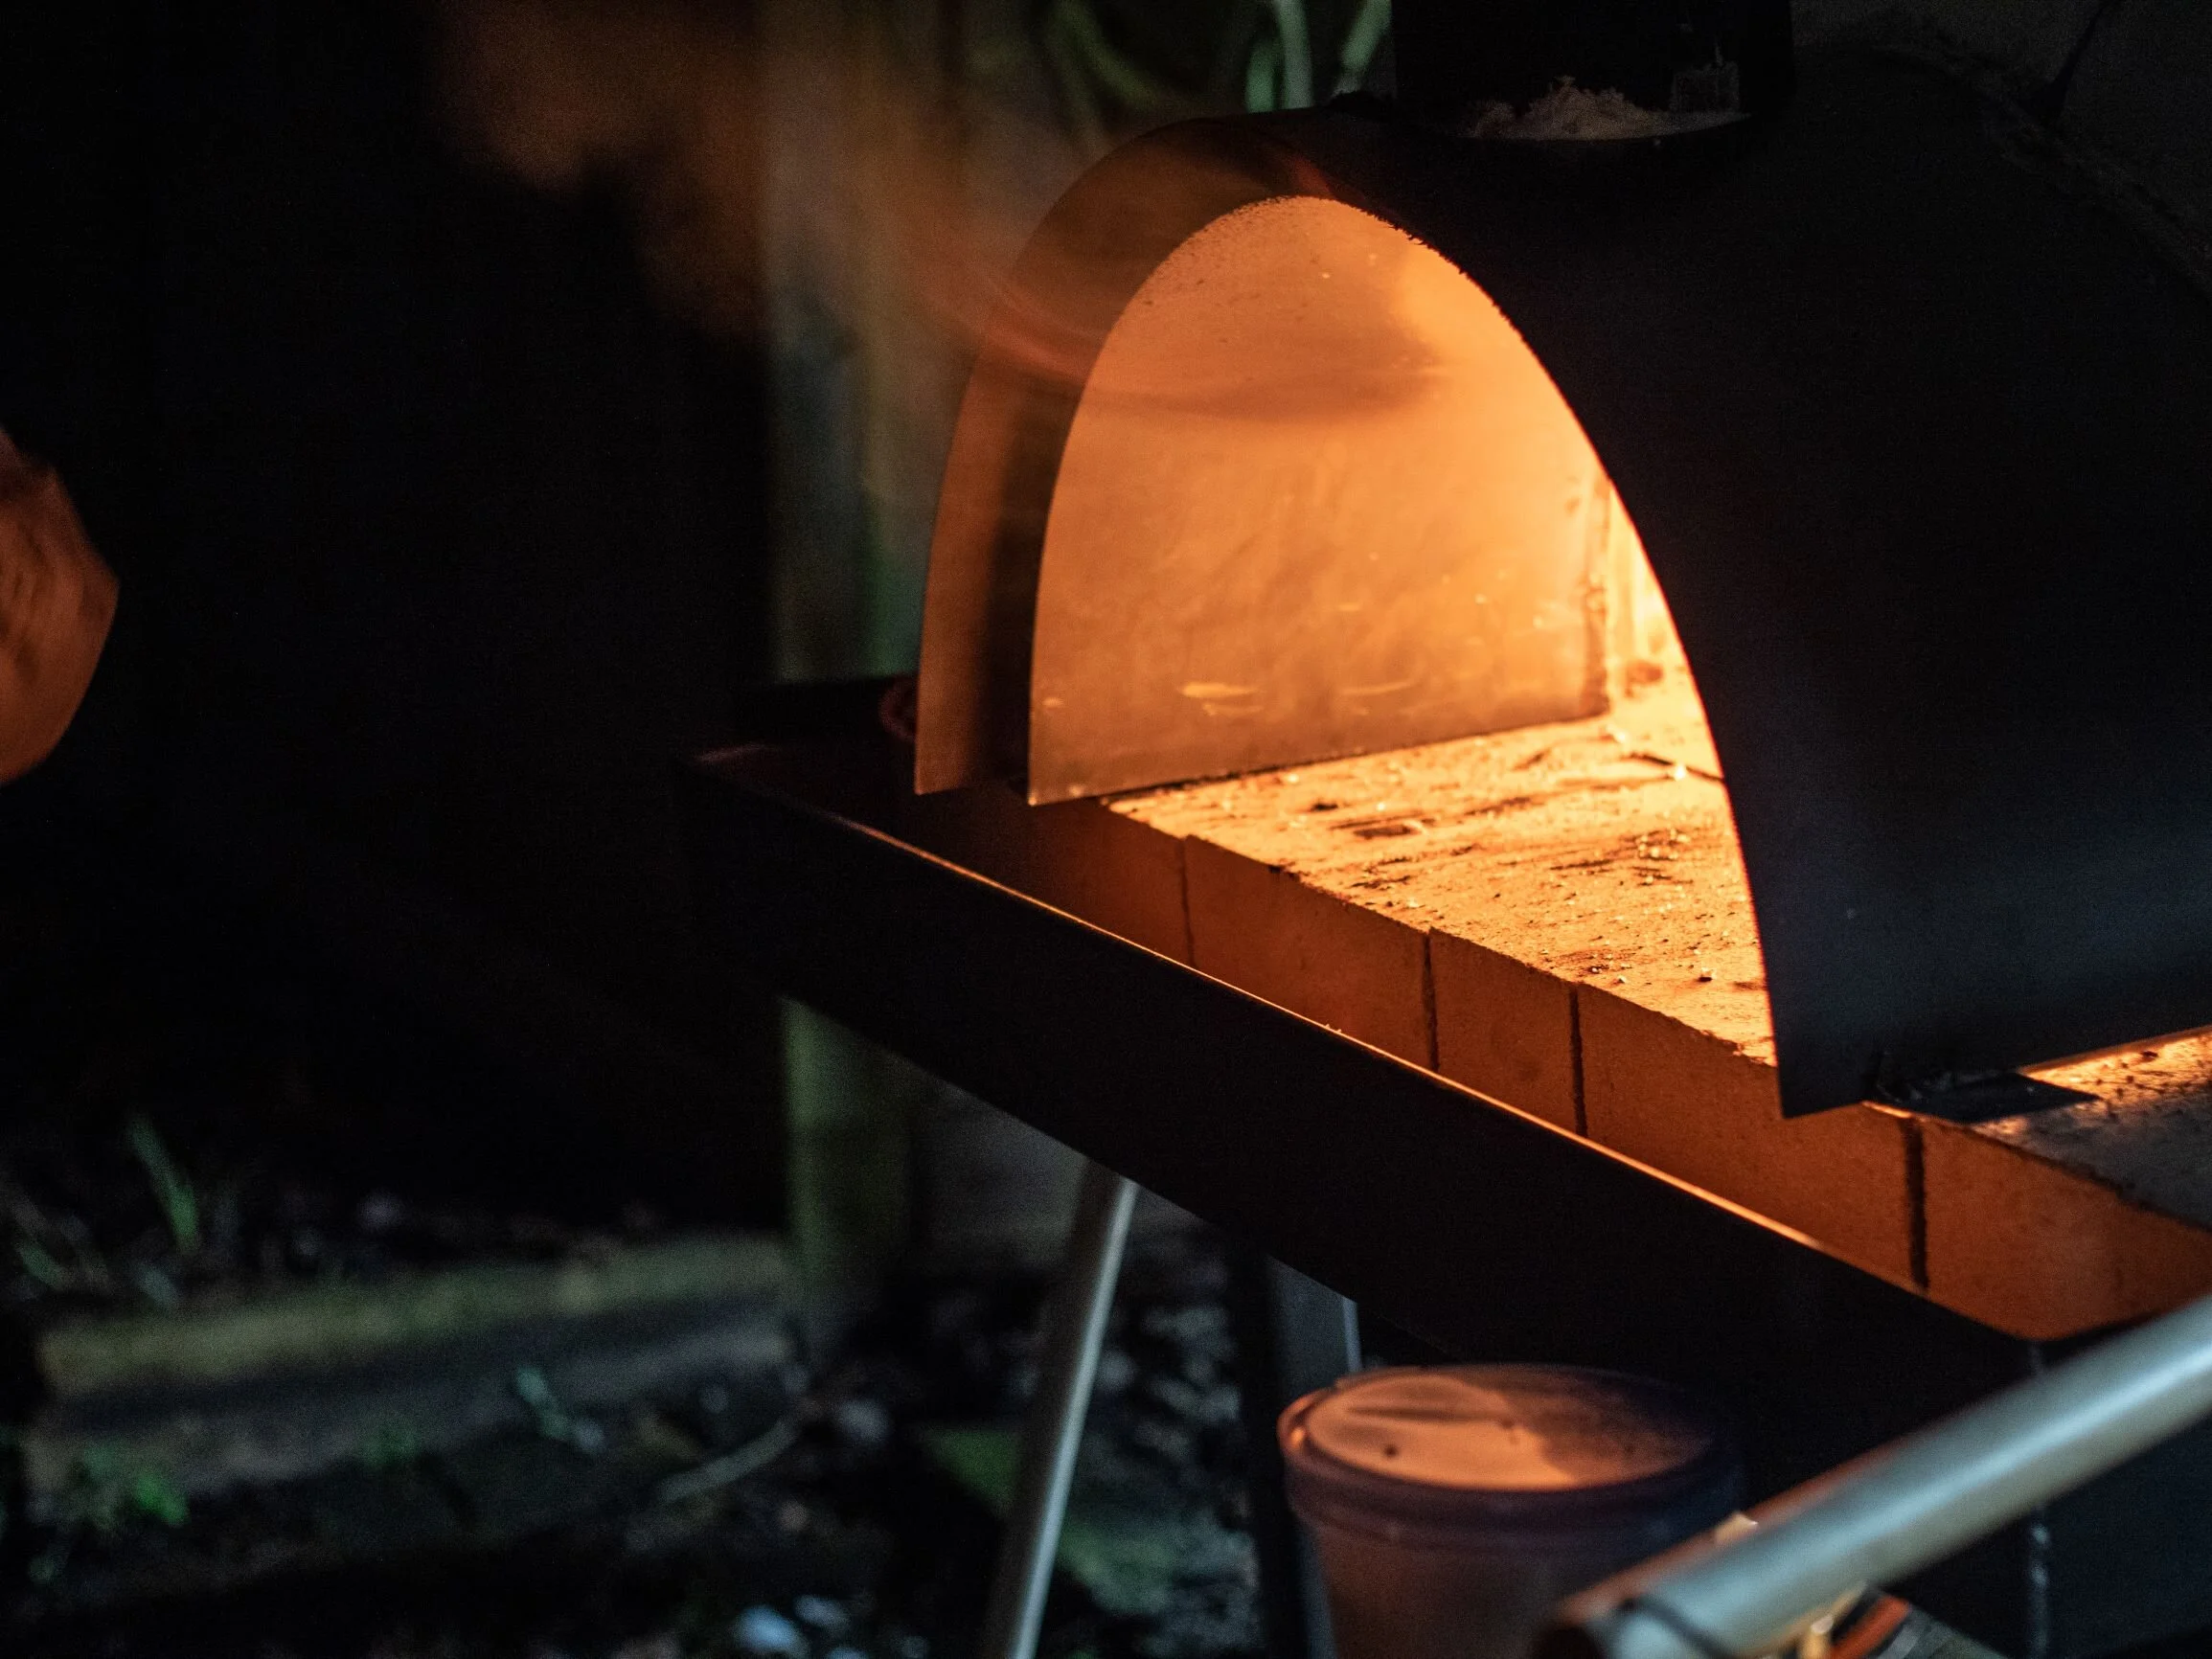
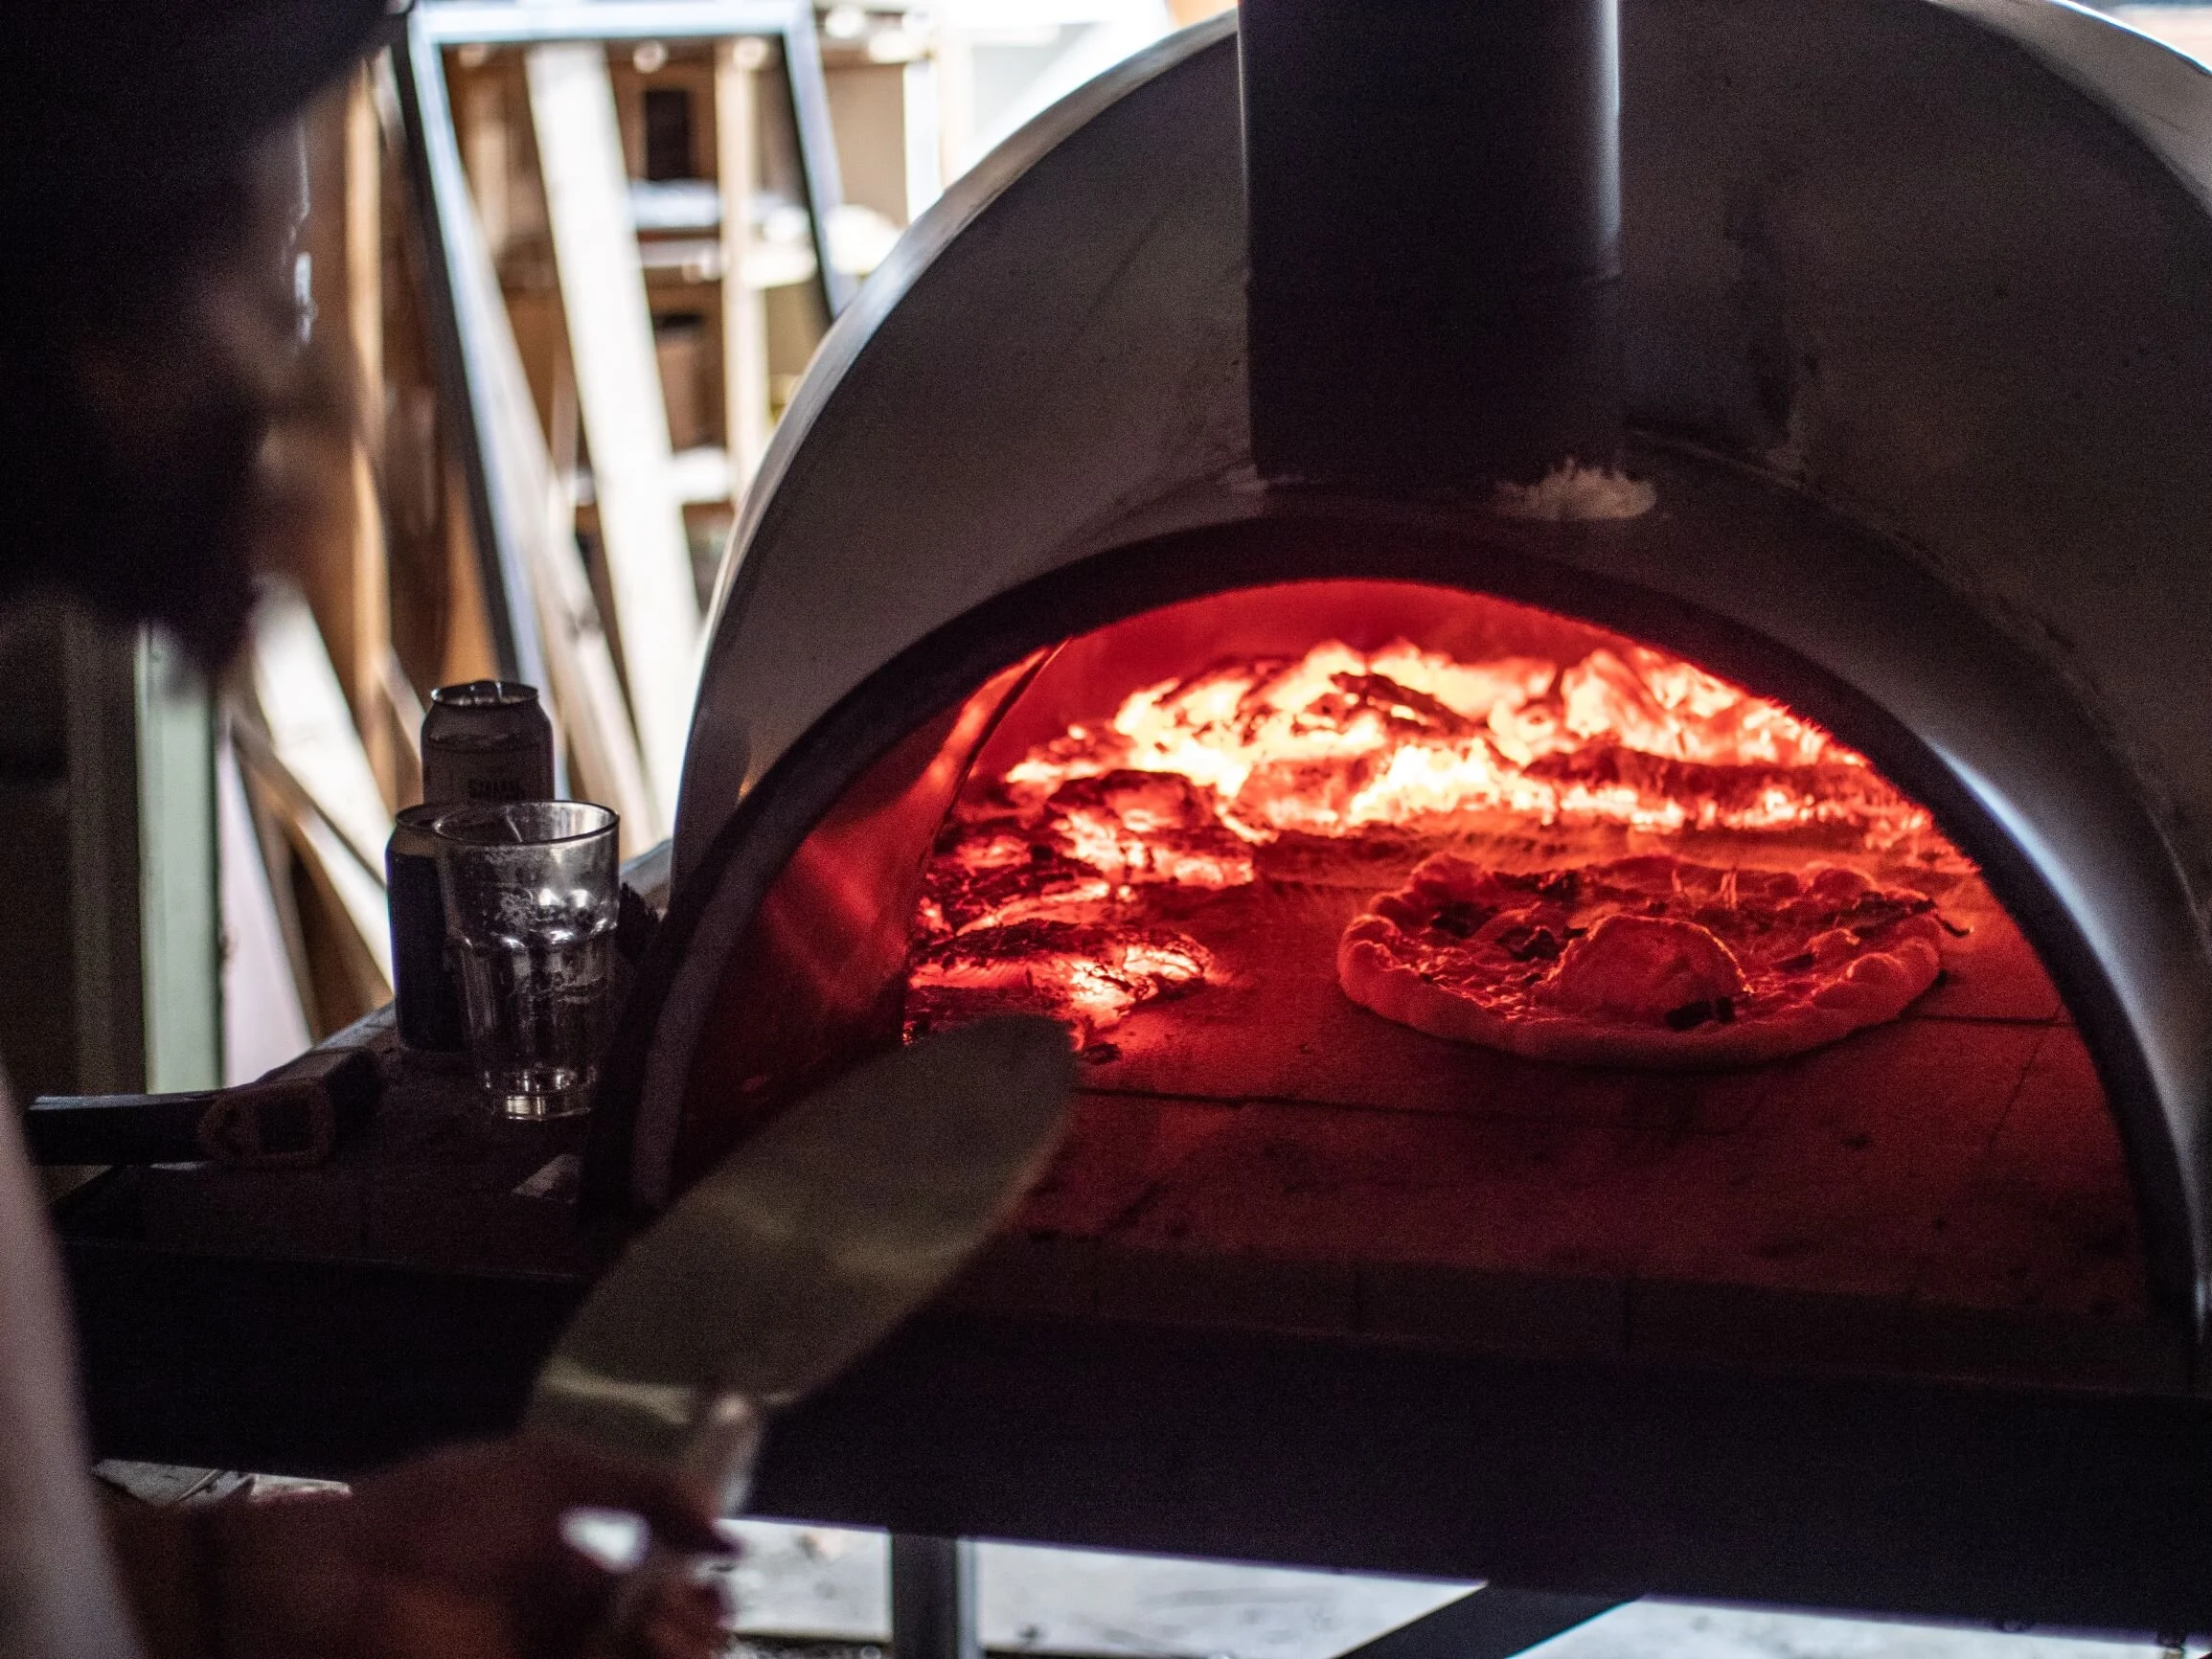
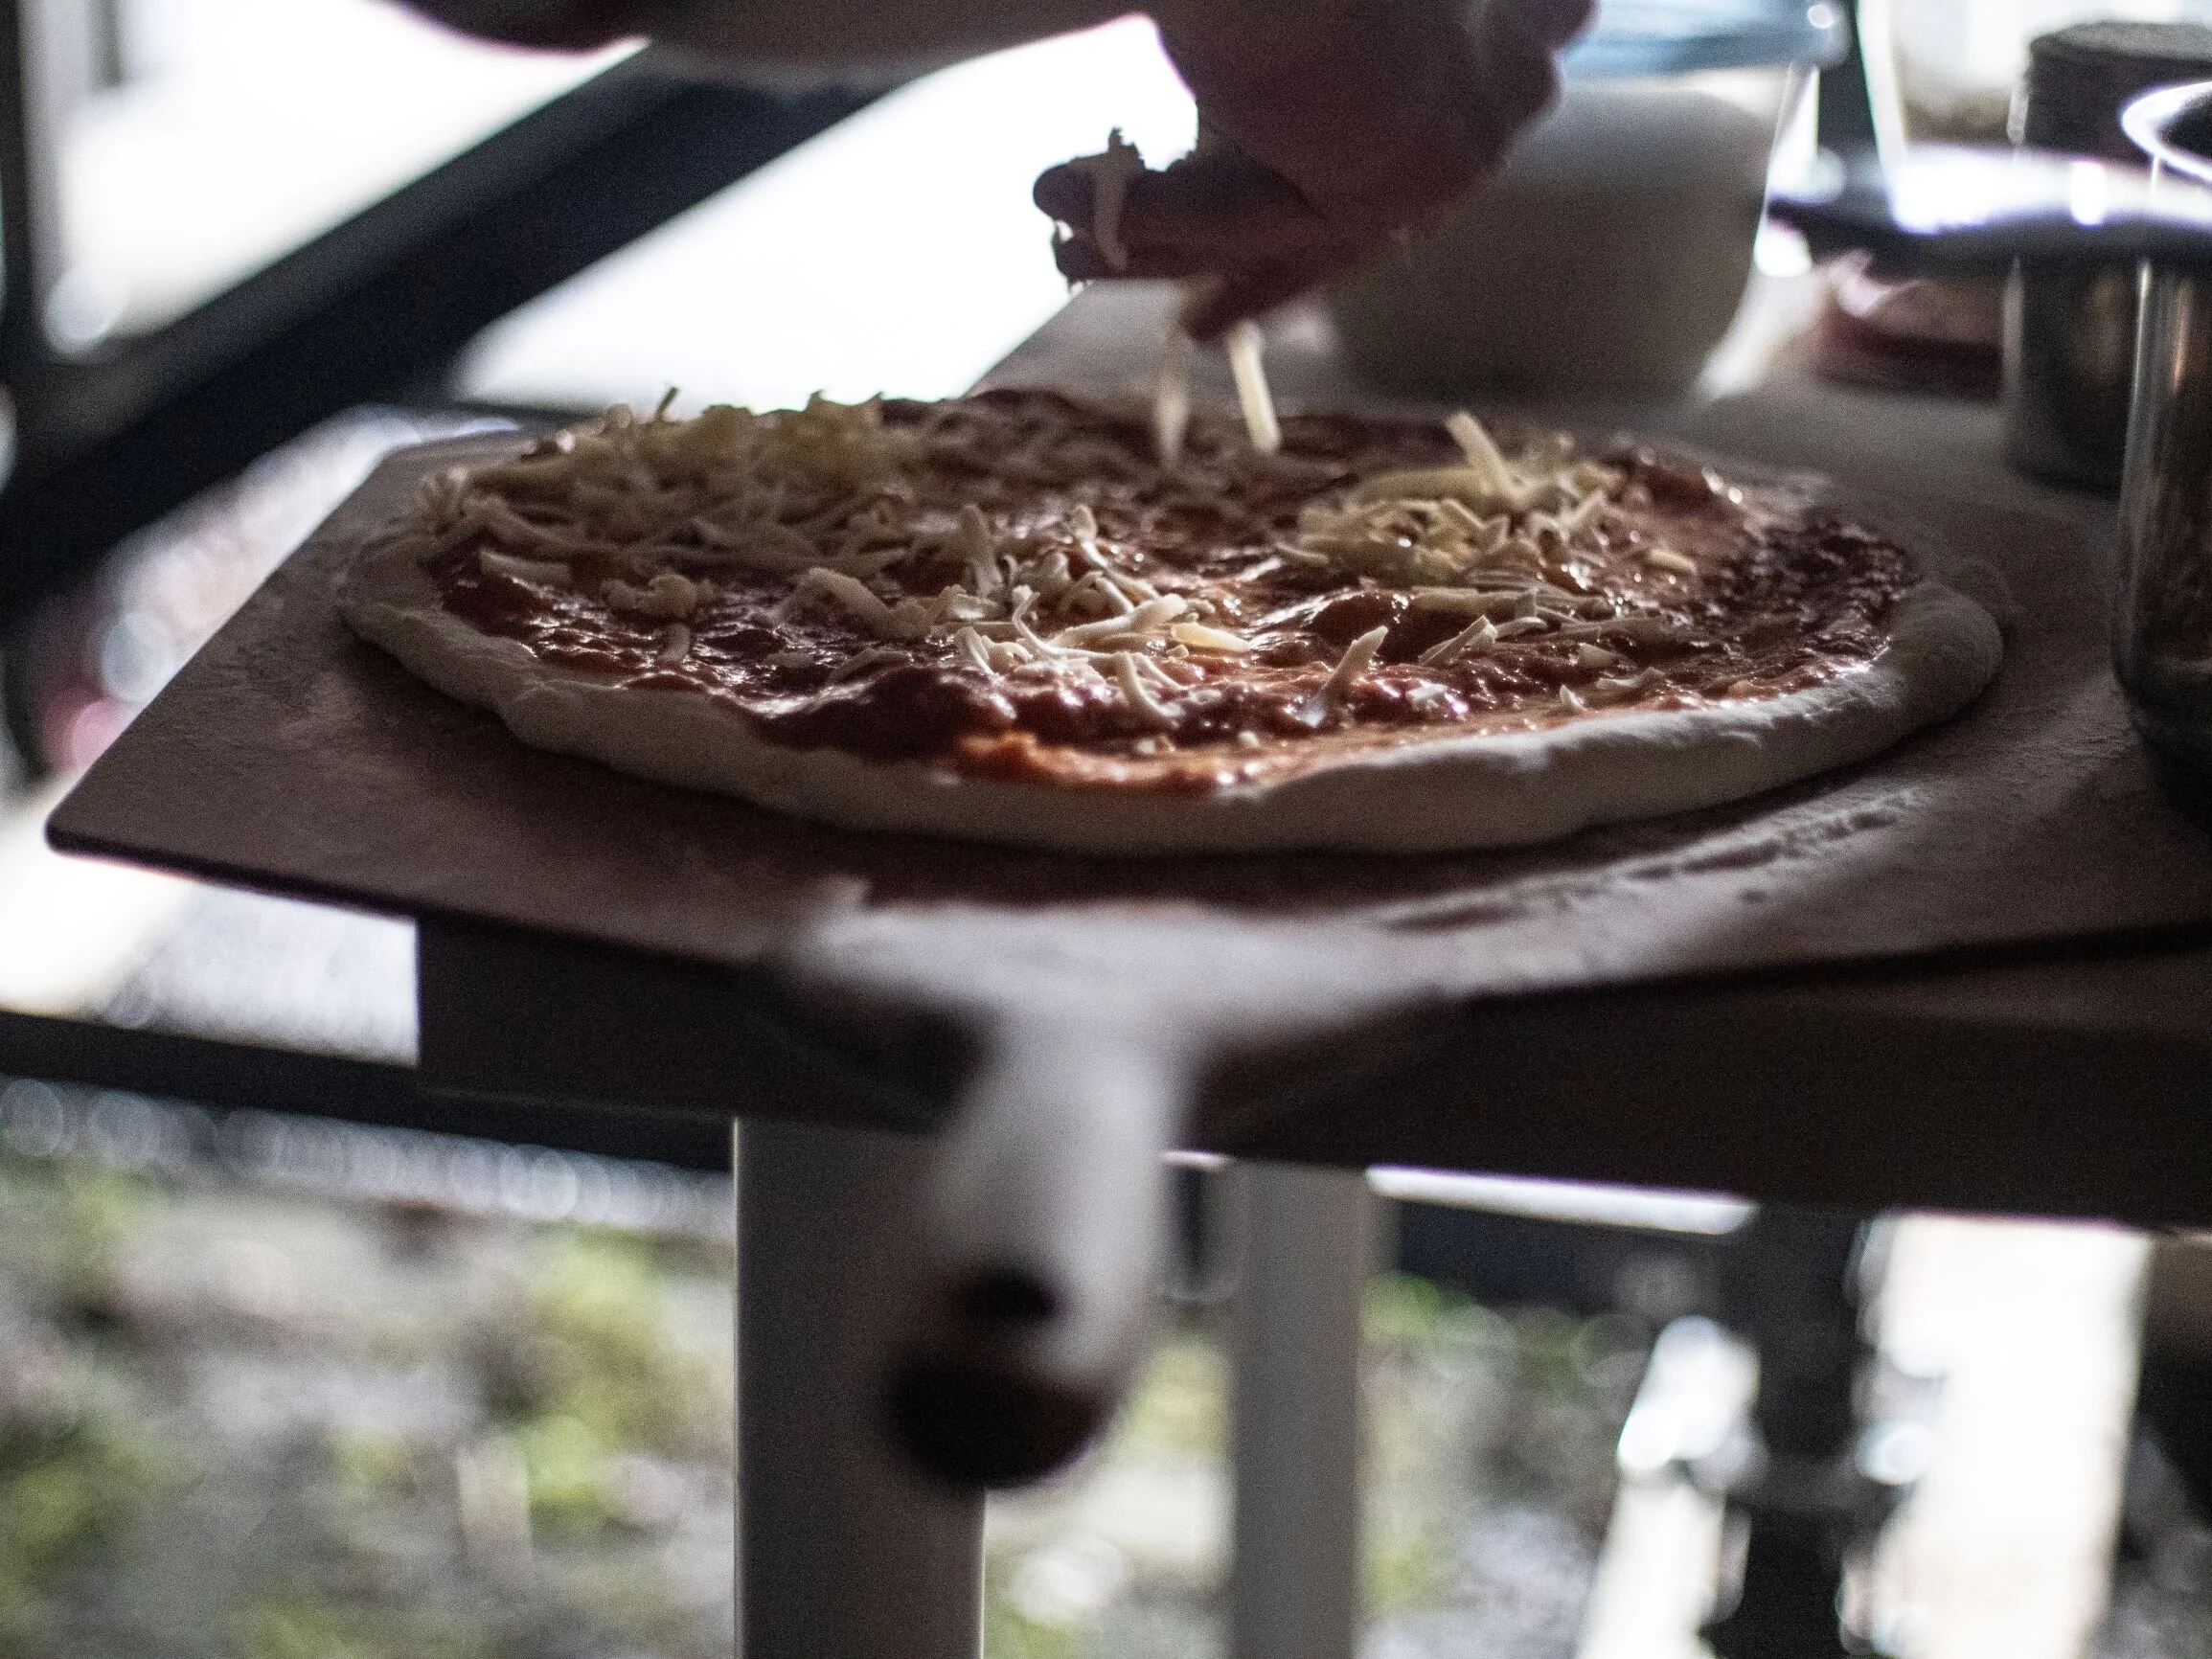
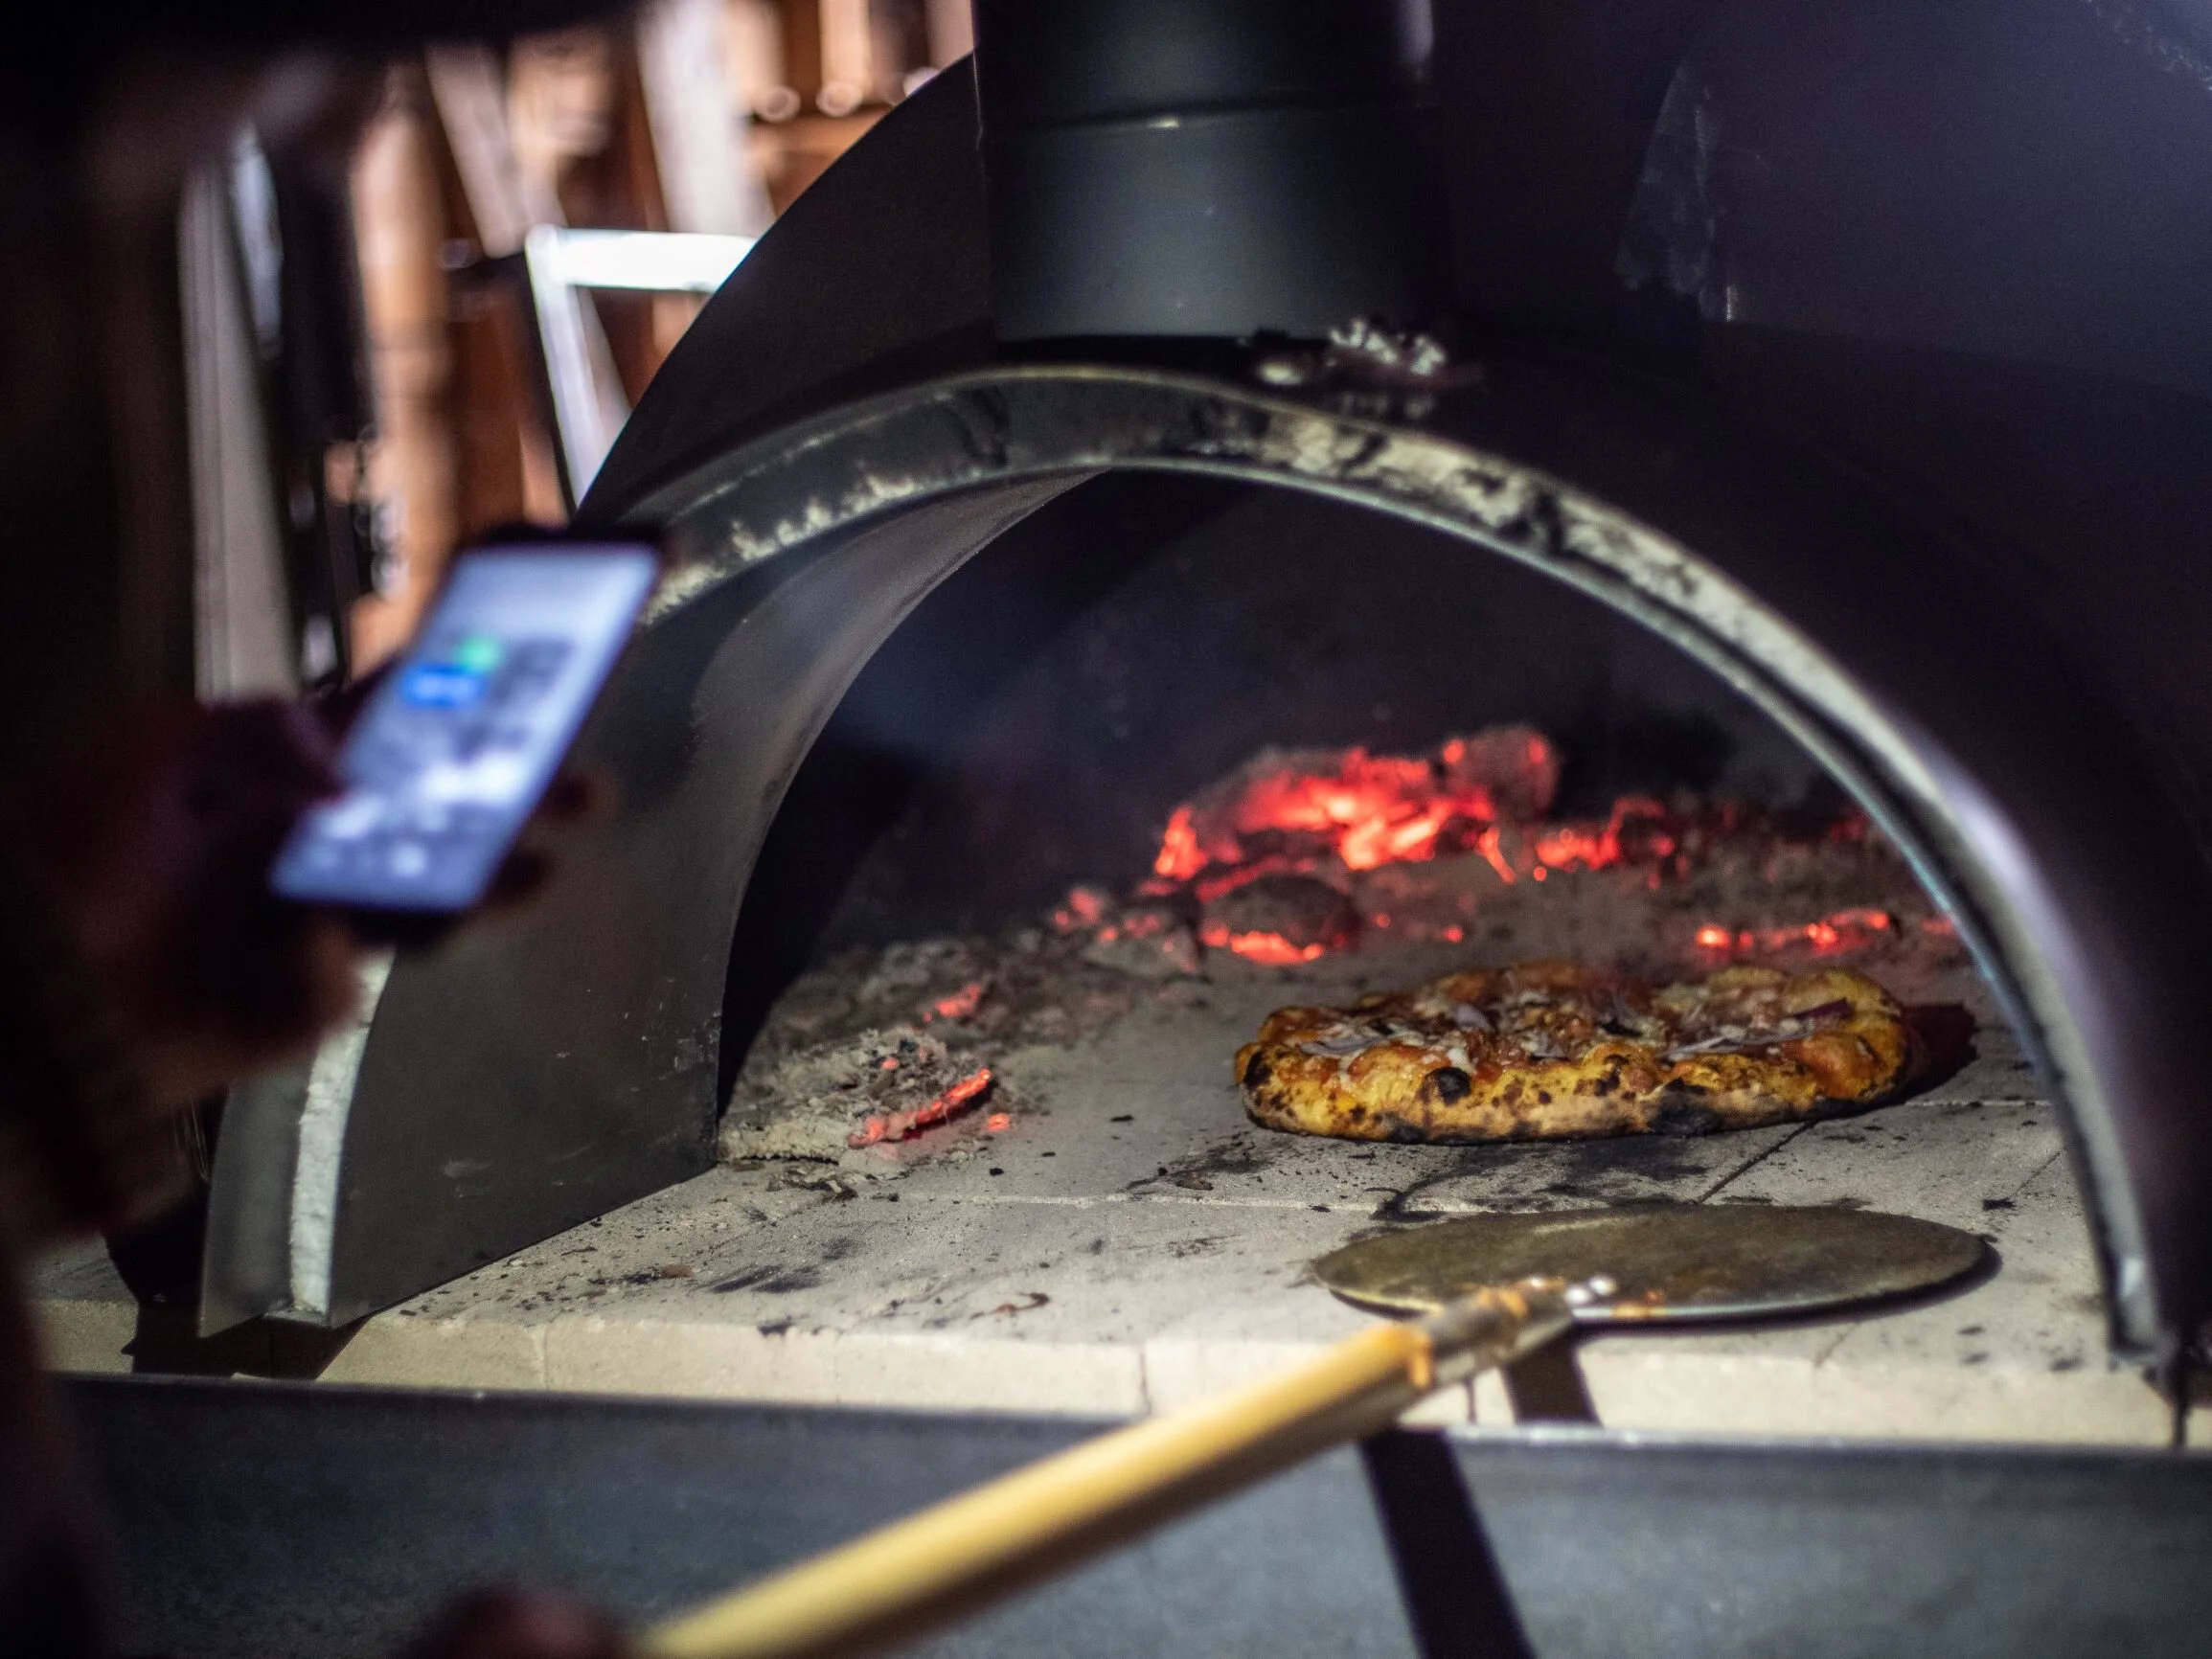
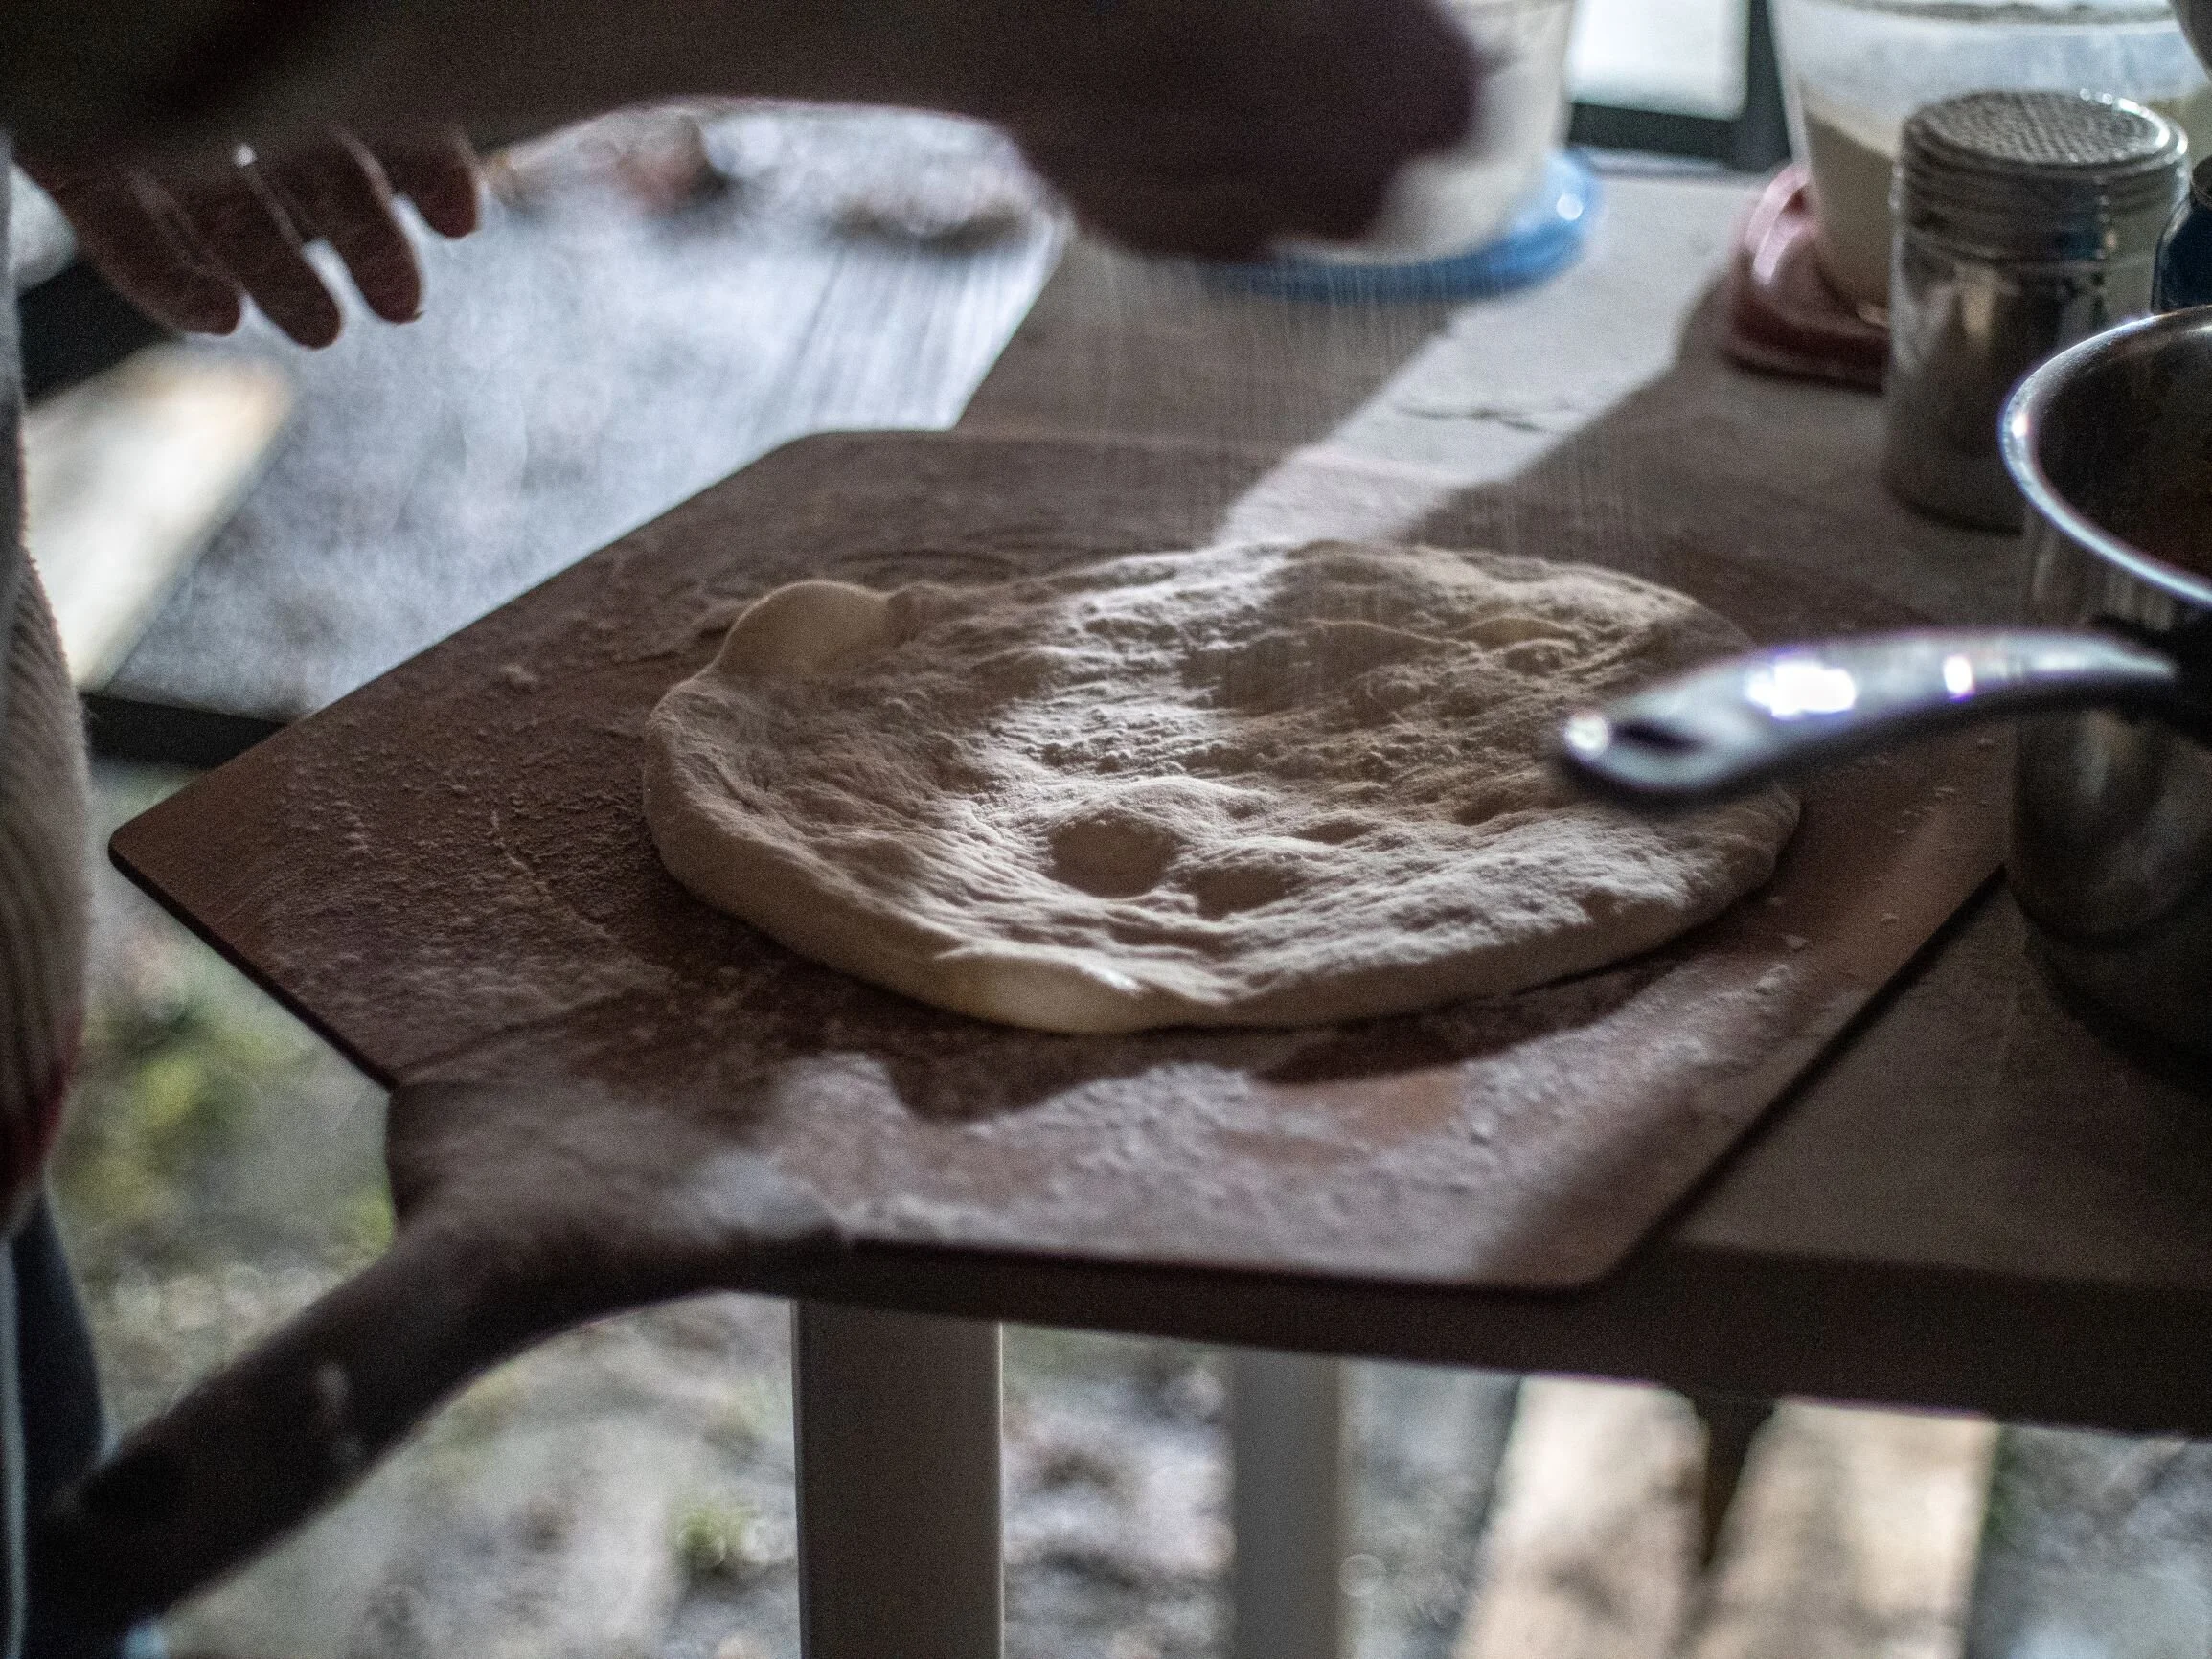
I drove the oven to The Vancouver Tool Library for my first test run. There was a volunteer appreciation night and I had used so many tools during the course of the project. There is really not much to describe after all the building. I lit a chimney of coals, because I had no firewood, and just started pumping them in. Eventually I got some wood scraps from the tool library and that really cranked the heat up. I started cooking after about 2 hours, and the floor of the oven was around 700-800F. The pizza turned out really well, although admittedly, I still need a lot of practice and tinkering to get the dough/sauce/oven temp/cook time balance.
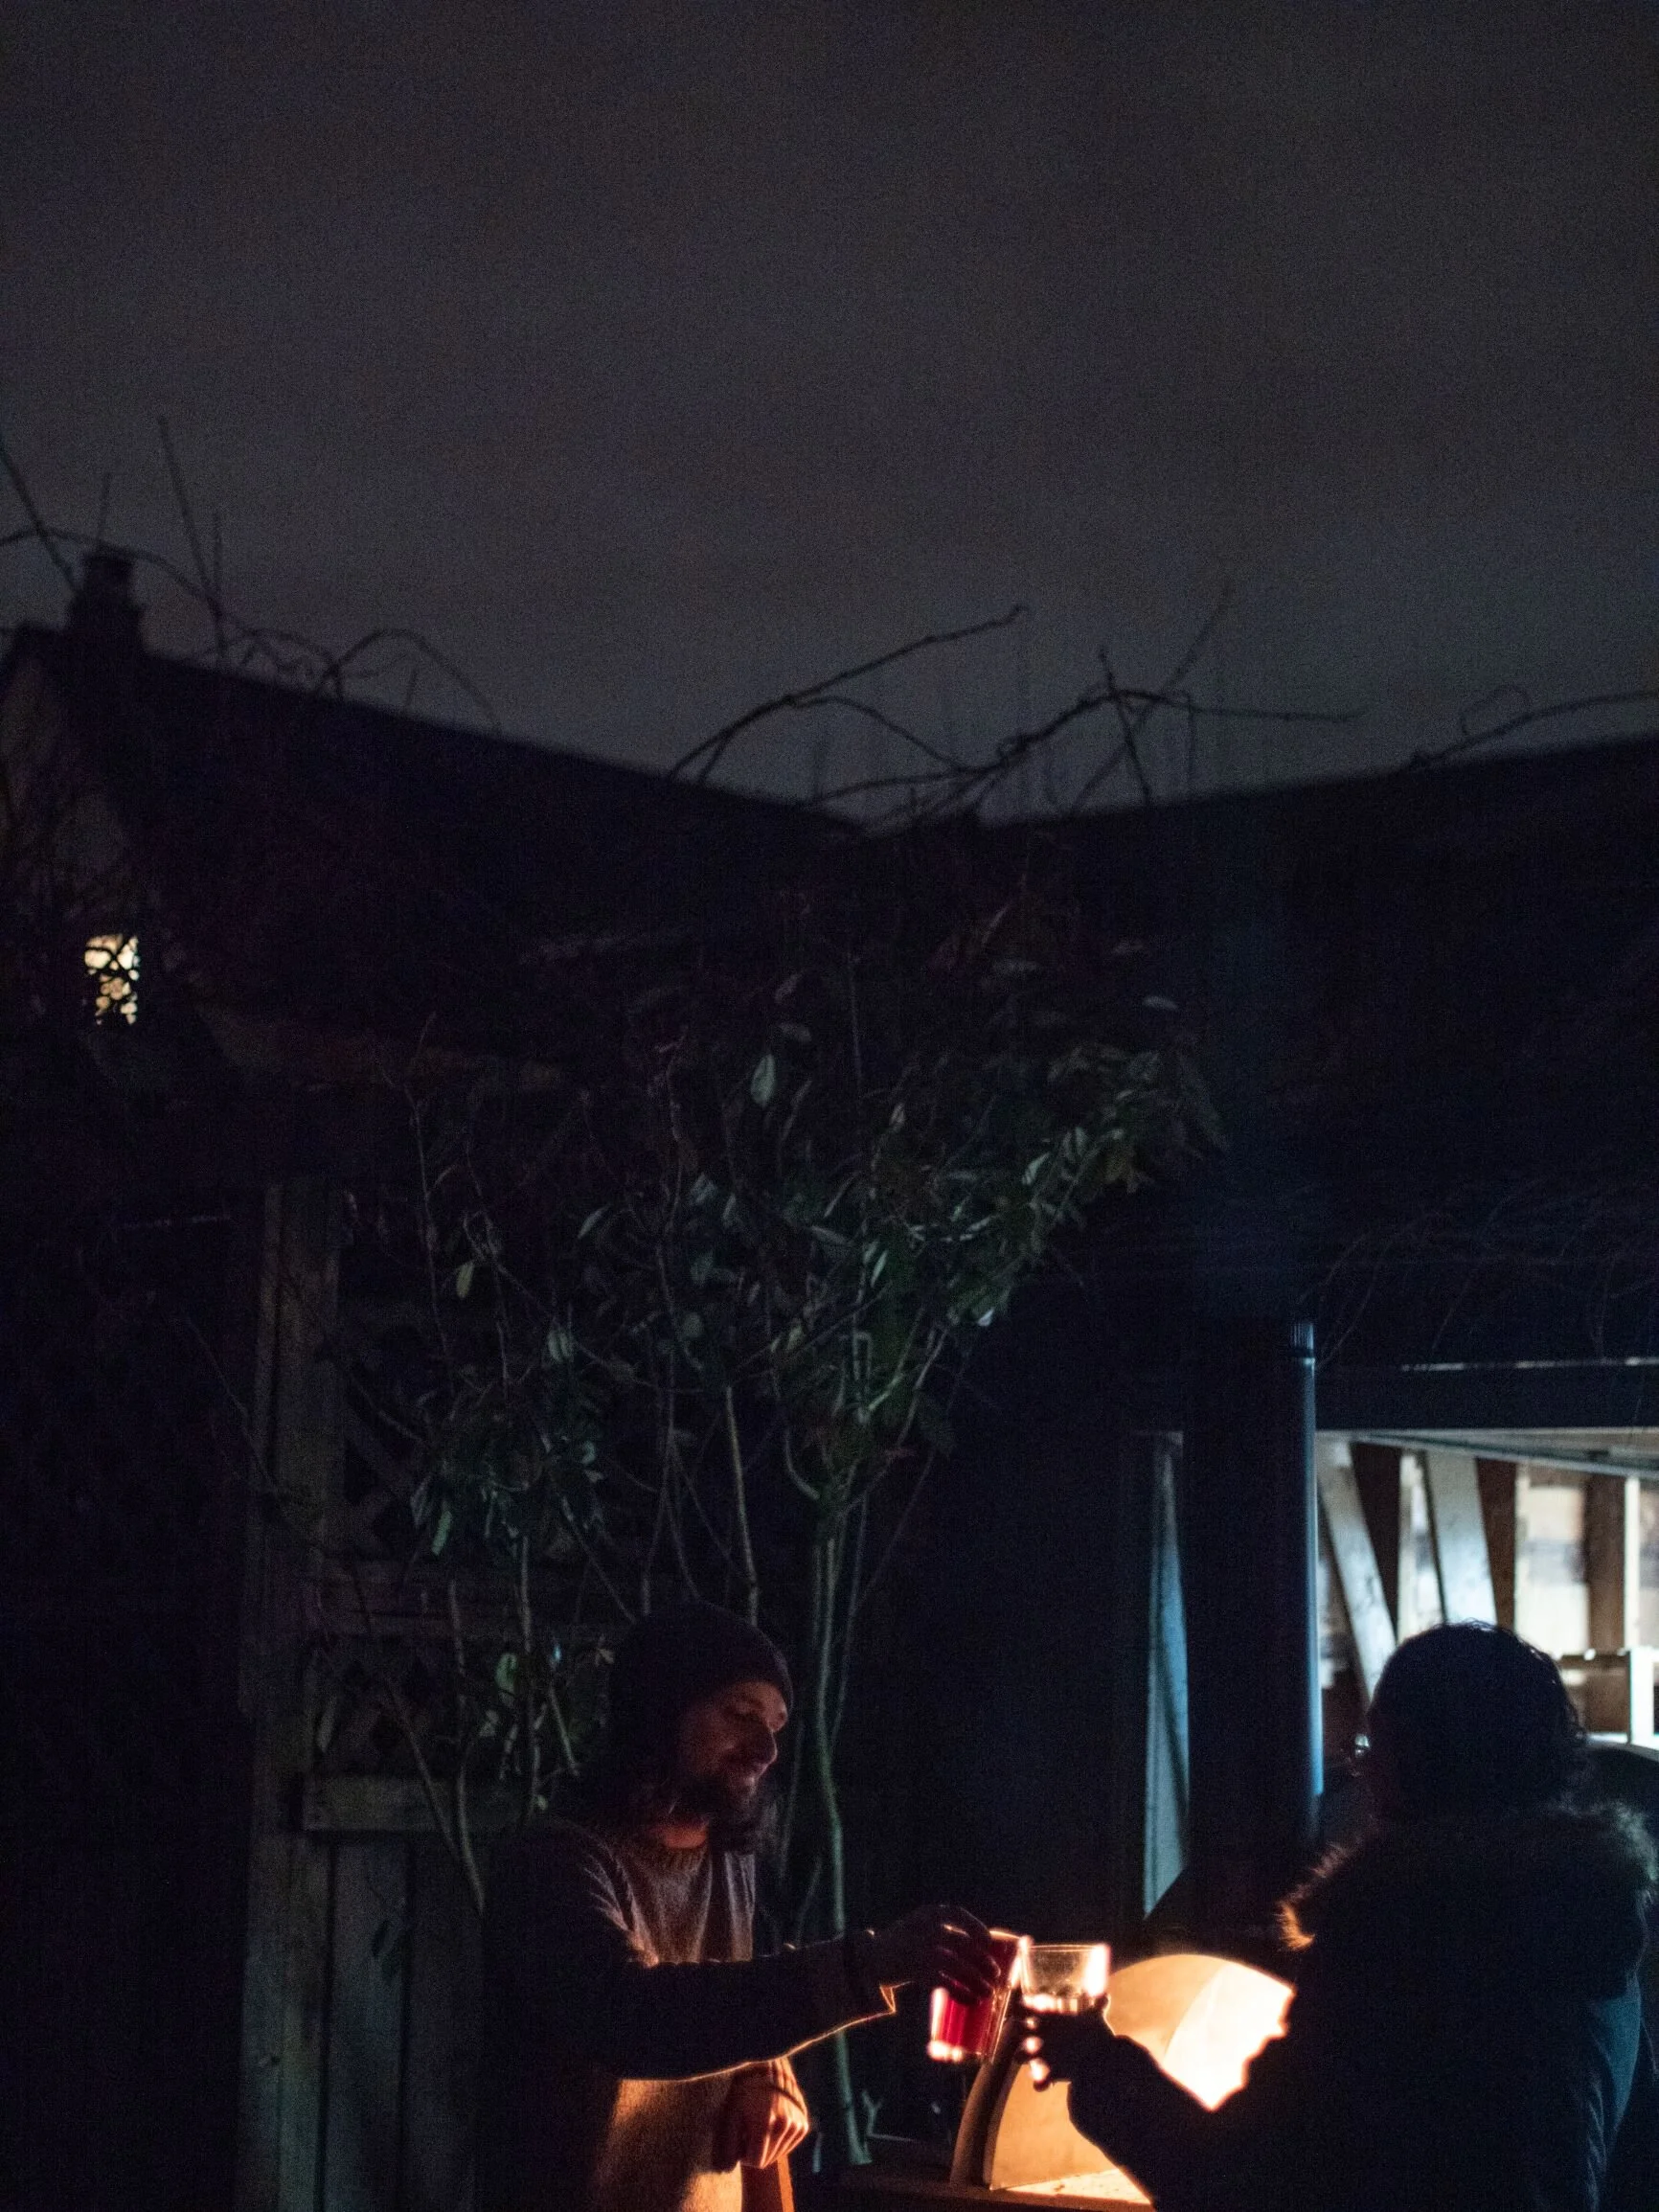
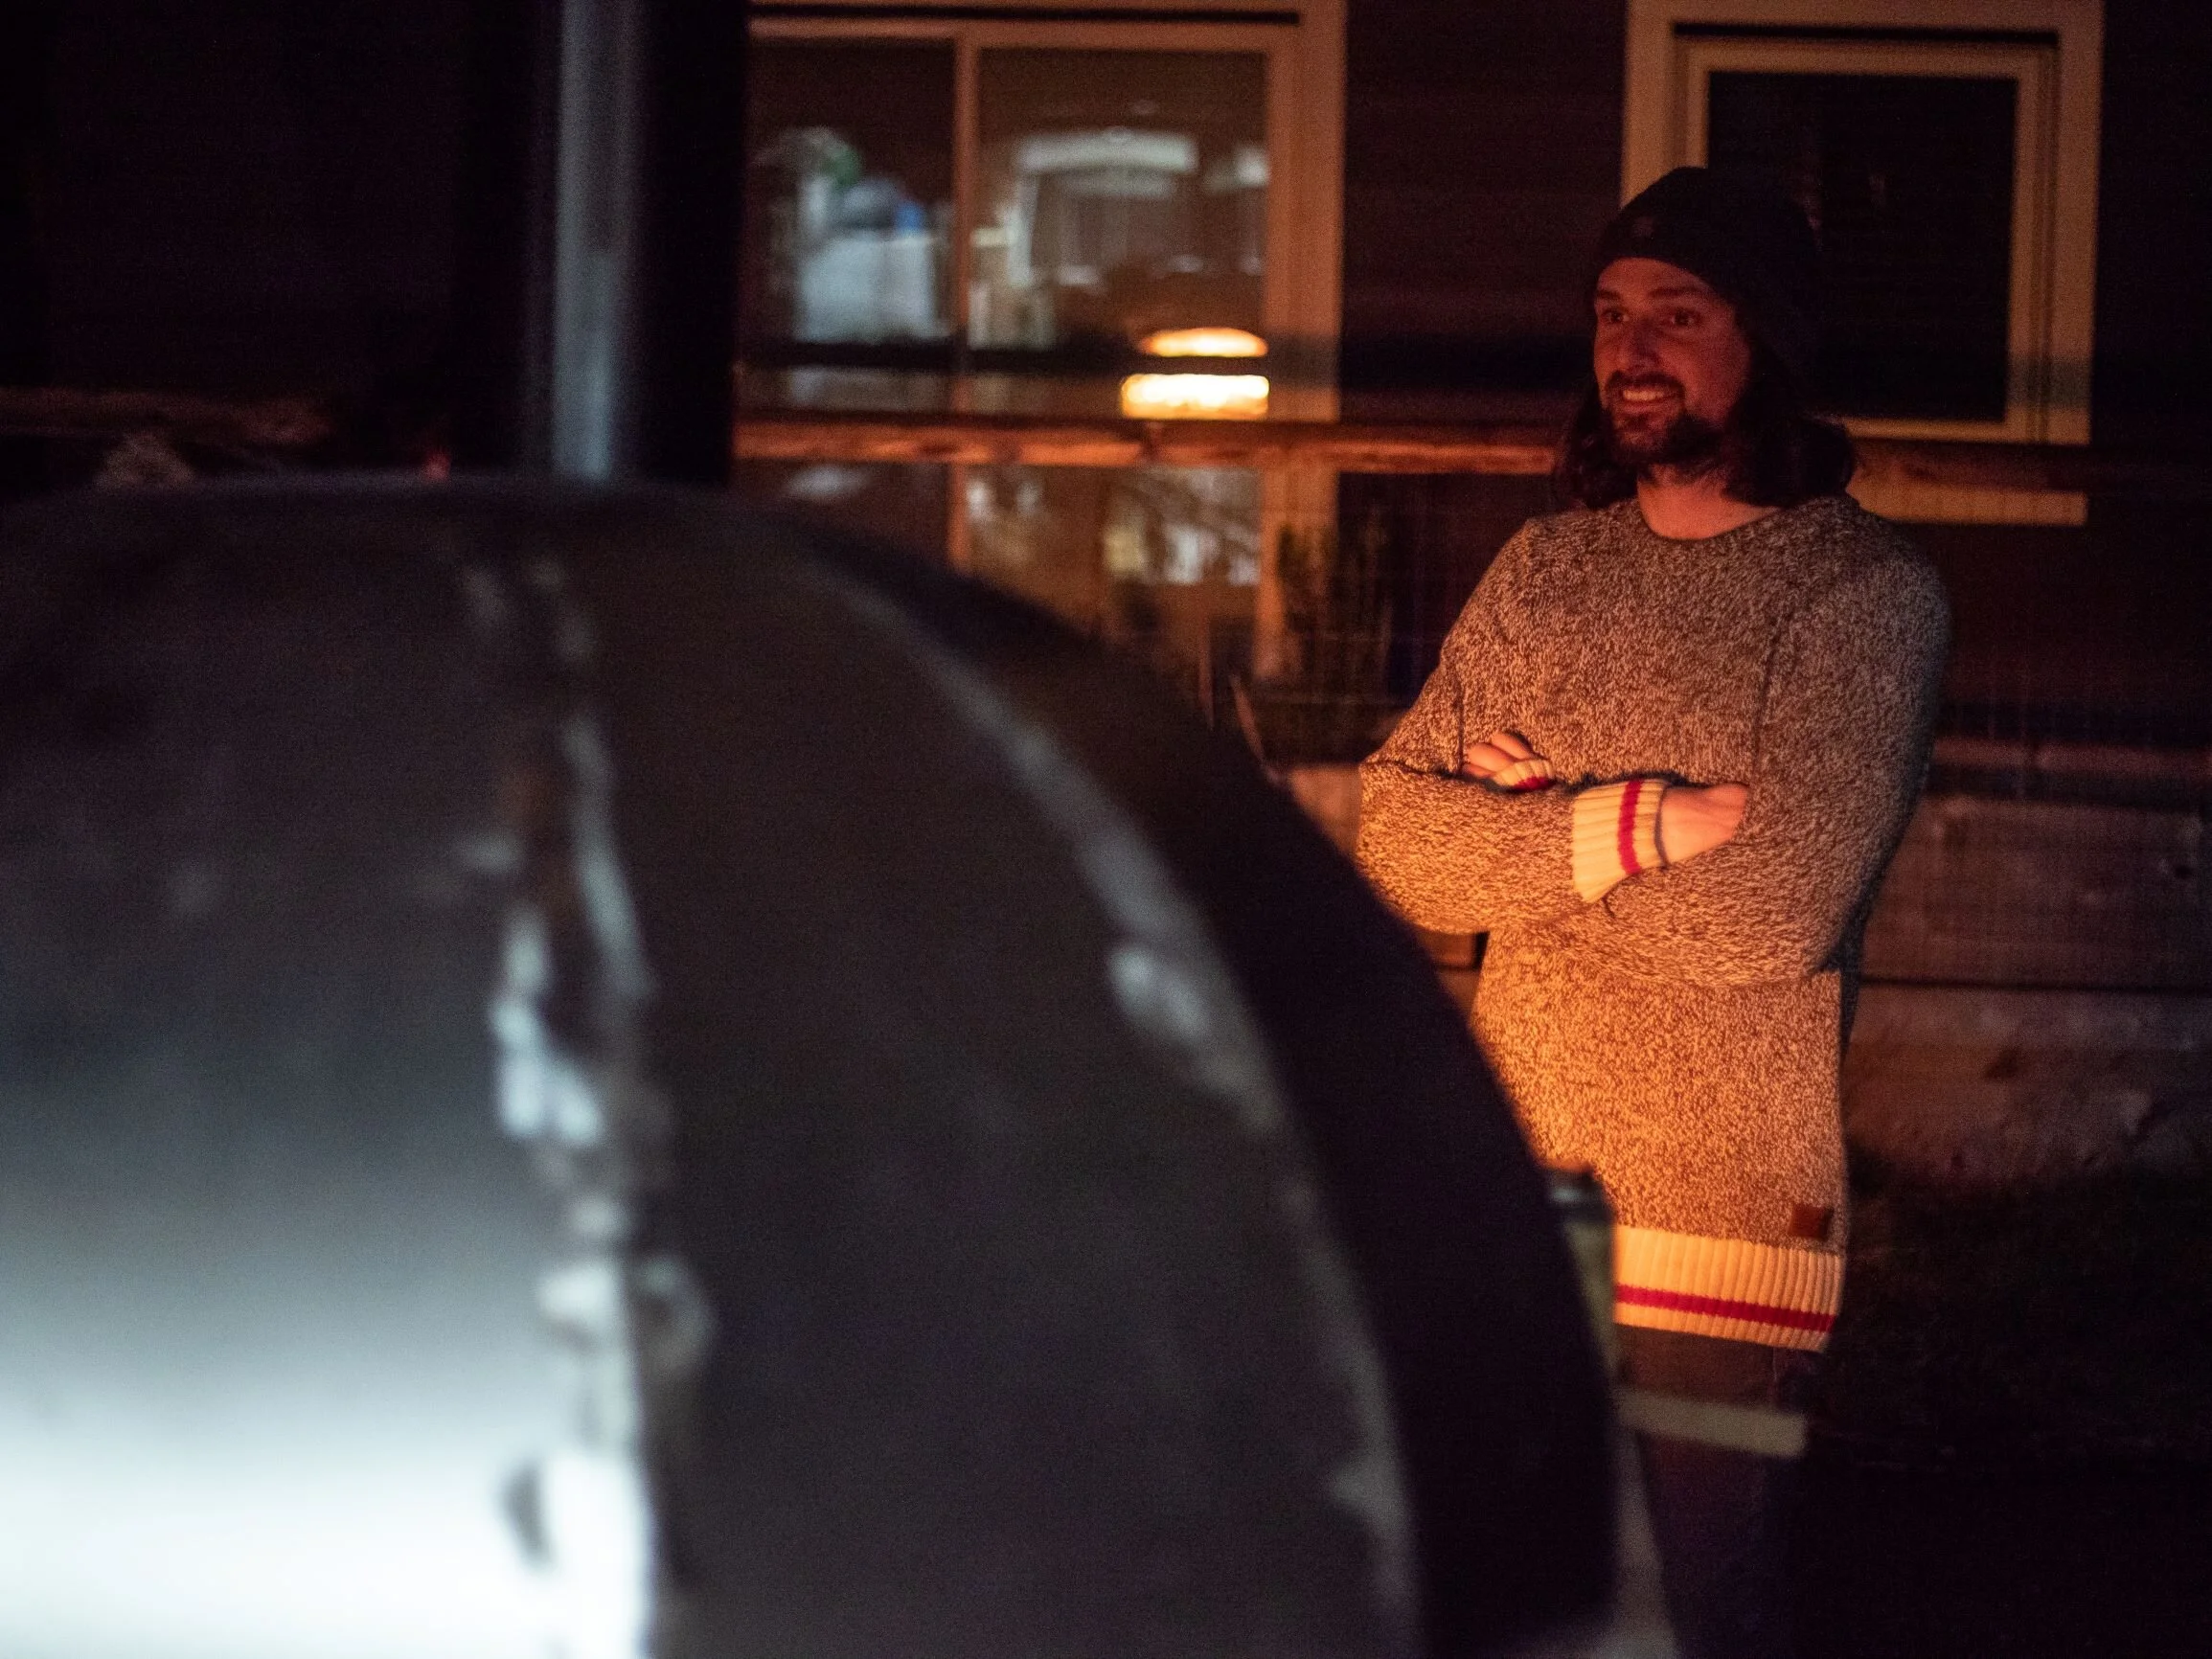
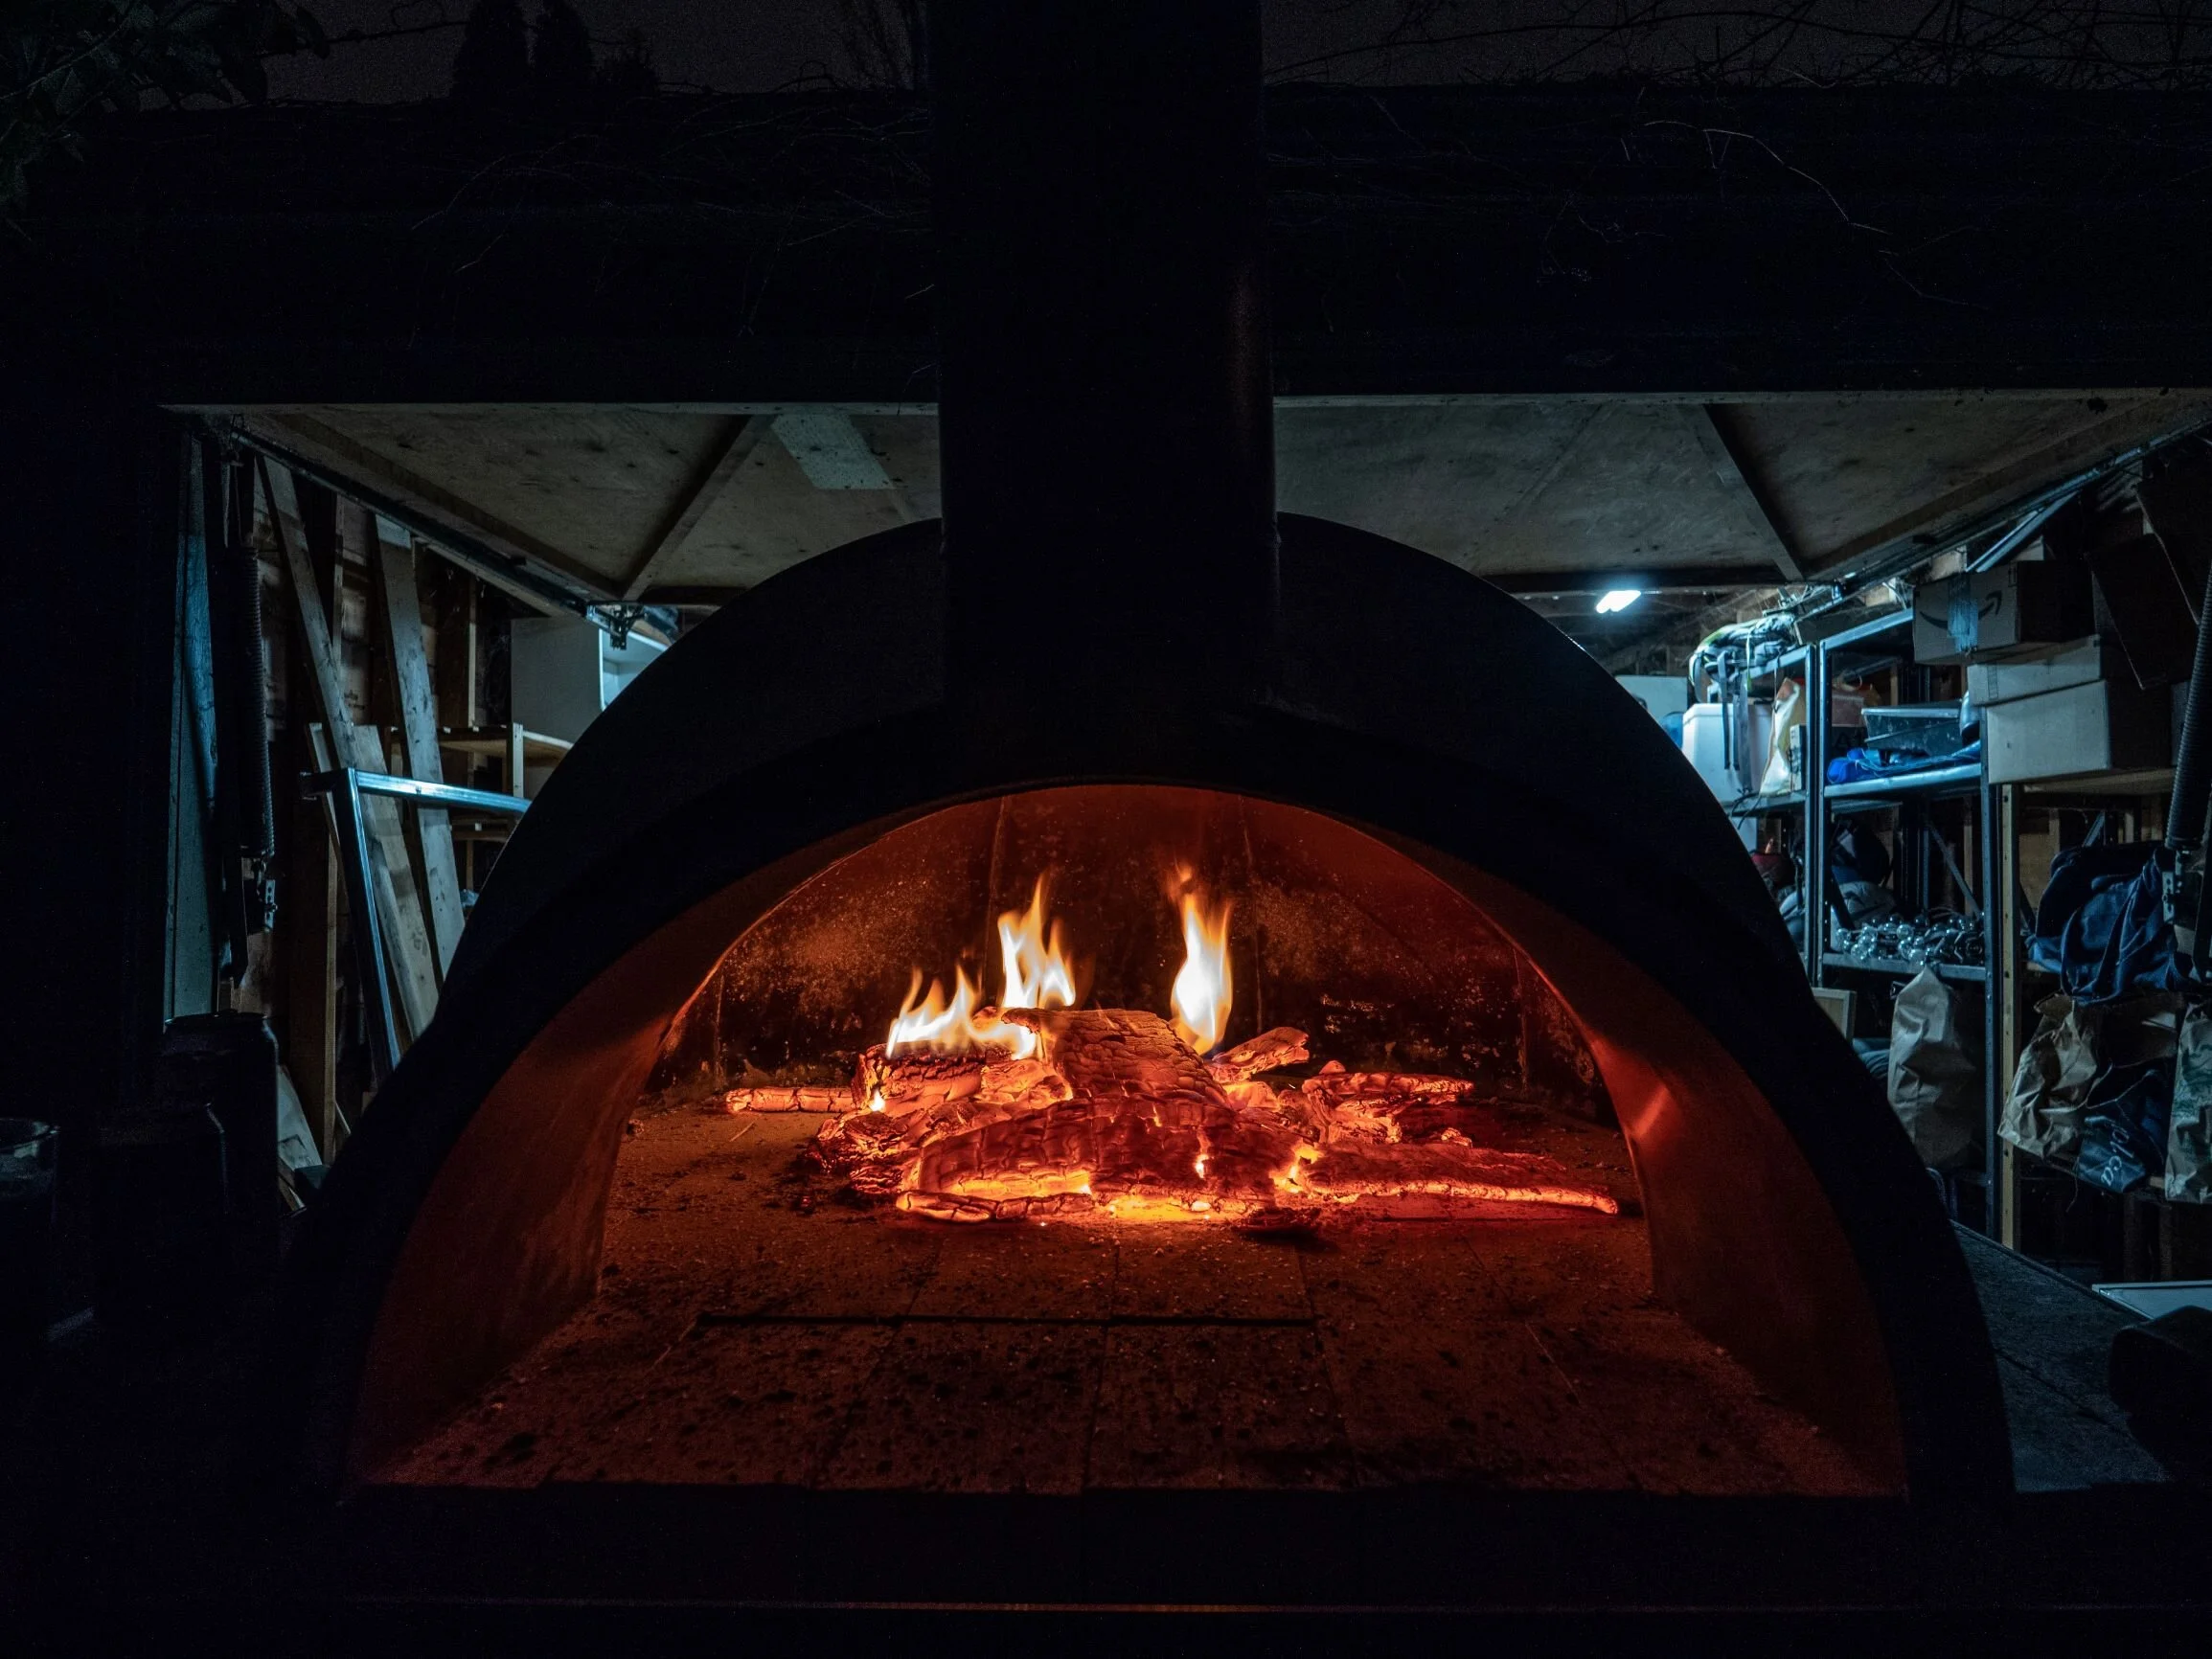
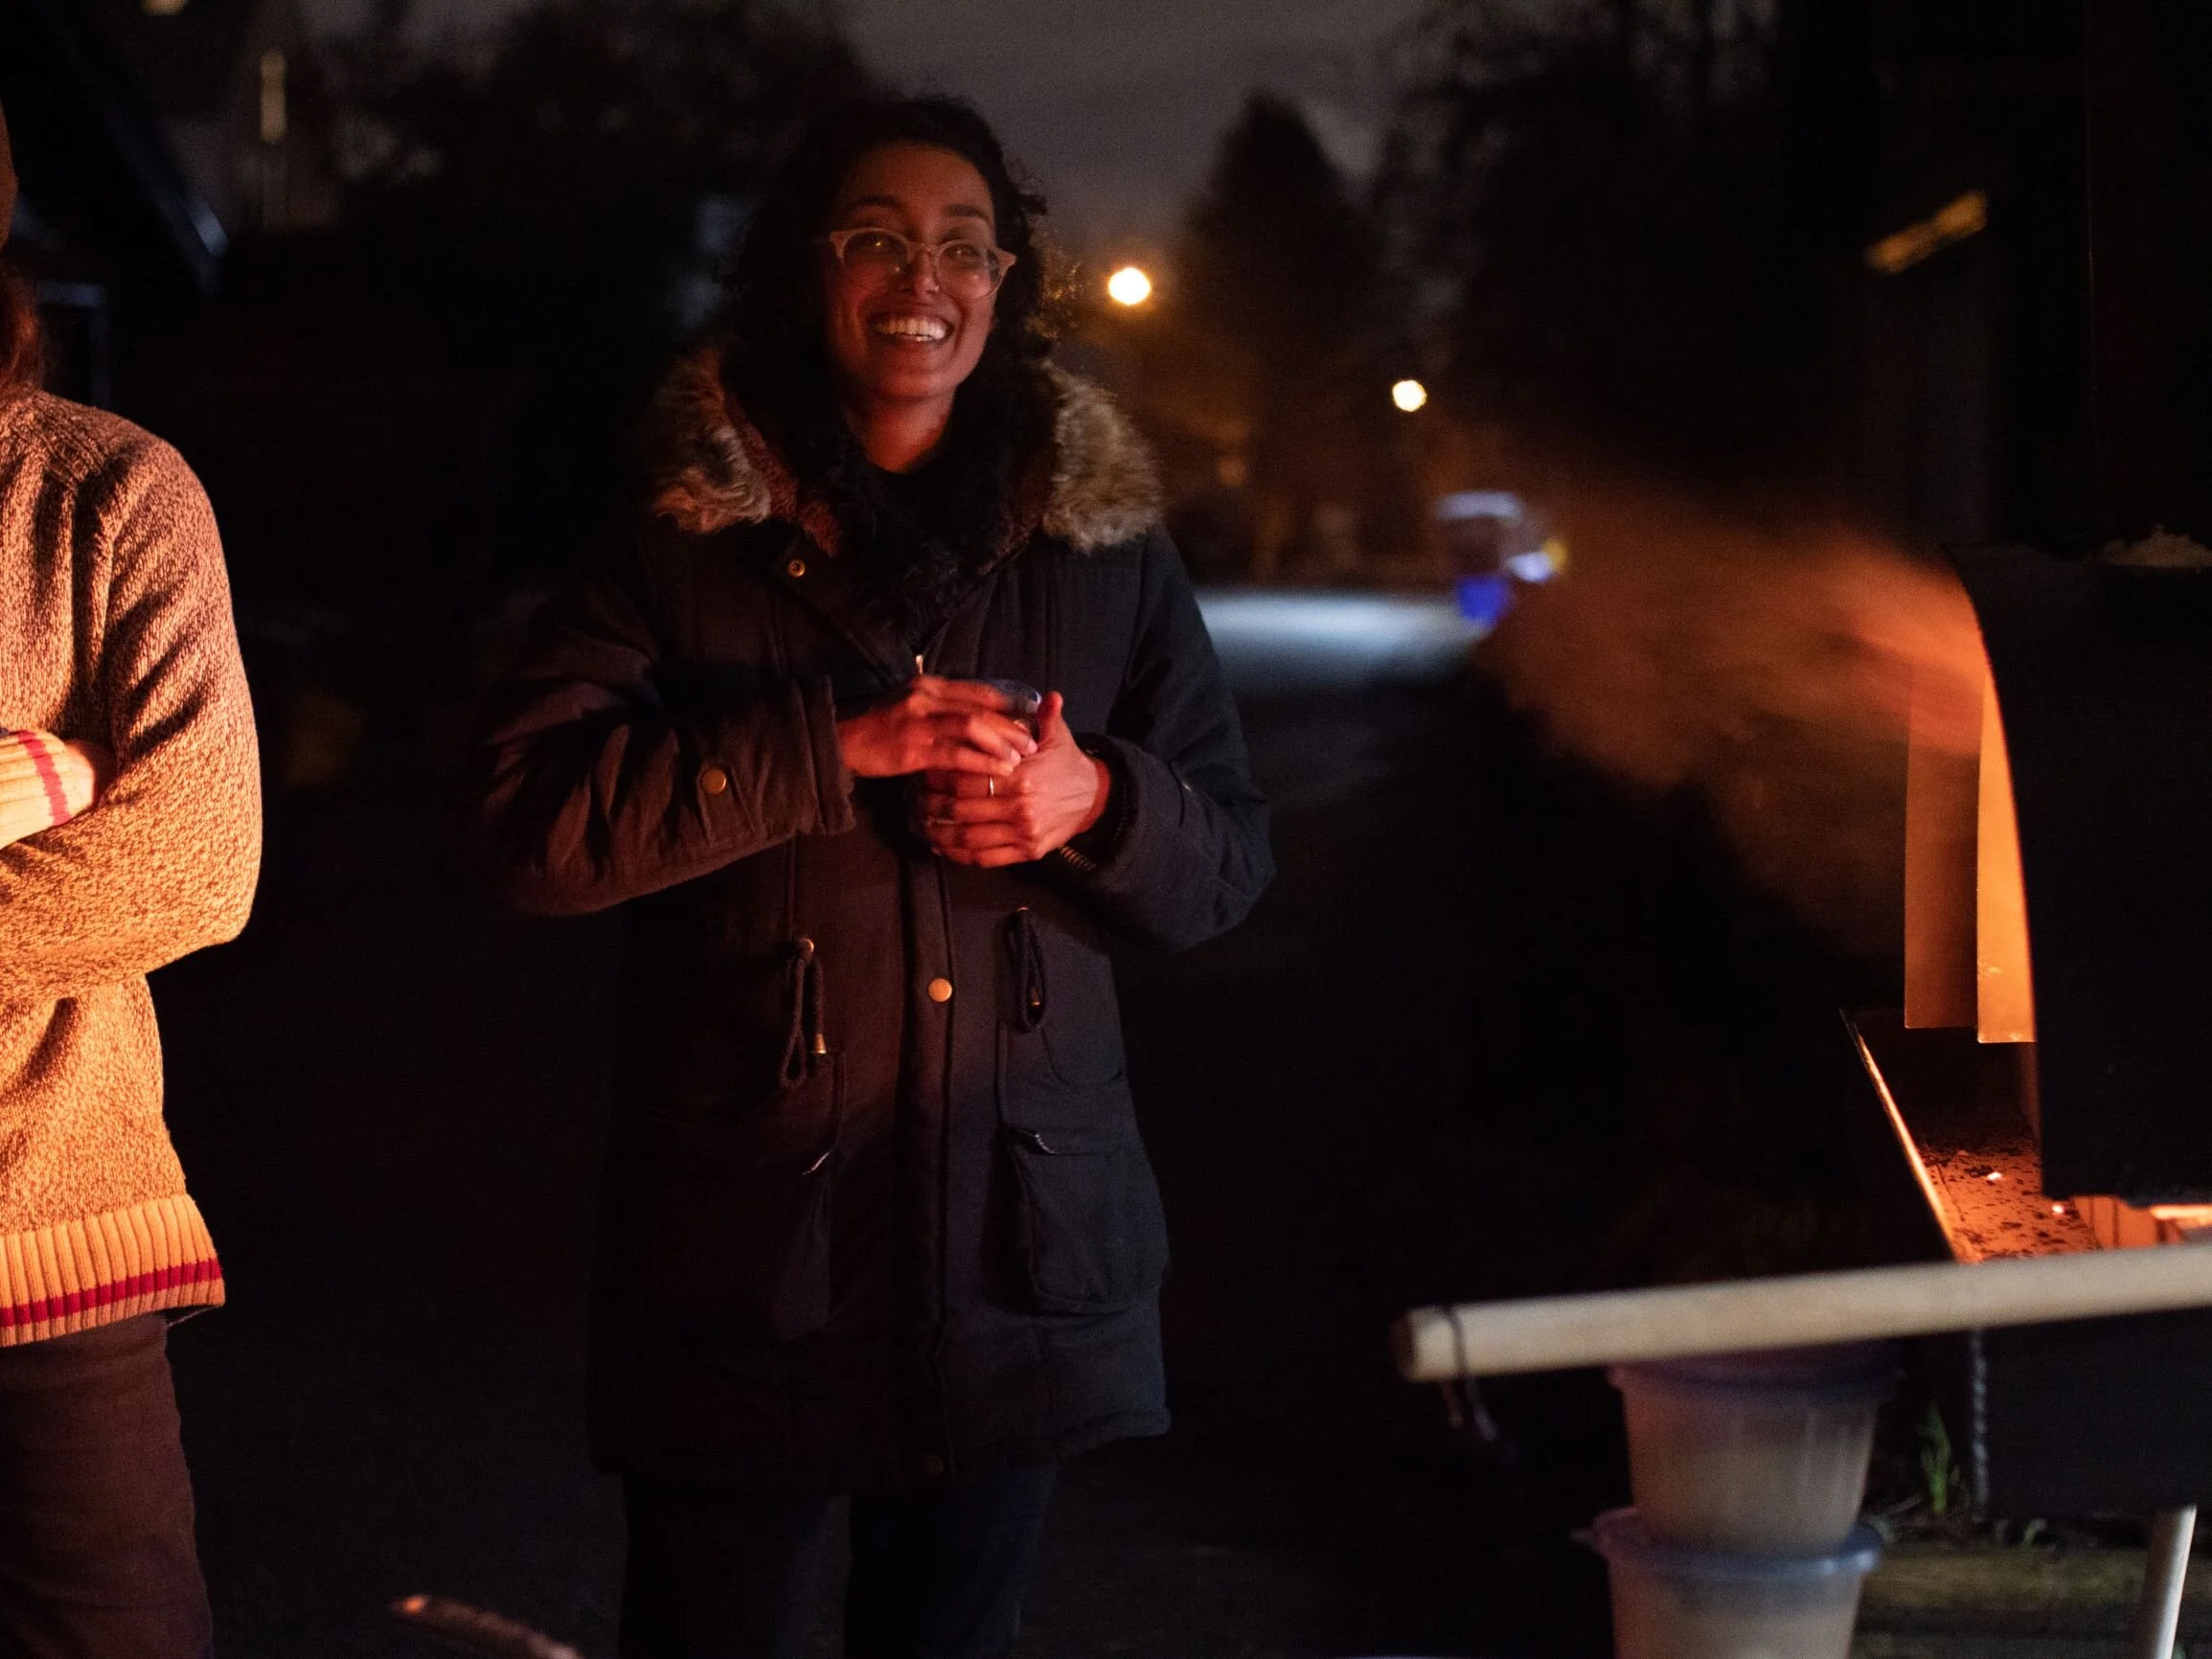
Overall, I am pleased with how the project turned out, and am excited to finish off the oven and play with it. I hope to improve the pizza, but try other things too, like bread, baguettes, naan, roast chicken, etc. Hopefully I will have more experimenting to write about in the future. The second run was a little more refined, and was in my own backyard. My fantastic neighbour Adam Amir took photos, which is how I will end this post (click to expand):


